Introduction
Setting up an Xbox 360 headset is a straightforward process that can significantly enhance your gaming experience. Whether you're gearing up for an intense multiplayer battle or immersing yourself in the captivating narrative of a single-player game, a high-quality headset can amplify the audio and communication aspects of your gameplay.
In this guide, we'll walk through the steps to unbox, connect, and adjust your Xbox 360 headset, ensuring that you're ready to dive into the virtual world with crystal-clear sound and seamless communication. Whether you're a seasoned gamer or just getting started, this quick and easy setup process will have you up and running in no time.
So, grab your controller, put on your headset, and let's embark on this journey to optimize your gaming setup. Let's ensure that every sound effect, dialogue, and battle cry is delivered with precision, and that your voice commands are transmitted clearly to your teammates. By the end of this guide, you'll be fully equipped to unleash your gaming prowess with the added advantage of a well-configured Xbox 360 headset.
Step 1: Unboxing the Xbox 360 Headset
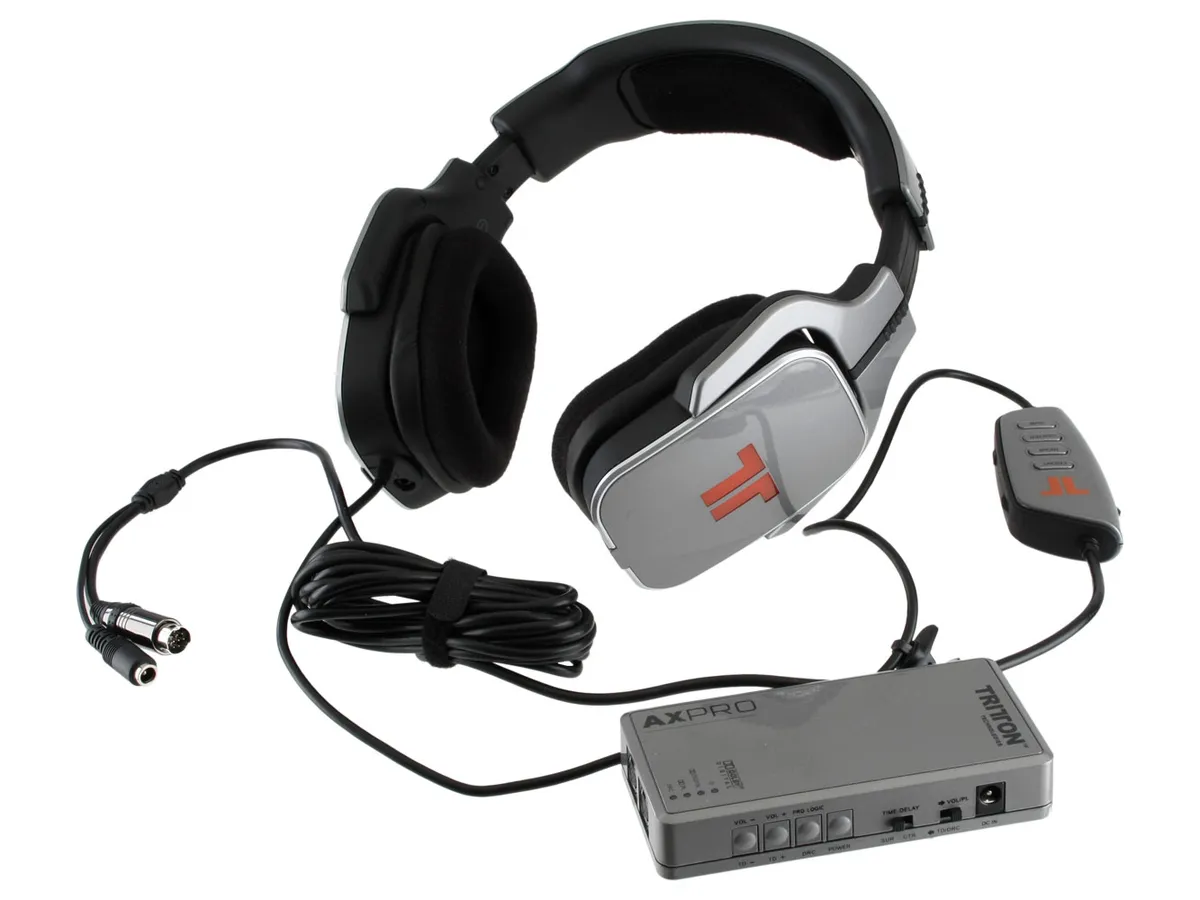
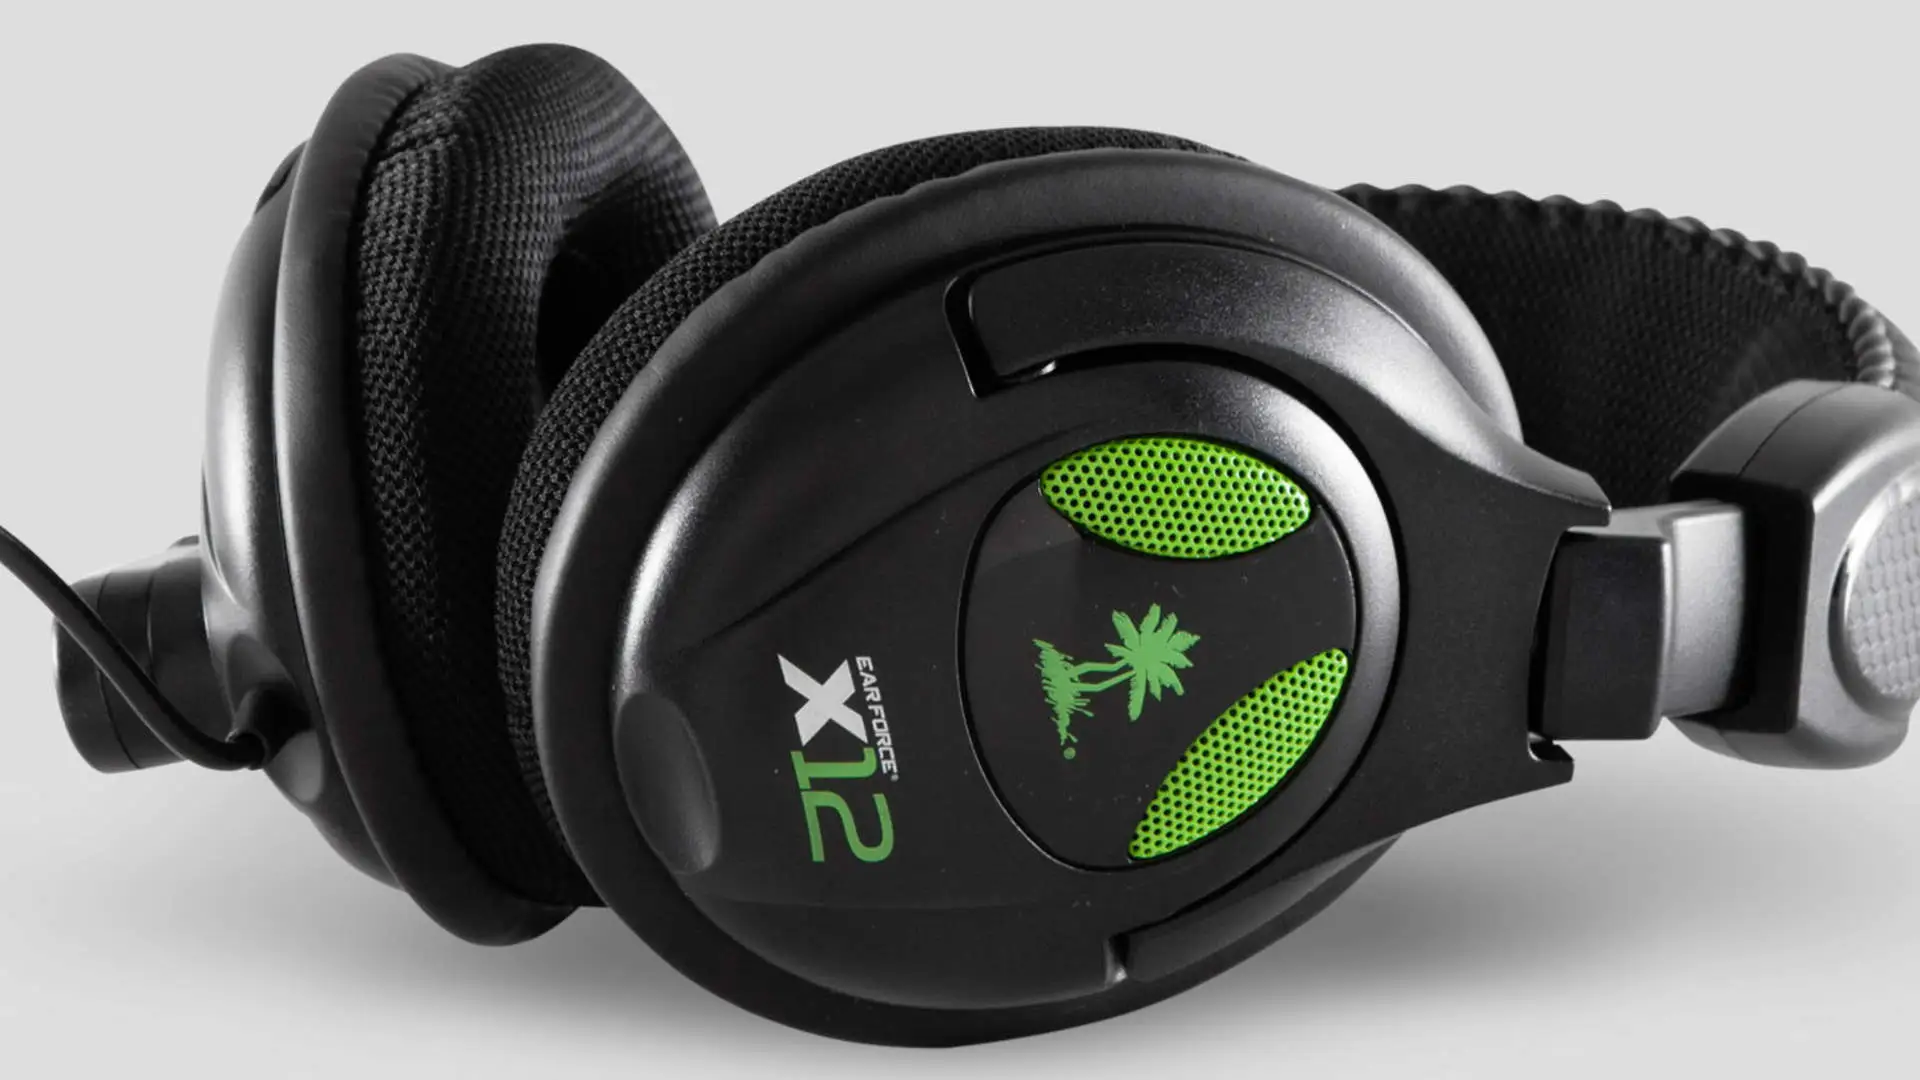
Unboxing a new Xbox 360 headset is an exciting moment, as it marks the beginning of an enhanced gaming experience. As you carefully open the packaging, you'll find the headset snugly nestled within, waiting to be unleashed and put to use. The contents typically include the headset itself, along with any accompanying cables or adapters required for connectivity.
Upon removing the headset from its packaging, take a moment to appreciate its sleek design and sturdy build. The headset is designed to provide comfort during extended gaming sessions, with adjustable features to ensure a personalized fit. The microphone, an integral component for in-game communication, is often flexible and can be positioned according to your preference.
Inspect the accompanying cables and adapters to ensure that everything is present and in good condition. These components facilitate the connection between the headset and the Xbox 360 controller, enabling seamless audio transmission and communication.
As you unbox the headset, it's an opportune time to familiarize yourself with the various buttons and controls it offers. Depending on the model, the headset may feature volume controls, mute buttons, and other functions that can be conveniently accessed during gameplay. Understanding the layout and functionality of these controls will prove beneficial as you progress through the setup process.
In addition, it's advisable to review the user manual or any included documentation to gain insights into the specific features and capabilities of the headset. This can provide valuable information regarding optimal usage, care instructions, and any additional functionalities that may enhance your gaming experience.
With the headset unboxed and its components inspected, you're now ready to proceed to the next step: connecting the headset to the Xbox 360 controller. This pivotal stage sets the foundation for seamless audio output and communication capabilities, paving the way for an immersive and engaging gaming experience.
Now that we've unboxed the Xbox 360 headset and familiarized ourselves with its components, let's move on to the next step and delve into the process of connecting the headset to the Xbox 360 controller.
Step 2: Connecting the Headset to the Controller
Connecting your Xbox 360 headset to the controller is a crucial step that sets the stage for seamless communication and immersive audio during gaming sessions. The process involves integrating the headset with the controller to establish a direct line of audio transmission and enable in-game voice communication. Follow these steps to ensure a hassle-free and effective connection:
-
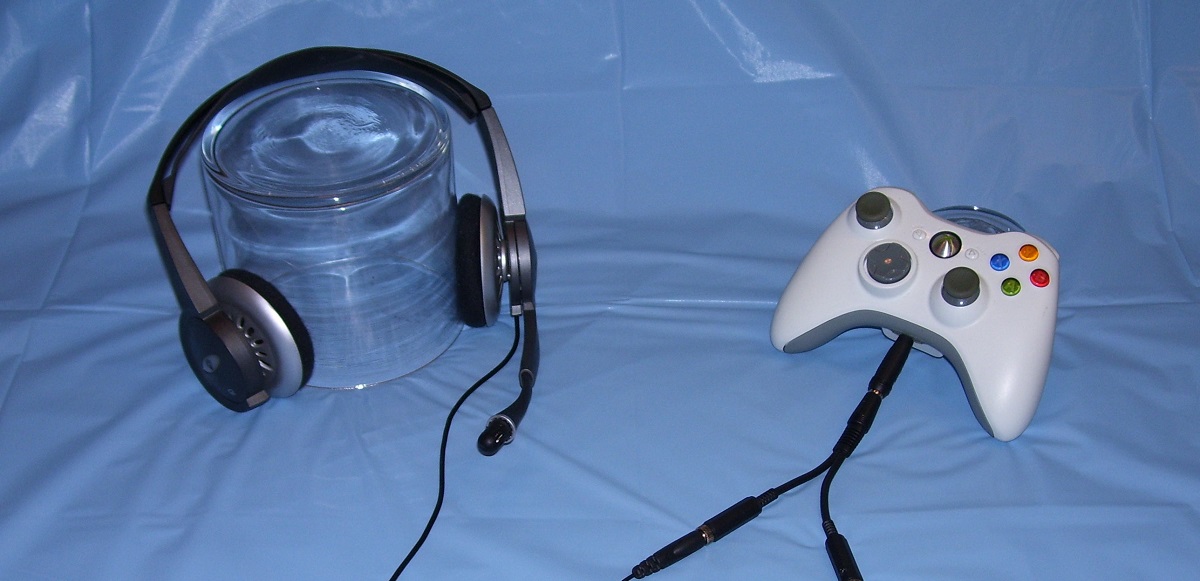
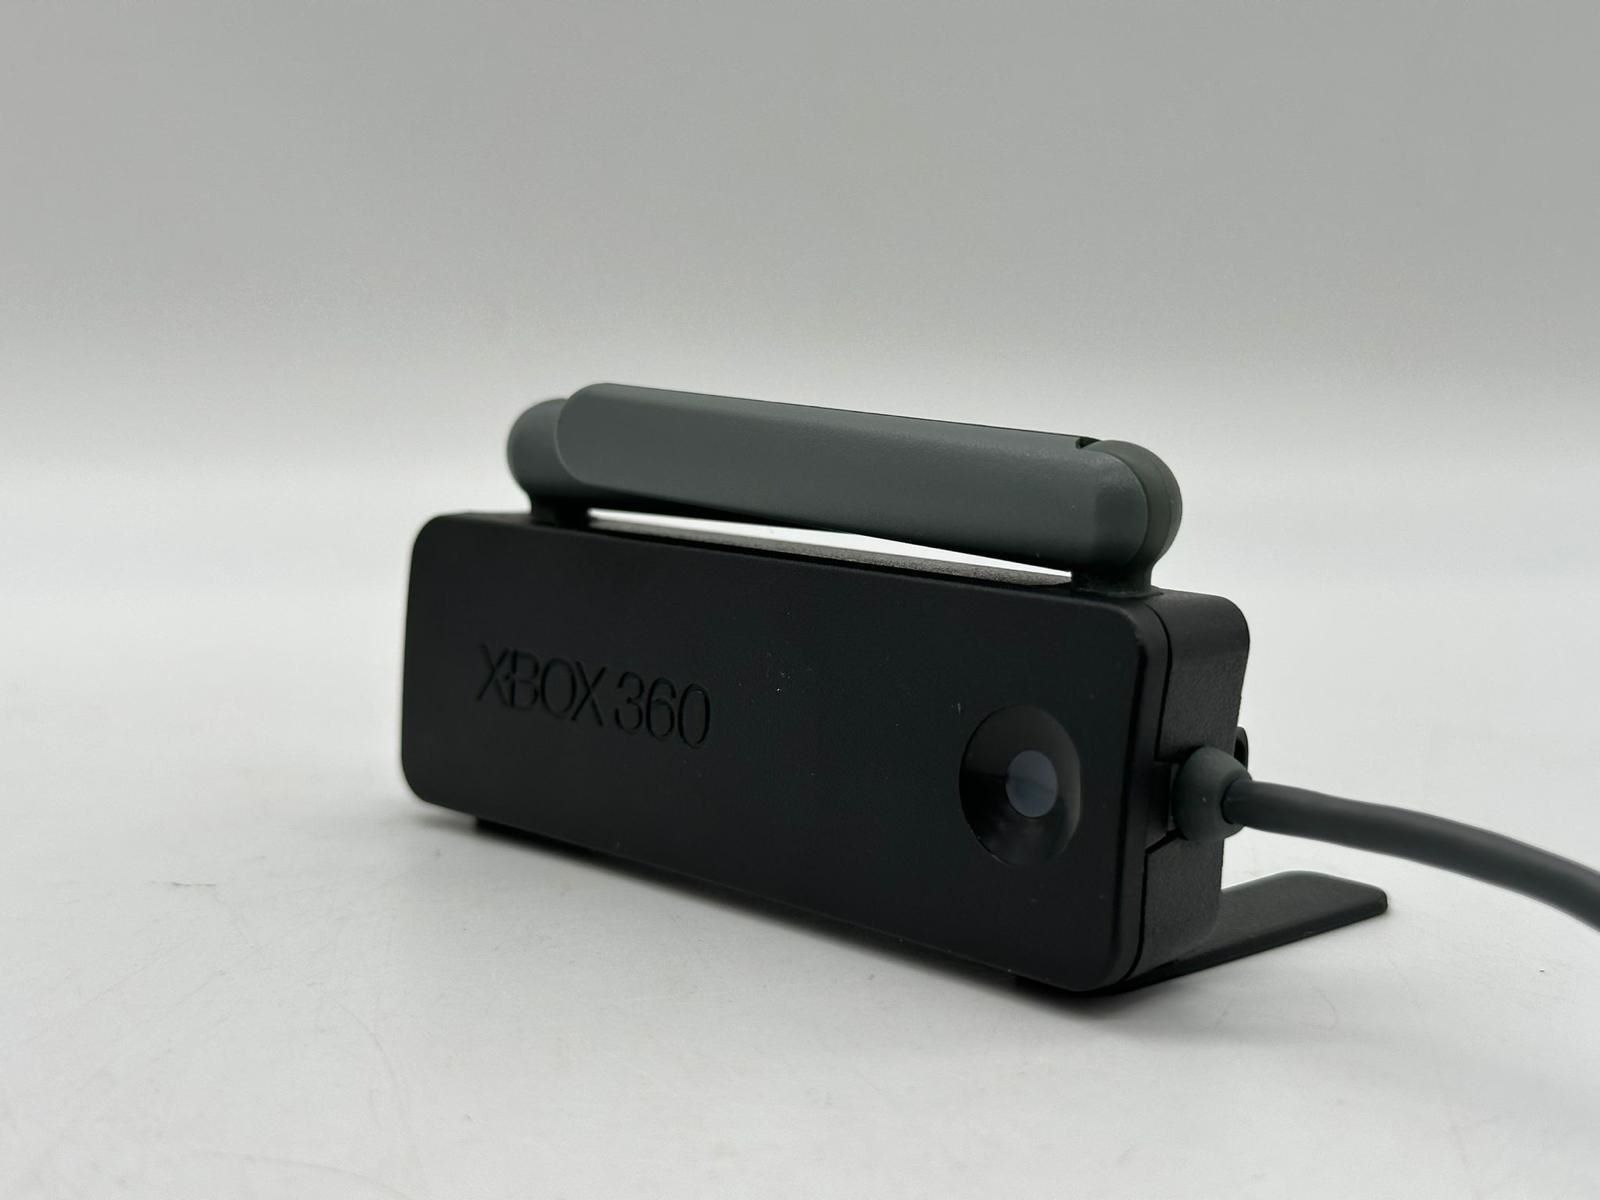
Identify the Headset Port: Begin by locating the headset port on your Xbox 360 controller. This port is typically situated at the bottom of the controller, adjacent to the audio input and USB ports. It is designed to accommodate the connector from the headset, enabling a secure and stable connection.
-
Insert the Headset Connector: Take the connector attached to the headset cable and gently insert it into the headset port on the controller. Ensure that the connector is aligned correctly with the port to prevent any potential damage to the components. The connector should slide in smoothly, establishing a firm connection without requiring excessive force.
-
Secure the Connection: Once the headset connector is inserted into the controller port, verify that it is securely fastened. A secure connection is essential for uninterrupted audio transmission and reliable in-game communication. Confirm that the connector is seated firmly in the port to avoid any audio disruptions during gameplay.
-
Position the Microphone: If your headset features a microphone, adjust its position to suit your preference. The flexible nature of the microphone allows for personalized positioning, ensuring optimal voice capture during in-game communication. Position the microphone in close proximity to your mouth, maintaining a comfortable distance for clear and articulate voice transmission.
-
Test the Connection: With the headset connected to the controller, perform a quick test to ensure that the audio output and microphone functionality are operational. Access the Xbox 360 audio settings to verify that the headset is recognized and set as the primary audio output device. Additionally, engage in a brief communication test to confirm that the microphone effectively captures and transmits your voice to other players.
By following these steps, you can successfully connect your Xbox 360 headset to the controller, laying the groundwork for an enriched gaming experience. With the headset seamlessly integrated with the controller, you're now poised to delve into the next phase: adjusting the headset settings on the Xbox 360.
Now that we've established a solid connection between the headset and the controller, let's proceed to the subsequent step and delve into the process of adjusting the headset settings on the Xbox 360.
Step 3: Adjusting the Headset Settings on the Xbox 360
After successfully connecting your Xbox 360 headset to the controller, it's essential to fine-tune the headset settings on the Xbox 360 console to optimize audio output and communication functionality. This step ensures that the headset is seamlessly integrated with the console, delivering an immersive and personalized audio experience tailored to your preferences. Follow these detailed instructions to adjust the headset settings effectively:
Accessing the Xbox 360 Settings Menu
Begin by powering on your Xbox 360 console and accessing the main dashboard. Navigate to the settings menu, typically located in the upper-right corner of the dashboard interface. Select the settings option to proceed to the next stage of adjusting the console's audio and communication settings.
Audio Output Configuration
Within the settings menu, locate the audio output configuration section. This is where you can specify the audio output device and customize the audio settings according to your preferences. Select the option to configure audio output and proceed to the next step.
Headset Configuration
Upon entering the audio output configuration, identify the headset settings option. This section allows you to fine-tune the headset's audio output parameters, including volume levels, microphone sensitivity, and audio balance. Adjust the settings to achieve optimal audio clarity and ensure that the microphone effectively captures your voice during in-game communication.
Testing and Calibration
After making the necessary adjustments to the headset settings, it's advisable to conduct a brief testing and calibration process. Engage in a test communication session to confirm that the microphone effectively captures your voice without distortion or background noise. Additionally, assess the audio output by playing a sample of in-game audio to ensure that the settings align with your preferences.
Save and Apply Changes
Once you are satisfied with the configured headset settings, proceed to save and apply the changes. This ensures that your customized audio and communication settings are retained for future gaming sessions, eliminating the need for frequent reconfiguration.
By meticulously adjusting the headset settings on the Xbox 360, you can tailor the audio output and communication functionality to align with your gaming preferences. This personalized approach enhances the overall gaming experience, allowing you to immerse yourself in the virtual world with enhanced audio clarity and seamless communication capabilities.
With the headset settings optimized on the Xbox 360, you're now ready to proceed to the final step: testing the headset to confirm its functionality and integration with the gaming environment.
Step 4: Testing the Headset
Testing the Xbox 360 headset is a critical phase that validates the successful integration of the audio device with the gaming environment. This pivotal step allows you to assess the functionality of the headset, ensuring that both audio output and communication capabilities are operating optimally. By conducting a comprehensive test, you can identify any potential issues and make real-time adjustments to guarantee a seamless gaming experience.
Audio Output Test
Initiate the testing process by immersing yourself in the gaming environment and assessing the audio output delivered through the headset. Engage in gameplay that encompasses a diverse range of sound elements, including ambient environmental effects, character dialogues, and in-game music. By experiencing these audio components through the headset, you can evaluate the clarity, spatial accuracy, and overall immersion provided by the audio output.
Communication Verification
Incorporate a communication test to confirm that the headset effectively captures and transmits your voice during in-game interactions. Engage in voice communication with other players or virtual teammates, ensuring that your voice is clearly conveyed without distortion or background noise. This test validates the functionality of the microphone and its ability to facilitate seamless communication within the gaming environment.
Audio Balance Assessment
Assess the audio balance and volume levels to ensure that the headset delivers a harmonious audio experience. Verify that the balance between in-game audio and voice communication is optimized, allowing for clear and distinct sound reproduction without overshadowing crucial communication cues. Fine-tune the volume levels to align with your preferences, ensuring that the audio output is immersive and well-balanced.
Environmental Noise Isolation
Evaluate the headset's ability to isolate environmental noise and external distractions, enhancing the focus on in-game audio and communication. By gauging the degree of noise isolation provided by the headset, you can ascertain its capacity to immerse you in the gaming environment while minimizing external disruptions. This feature is particularly crucial for maintaining concentration during intense gaming sessions.
Multiplayer Interaction
Engage in multiplayer interactions to validate the headset's performance in facilitating seamless communication and teamwork. Collaborate with other players, strategize, and engage in coordinated gameplay, leveraging the headset's communication capabilities to enhance teamwork and coordination. This real-world test scenario allows you to experience the headset's role in fostering effective multiplayer dynamics.
By meticulously testing the Xbox 360 headset across these crucial parameters, you can confirm its seamless integration with the gaming environment and validate its ability to elevate the overall gaming experience. This comprehensive evaluation ensures that the headset operates at peak performance, delivering immersive audio and seamless communication capabilities, thereby enhancing your gaming endeavors.
Now that the Xbox 360 headset has been successfully tested and validated, you're fully equipped to embark on your gaming adventures with confidence, knowing that the headset's audio output and communication functionalities are finely tuned to optimize your gaming experience.
Conclusion
In conclusion, the process of setting up an Xbox 360 headset encompasses a series of pivotal steps that culminate in an enriched gaming experience. By unboxing the headset, connecting it to the controller, adjusting the settings on the Xbox 360, and conducting comprehensive testing, gamers can ensure that their audio output and communication functionalities are finely tuned for optimal performance.
The unboxing phase marks the inception of the headset's journey into the gaming realm, offering a glimpse of its sleek design and ergonomic features. Familiarizing oneself with the headset's components and controls sets the stage for a seamless setup process, laying the foundation for immersive audio and effective communication.
Connecting the headset to the Xbox 360 controller is a pivotal step that establishes a direct line of audio transmission and enables in-game voice communication. By ensuring a secure and stable connection, gamers can harness the full potential of the headset's audio capabilities, setting the stage for an immersive gaming experience.
Adjusting the headset settings on the Xbox 360 console allows for personalized audio output and communication configurations, tailoring the gaming environment to align with individual preferences. Fine-tuning the audio parameters and microphone settings ensures that the headset delivers crystal-clear sound and facilitates seamless communication, enhancing the overall gaming experience.
The testing phase serves as the ultimate validation of the headset's integration with the gaming environment, allowing gamers to assess audio output, communication capabilities, environmental noise isolation, and multiplayer interactions. By conducting a comprehensive test, gamers can fine-tune the headset's performance and validate its ability to elevate the gaming experience.
In essence, the setup process for an Xbox 360 headset transcends mere technical configurations; it represents the gateway to an immersive and captivating gaming journey. By meticulously following each step, gamers can unleash the full potential of their headset, immersing themselves in a world of dynamic audio and seamless communication, thereby enhancing their gaming endeavors.
With the Xbox 360 headset seamlessly integrated into the gaming setup, gamers are poised to embark on their virtual adventures with confidence, knowing that their audio output and communication functionalities are finely tuned to optimize their gaming experience.