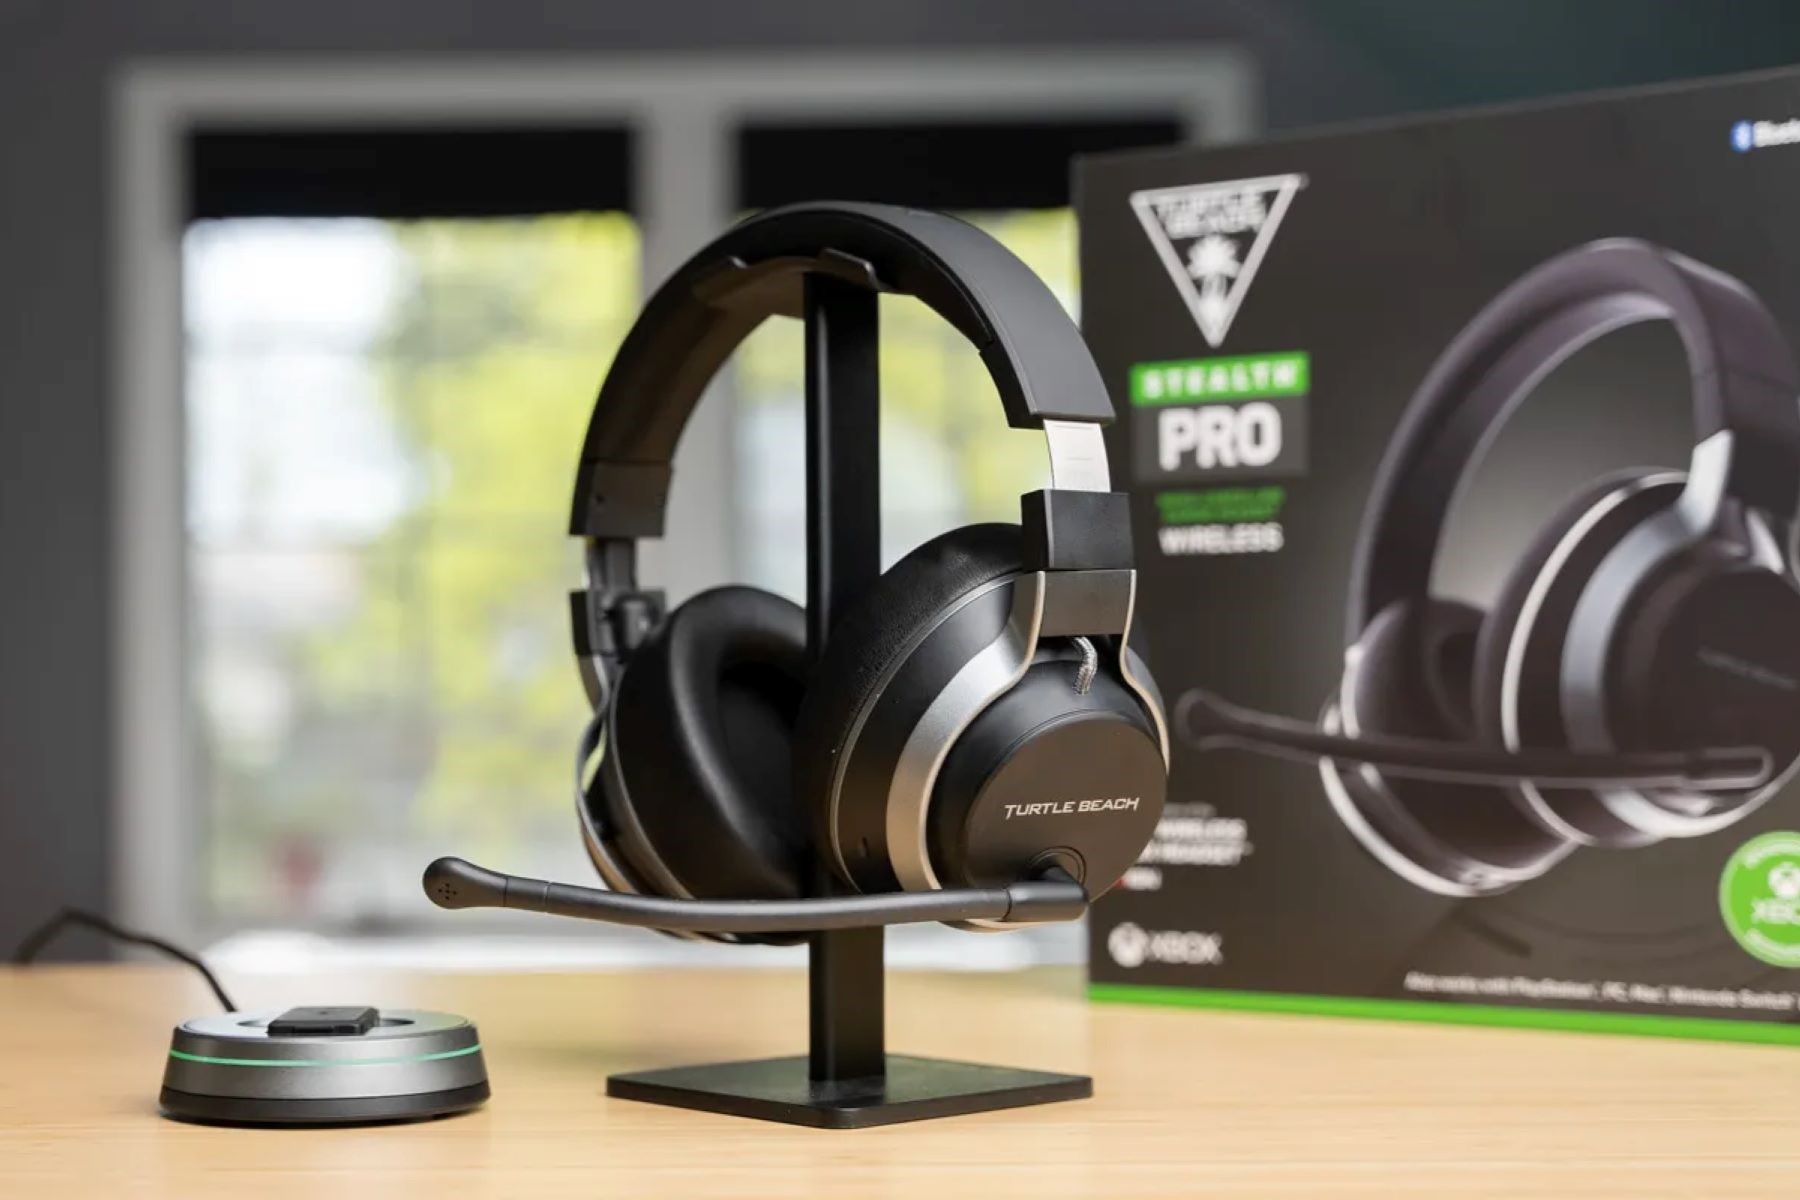
Introduction
Introduction
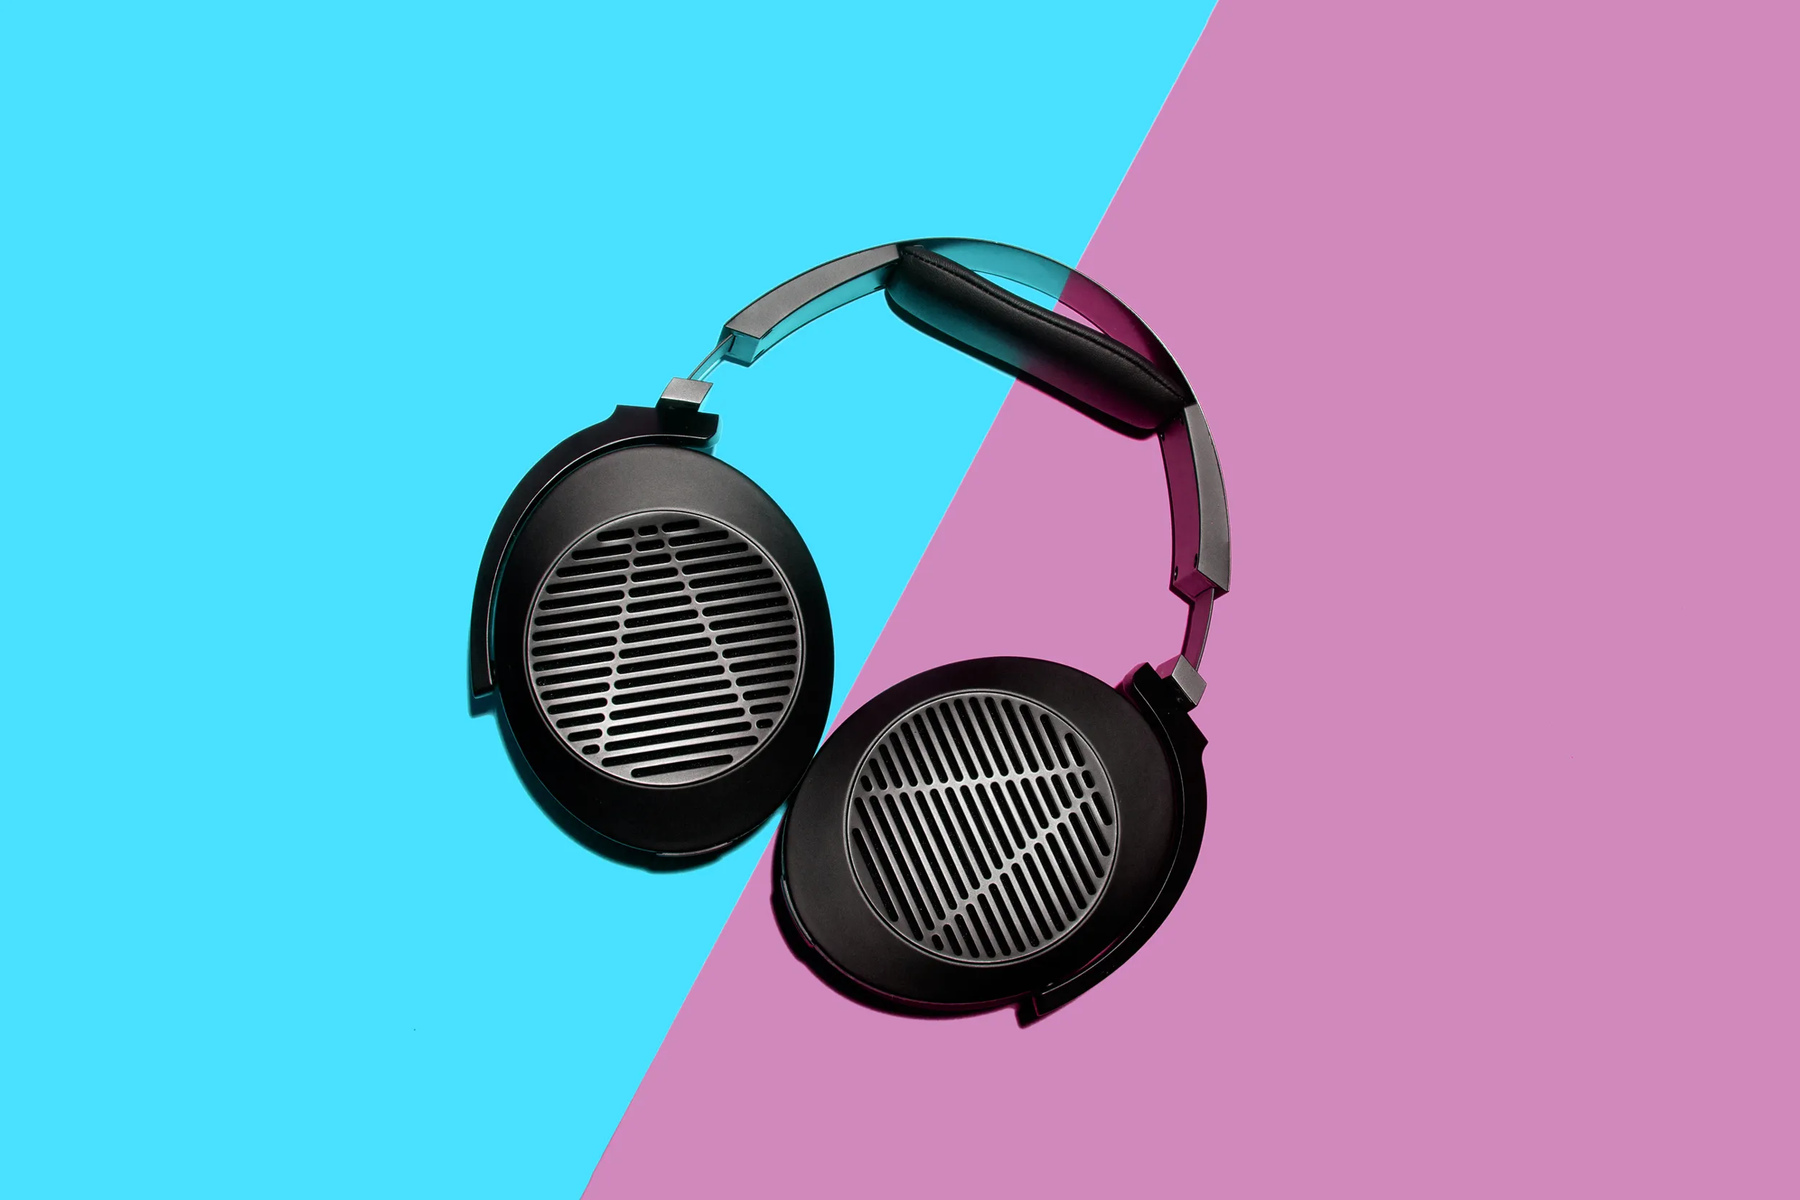
Are you experiencing issues with your gaming headset? Don't worry, troubleshooting common problems can often resolve these issues and have you back in the game in no time. Whether you're encountering sound distortion, microphone malfunctions, or connectivity problems, this guide will walk you through the necessary steps to diagnose and fix the issue.
A gaming headset is an essential piece of equipment for any gamer, providing immersive audio and clear communication with teammates. When problems arise, it can be frustrating, but with a bit of troubleshooting, many issues can be resolved without the need for professional assistance. By following the steps outlined in this guide, you can potentially save time and money, and get back to enjoying your gaming experience.
This comprehensive guide will take you through the troubleshooting process, starting with checking the connections and updating drivers, to adjusting audio settings and cleaning the headset. Additionally, we'll explore testing the headset on another device to isolate the issue and provide tips for contacting customer support if the problem persists.
So, if your gaming headset is giving you trouble, don't panic. Let's dive into the troubleshooting process and get your headset back in top-notch working condition.
Step 1: Check the connections
When encountering issues with your gaming headset, the first step is to ensure that all connections are secure and functioning properly. Loose or faulty connections can lead to sound inconsistencies, microphone problems, or complete audio failure. Follow these steps to check the connections:
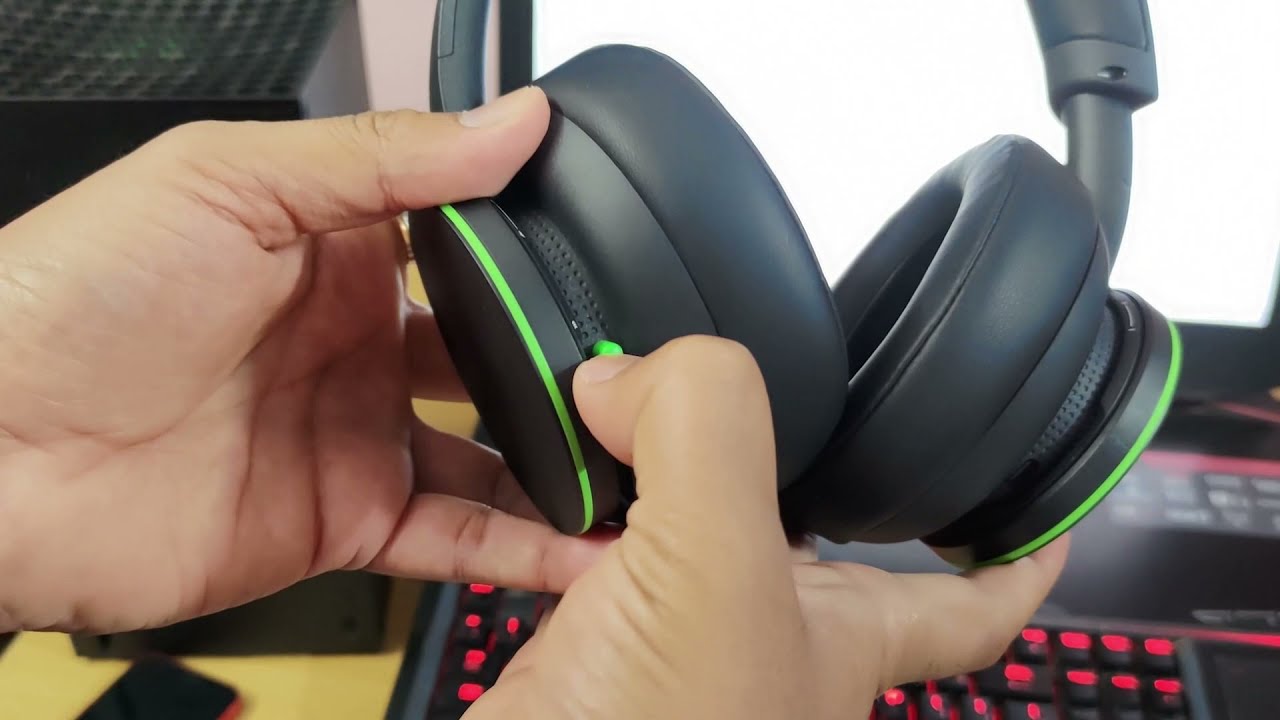
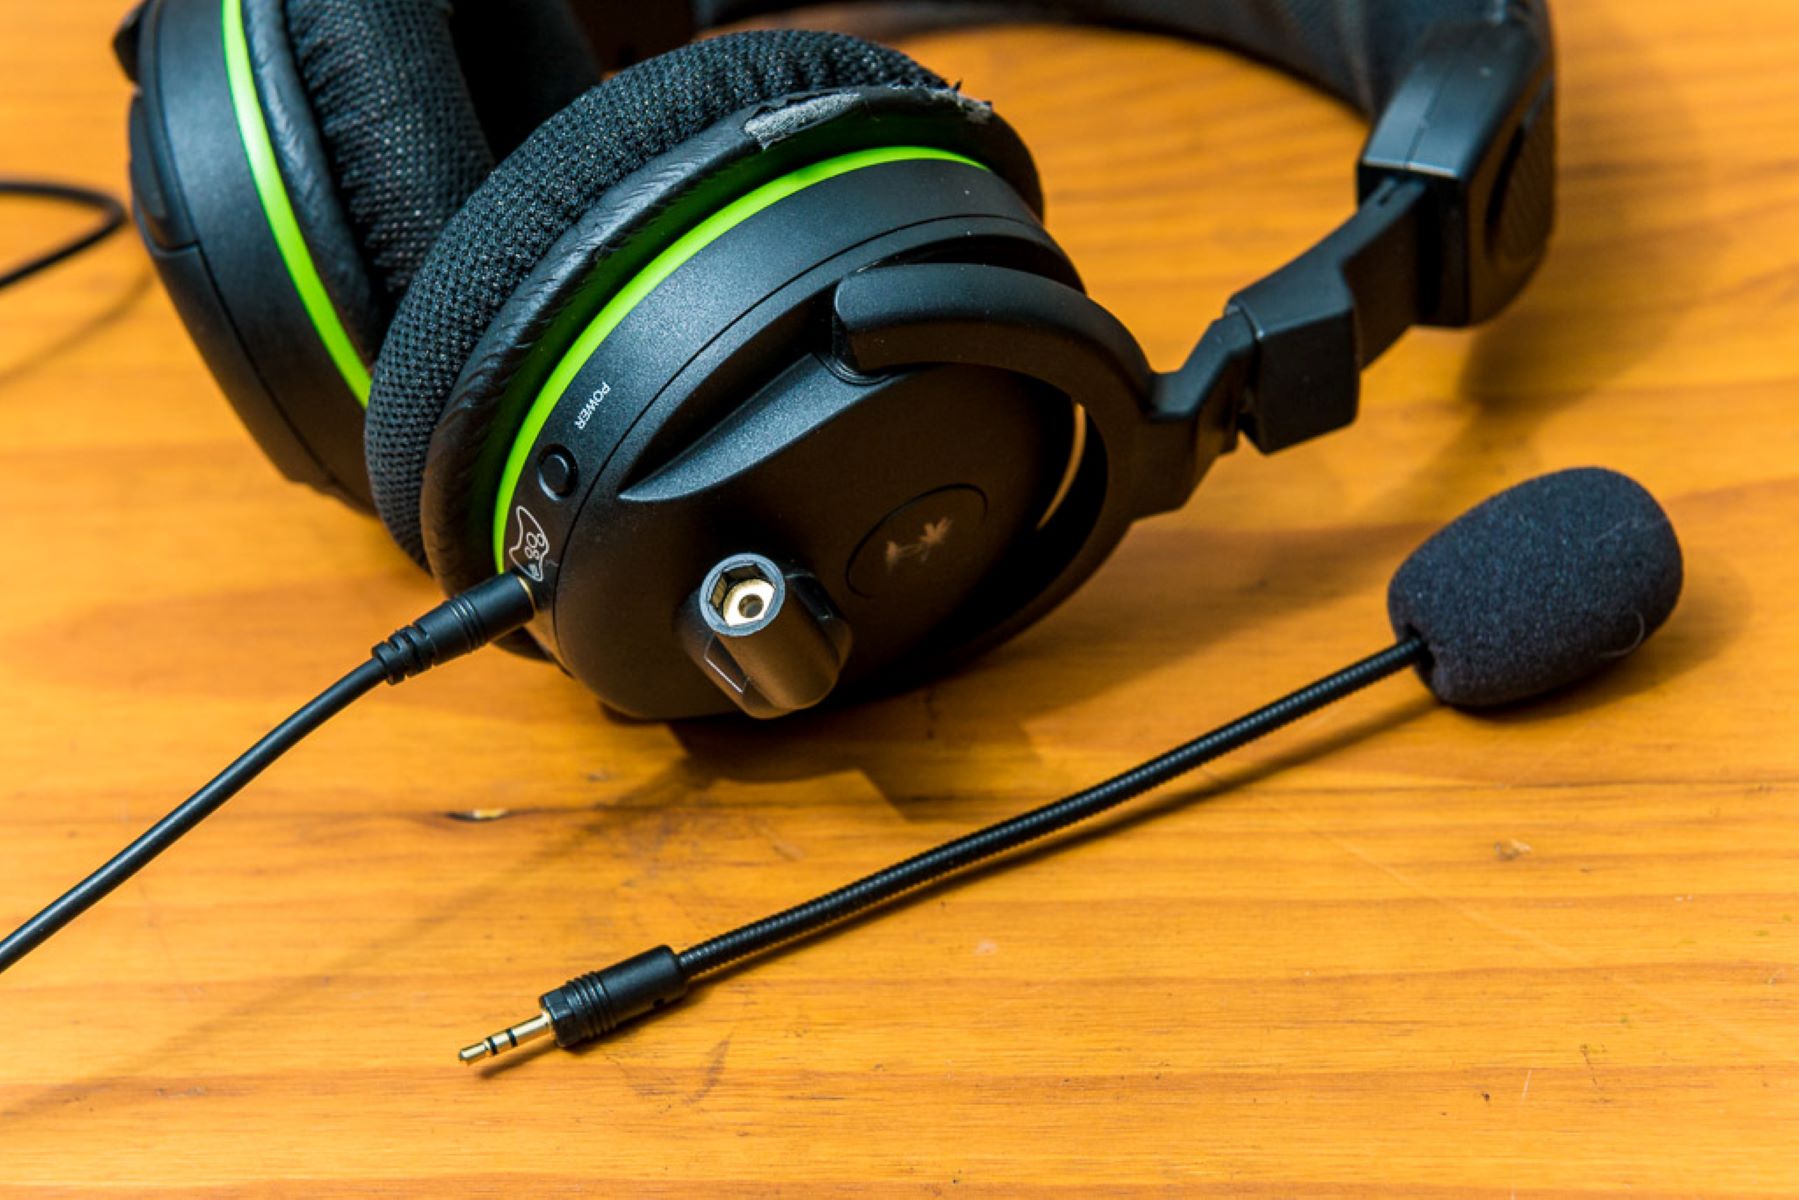
- Inspect the headset cables for any visible damage or fraying. If any issues are found, consider replacing the cables with compatible replacements provided by the manufacturer.
- Verify that the headset is correctly plugged into the audio jacks or USB ports on your computer or gaming console. Ensure a snug fit to prevent any intermittent disconnections.
- If your headset includes an external control box or adapter, examine the connections between the headset and the control box/adapter. Make sure all connections are secure and free from debris or obstructions.
After checking the physical connections, test the headset to see if the issues have been resolved. If problems persist, proceed to the next troubleshooting step. By systematically examining and addressing the connections, you can eliminate potential causes of the headset malfunction and move closer to a solution.
Step 2: Update drivers
Outdated or corrupted drivers can often lead to audio and microphone issues with gaming headsets. To ensure that your headset functions optimally, it is crucial to keep the drivers up to date. Follow these steps to update the drivers for your gaming headset:
- Identify the manufacturer and model of your gaming headset. This information can typically be found on the product packaging or on the headset itself.
- Visit the official website of the headset manufacturer and navigate to the support or downloads section.
- Locate the appropriate drivers for your specific headset model and download the latest version compatible with your operating system.
- Once the drivers are downloaded, follow the installation instructions provided by the manufacturer to update the headset drivers on your computer or gaming console.
- After the driver update is complete, restart your system and test the headset to see if the issues have been resolved.
Updating the drivers ensures that your gaming headset is equipped with the latest software enhancements and compatibility improvements. By staying current with driver updates, you can potentially resolve audio and microphone problems, and experience improved performance and stability with your headset.
Step 3: Adjust audio settings
Sometimes, issues with a gaming headset can be attributed to suboptimal audio settings on the device or software being used. Adjusting the audio settings can often rectify sound-related problems and enhance the overall audio experience. Follow these steps to make necessary adjustments to the audio settings:
- Access the audio settings on your computer or gaming console. This can usually be done through the system settings or control panel.
- Check the default audio output and input devices to ensure that the gaming headset is selected as the primary audio and microphone source.
- Adjust the volume levels and equalizer settings to optimize the audio output according to your preferences and the capabilities of the headset.
- Verify that any audio enhancement features, such as virtual surround sound or noise cancellation, are enabled if desired.
- If using third-party communication or gaming software, such as Discord or Steam, review the audio settings within the application to ensure proper configuration for the headset.
After making the necessary adjustments, test the headset to determine if the audio quality and microphone functionality have improved. By fine-tuning the audio settings, you can potentially resolve sound-related issues and maximize the performance of your gaming headset.
Step 4: Clean the headset
Over time, dust, dirt, and debris can accumulate on the surfaces of your gaming headset, leading to audio distortion, microphone muffled sounds, or discomfort during extended use. Regular cleaning and maintenance can help alleviate these issues and prolong the lifespan of your headset. Follow these steps to clean your gaming headset:
- Begin by unplugging the headset from your computer or gaming console to prevent any accidental damage during the cleaning process.
- Use a soft, dry microfiber cloth to gently wipe down the exterior surfaces of the headset, including the headband, ear cups, and microphone boom. This will help remove any surface dust or smudges without causing damage to the materials.
- If the ear pads are removable, carefully detach them from the headset according to the manufacturer’s instructions. Clean the ear pads separately using a mild soap solution and allow them to air dry completely before reattaching them to the headset.
- Inspect the headset’s audio ports and microphone grill for any debris or blockages. Use a can of compressed air to gently remove any accumulated dust or particles from these areas.
- For deeper cleaning, consider using a small brush with soft bristles to dislodge any stubborn debris from crevices and hard-to-reach areas of the headset.
Once the cleaning process is complete, allow the headset to dry thoroughly before reconnecting it to your computer or gaming console. Regularly maintaining the cleanliness of your gaming headset can contribute to improved audio quality, microphone clarity, and overall comfort during extended gaming sessions.
Step 5: Test on another device
When encountering persistent issues with your gaming headset, testing it on another device can help determine whether the problem is related to the headset itself or the original device it was connected to. Follow these steps to test your gaming headset on another device:
- Choose an alternative computer, gaming console, or audio device to test the functionality of your headset. This can help isolate the source of the problem.
- Connect the gaming headset to the alternative device using the appropriate audio jacks or USB ports. Ensure that the connections are secure and the headset is recognized by the new device.
- Play audio content and test the microphone on the alternative device to assess the performance of the headset. Pay close attention to any differences in audio quality or microphone functionality compared to the original device.
- If the headset functions properly on the alternative device, the issue may be related to the original device’s settings or hardware. If the issues persist, it is likely that the headset itself requires further attention or troubleshooting.
By testing the gaming headset on another device, you can gain valuable insights into the nature of the problem and make informed decisions about the next steps to take in resolving the issues. This step can help narrow down the potential causes of the malfunction and guide you toward an effective solution.
Step 6: Contact customer support
If you have exhausted all troubleshooting steps and are still experiencing issues with your gaming headset, reaching out to the manufacturer’s customer support can provide valuable assistance and guidance. Follow these steps to contact customer support for your gaming headset:
- Visit the official website of the headset manufacturer and navigate to the support or contact us section.
- Locate the customer support contact information, which may include options such as live chat, email support, or a dedicated support hotline.
- Prepare relevant details about your gaming headset, including the model number, purchase date, and a detailed description of the issues you are encountering.
- Initiate contact with the customer support team and provide them with the necessary information. Be prepared to follow any troubleshooting steps or recommendations provided by the support representative.
- If the headset is still under warranty, inquire about the possibility of a repair or replacement, depending on the nature of the issues.
Customer support representatives are equipped to assist with technical issues, warranty inquiries, and product troubleshooting. By engaging with customer support, you can leverage the expertise of the manufacturer’s team and potentially find a resolution to the issues you are facing with your gaming headset.