Introduction
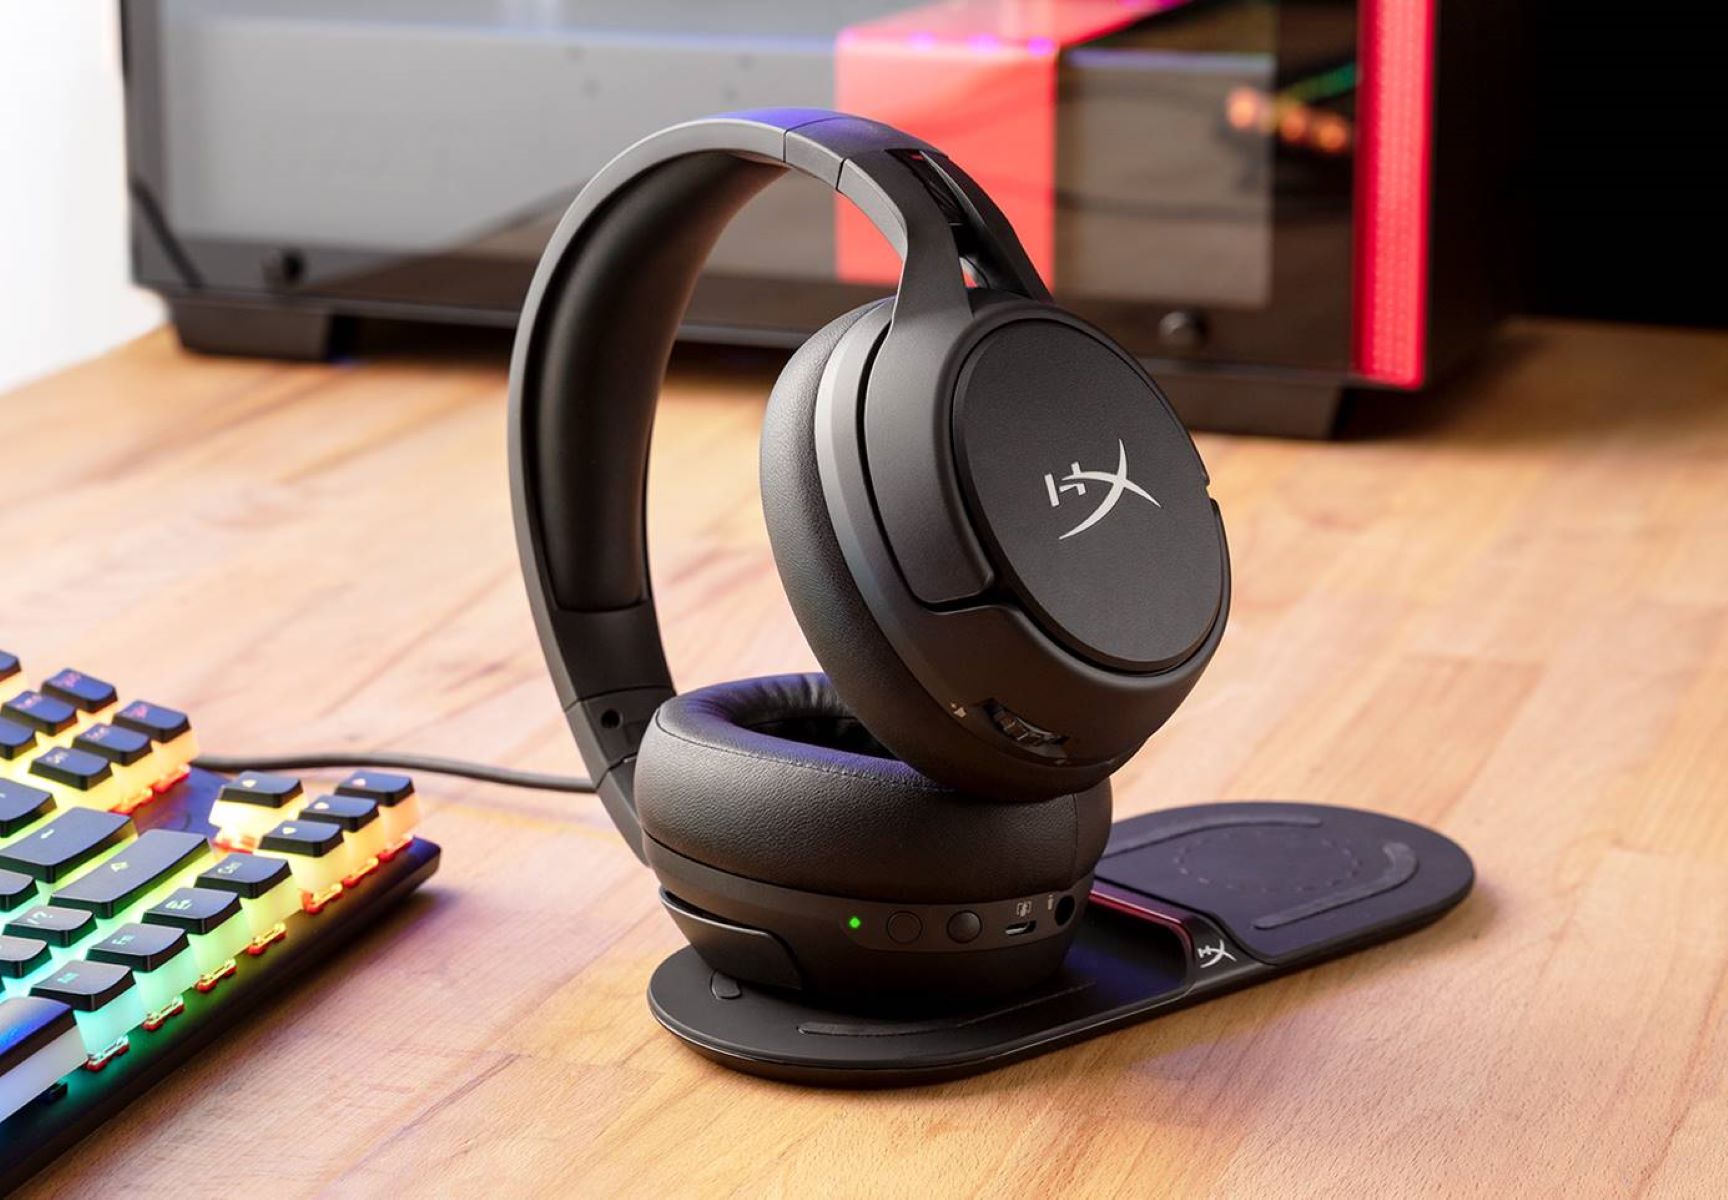
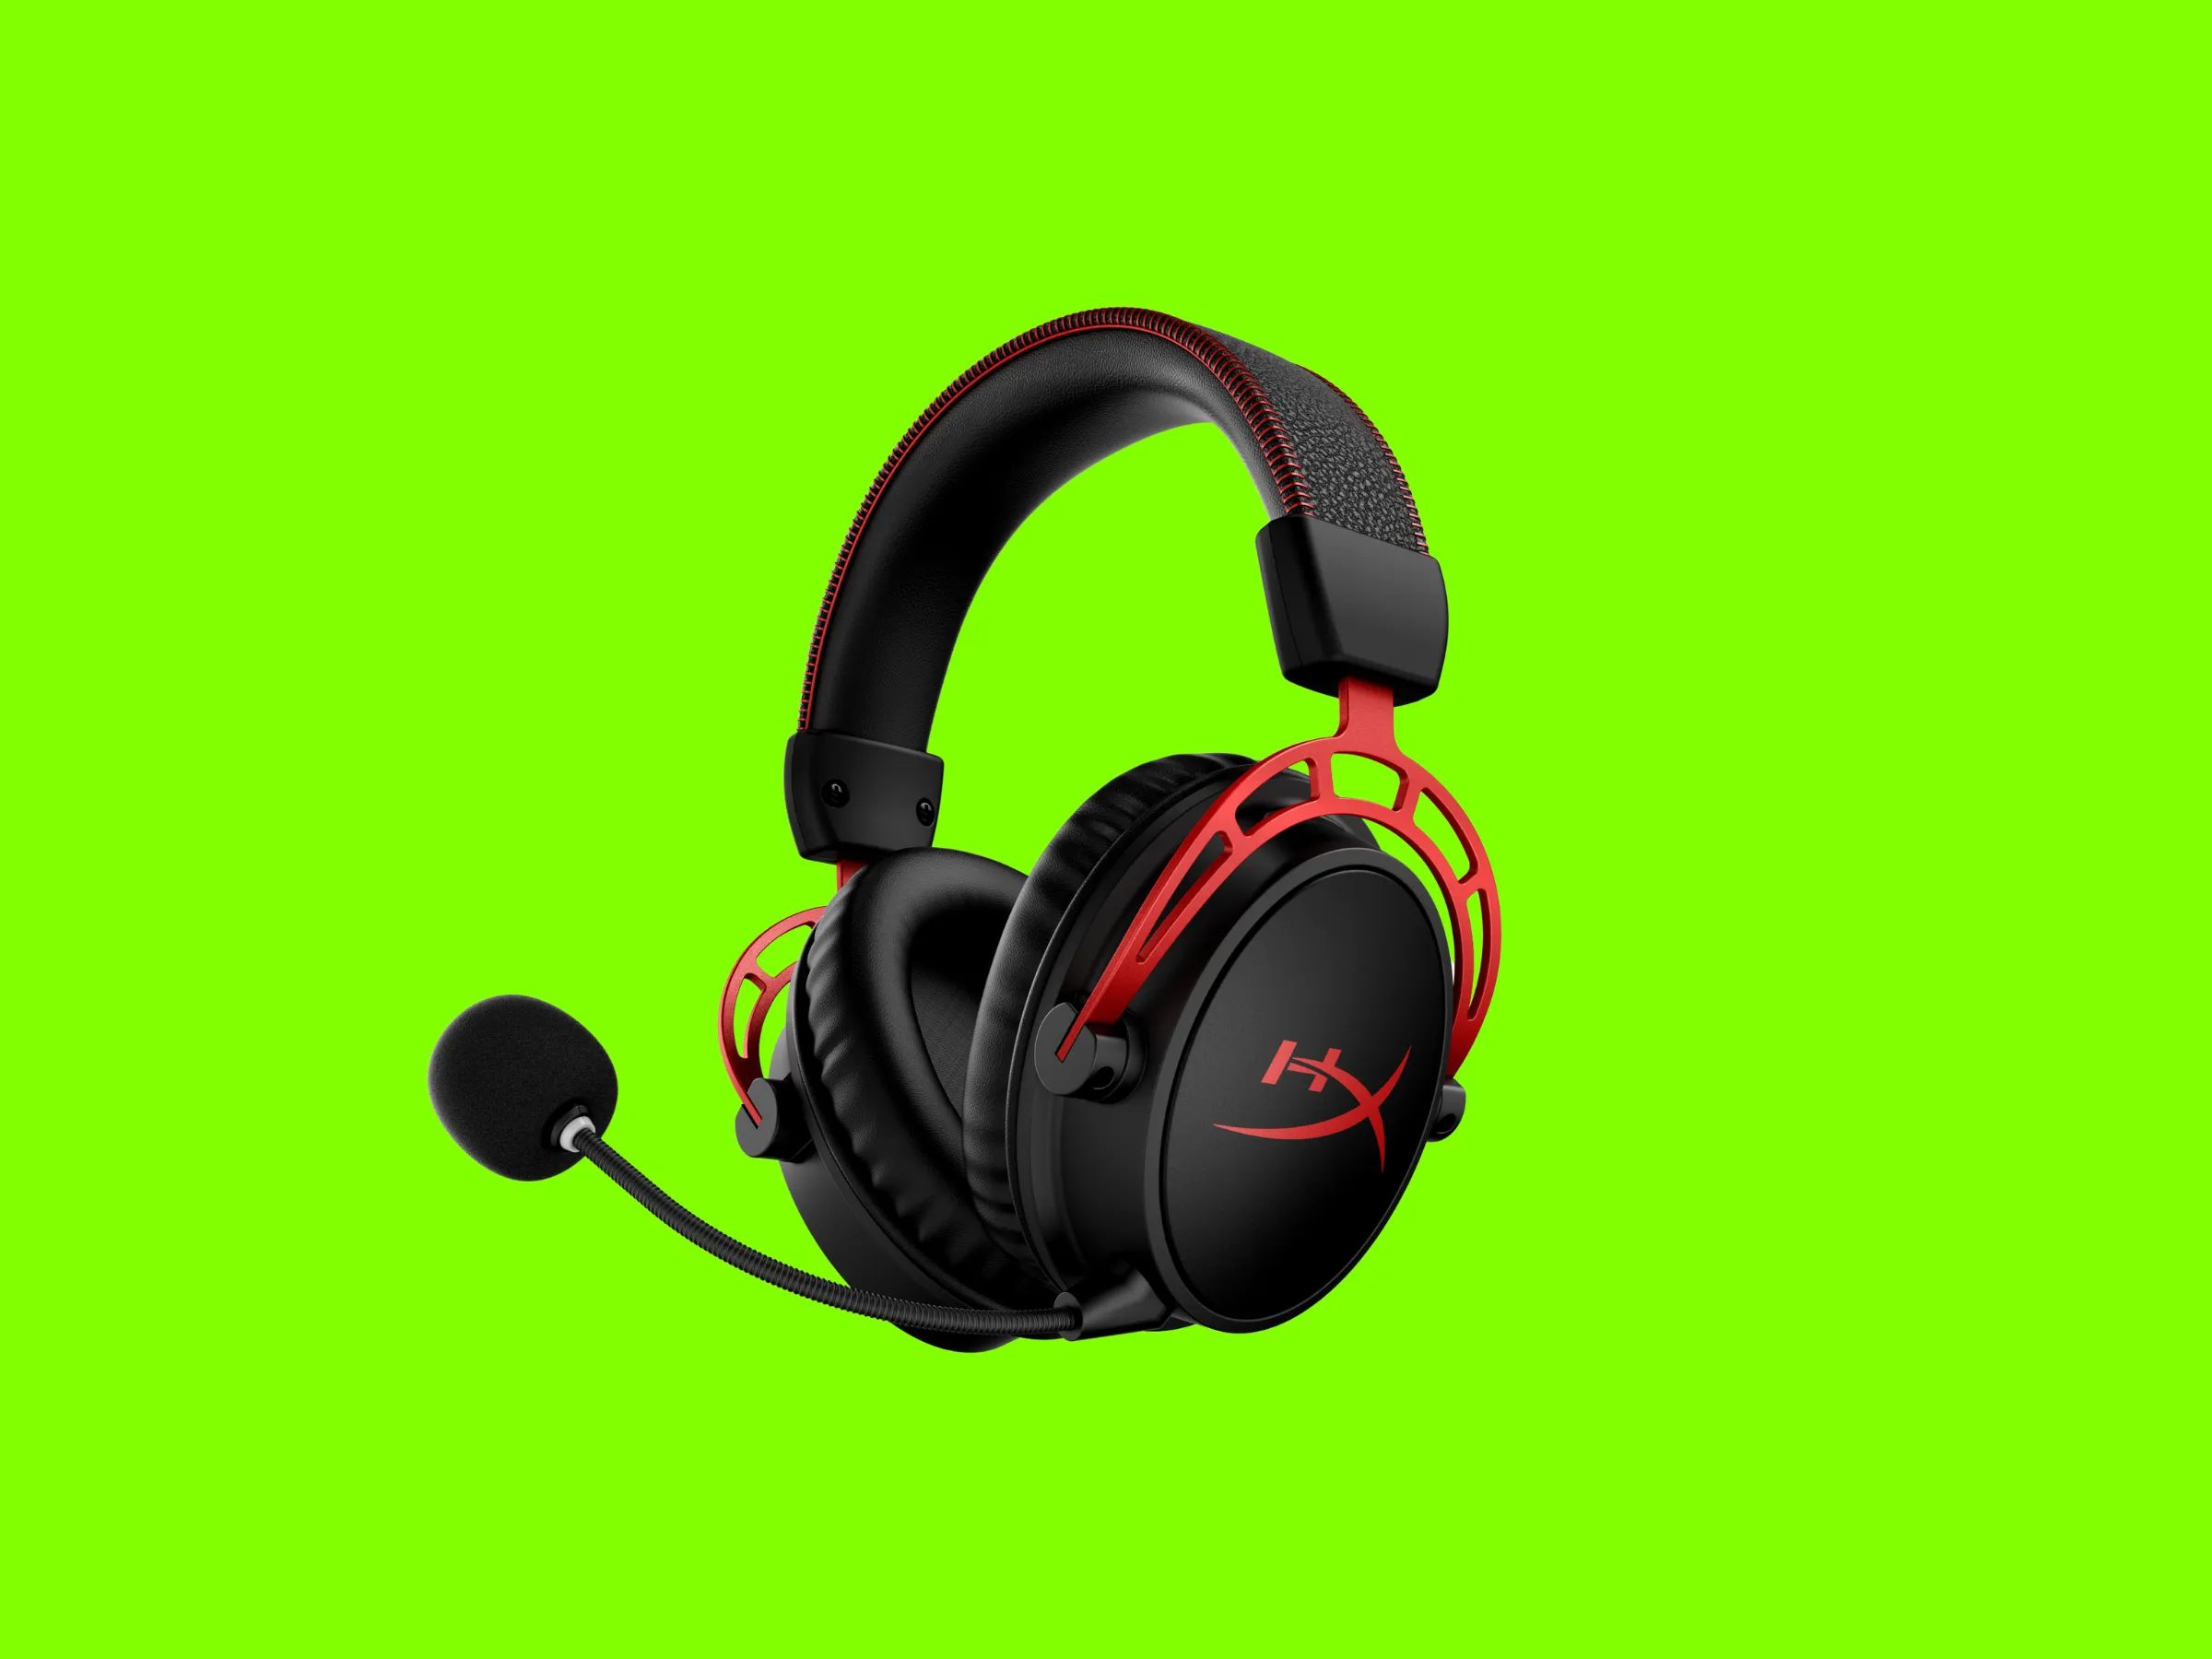
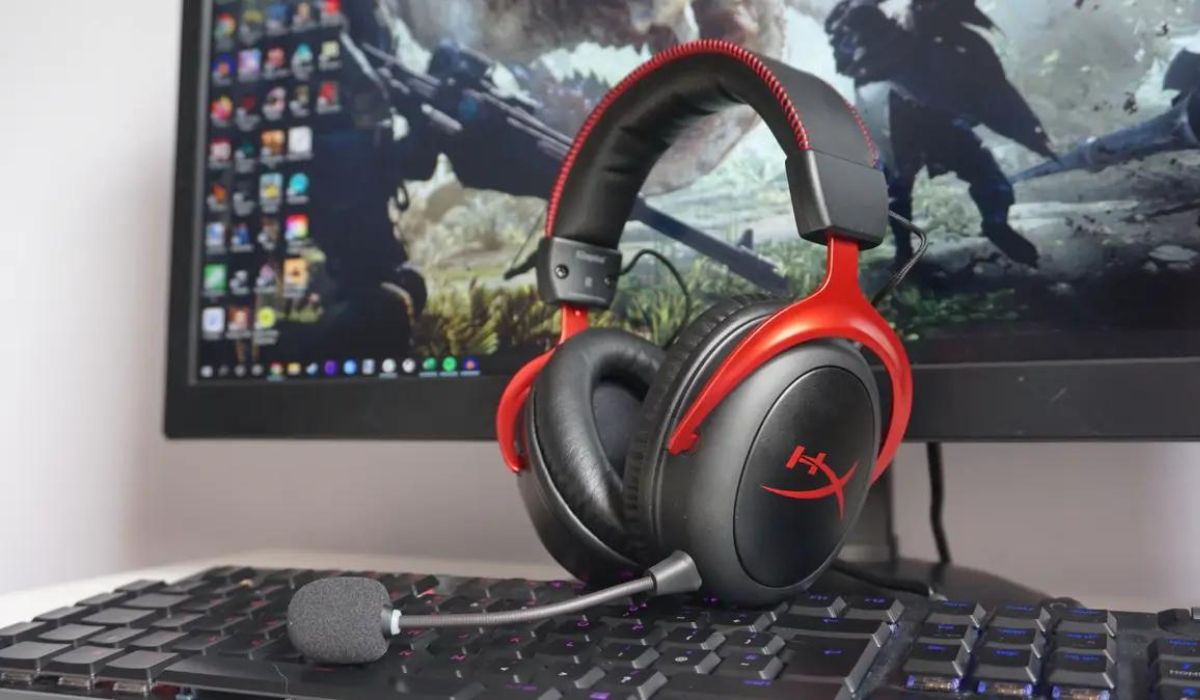
So, you've got your hands on a new HyperX Cloud Pro gaming headset and you're eager to experience its exceptional audio quality and immersive sound. But before you can dive into your favorite games or enjoy crystal-clear voice chats, you need to know how to connect this premium headset to your PC. Don't worry, we've got you covered! In this guide, we'll walk you through the simple steps to seamlessly link your HyperX Cloud Pro headset to your computer, ensuring that you can unleash its full potential without any hassle.
Whether you're a seasoned gamer or a newcomer to the world of PC gaming, understanding how to connect your gaming headset is essential for an optimal gaming and communication experience. By following these straightforward instructions, you'll be ready to immerse yourself in the captivating audio landscape of your games and communicate clearly with your teammates during intense multiplayer battles.
Now, let's embark on this journey together and unlock the full potential of your HyperX Cloud Pro gaming headset by seamlessly connecting it to your PC. With a few simple steps, you'll be ready to experience gaming audio like never before. Let's get started!
Step 1: Check Your PC’s Audio Ports
Before diving into the connection process, it’s crucial to familiarize yourself with your PC’s audio ports. Most modern PCs are equipped with multiple audio ports, each serving a specific purpose. Typically, you’ll find separate ports for audio input and output, commonly color-coded for easy identification.
Start by locating the audio ports on your PC. The audio output port, often designated by a headphone icon or labeled as “Audio Out,” is where you’ll plug in the HyperX Cloud Pro headset’s audio cable. This port is responsible for transmitting audio from your PC to the headset. Additionally, if your headset features a detachable microphone, you’ll need to identify the microphone input port on your PC, usually indicated by a microphone icon or labeled as “Mic In.”
If you’re using a desktop PC, the audio ports are typically located on the front or rear panel of the computer case. On the other hand, if you’re using a laptop, the audio ports are commonly found on the sides of the device. Take a moment to inspect these ports and ensure that you can easily access them for the subsequent steps in the connection process.
It’s worth noting that some PCs may have a single combined audio port that supports both audio output and microphone input. In such cases, you can use a splitter cable to connect the headset’s separate audio and microphone cables to the combined port. This simple accessory allows you to enjoy the full functionality of your HyperX Cloud Pro headset without any compatibility issues.
By verifying and understanding your PC’s audio ports, you’ll lay the groundwork for a seamless and successful connection with your HyperX Cloud Pro gaming headset. With this essential knowledge in hand, you’re now ready to proceed to the next step and link your headset to your PC.
Step 2: Connect the Headset to Your PC
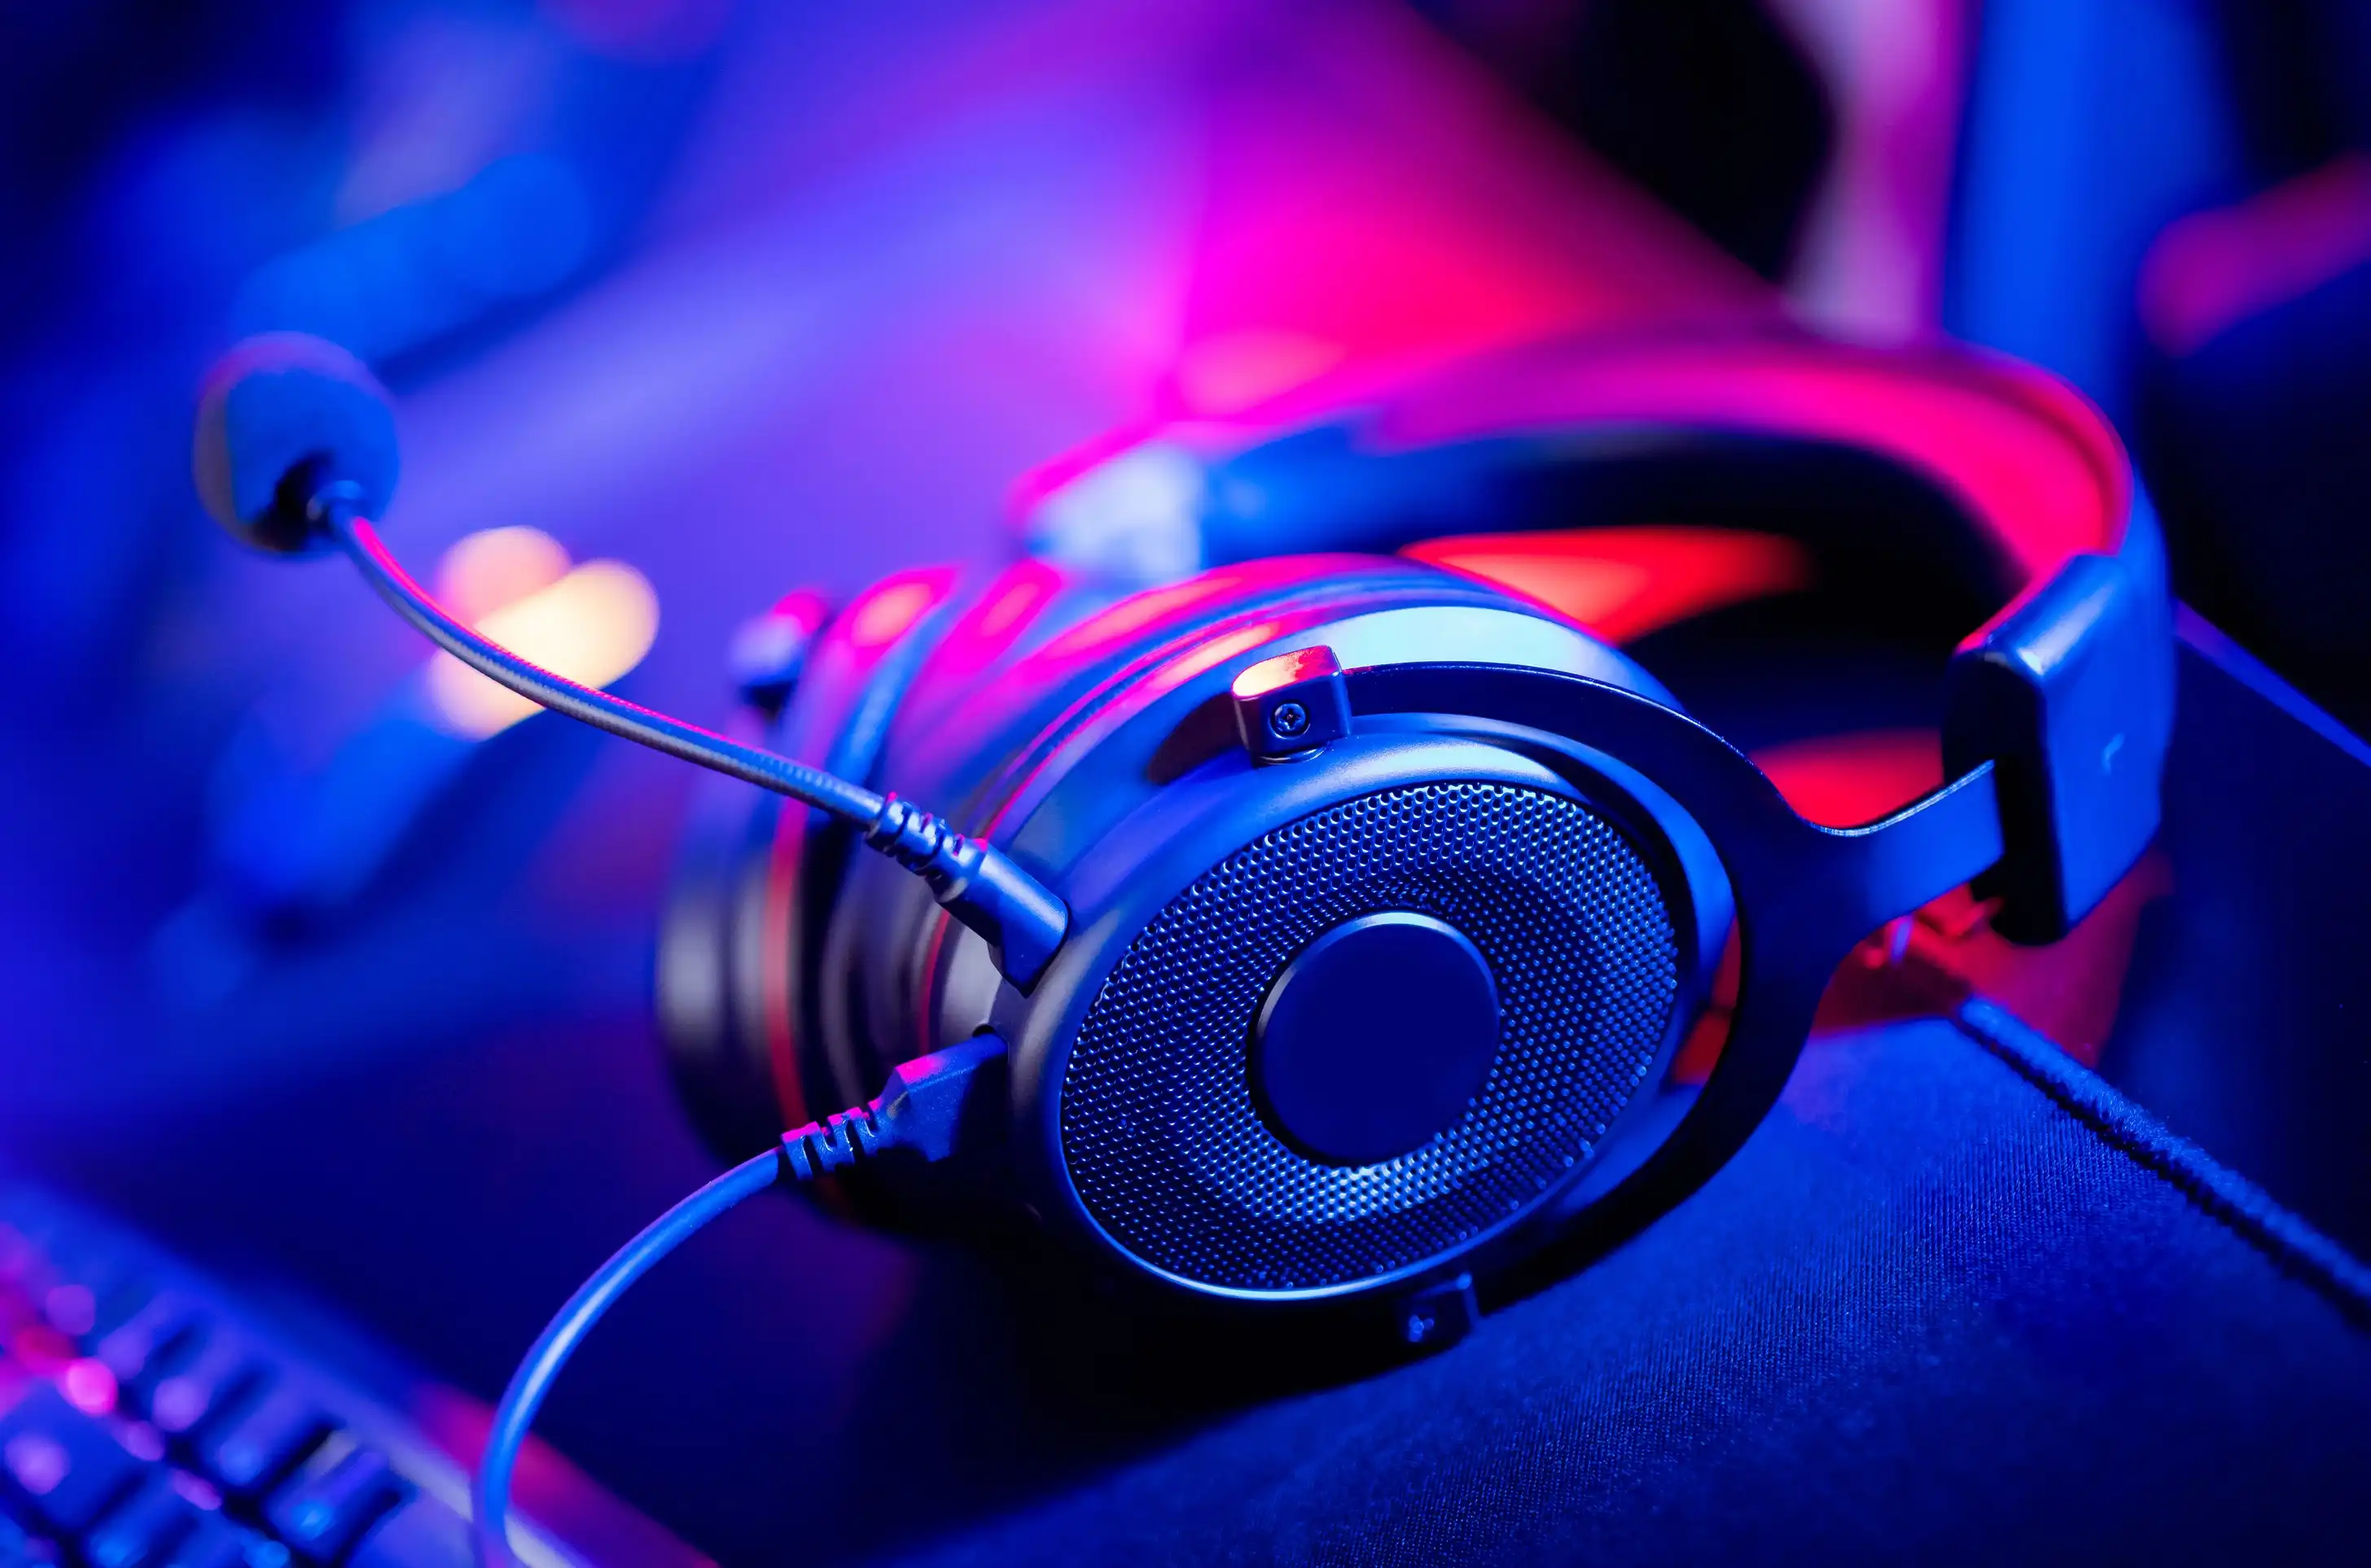
With a clear understanding of your PC’s audio ports, it’s time to connect your HyperX Cloud Pro gaming headset for an immersive audio experience. The process is straightforward and requires minimal effort, ensuring that you can swiftly establish the connection and begin enjoying the exceptional sound quality of your headset.
Start by taking the audio cable attached to your HyperX Cloud Pro headset. This cable is equipped with a 3.5mm audio jack, designed to seamlessly plug into the audio output port on your PC. Carefully align the jack with the audio output port, ensuring a secure and snug fit. Once connected, you’re one step closer to experiencing the rich, dynamic audio that the HyperX Cloud Pro headset delivers.
If your HyperX Cloud Pro headset features a detachable microphone, you’ll also need to connect it to your PC to enable clear voice communication during gaming sessions or online conversations. Locate the microphone input port on your PC and insert the microphone’s 3.5mm jack into the corresponding port. This simple step ensures that your headset’s microphone is ready to capture your voice with precision, allowing you to communicate effectively with your teammates or friends.
Upon completing these connections, take a moment to ensure that both the audio and microphone cables are securely plugged into their respective ports. A firm connection minimizes the risk of audio disruptions or microphone malfunctions during your gaming or communication activities.
With the audio and microphone cables successfully linked to your PC’s ports, you’ve effectively connected your HyperX Cloud Pro gaming headset, setting the stage for an unparalleled audio experience. The next step involves adjusting the sound settings on your PC to optimize the audio output and microphone input, further enhancing your overall gaming and communication experience.
Step 3: Adjust the Sound Settings
Now that your HyperX Cloud Pro gaming headset is physically connected to your PC, it’s essential to fine-tune the sound settings to ensure optimal audio performance and seamless communication. By adjusting the sound settings, you can maximize the potential of your headset and customize the audio output and microphone input according to your preferences.
Begin by accessing the sound settings on your PC. In Windows, you can typically find these settings by right-clicking the speaker icon in the taskbar and selecting “Open Sound settings” or “Playback devices.” This allows you to configure the audio output properties, including the volume levels and playback devices. Ensure that the HyperX Cloud Pro headset is selected as the default playback device to channel audio output through the headset.
Next, navigate to the recording devices section within the sound settings to adjust the properties of the microphone input. Here, you can select the HyperX Cloud Pro headset’s microphone as the default recording device and make adjustments to the microphone levels and enhancements. Fine-tuning these settings ensures that your voice is captured clearly and accurately during gaming sessions or online conversations.
For a more personalized audio experience, consider exploring the additional sound settings offered by your PC’s audio control panel or third-party audio software. These settings may include equalizer presets, surround sound configurations, and microphone noise reduction options. Experiment with these settings to tailor the audio output and microphone input to your liking, enhancing the overall immersion and clarity of your gaming and communication experiences.
It’s also important to ensure that the headset’s volume control and microphone mute functions are easily accessible. Familiarize yourself with the physical controls on the headset, such as volume wheels or inline remote buttons, and verify that they function as intended. This allows you to make real-time adjustments to the audio volume and microphone settings without interrupting your gaming or communication activities.
By carefully adjusting the sound settings on your PC and exploring additional audio customization options, you can harness the full potential of your HyperX Cloud Pro gaming headset, immersing yourself in high-fidelity audio and maintaining clear, uninterrupted communication with fellow gamers and friends.
Step 4: Test the Headset
After connecting and adjusting the sound settings for your HyperX Cloud Pro gaming headset, it’s crucial to conduct a thorough testing phase to ensure that the headset functions as intended and delivers the exceptional audio quality it’s renowned for. By performing a series of tests, you can verify the audio output, microphone clarity, and overall functionality of the headset, setting the stage for a seamless and immersive gaming and communication experience.
Commence the testing process by launching a game or multimedia content that showcases a diverse range of audio elements, including music, dialogue, and sound effects. As you immerse yourself in the audio landscape, pay close attention to the clarity, depth, and positional accuracy of the sound produced by the headset. Listen for subtle details in the audio and assess the overall richness and fidelity of the sound reproduction.
During this testing phase, it’s beneficial to explore different genres of games and multimedia content to gauge the headset’s versatility in handling various audio scenarios. Whether it’s the thunderous explosions in an action-packed game or the nuanced musical nuances in a cinematic experience, the headset should faithfully reproduce the audio with precision and impact.
Simultaneously, engage in voice communication with friends or teammates using the headset’s microphone. Initiate a conversation or join a multiplayer gaming session to assess the microphone’s performance in capturing your voice. Verify that your voice is transmitted clearly and intelligibly, free from distortions, background noise, or unwanted artifacts. Effective communication is essential during gaming sessions, and a reliable microphone ensures that your voice is heard with clarity and accuracy.
As you conduct these tests, take note of any anomalies or irregularities in the audio output or microphone performance. If you encounter any issues, such as audio imbalances, static noise, or microphone malfunctions, revisit the sound settings and physical connections to troubleshoot and resolve the issues effectively.
By thoroughly testing the HyperX Cloud Pro gaming headset, you can confirm its seamless integration with your PC and validate its ability to deliver an immersive and captivating audio experience. This testing phase allows you to fine-tune the headset’s settings, address any potential concerns, and ultimately embark on your gaming adventures with confidence, knowing that your audio and communication needs are well catered to by the exceptional capabilities of the HyperX Cloud Pro headset.
Conclusion
Congratulations! You’ve successfully connected and tested your HyperX Cloud Pro gaming headset, paving the way for an immersive and exhilarating audio experience on your PC. By following the simple steps outlined in this guide, you’ve harnessed the full potential of your headset and established a seamless connection that unlocks its remarkable audio capabilities.
As you embark on your gaming journeys and engage in online communication, the HyperX Cloud Pro headset stands ready to deliver exceptional audio quality, ensuring that you don’t miss a single sonic detail in your favorite games and that your voice is transmitted with clarity and precision during conversations and multiplayer interactions.
By familiarizing yourself with your PC’s audio ports, connecting the headset with ease, adjusting the sound settings to your preferences, and conducting thorough testing, you’ve demonstrated a keen understanding of the essential steps required to integrate a premium gaming headset with your PC. This newfound knowledge empowers you to optimize your gaming and communication experiences, immersing yourself in the captivating world of high-fidelity audio and seamless voice communication.
As you continue to explore the vast landscapes of gaming and connect with fellow enthusiasts, the HyperX Cloud Pro gaming headset serves as your trusted companion, faithfully delivering the nuanced audio nuances and clear voice transmission that elevate your experiences to new heights. With its exceptional performance and user-friendly integration, the headset becomes an indispensable asset in your gaming arsenal, enriching every moment with its immersive audio prowess.
So, with your HyperX Cloud Pro gaming headset seamlessly connected to your PC, it’s time to embark on unforgettable gaming adventures, communicate effectively with your peers, and revel in the symphony of sound that accompanies your virtual endeavors. Armed with your newfound knowledge and a premium gaming headset at your disposal, you’re poised to conquer new challenges and savor every auditory delight that the gaming world has to offer.