Introduction
Wearable devices have revolutionized the way we track our fitness and health, and Fitbit has been at the forefront of this technological advancement. Fitbit's sleek designs and advanced features have made it a popular choice for fitness enthusiasts and individuals striving for a healthier lifestyle. However, like all electronic devices, Fitbit's batteries eventually reach the end of their lifespan, necessitating a battery replacement. In this article, we will delve into the process of replacing the battery in your Fitbit, providing you with the knowledge and confidence to extend the lifespan of your beloved fitness tracker.
As a Fitbit user, you rely on your device to monitor your daily activity, heart rate, and sleep patterns. The seamless integration of these features into your daily routine has likely become second nature, empowering you to make informed decisions about your health and well-being. However, when your Fitbit starts showing signs of a dwindling battery life, it can be frustrating and disruptive to your fitness tracking routine. Instead of investing in a new device, understanding how to replace the battery in your Fitbit can be a cost-effective and sustainable solution.
By learning the fundamentals of battery replacement for your Fitbit, you can take control of the device's maintenance and ensure its longevity. Whether you own a Fitbit Charge, Versa, or Inspire, the process of replacing the battery shares commonalities, and with the right tools and guidance, it can be a straightforward and rewarding experience. In the following sections, we will explore the reasons why replacing the battery in your Fitbit is essential, the tools required for the replacement process, step-by-step instructions for the battery replacement, and tips for maintaining your Fitbit's battery life.
As we embark on this journey to unveil the intricacies of Fitbit battery replacement, you will gain valuable insights into maximizing the lifespan of your device and preserving its functionality. Let's dive into the world of Fitbit maintenance and empower ourselves to keep our fitness trackers running smoothly for years to come.
Why Replace the Battery in Your Fitbit?
The battery in your Fitbit is the powerhouse that fuels its impressive array of features, allowing it to seamlessly monitor your daily activities, heart rate, and sleep patterns. Over time, the battery's capacity diminishes, resulting in shorter usage times between charges. This decrease in battery life can lead to inconvenience and disruptions in tracking your fitness and health metrics, ultimately impacting the overall user experience.
By replacing the battery in your Fitbit, you can restore its ability to hold a charge for extended periods, ensuring uninterrupted usage throughout your day. This proactive approach not only saves you the cost of purchasing a new device but also contributes to reducing electronic waste, aligning with sustainable and eco-friendly practices.
Moreover, a fresh battery can reignite the performance of your Fitbit, allowing it to function optimally and provide accurate data. This is particularly crucial for individuals who rely on their Fitbit to monitor their fitness progress, as accurate and consistent data is essential for setting and achieving personal health goals.
Additionally, replacing the battery in your Fitbit presents an opportunity to prolong the lifespan of your device, preserving the investment you made in acquiring it. By maintaining your Fitbit through regular battery replacements, you can continue to enjoy its benefits and features for an extended period, without compromising on its performance.
In essence, replacing the battery in your Fitbit is a proactive measure that ensures continuous and reliable functionality, promotes sustainability by reducing electronic waste, and preserves the longevity of your beloved fitness tracker. It empowers you to take charge of the maintenance of your device, ensuring that it remains an integral part of your fitness journey for years to come.
Tools Needed for Battery Replacement
Before embarking on the battery replacement process for your Fitbit, it's essential to gather the necessary tools to ensure a smooth and efficient procedure. Here's a comprehensive list of tools you'll need:
-
Replacement Battery: The first and most crucial tool is the replacement battery compatible with your specific Fitbit model. It's imperative to acquire a high-quality replacement battery that meets the manufacturer's specifications to ensure optimal performance and longevity.
-
Precision Screwdriver Set: A precision screwdriver set with interchangeable heads is essential for accessing the internal components of your Fitbit. Most Fitbit models require small Phillips or Torx screws to be removed, making a precision screwdriver set indispensable for the battery replacement process.
-
Plastic Pry Tools: To safely open the casing of your Fitbit without causing damage, plastic pry tools or spudgers are indispensable. These non-conductive tools enable you to carefully separate the device's components without risking scratches or other forms of damage.
-
Tweezers: Fine-tipped tweezers are valuable for handling small components and delicate connectors within your Fitbit. They provide precision and control when maneuvering intricate parts during the battery replacement process.
-
Cleaning Cloth: A soft, lint-free cleaning cloth is essential for maintaining cleanliness and removing any dust or debris that may have accumulated inside the device during the battery replacement.
-
Adhesive Strips or Glue: Depending on your Fitbit model, adhesive strips or glue may be necessary to secure the new battery in place. These adhesives ensure that the battery remains firmly positioned within the device, preventing any movement or disconnection.
By ensuring that you have these essential tools at your disposal, you can proceed with confidence and precision when replacing the battery in your Fitbit. Proper tools not only facilitate a seamless battery replacement process but also contribute to the overall maintenance and longevity of your fitness tracker. With the right tools and a methodical approach, you can effectively extend the lifespan of your Fitbit and continue enjoying its full range of features and functionalities.
Steps to Replace the Battery in Your Fitbit
-
Prepare a Clean Workspace: Find a well-lit and clutter-free area to work on your Fitbit. Lay down a soft cloth to protect the device and ensure that all the necessary tools are within reach.
-
Power Off Your Fitbit: Before beginning the battery replacement process, power off your Fitbit to prevent any potential damage or data loss.
-
Remove the Screws: Using the appropriate precision screwdriver from your set, carefully remove the small screws securing the back cover of your Fitbit. Place the screws in a secure location to prevent misplacement.
-
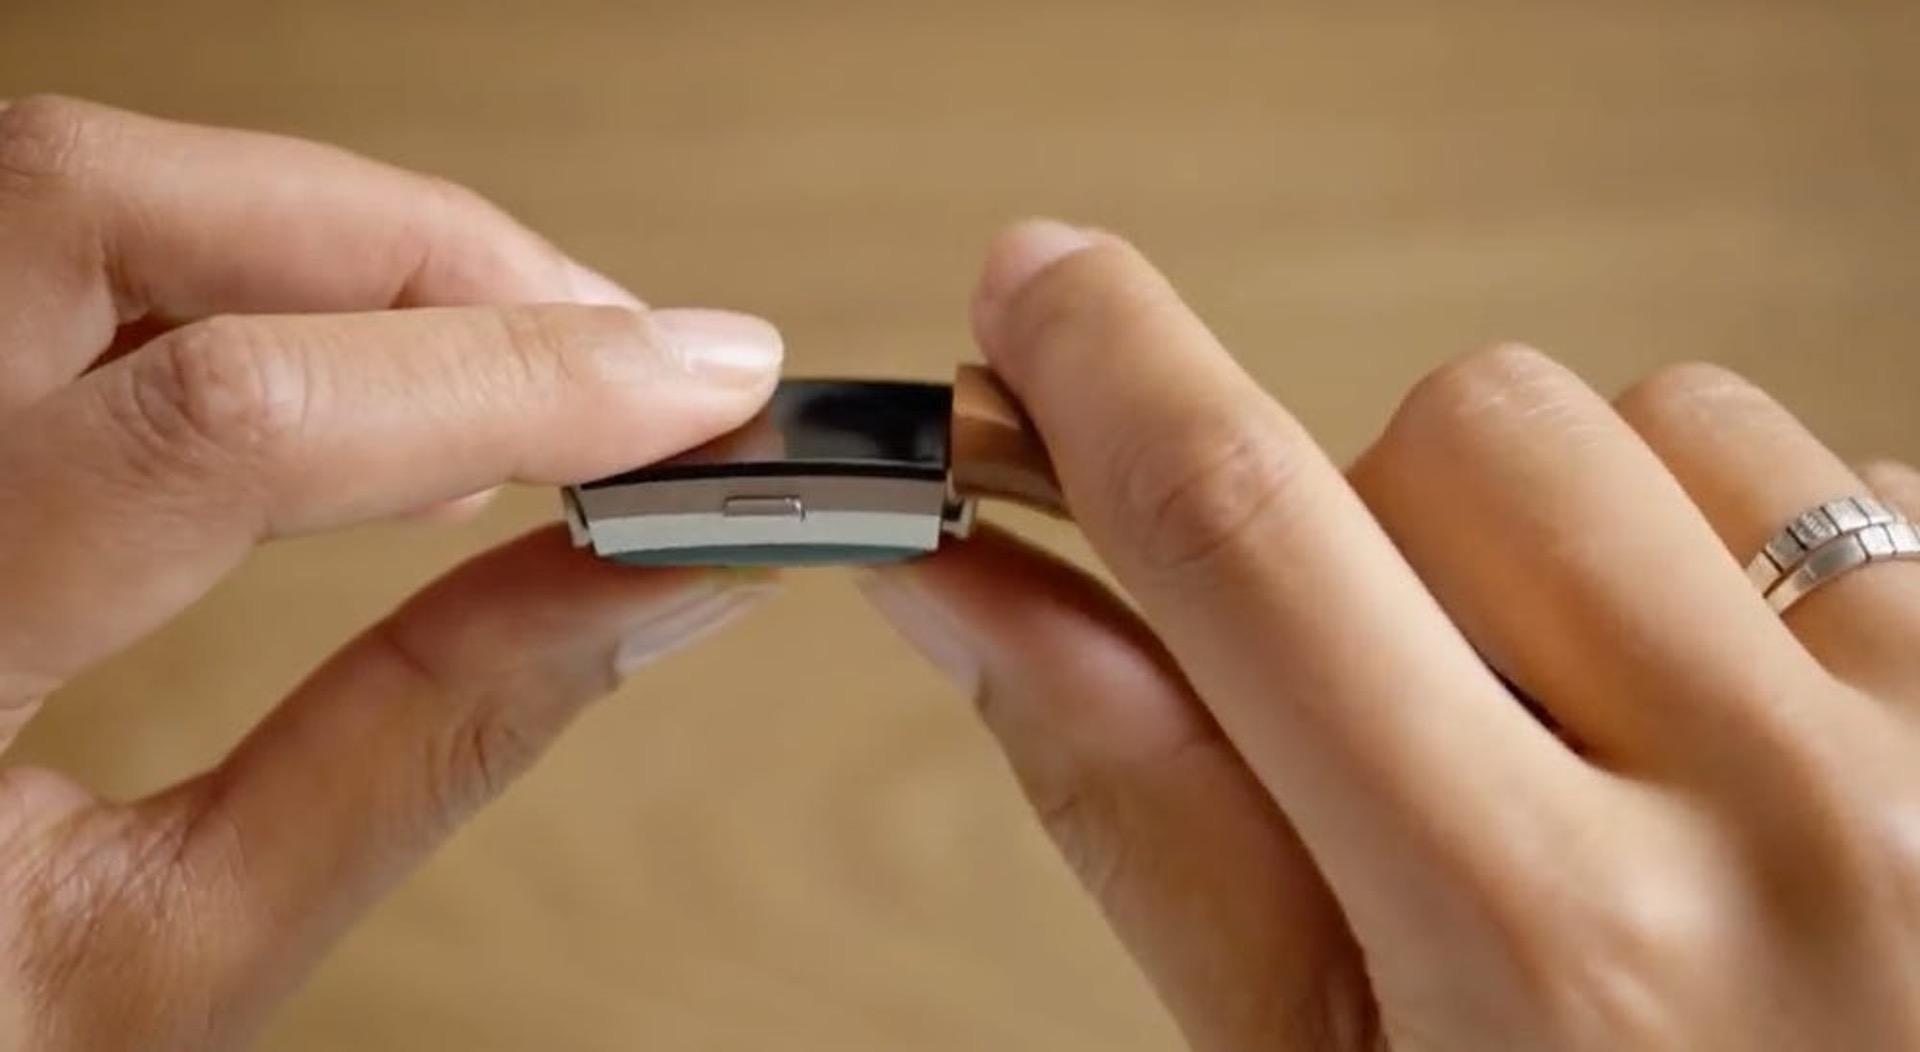
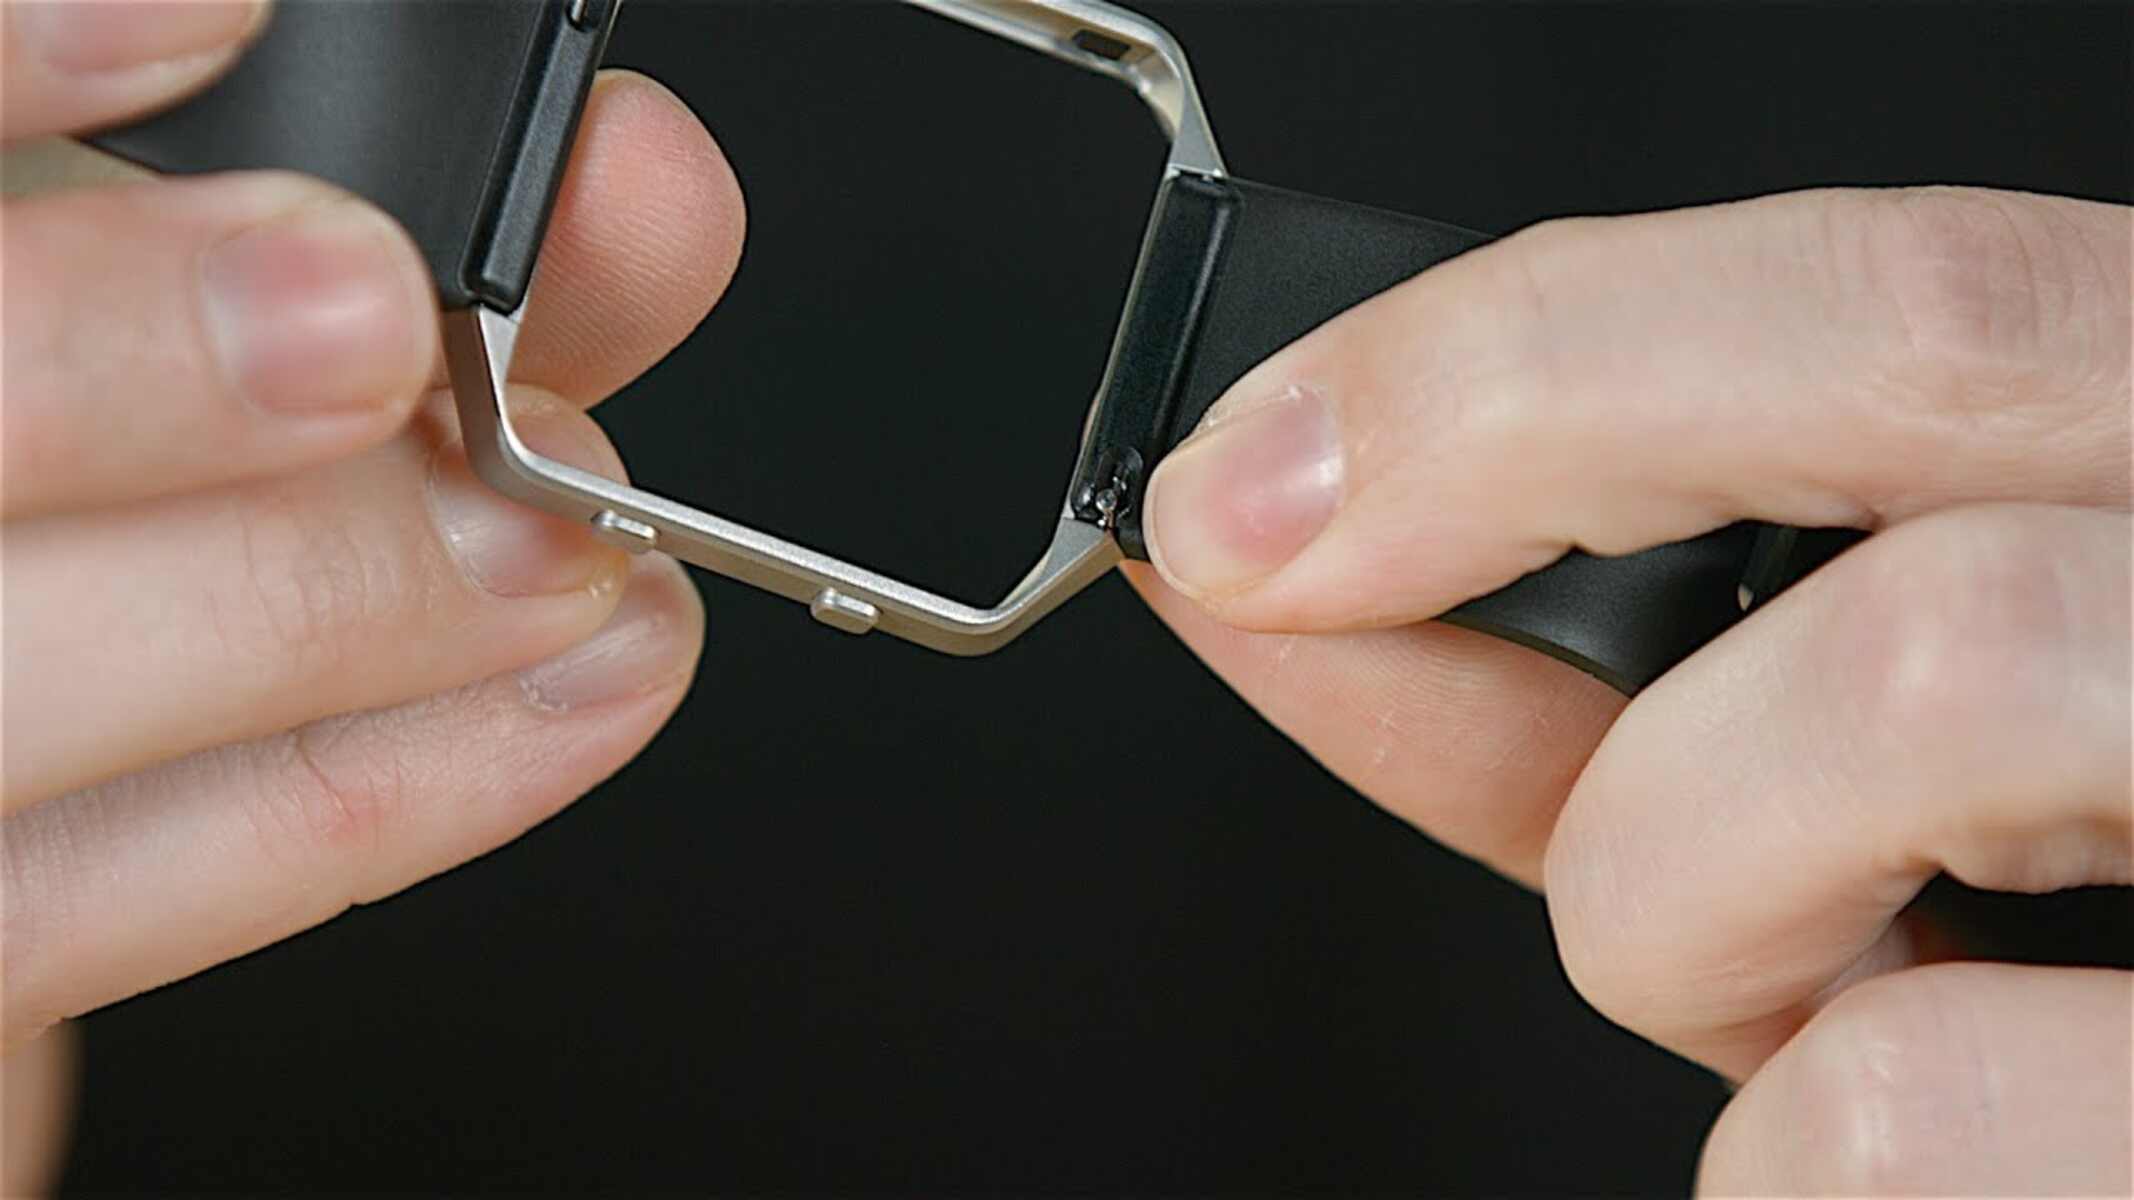
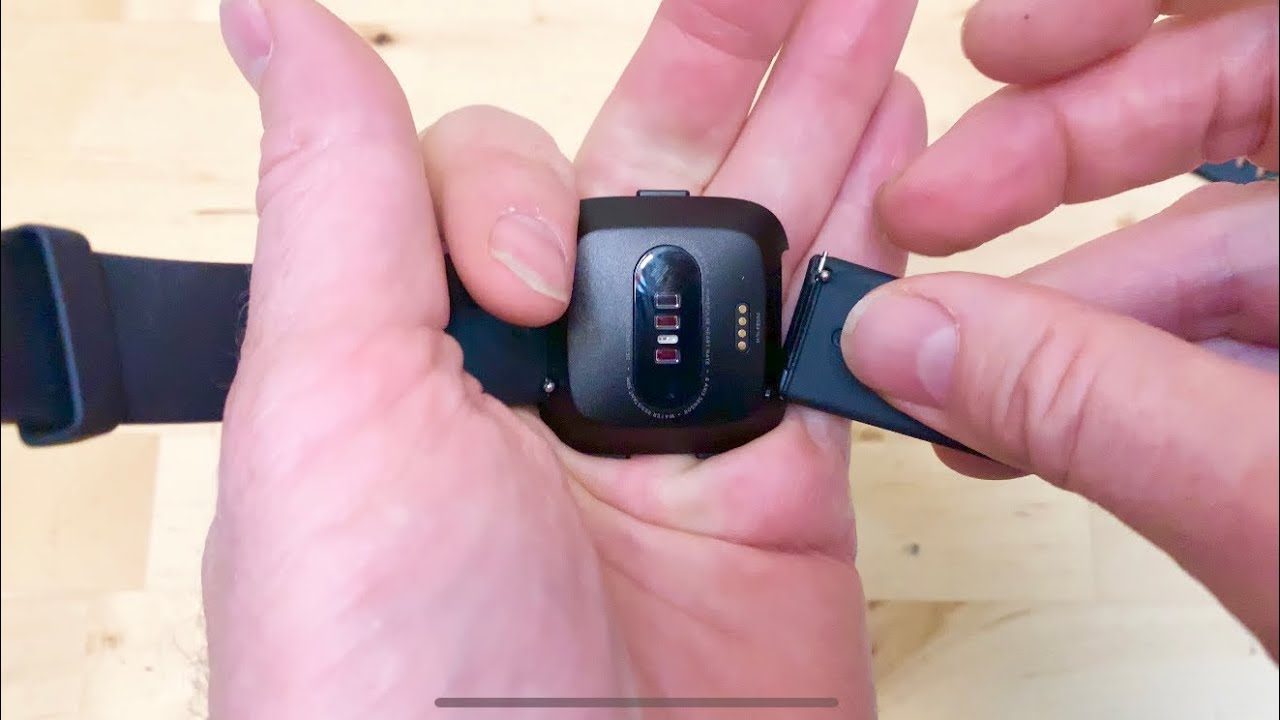
Open the Casing: Gently use the plastic pry tools to open the casing of your Fitbit. Take your time and apply even pressure to avoid damaging the casing or internal components.
-
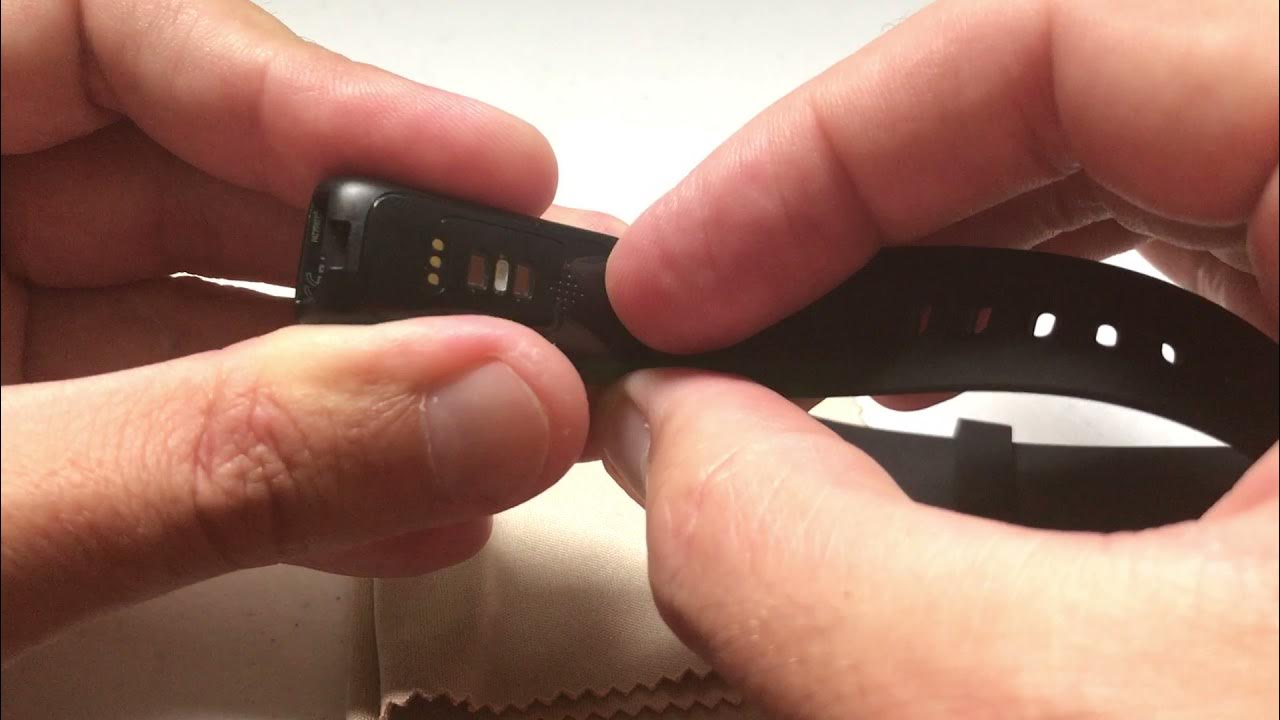
Disconnect the Old Battery: Once the casing is open, locate the old battery and carefully disconnect it from the Fitbit's internal connectors. Use the tweezers if necessary to delicately detach the battery.
-
Install the New Battery: Take the replacement battery and connect it to the designated internal connectors within your Fitbit. Ensure that the battery is securely in place and aligned correctly with the device's configuration.
-
Secure the Casing: If adhesive strips or glue are required for your specific Fitbit model, carefully apply them to secure the new battery in place. Gently close the casing, ensuring that it snaps into position securely.
-
Reattach the Screws: Using the precision screwdriver, reattach the small screws to secure the back cover of your Fitbit. Double-check that all screws are tightened appropriately to maintain the device's integrity.
-
Power On and Test: Power on your Fitbit to ensure that the new battery is functioning correctly. Verify that the device powers up and displays the expected information on the screen.
-
Clean and Inspect: Use the cleaning cloth to gently wipe the exterior of your Fitbit, removing any fingerprints or smudges. Inspect the device to ensure that all components are securely in place and that there are no loose parts.
By following these step-by-step instructions, you can successfully replace the battery in your Fitbit, revitalizing its performance and extending its lifespan. This proactive maintenance approach empowers you to keep your Fitbit in optimal working condition, ensuring that it continues to support your fitness and health tracking needs effectively.
Tips for Maintaining Your Fitbit's Battery Life
Ensuring the longevity of your Fitbit's battery is essential for uninterrupted usage and optimal performance. By implementing these practical tips, you can maximize the battery life of your device and minimize the frequency of battery replacements.
1. Regular Charging Routine
Establishing a consistent charging routine for your Fitbit can significantly contribute to prolonging its battery life. Avoid letting the battery drain completely before recharging, as this can strain the battery and reduce its overall capacity over time. Instead, aim to charge your Fitbit when it reaches approximately 20-30% battery level to maintain its health and longevity.
2. Enable Battery-Saving Features
Many Fitbit models offer battery-saving features that can be activated to optimize power consumption. Explore the settings of your Fitbit to enable features such as 'Battery Saver Mode' or 'Sleep Mode' when not actively using the device. These modes help conserve battery power during periods of inactivity, extending the time between charges.
3. Update Firmware Regularly
Keeping your Fitbit's firmware up to date is crucial for optimizing battery performance. Firmware updates often include enhancements to power management and efficiency, addressing any battery-related issues and improving overall battery life. Ensure that your Fitbit is running the latest firmware version to benefit from these optimizations.
4. Manage Notifications and Connectivity
Adjusting the notification settings on your Fitbit to minimize unnecessary alerts and vibrations can contribute to conserving battery power. Similarly, managing the device's connectivity features, such as Bluetooth and GPS, can help reduce power consumption. Consider disabling these features when not in use to extend the battery life of your Fitbit.
5. Temperature and Environmental Considerations
Extreme temperatures can impact the performance and longevity of your Fitbit's battery. Avoid exposing your device to excessively high or low temperatures, as these conditions can degrade the battery's capacity. Additionally, storing your Fitbit in a cool, dry place when not in use can help maintain its battery health over time.
6. Proper Maintenance and Care
Regularly cleaning the charging contacts and the exterior of your Fitbit can ensure optimal charging efficiency, preventing any potential issues that may arise from dirt or debris accumulation. Additionally, storing your Fitbit in a protective case when not in use can safeguard it from physical damage, preserving its battery and overall functionality.
By incorporating these tips into your Fitbit maintenance routine, you can effectively prolong the battery life of your device, reducing the frequency of battery replacements and ensuring consistent performance. Taking proactive measures to maintain your Fitbit's battery health not only benefits your device but also enhances your overall fitness tracking experience, allowing you to focus on achieving your health and wellness goals without interruptions.
Conclusion
In conclusion, the process of replacing the battery in your Fitbit is a valuable skill that empowers you to extend the lifespan of your fitness tracker, ensuring uninterrupted usage and optimal performance. By understanding the significance of battery replacement and equipping yourself with the necessary tools and knowledge, you can take proactive measures to maintain your Fitbit and minimize electronic waste.
The decision to replace the battery in your Fitbit aligns with sustainable practices, contributing to the reduction of electronic waste by prolonging the usability of your device. Instead of discarding a perfectly functional Fitbit due to a depleted battery, the option to replace the battery presents a cost-effective and environmentally conscious solution. This approach not only benefits your individual device but also contributes to the larger goal of promoting sustainability and responsible consumption.
Furthermore, the ability to replace the battery in your Fitbit grants you greater control over the maintenance and longevity of your device. It allows you to preserve your investment in a high-quality fitness tracker, ensuring that it continues to support your fitness and health tracking needs effectively. By taking ownership of the maintenance process, you can extend the lifespan of your Fitbit, reducing the frequency of replacements and maximizing its value over time.
Moreover, the insights gained from this article provide a comprehensive understanding of the tools and steps involved in the battery replacement process, empowering you to undertake the maintenance with confidence and precision. The detailed instructions and practical tips for maintaining your Fitbit's battery life equip you with the knowledge to optimize the performance and efficiency of your device, enhancing your overall fitness tracking experience.
In essence, the journey of replacing the battery in your Fitbit transcends a mere technical task; it embodies a commitment to sustainability, responsible ownership, and proactive maintenance. By embracing the process of battery replacement and implementing best practices for battery care, you can ensure that your Fitbit remains an invaluable companion in your pursuit of a healthier and more active lifestyle.
As you embark on this journey of Fitbit maintenance and battery replacement, may your device continue to empower and inspire you, capturing every step, heartbeat, and achievement along the way. With the knowledge and tools at your disposal, you are poised to extend the lifespan of your Fitbit and embark on a seamless and uninterrupted fitness tracking experience for years to come.