Introduction
Welcome to the world of smart speakers! The Avgo Smart Speaker with Alexa is a powerful device that combines cutting-edge technology with the convenience of voice control. With Alexa, the virtual assistant developed by Amazon, you can access a wide range of features and services simply by speaking commands.
Whether you’re a tech-savvy individual or new to smart devices, setting up the Avgo Smart Speaker with Alexa is a straightforward process that can be completed in just a few steps. This guide will walk you through each step, ensuring that you have your smart speaker up and running in no time.
Before we dive into the setup process, it’s worth mentioning some of the incredible capabilities of the Avgo Smart Speaker. With Alexa, you can check the weather, stream your favorite music, control smart home devices, set reminders and alarms, answer questions, and much more, all through simple voice commands.
So, without further ado, let’s get started with the setup process and unlock the full potential of your Avgo Smart Speaker with Alexa!
Step 1: Unboxing the Avgo Smart Speaker
Congratulations on your new Avgo Smart Speaker with Alexa! The first step is to carefully unbox the device and familiarize yourself with its components. Let’s walk through the process together:
- Start by locating the box that contains the Avgo Smart Speaker. Remove any packaging materials and set them aside.
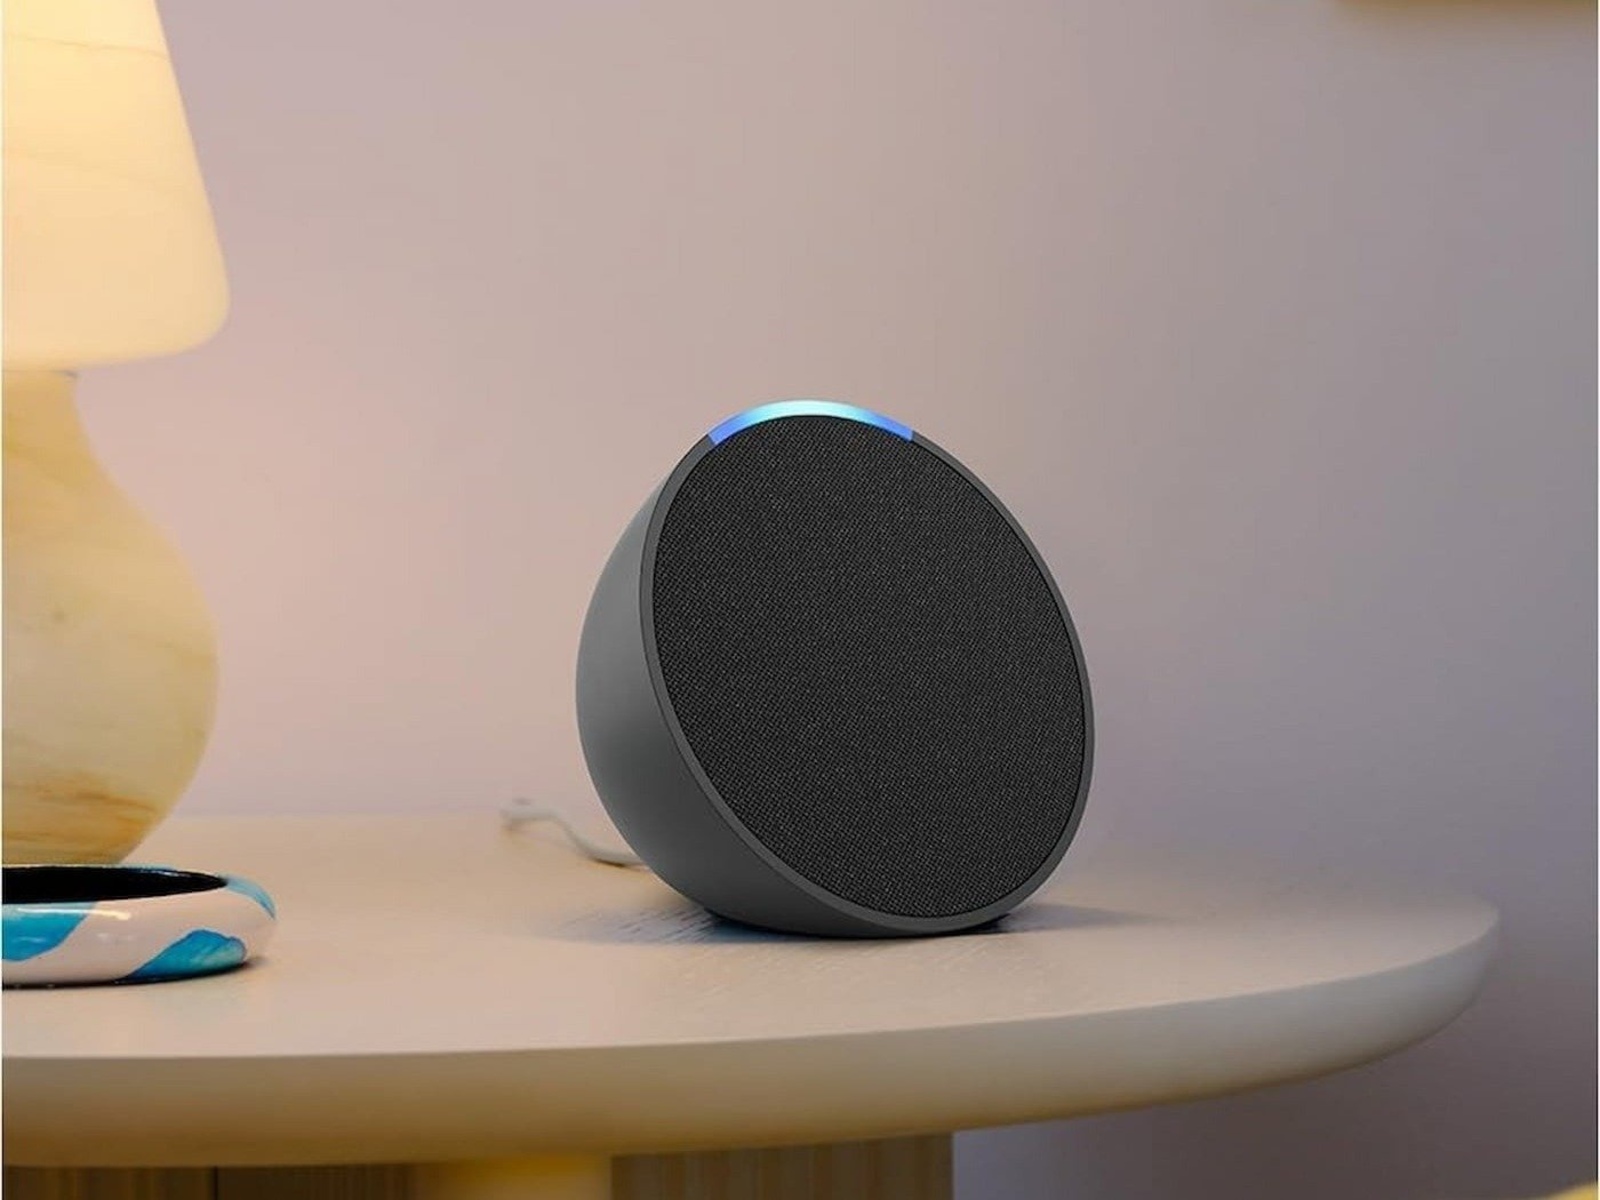
- Gently lift the speaker out of the box and place it on a flat surface. Take a moment to appreciate its sleek design and compact size.
- Inside the box, you will find additional items such as the power adapter, a user manual, and any necessary cables. Make sure to remove these items as well.
- Inspect the power adapter and confirm that it is the appropriate one for your region. If needed, use a suitable power plug adapter to ensure compatibility.
- Take a moment to read through the user manual, which provides important information about the device’s features, setup process, and troubleshooting tips.
- Now that you have unboxed the Avgo Smart Speaker and familiarized yourself with its contents, you’re ready to move on to the next step and connect the device to power.
Unboxing a new device is always an exciting experience, and the Avgo Smart Speaker is no exception. By following these simple steps, you have set the stage for a seamless setup process. Let’s move on to the next step and get your speaker powered up!
Step 2: Connecting the Avgo Smart Speaker to Power
Now that you have unboxed your Avgo Smart Speaker, it’s time to connect it to a power source. Follow these steps to ensure a proper power connection:
- Locate the power adapter that came with your Avgo Smart Speaker. Plug one end of the power adapter into the speaker’s power port, which is typically located on the back or bottom of the device.
- Next, find an electrical outlet near where you plan to use the speaker. Insert the other end of the power adapter into the outlet.
- Ensure that the power adapter is firmly connected to both the Avgo Smart Speaker and the electrical outlet.
- Once the speaker is connected to power, you will typically see a light indicator on the device, indicating that it is receiving power.
- Allow the speaker a few moments to power up. During this time, you can move on to the next step and prepare to download the Amazon Alexa app, which is essential for setting up and controlling your Avgo Smart Speaker.
Ensuring a proper power connection is crucial for the Avgo Smart Speaker to function correctly. By following these simple steps, you have successfully connected the speaker to a power source. Let’s move on to the next step and get ready to set up the Amazon Alexa app.
Step 3: Downloading and Setting Up the Amazon Alexa App
Now that your Avgo Smart Speaker is connected to power, it’s time to download and set up the Amazon Alexa app on your smartphone or tablet. Follow these steps to get started:
- Open the app store on your device (App Store for iOS devices or Google Play Store for Android devices).
- In the search bar, type “Amazon Alexa” and look for the official Amazon Alexa app developed by Amazon.com.
- Tap on the app and select the option to download and install it on your device.
- Once the app is successfully downloaded, open it and sign in with your Amazon account or create a new account if you don’t already have one.
- Follow the on-screen prompts to grant necessary permissions to the app, such as accessing your microphone and location.
- The app will then guide you through the setup process. Make sure to select the device type as “Avgo Smart Speaker” when prompted.
- During the setup process, you might be prompted to connect your device to the Wi-Fi network. If so, follow the instructions provided by the app to complete the connection.
- Once the setup process is complete, you will have full access to the Amazon Alexa app and be ready to start using your Avgo Smart Speaker with Alexa.
Downloading and setting up the Amazon Alexa app is a crucial step in getting the most out of your Avgo Smart Speaker. By following these steps, you will have the app installed and ready to use in no time. Let’s move on to the next step and connect your Avgo Smart Speaker to Wi-Fi.
Step 4: Connecting the Avgo Smart Speaker to Wi-Fi
Now that you have downloaded and set up the Amazon Alexa app, the next step is to connect your Avgo Smart Speaker to your Wi-Fi network. Follow these steps to ensure a seamless connection:
- Open the Amazon Alexa app on your device and ensure that you are signed in with your Amazon account.
- Tap on the menu icon (usually three horizontal lines) located in the top-left corner of the app to access the main menu.
- Select the “Settings” option from the menu and then choose the “Add Device” option.
- On the next screen, select the “Amazon Echo” option, followed by the “Avgo Smart Speaker” option.
- The app will then guide you through the process of connecting your Avgo Smart Speaker to your Wi-Fi network. Make sure to follow the on-screen prompts.
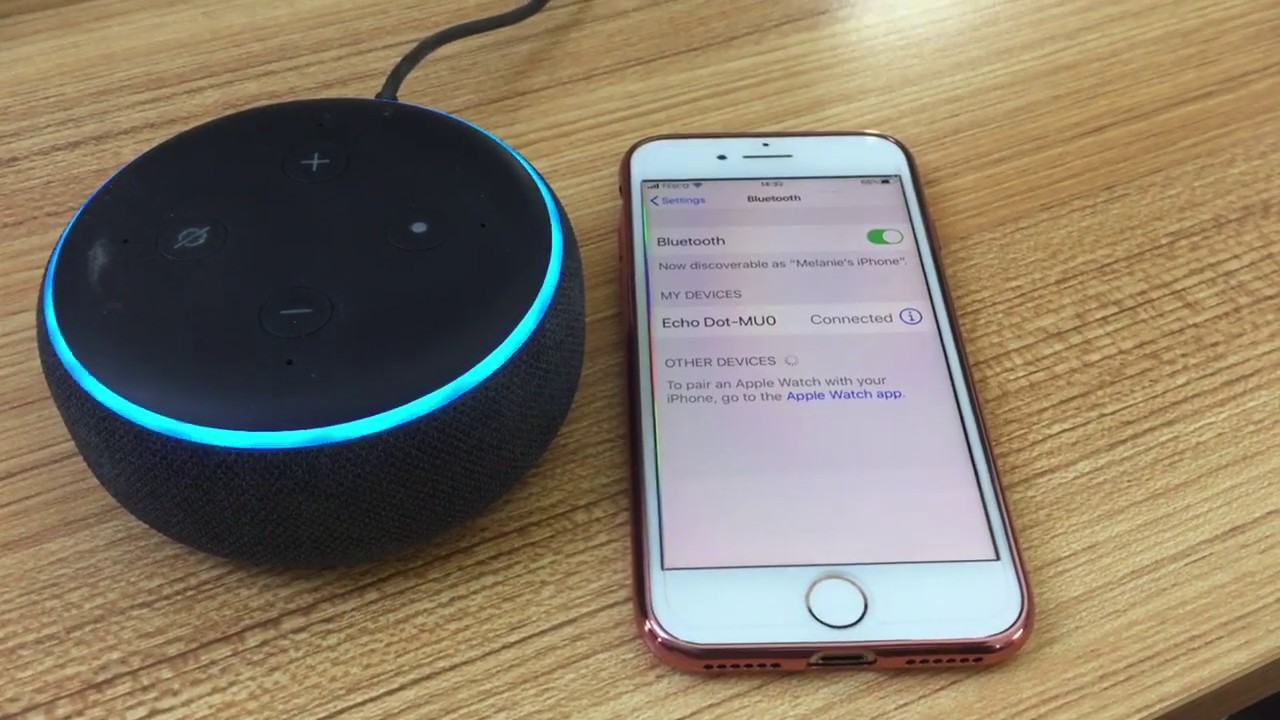
- In most cases, you will need to press and hold the Wi-Fi button on the Avgo Smart Speaker until the LED light indicator starts flashing.
- On your device, you will be prompted to select the Wi-Fi network that you want to connect your Avgo Smart Speaker to. Choose your desired network and enter the Wi-Fi password if necessary.
- Wait for the app to establish the connection between your Avgo Smart Speaker and your Wi-Fi network. Once connected, you will see a confirmation message.
Connecting your Avgo Smart Speaker to your Wi-Fi network is essential for accessing the full range of features and services it has to offer. By following these simple steps, you will have your speaker connected and ready to use. Let’s move on to the next step and set up Alexa voice recognition.
Step 5: Setting Up Alexa Voice Recognition
Now that your Avgo Smart Speaker is connected to your Wi-Fi network, it’s time to set up Alexa voice recognition. This will allow you to interact with your speaker using voice commands. Follow these steps to get started:
- Open the Amazon Alexa app on your device and ensure that you are signed in with your Amazon account.
- Tap on the menu icon (usually three horizontal lines) located in the top-left corner of the app to access the main menu.
- Select the “Settings” option from the menu and then choose the “Alexa Account” option.
- In the Alexa Account section, tap on the “Recognized Voices” option.
- Follow the on-screen prompts to train Alexa to recognize your voice. This might involve reading out a series of phrases or sentences.
- Make sure to speak clearly and at a normal volume while training Alexa. This will help ensure accurate voice recognition.
- Once you have completed the voice training process, Alexa will be ready to respond to your voice commands.
- You can now start using your Avgo Smart Speaker by simply saying “Hey Alexa” followed by your command.
Setting up Alexa voice recognition is a key step in unlocking the full potential of your Avgo Smart Speaker. By following these steps and training Alexa to recognize your voice, you will be able to interact with your speaker effortlessly. Let’s move on to the next step and customize Alexa settings to suit your preferences.
Step 6: Customizing Alexa Settings
Now that you have set up Alexa voice recognition, it’s time to customize the settings according to your preferences. The Amazon Alexa app offers a range of options that allow you to personalize your Avgo Smart Speaker experience. Follow these steps to customize Alexa settings:
- Open the Amazon Alexa app on your device and ensure that you are signed in with your Amazon account.
- Tap on the menu icon (usually three horizontal lines) located in the top-left corner of the app to access the main menu.
- Select the “Settings” option from the menu.
- In the Settings section, you will find various options to customize your Alexa experience. Here are a few notable options:
- Music & Media: Customize your default music and media services, adjust playback settings, and more.
- Notifications: Configure how Alexa notifies you about reminders, alarms, and incoming messages.
- Skills & Games: Explore and enable a wide range of third-party skills and games to enhance your Alexa capabilities.
- Privacy & Security: Manage your Alexa data, review your voice history, and customize privacy settings.
- Device Settings: Adjust specific settings for your Avgo Smart Speaker, such as volume, language preferences, and more.
- Browse through the available options and customize them according to your preferences.
- Make sure to save your changes before exiting the settings menu.
Customizing Alexa settings allows you to tailor your Avgo Smart Speaker experience to meet your specific needs. By following these steps and exploring the various options in the Amazon Alexa app, you can create a personalized and seamless interaction with your smart speaker. Let’s move on to the final step and test the functionality of your Avgo Smart Speaker with Alexa.
Step 7: Testing and Using the Avgo Smart Speaker with Alexa
Now that you have set up and customized your Avgo Smart Speaker with Alexa, it’s time to put it to the test and explore its features. Here are some key ways to test and use your smart speaker:
- To start interacting with your Avgo Smart Speaker, simply say “Hey Alexa” followed by your command or question. Alexa will respond and fulfill your request.
- Try asking Alexa questions about the weather, news, or general knowledge. Alexa uses the internet to provide accurate and up-to-date information.
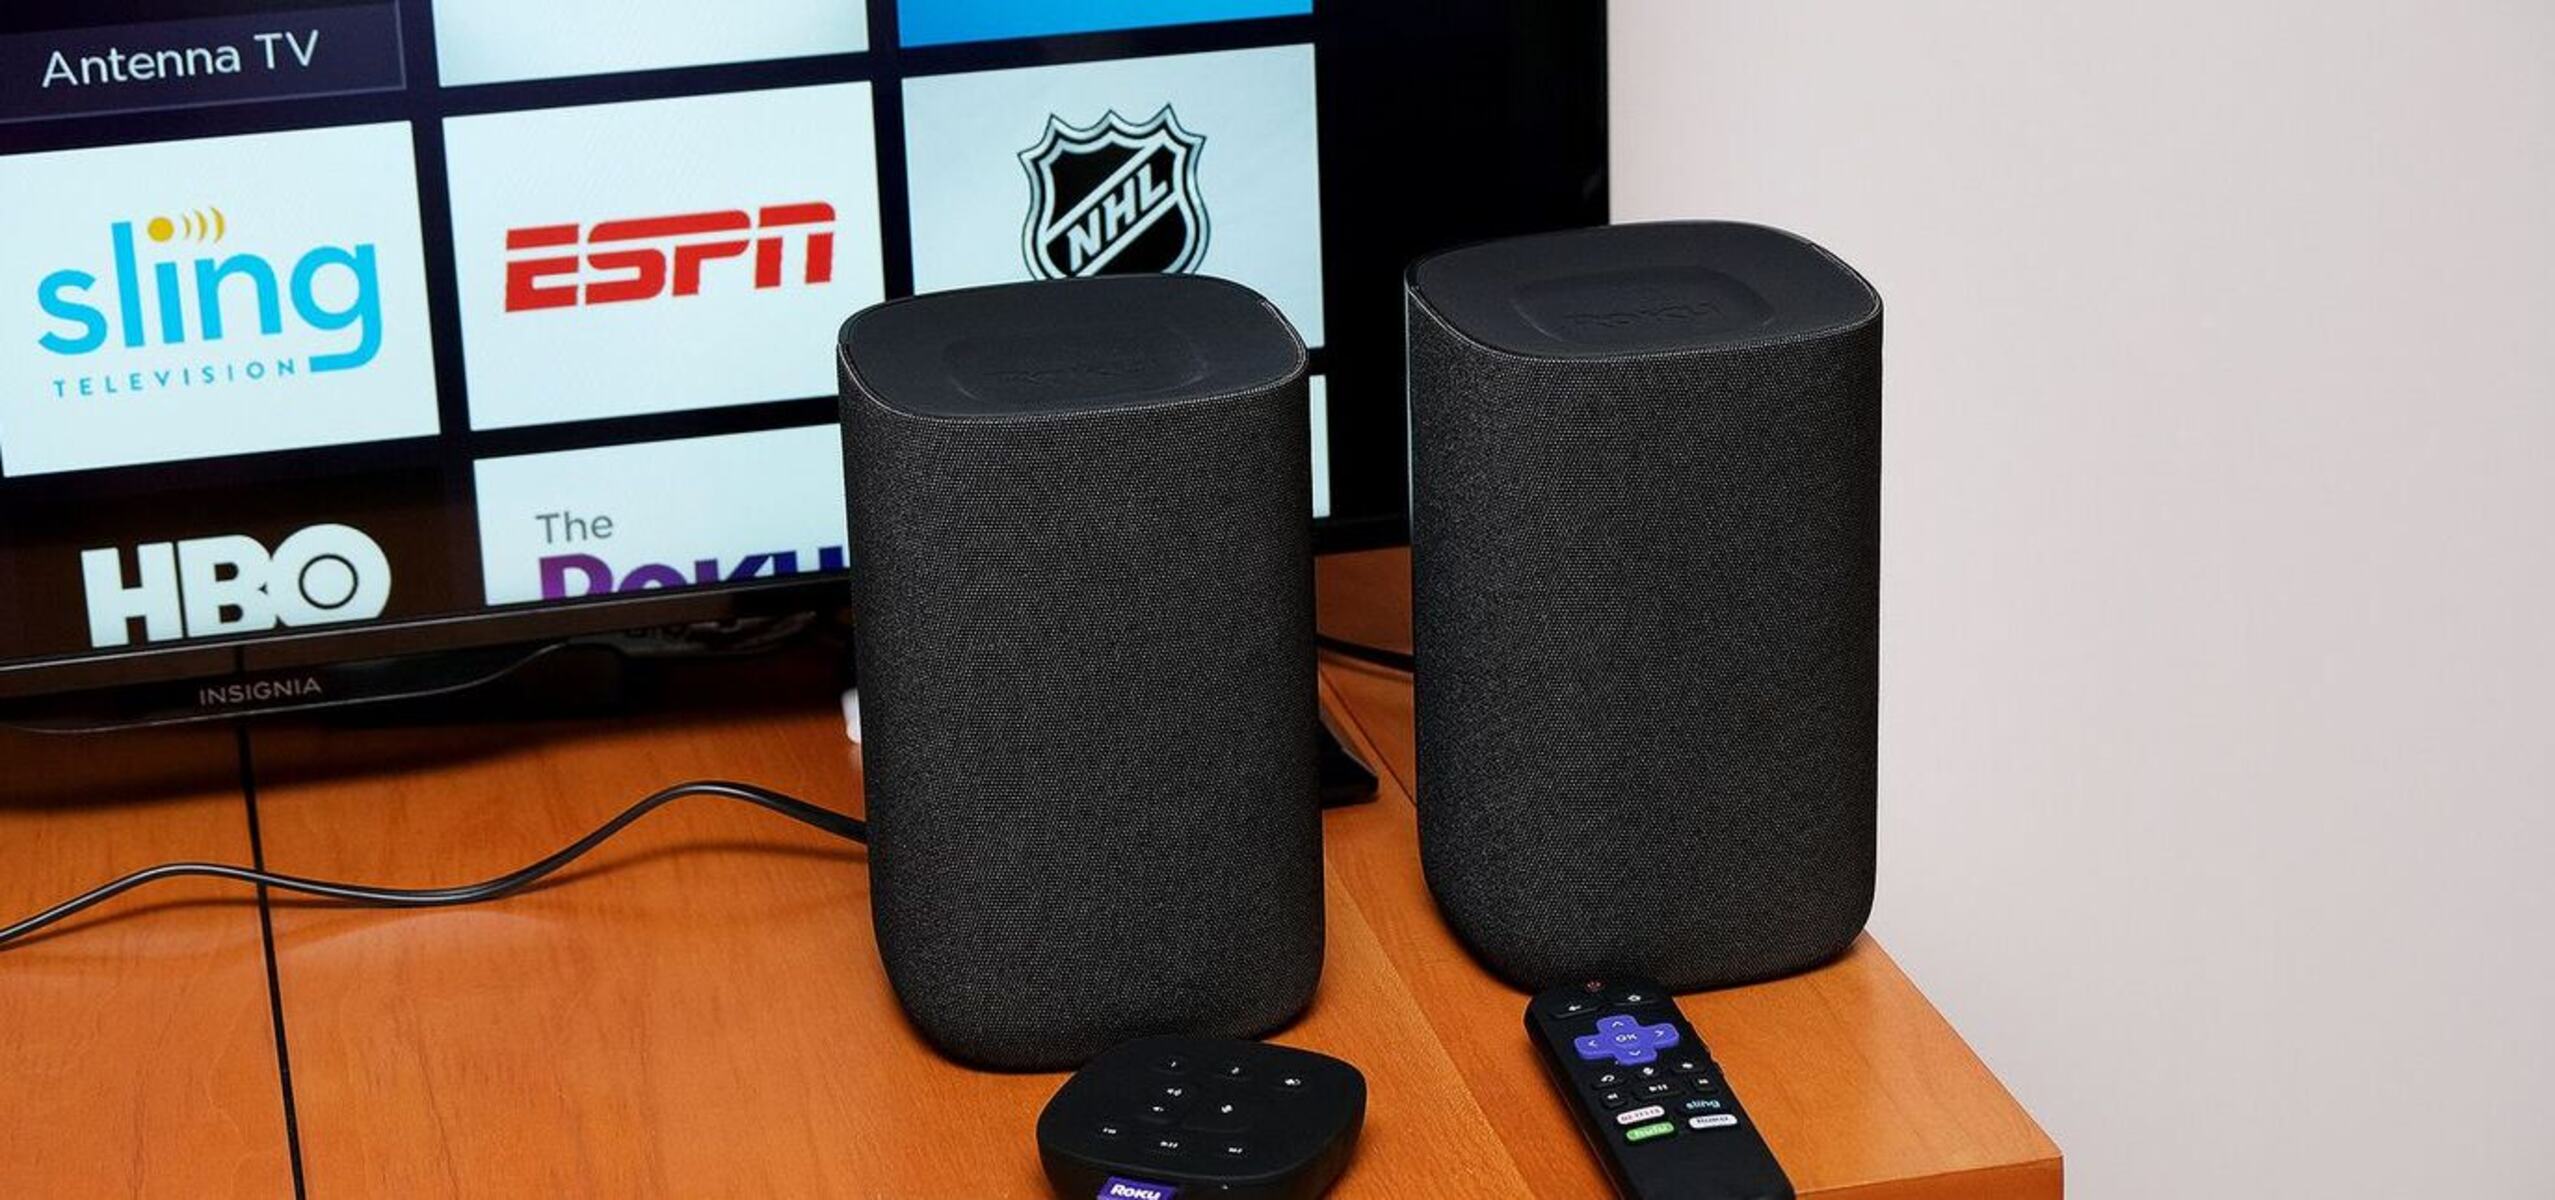
- Use voice commands to control your smart home devices. For example, say “Hey Alexa, turn off the lights” to control compatible smart lights.
- Explore the various skills available for Alexa. Skills are like apps that expand Alexa’s capabilities. Enable skills such as games, productivity tools, and more from the Alexa app.
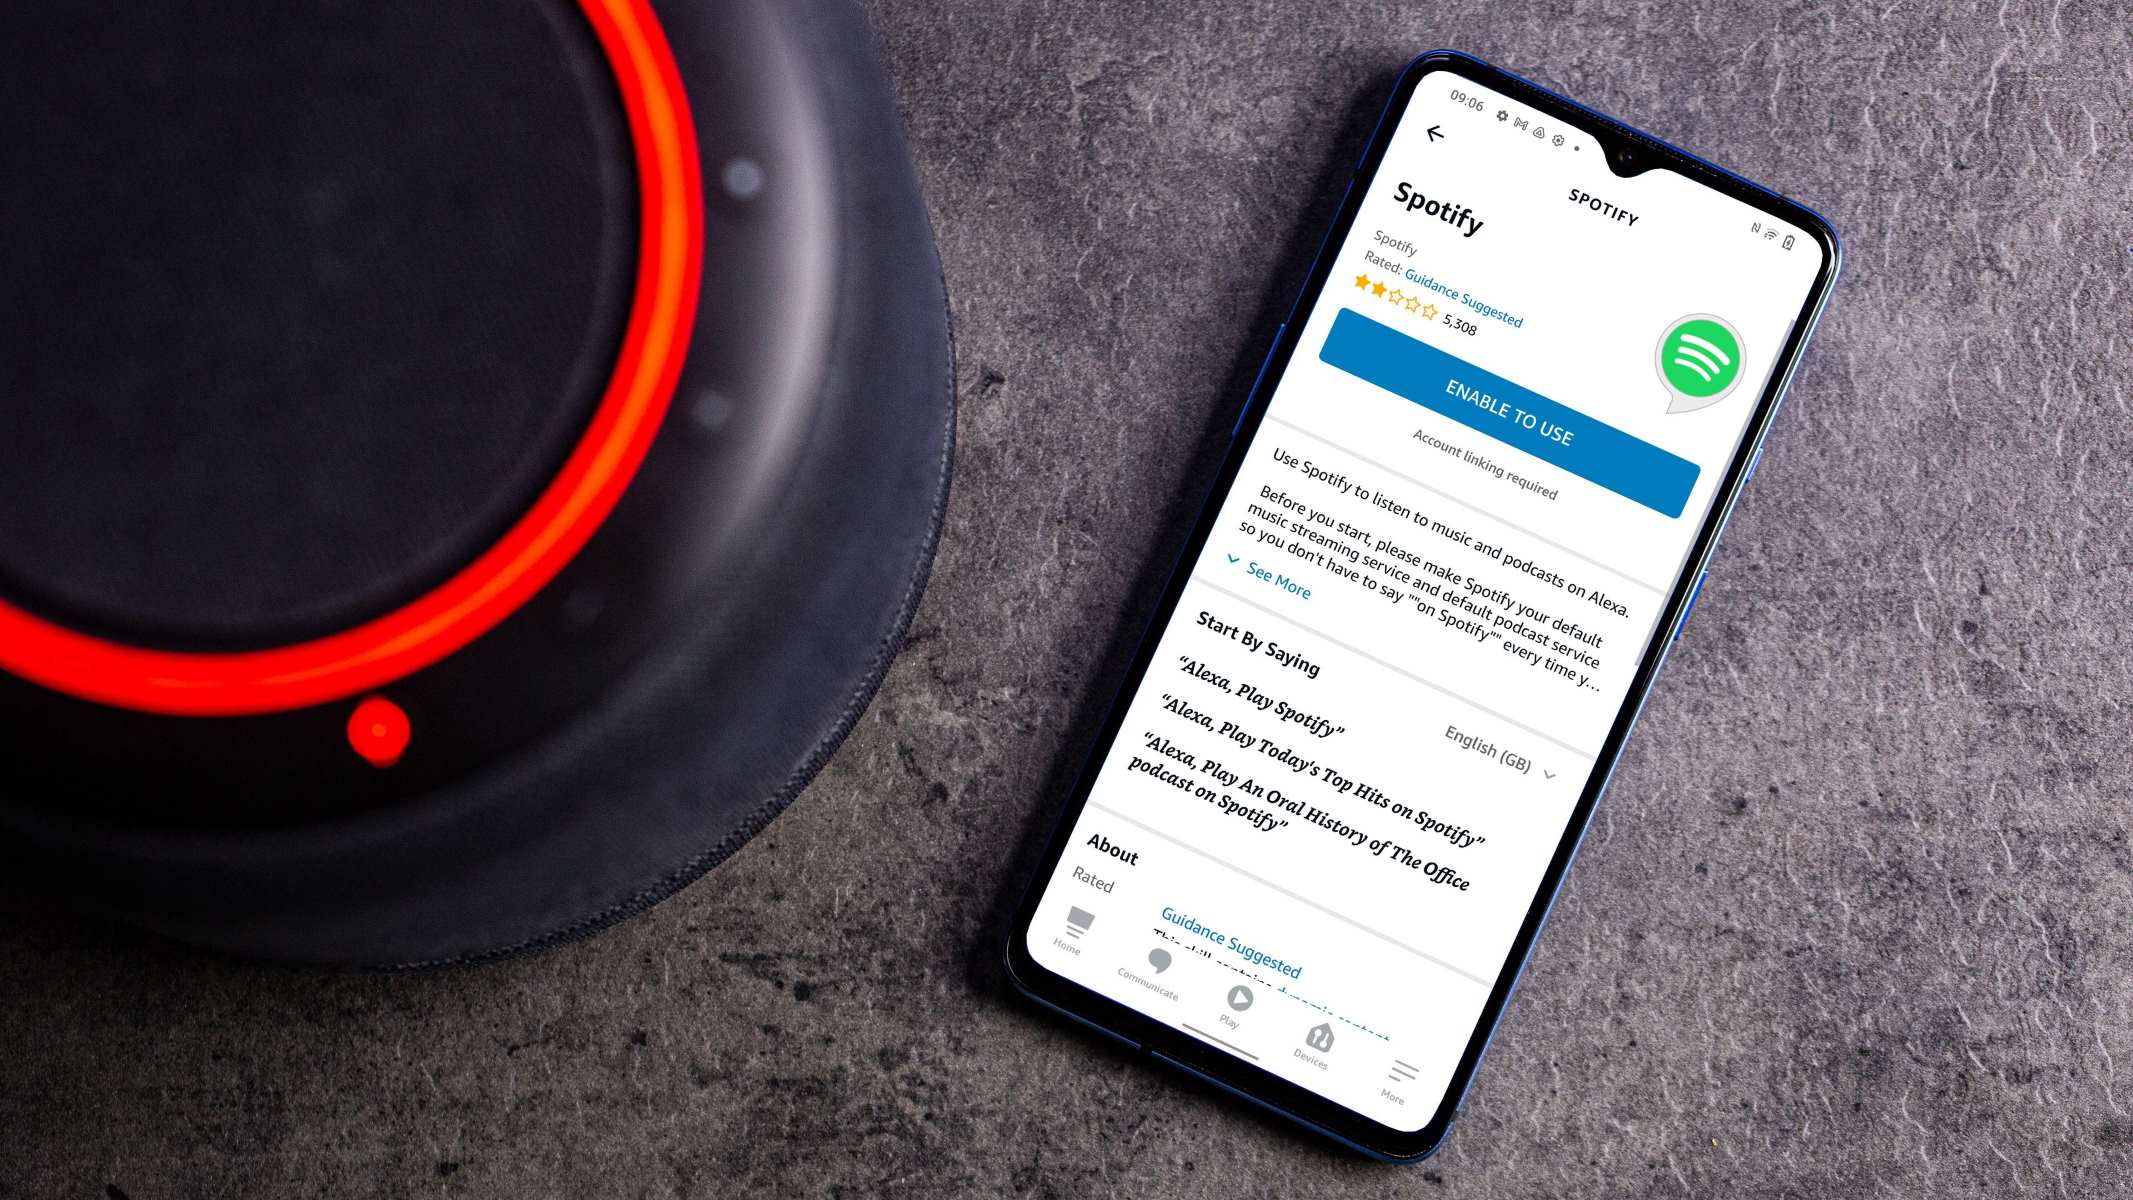
- Stream your favorite music or podcasts by linking your preferred music streaming service with Alexa. Simply say “Hey Alexa, play my playlist on Spotify.”
- Set reminders and alarms with ease. Just say “Hey Alexa, set a reminder for 3 p.m.” or “Hey Alexa, set an alarm for 7 a.m.”
- Experiment with different voice commands and explore the possibilities of your Avgo Smart Speaker with Alexa. The more you use it, the more you’ll discover its capabilities.
Testing and using your Avgo Smart Speaker with Alexa is an exciting and hands-on process. By exploring the various features and voice commands, you will unlock the full potential of your smart speaker. Enjoy the convenience and simplicity of controlling your devices, accessing information, and much more with just your voice.
Congratulations! You have successfully set up, customized, and tested your Avgo Smart Speaker with Alexa. Now you can enjoy a seamless and hands-free smart home experience. If you have any questions or need further assistance, refer to the user manual or reach out to the Avgo customer support team for assistance.
Conclusion
Congratulations on successfully setting up your Avgo Smart Speaker with Alexa! You’ve taken a journey through unboxing the device, connecting it to power and Wi-Fi, downloading and setting up the Amazon Alexa app, setting up Alexa voice recognition, customizing settings, and testing the functionalities of your smart speaker. Now, you can enjoy the convenience and power of controlling your smart home devices, accessing information, playing music, and much more, all through simple voice commands.
The Avgo Smart Speaker with Alexa opens up a whole new world of possibilities. From checking the weather to setting reminders, playing your favorite music, and controlling your smart home devices, the capabilities of your smart speaker are endless. Alexa’s voice recognition technology ensures a seamless and personalized experience, and by customizing the settings, you can truly make it your own.
Remember to explore the skills available for Alexa, which add even more functionality to your smart speaker. Whether you’re looking for games, productivity tools, or the latest news updates, there’s a skill to suit your needs.
If you have any questions or need further assistance, refer to the user manual or reach out to the Avgo customer support team. They will be more than happy to help you make the most of your Avgo Smart Speaker with Alexa.
Enjoy the convenience, simplicity, and power that your Avgo Smart Speaker with Alexa brings to your everyday life. Embrace the freedom of hands-free control and discover all the ways your smart speaker can enhance your daily routines and provide endless entertainment. Get ready to experience the future of smart home technology!