Introduction
So, you've decided to take your home entertainment to the next level by setting up a 2.1 surround sound system. Congratulations! This decision will undoubtedly elevate your audio-visual experience, immersing you in the rich, multidimensional sounds of your favorite movies, music, and games. Whether you're a cinephile, a music enthusiast, or a casual entertainment consumer, a well-designed 2.1 surround sound system can transform your living space into a captivating audio haven.
Picture this: the crisp, clear dialogue of your favorite film emanating from the front speakers, the deep and resonant bass adding depth and intensity from the subwoofer, and the carefully balanced surround sound enveloping you, pulling you into the heart of the action. This is the magic of a 2.1 surround sound system, and you're about to unlock its full potential.
In this comprehensive guide, we'll walk you through the process of setting up your 2.1 surround sound system, from selecting the right equipment to fine-tuning the settings for optimal performance. By the end of this journey, you'll be ready to sit back, relax, and immerse yourself in a world of breathtaking soundscapes.
So, grab your favorite beverage, put on your DIY hat, and let's embark on this exciting audio adventure together!
Choosing the Right Equipment
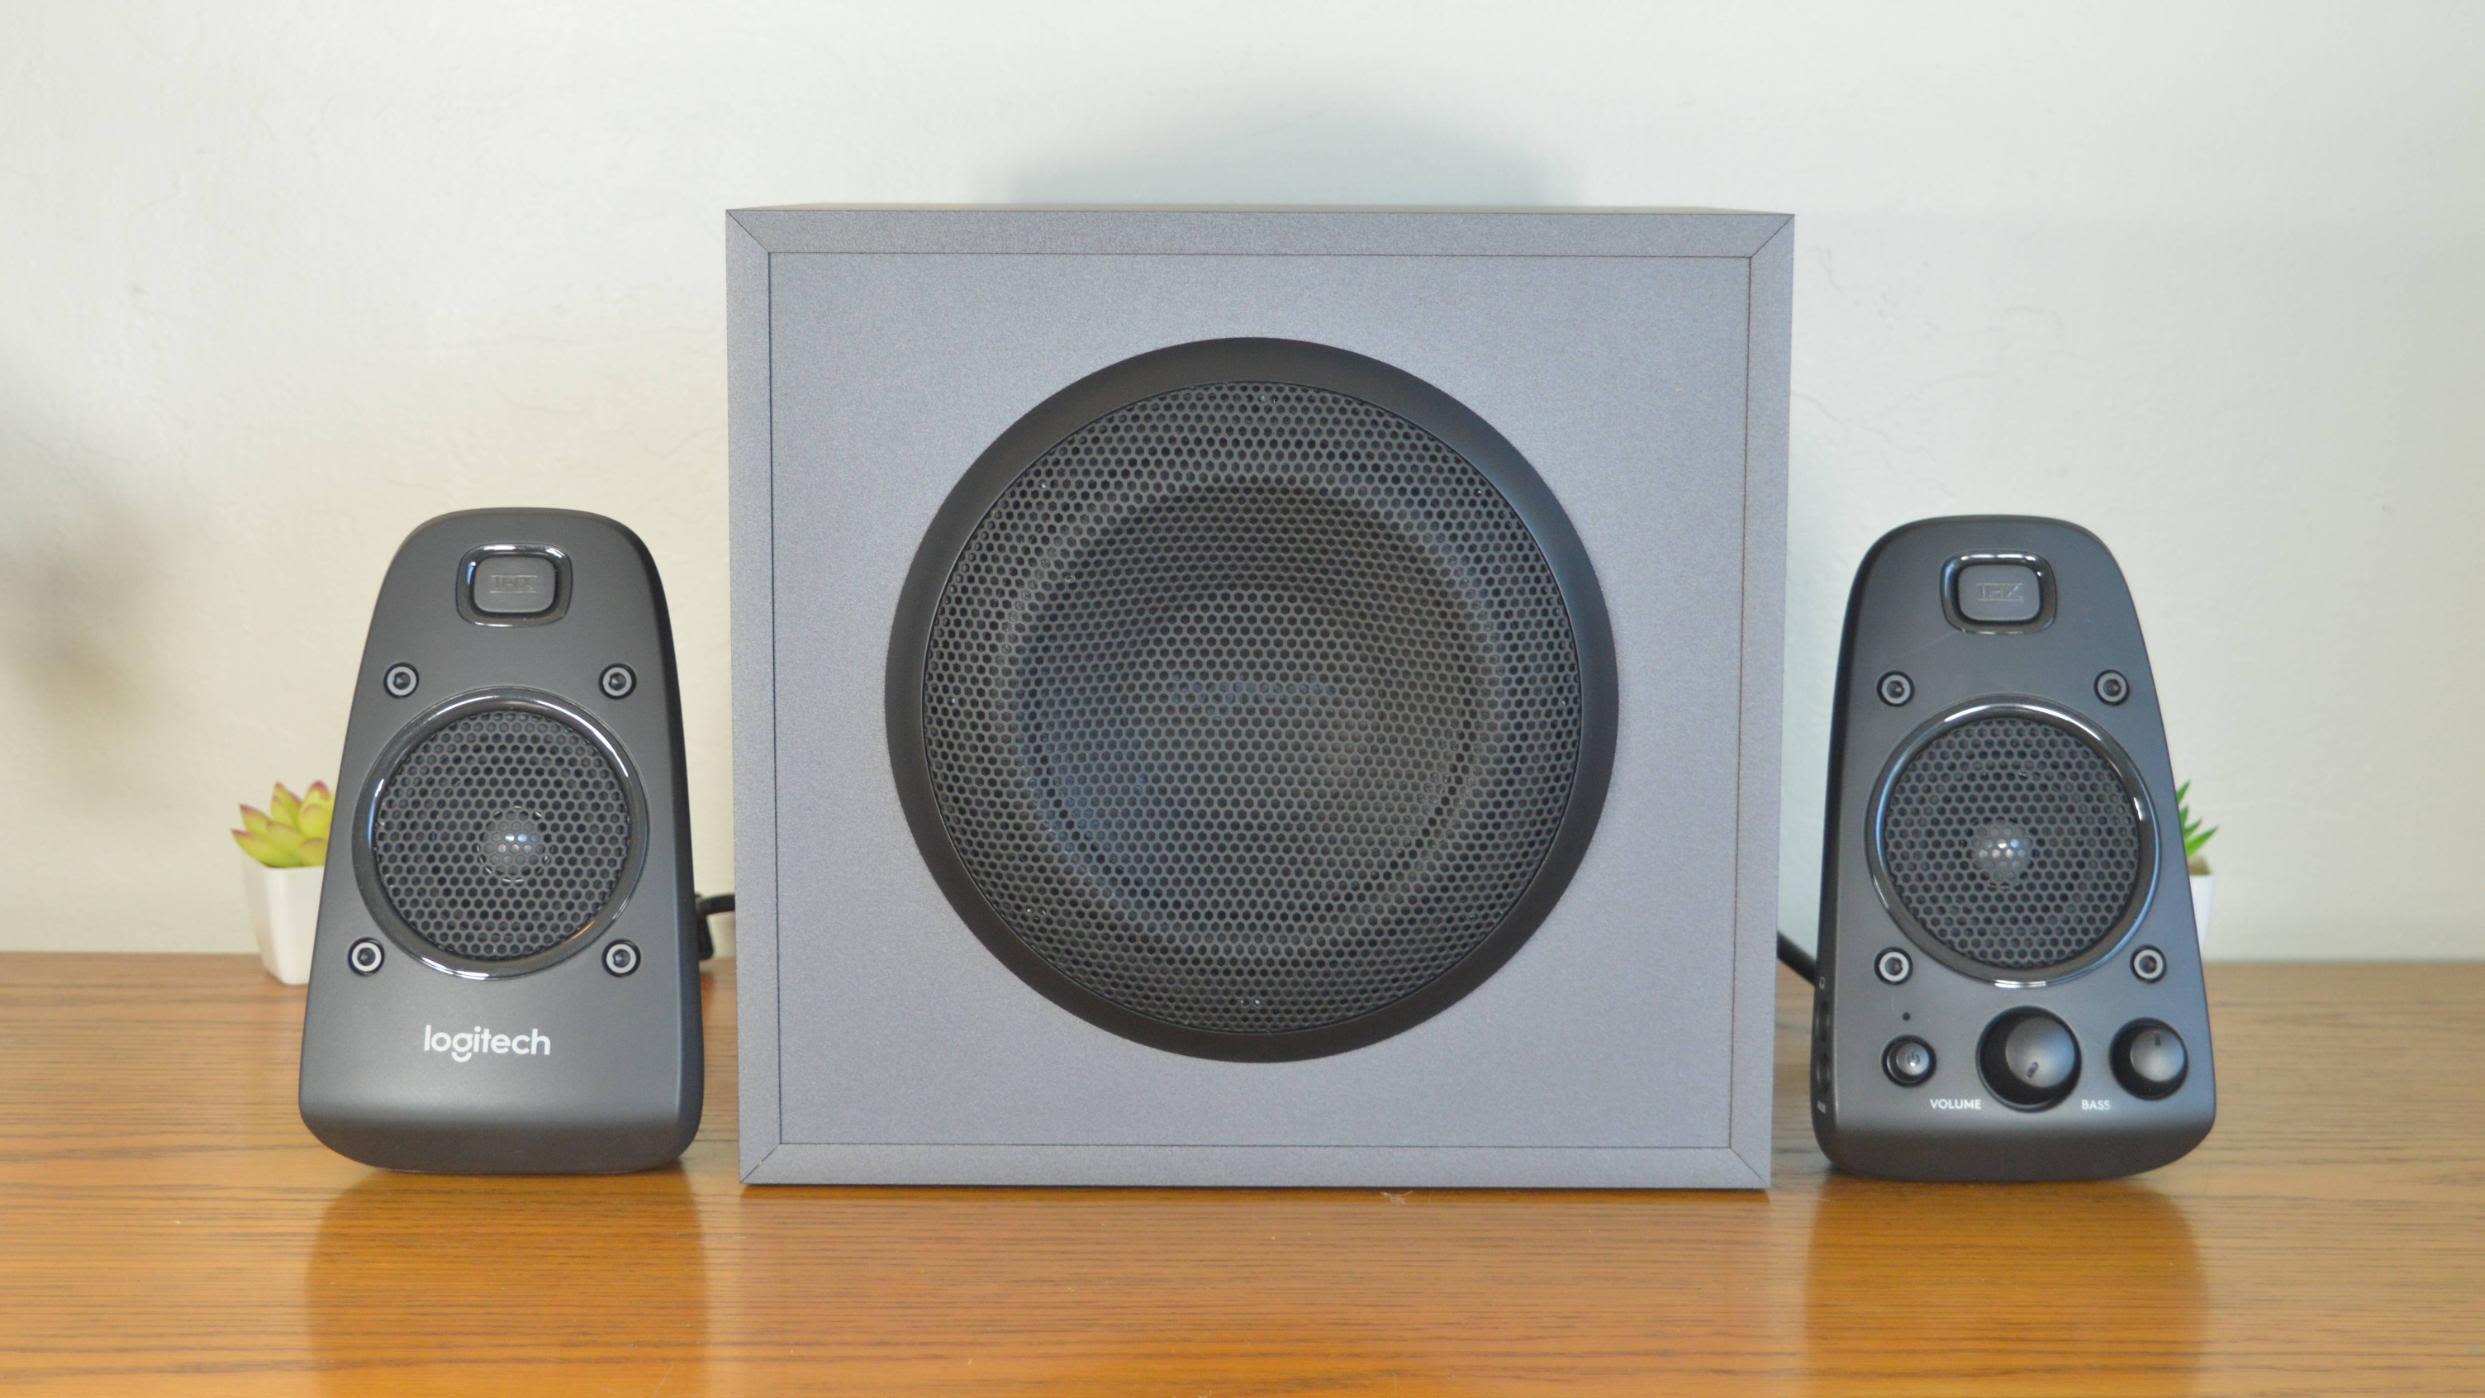
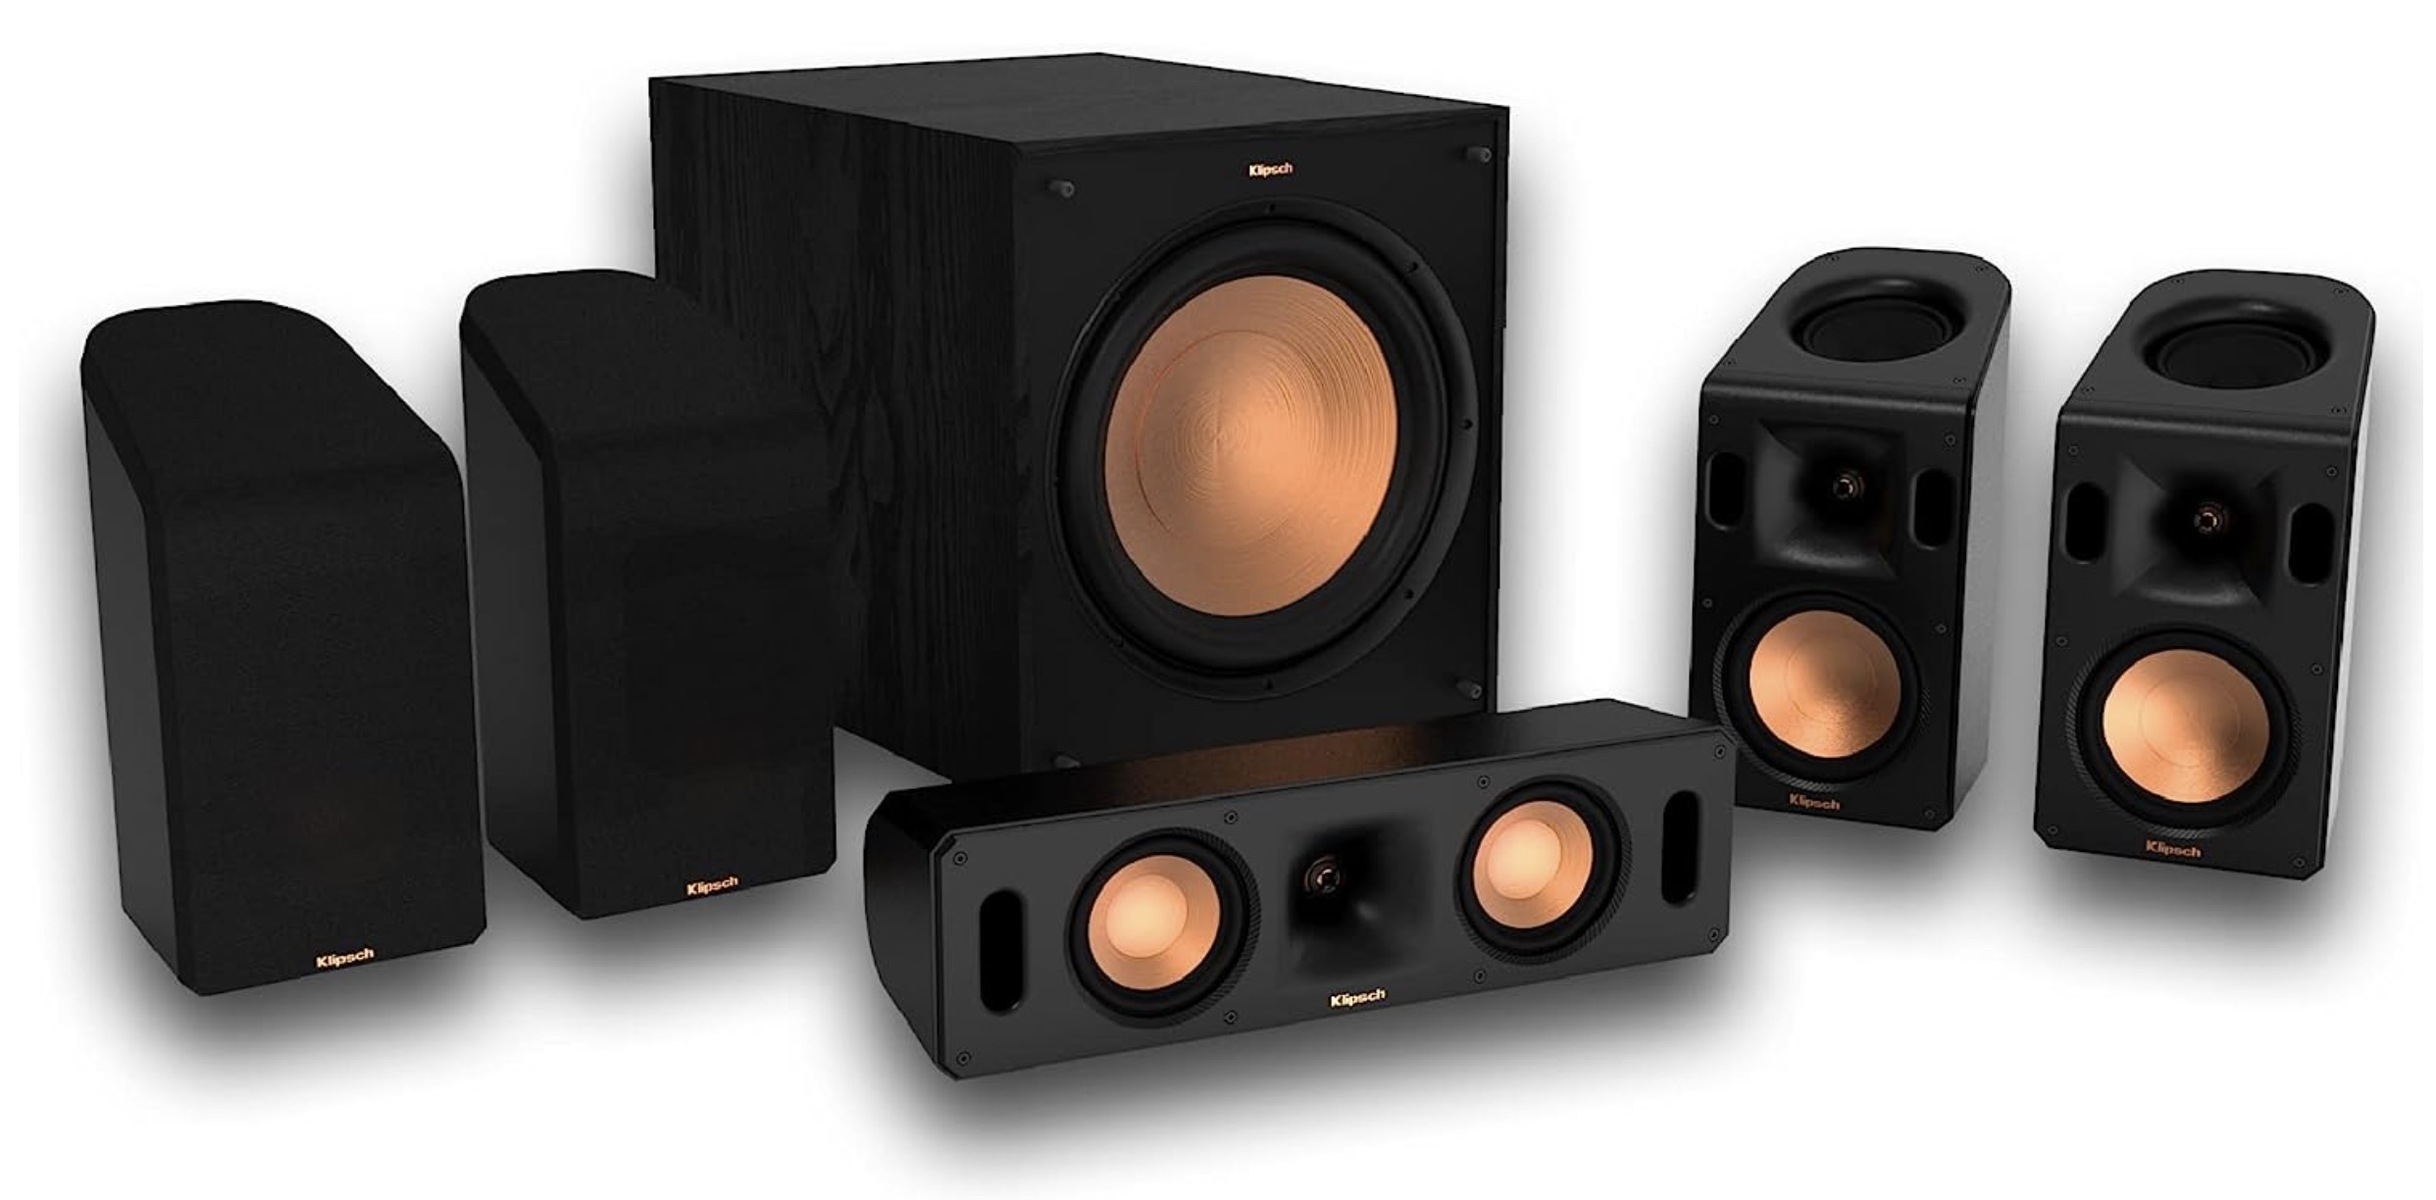
Before diving into the technical setup, it’s crucial to ensure that you have the right equipment for your 2.1 surround sound system. The key components include a pair of high-quality speakers and a dedicated subwoofer, as well as a compatible AV receiver to power and control the system. Here’s a breakdown of each essential element:
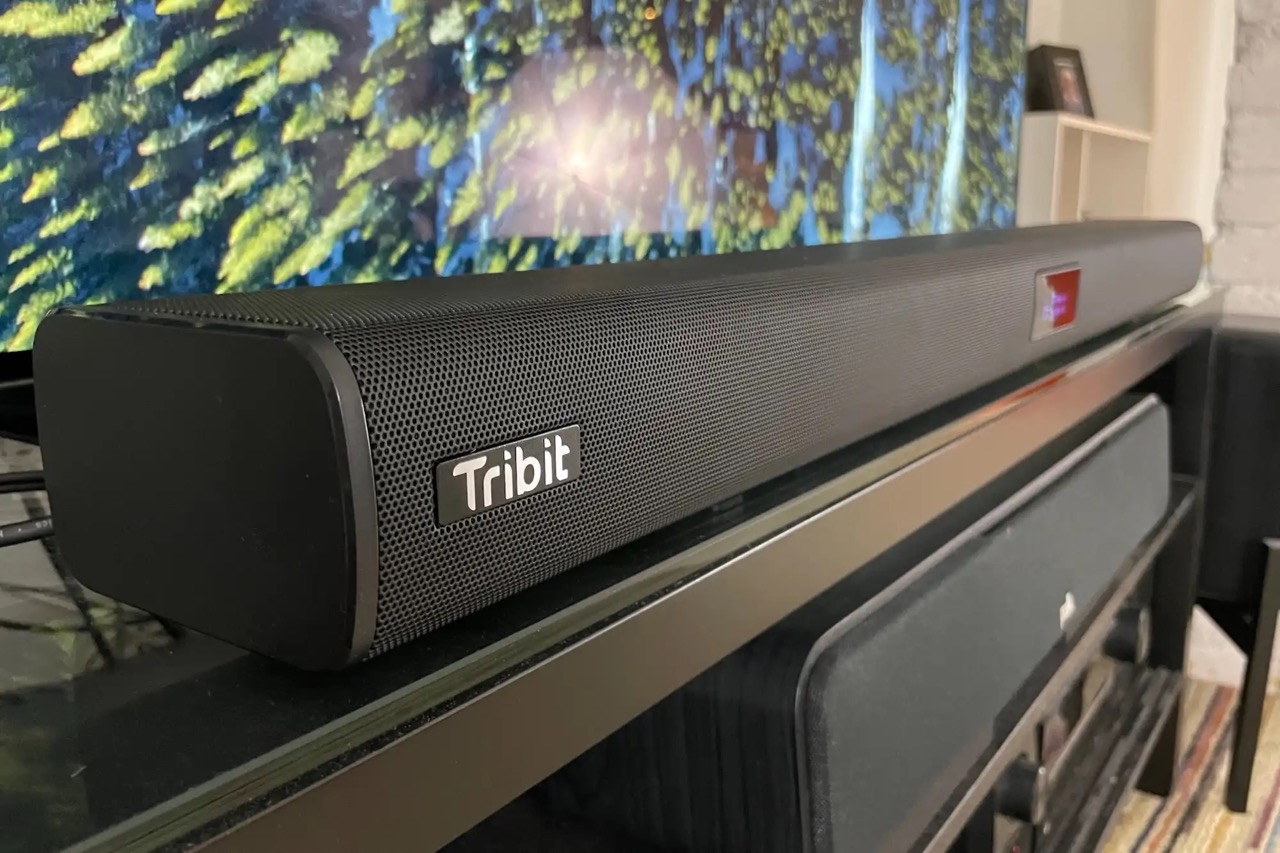
- Front Speakers: The front speakers are the primary drivers of the audio experience, responsible for delivering clear and detailed sound reproduction. Look for speakers that are capable of handling a wide frequency range and producing rich, nuanced sound. Consider factors such as size, power handling, and compatibility with your room size and layout.
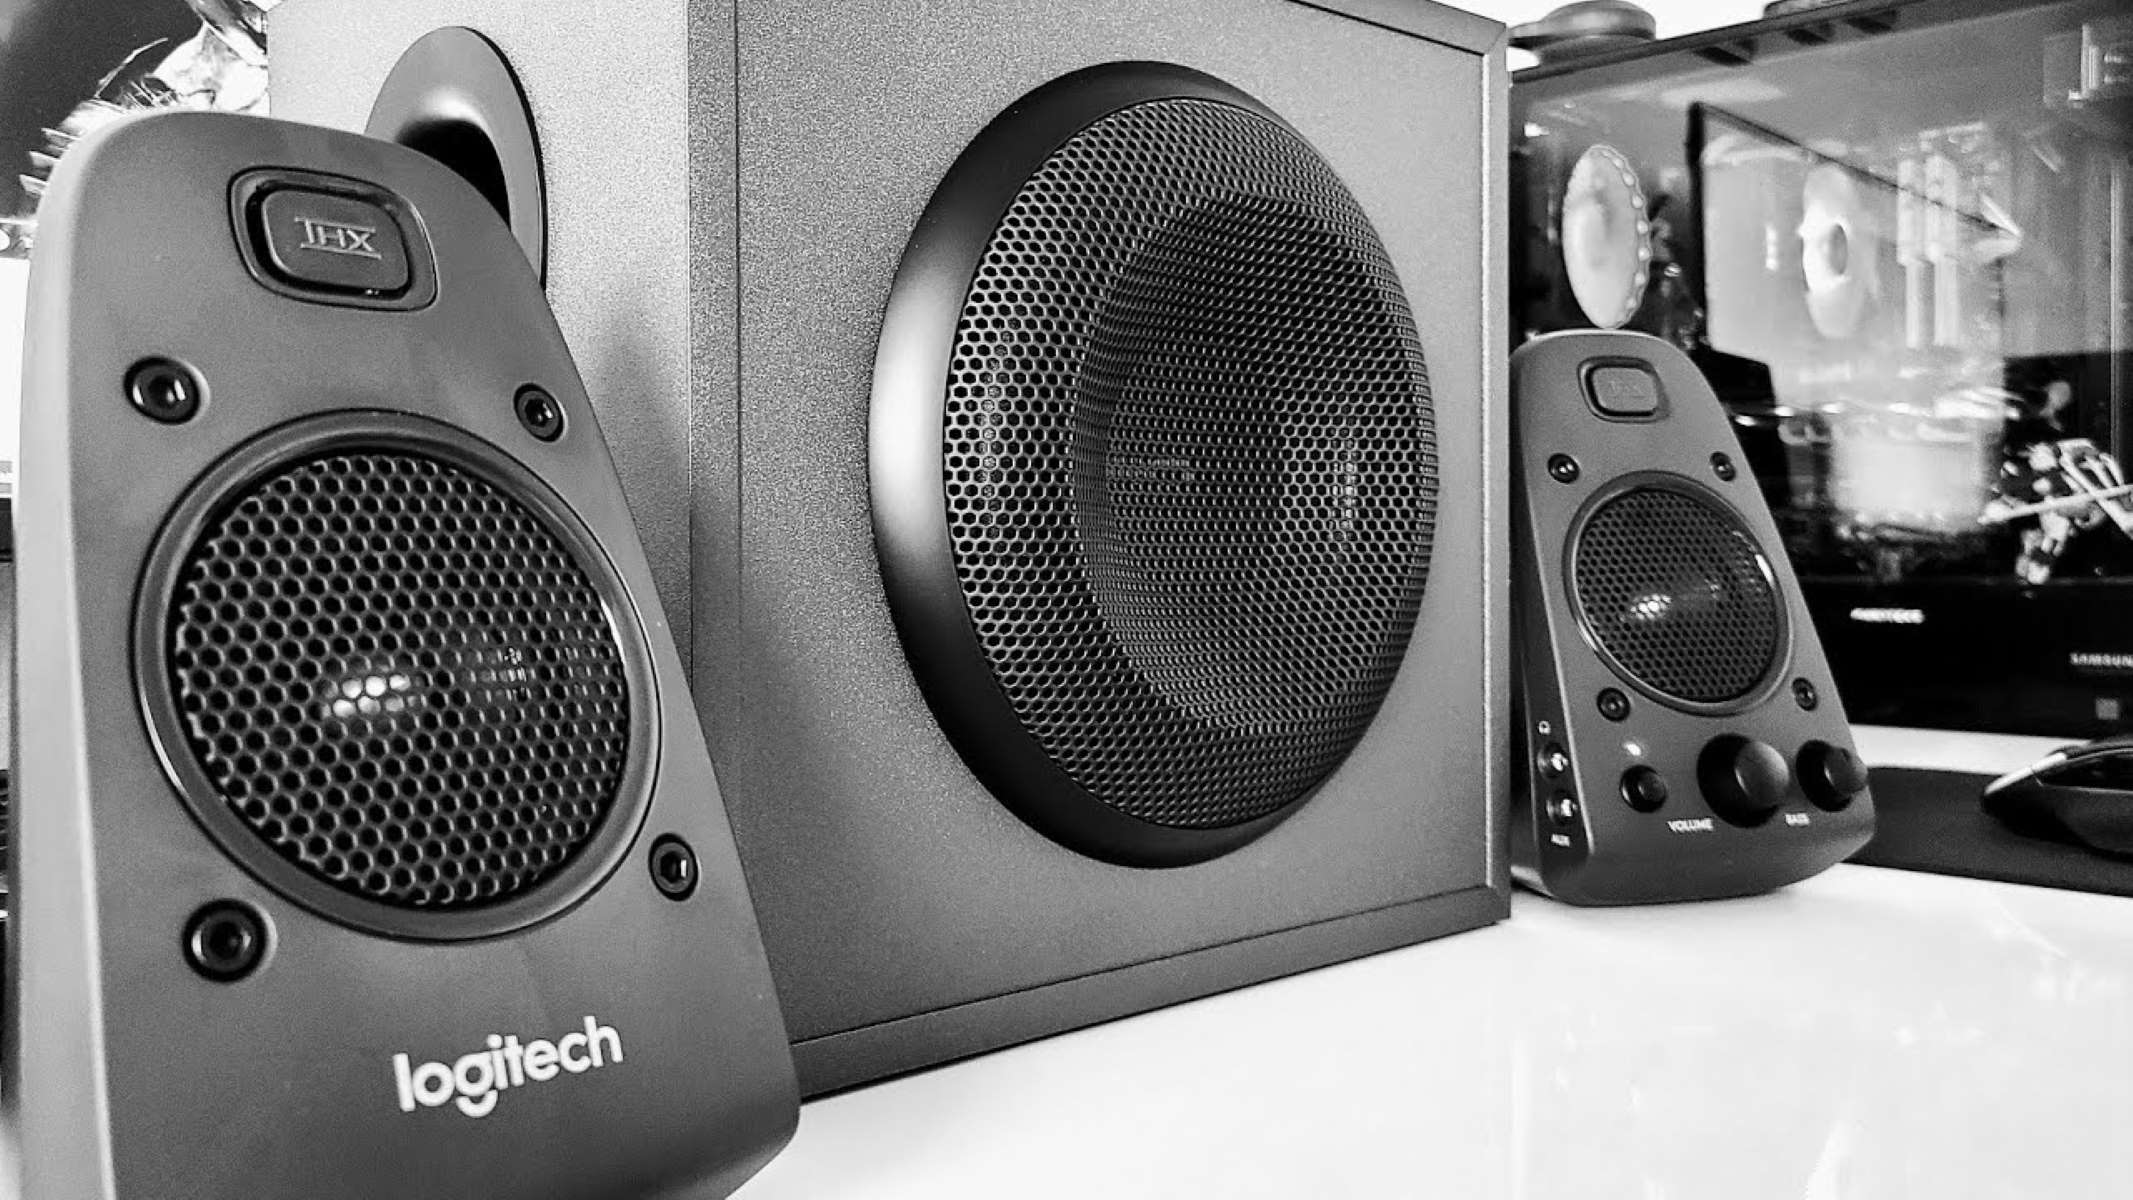
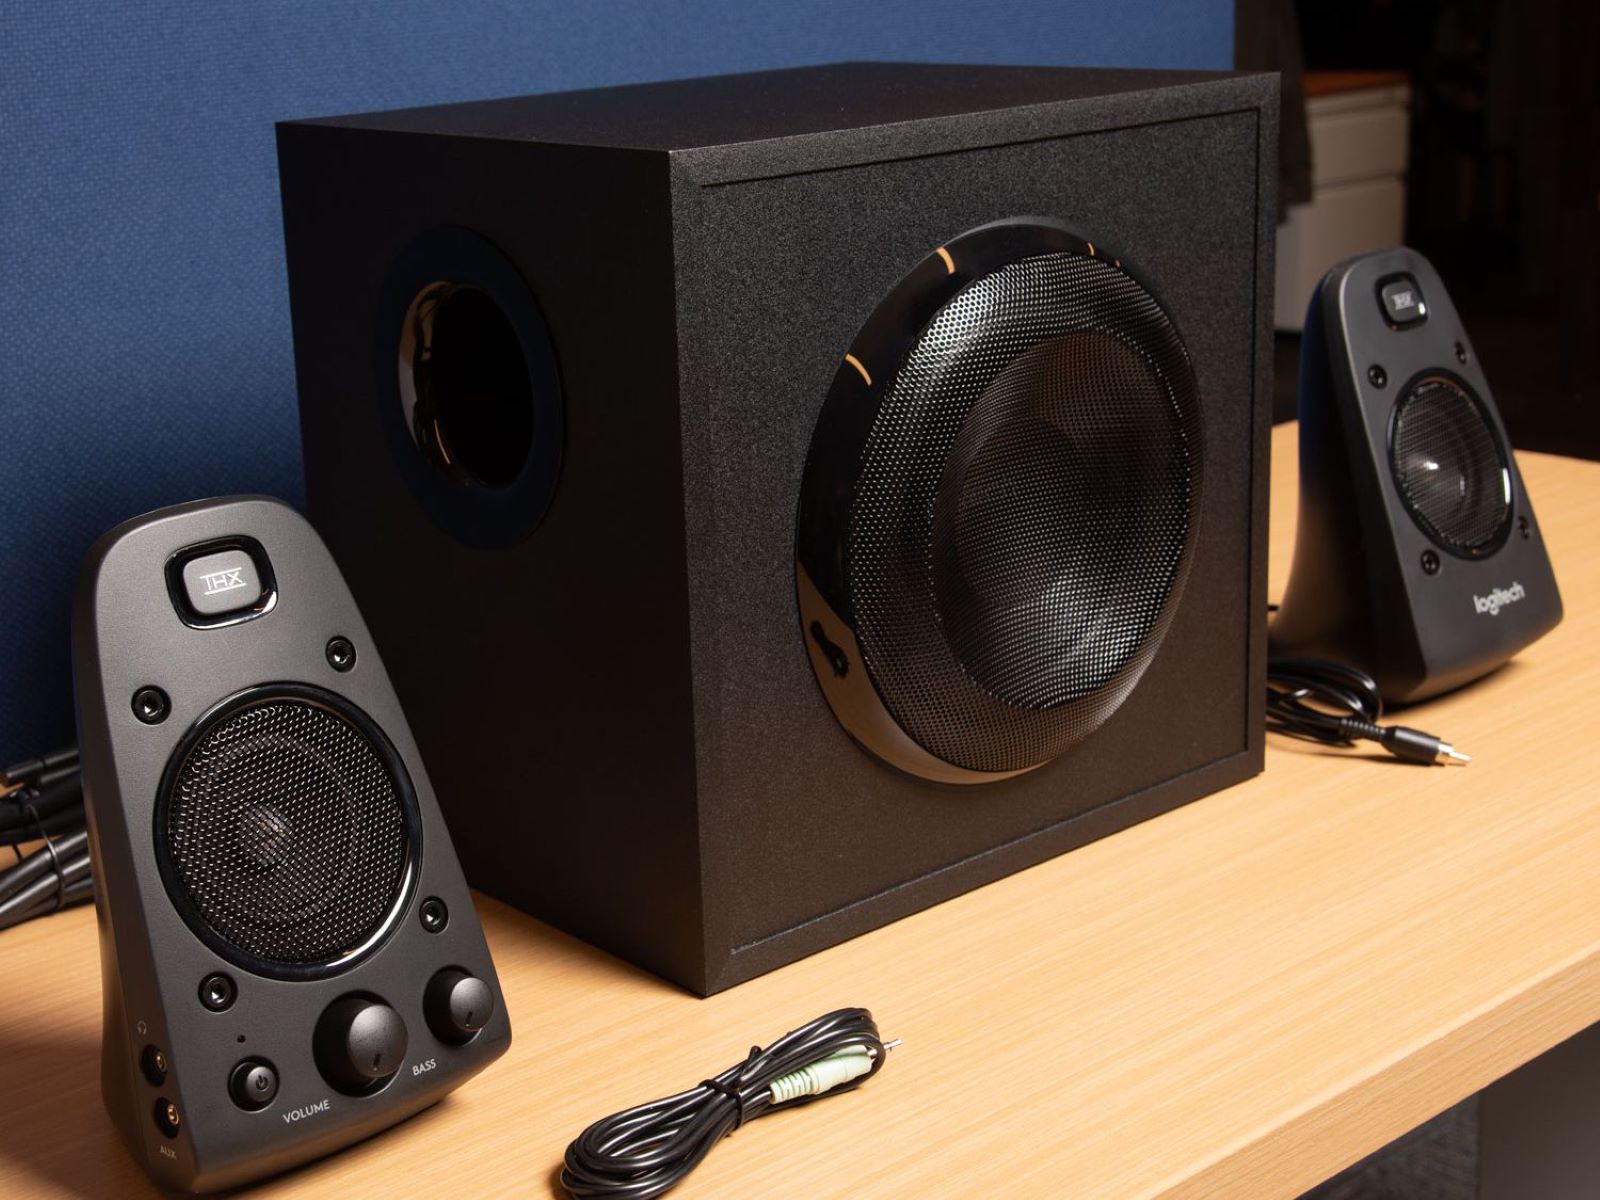
- Subwoofer: The subwoofer is the powerhouse behind the low-frequency effects, adding depth and impact to your audio. When selecting a subwoofer, focus on its ability to deliver deep, tight bass without distortion. Size, power output, and connectivity options are important considerations when choosing the right subwoofer for your setup.
- AV Receiver: The AV receiver serves as the central hub for your audio and video sources, routing signals to the speakers and managing the overall sound performance. Look for a receiver that supports 2.1 channel audio, offers ample power for your speakers and subwoofer, and provides essential features such as multiple HDMI inputs, audio processing capabilities, and room calibration tools.
When shopping for these components, it’s essential to consider the overall synergy of the system. Aim for a cohesive combination of speakers, subwoofer, and receiver that complement each other in terms of sonic characteristics and performance. Pay attention to specifications such as impedance, sensitivity, and frequency response to ensure that the components work harmoniously together, delivering a balanced and immersive audio experience.
Additionally, don’t overlook the importance of quality cables and connectors. Opt for high-quality speaker wire, subwoofer cable, and HDMI or optical cables to maintain signal integrity and minimize interference. These often-overlooked accessories play a crucial role in preserving the fidelity of your audio signals.
By carefully selecting the right equipment and accessories, you’re laying a solid foundation for a captivating 2.1 surround sound system that will elevate your home entertainment experience to new heights.
Setting Up the Speakers
With the essential components in hand, it’s time to embark on the physical setup of your 2.1 surround sound system. Proper speaker placement is crucial for achieving optimal audio performance and creating an immersive listening environment. Here’s a step-by-step guide to setting up your speakers:
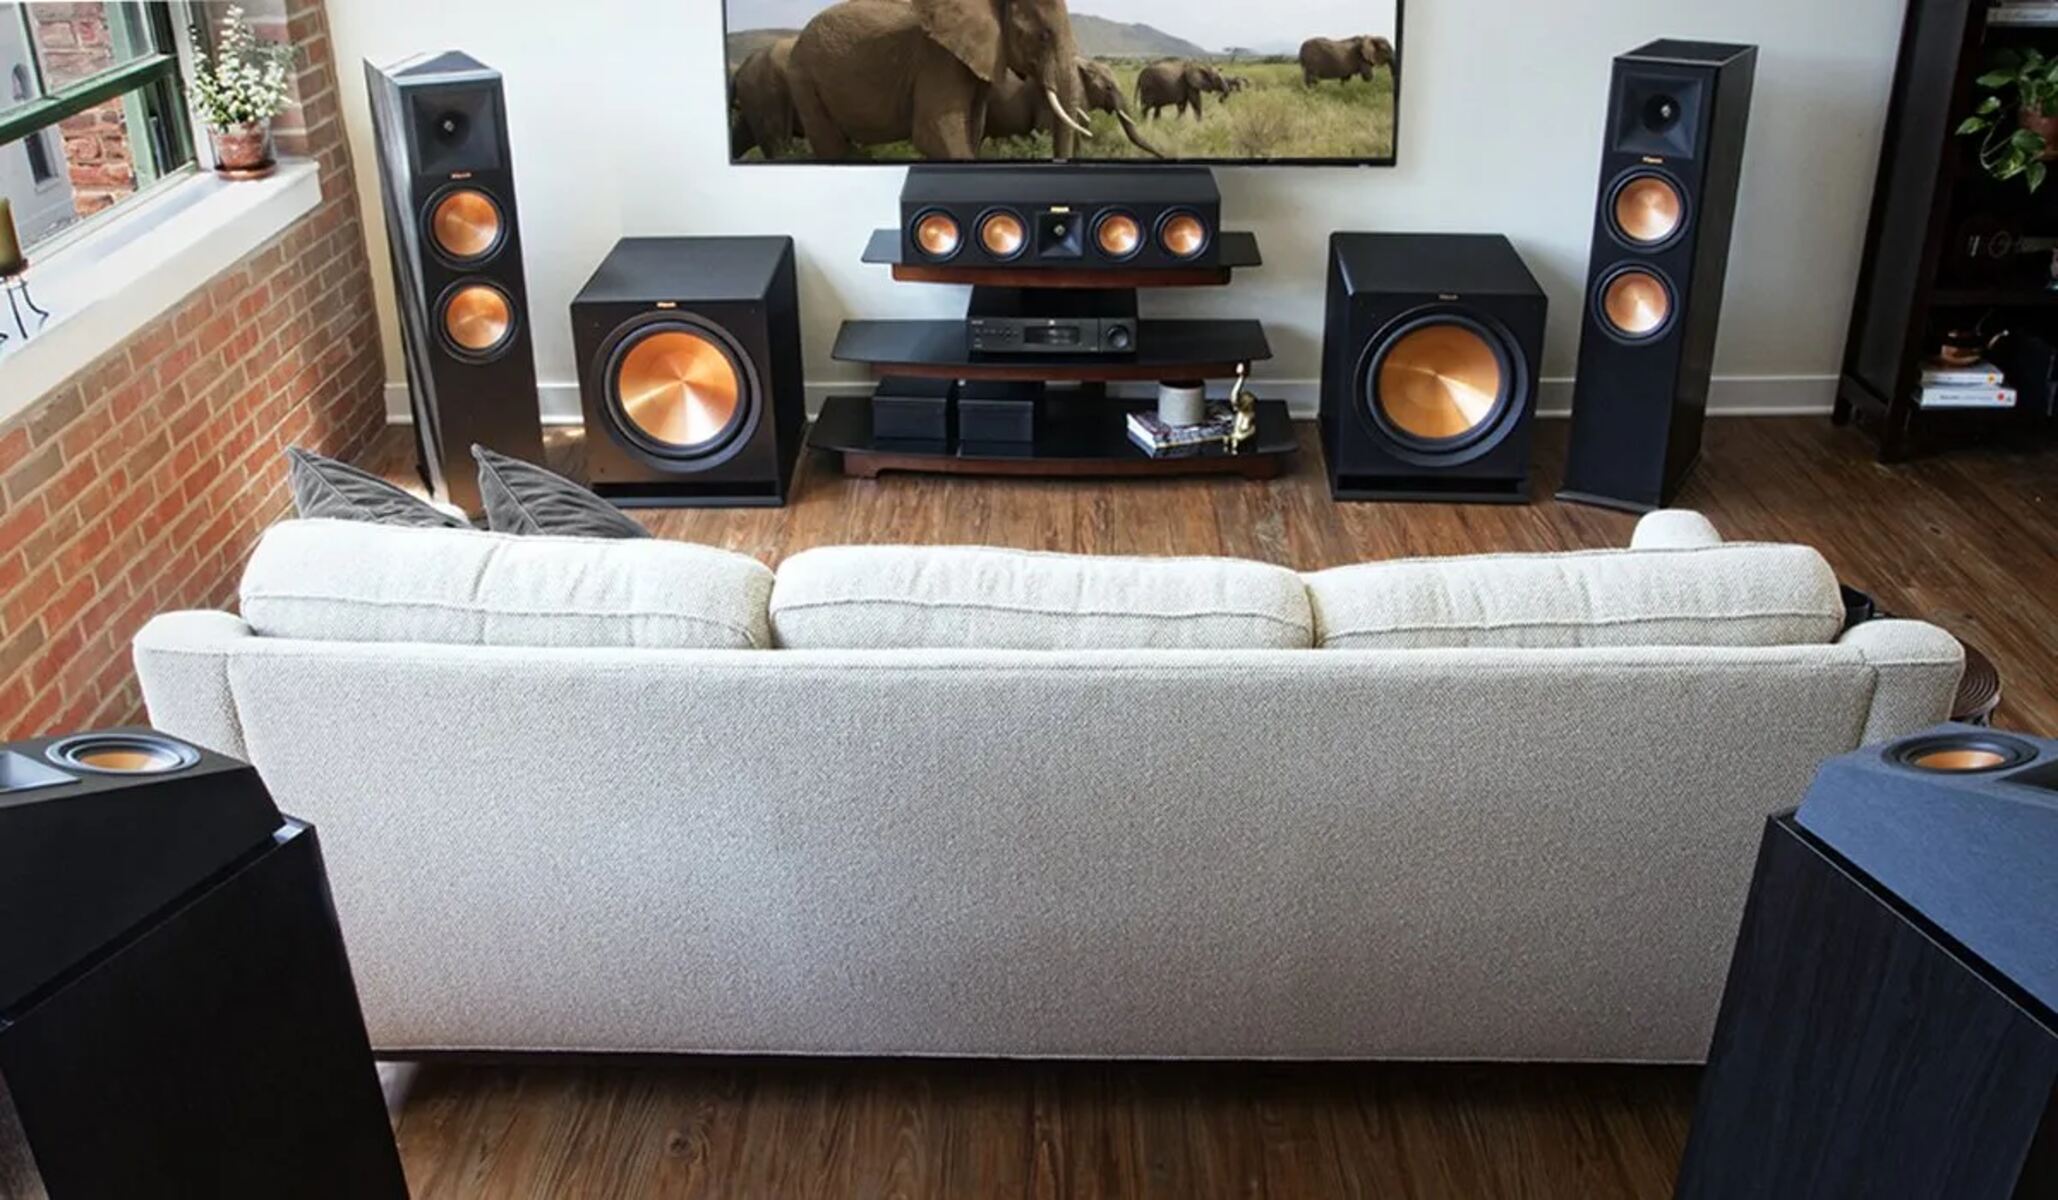
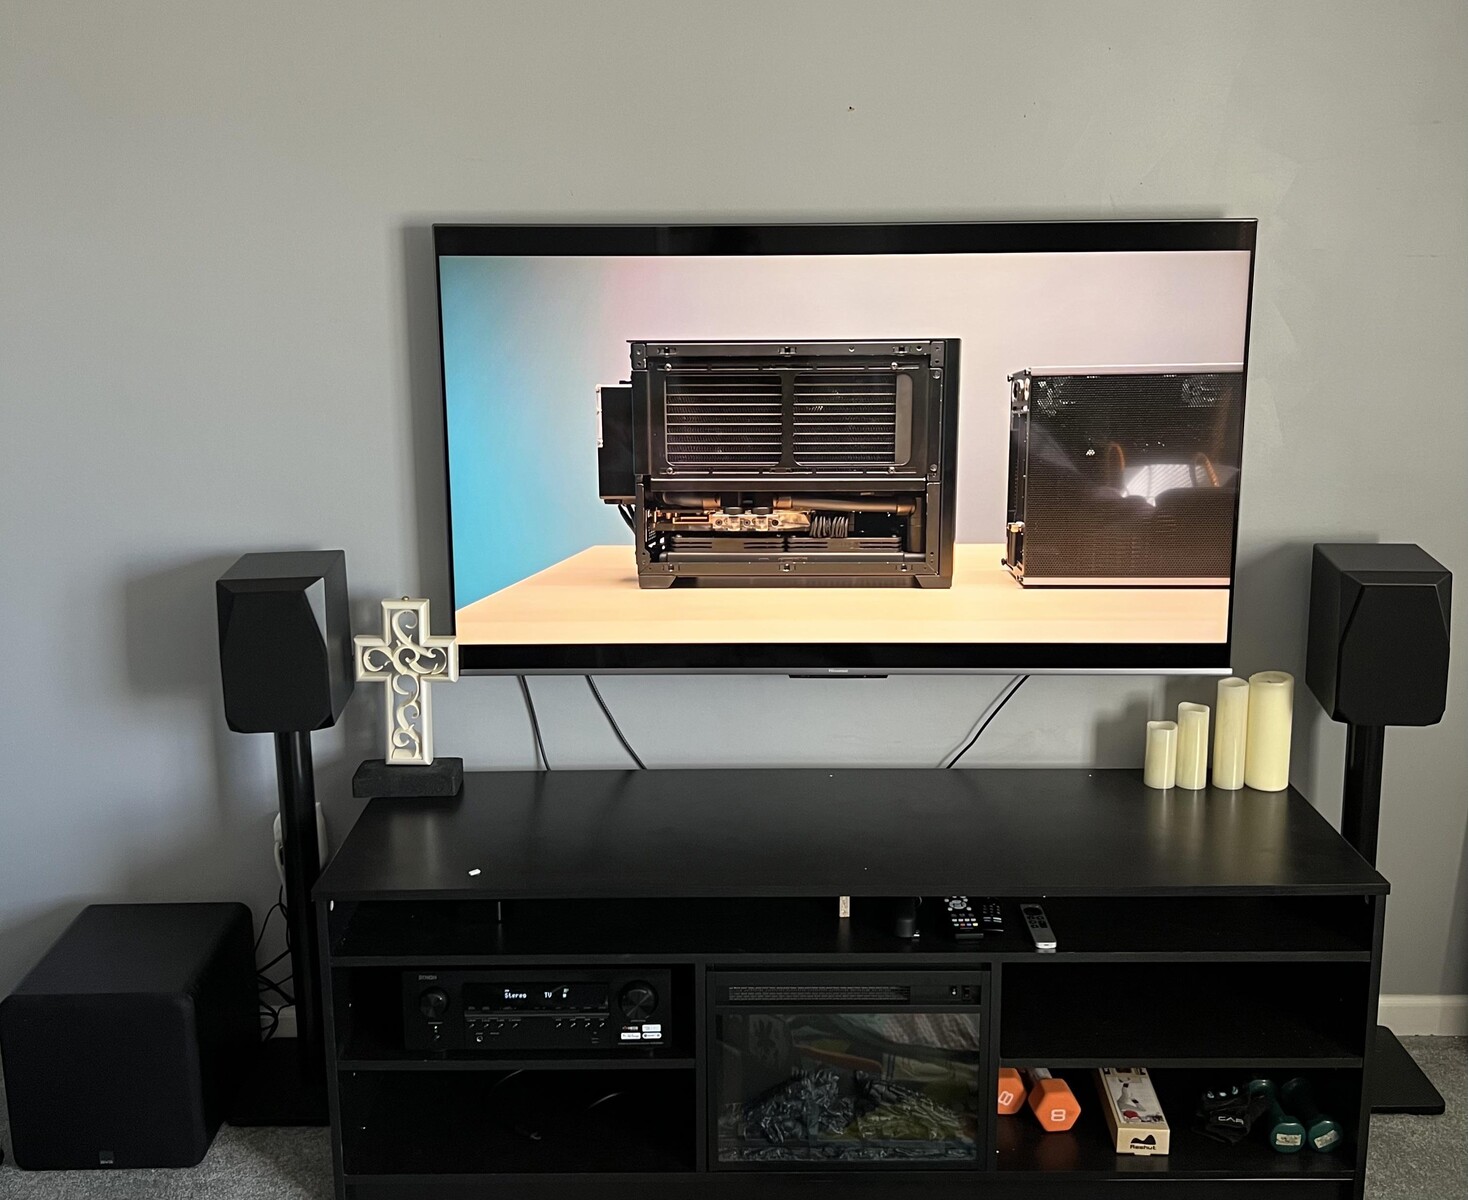
- Positioning the Front Speakers: Start by placing the front speakers at ear level, ideally at an equal distance from the primary listening area. Position them on sturdy speaker stands or shelves to ensure stability and minimize vibrations. The goal is to create a balanced soundstage with clear stereo imaging and a focused center image for dialogue and vocals.
- Placing the Subwoofer: When it comes to the subwoofer, placement plays a critical role in achieving optimal bass response. Experiment with different locations in the room to find the spot that delivers deep, well-defined bass without overwhelming the room with excessive resonance. Common placements include near the front speakers, along the front wall, or in a corner, but fine-tuning the position based on your room’s acoustics is essential.
- Optimizing Room Acoustics: Consider the acoustic characteristics of your room when setting up the speakers. If possible, incorporate acoustic treatments such as rugs, curtains, and wall panels to minimize reflections and absorb excessive reverberation. These adjustments can enhance the clarity and precision of the sound, creating a more controlled listening environment.
- Calibrating Speaker Angles: Angle the front speakers slightly inward to direct the sound towards the primary listening area, forming an immersive “sweet spot” for optimal audio enjoyment. Experiment with the speaker angles to achieve the best balance between direct sound and reflected sound, taking into account the room’s dimensions and seating arrangement.
By meticulously setting up your speakers according to these guidelines, you’re laying the groundwork for a cohesive and engaging audio experience. The careful placement and calibration of the front speakers and subwoofer are fundamental in creating a captivating soundstage that draws you into the heart of the audio content, whether it’s a thrilling movie soundtrack or a dynamic musical performance.
Remember, the goal is to achieve a harmonious blend of audio elements that seamlessly integrate with your room’s acoustics, enveloping you in a captivating sonic environment. With the speakers positioned and optimized, you’re one step closer to unlocking the full potential of your 2.1 surround sound system.
Connecting the Speakers to the Receiver
Now that your speakers are strategically positioned, it’s time to establish the vital connections between the speakers and the AV receiver to ensure seamless audio transmission and control. Properly linking the components is essential for harnessing the full potential of your 2.1 surround sound system. Here’s a detailed guide on connecting the speakers to the receiver:
- Identifying Speaker Outputs: Locate the dedicated speaker outputs on the back of your AV receiver. These outputs are typically labeled “Front Left” and “Front Right” for the main speakers, and “Subwoofer” or “LFE” for the subwoofer channel.
- Matching Polarities: Ensure that the polarity of the speaker wires matches the corresponding terminals on both the speakers and the receiver. The positive (+) and negative (-) terminals on the speakers should align with the corresponding terminals on the receiver to maintain phase coherence and prevent signal cancellation.
- Connecting Front Speakers: Use high-quality speaker wire to connect the front left and front right speakers to their respective terminals on the AV receiver. Strip a small portion of the wire insulation, twist the exposed conductors, and insert them into the binding posts or spring clips on the receiver, ensuring a secure connection.
- Linking the Subwoofer: If your subwoofer features a dedicated LFE input, use a subwoofer cable (preferably a shielded coaxial cable) to connect the subwoofer to the “Subwoofer” or “LFE” output on the AV receiver. This connection allows the receiver to send low-frequency signals to the subwoofer for deep bass reproduction.
- Securing the Connections: Once all the speaker connections are in place, double-check the wiring to ensure that each connection is secure and free from any stray wire strands that could cause short circuits or signal interference. Neatly organize the cables to minimize clutter and reduce the risk of accidental damage.
By meticulously establishing these connections, you’re creating a robust audio pathway that facilitates the seamless transmission of audio signals from the receiver to the speakers and subwoofer. The secure and accurate wiring of the components is crucial for maintaining signal integrity and preserving the fidelity of the audio content.
With the speakers and subwoofer effectively linked to the AV receiver, you’re poised to unleash the full sonic potential of your 2.1 surround sound system, setting the stage for an immersive and captivating audio experience.
Adjusting the Settings
With the physical connections in place, it’s time to delve into the realm of audio adjustments and fine-tuning to optimize the performance of your 2.1 surround sound system. The AV receiver serves as the control center for managing various audio settings, allowing you to tailor the sound to suit your preferences and the acoustic characteristics of your room. Here’s a comprehensive guide to adjusting the settings for an exceptional audio experience:
- Speaker Configuration: Access the receiver’s setup menu to specify the speaker configuration. Select the 2.1 channel option to indicate that you’re using a pair of front speakers and a dedicated subwoofer. This setting ensures that the receiver directs the appropriate audio signals to the respective channels, optimizing the sound distribution.
- Crossover Frequency: Adjust the crossover frequency to determine the point at which the receiver redirects low-frequency signals to the subwoofer. A typical starting point is around 80Hz, but fine-tuning this setting based on the capabilities of your speakers and subwoofer can enhance bass integration and overall sound coherence.
- Room Calibration: Many modern AV receivers feature room calibration systems that analyze the acoustic properties of your listening environment and automatically adjust the audio settings for optimal performance. Follow the on-screen prompts to run the calibration process, which may involve using a supplied microphone to measure speaker distances, levels, and room acoustics.
- Sound Modes and EQ: Explore the receiver’s sound modes and equalizer (EQ) settings to tailor the sound to your preferences and the content you’re enjoying. Experiment with different audio presets, such as movie mode, music mode, or custom EQ profiles, to find the sonic signature that best complements your listening habits and the characteristics of your media.
- Volume Leveling: Consider enabling dynamic range compression or volume leveling features to maintain consistent audio levels, especially when watching content with varying sound dynamics. These features help prevent jarring volume fluctuations, ensuring a more comfortable and balanced listening experience.
By carefully adjusting these settings, you’re sculpting the sonic landscape of your 2.1 surround sound system to deliver a tailored and immersive audio experience that resonates with your preferences and the unique acoustics of your listening space. The ability to fine-tune the audio parameters empowers you to extract the full potential of your speakers and subwoofer, creating a captivating sonic environment for your entertainment endeavors.
Testing the System
After meticulously setting up and adjusting your 2.1 surround sound system, it’s time to put the system through its paces and immerse yourself in a sonic journey that showcases the capabilities of your carefully curated audio setup. Testing the system allows you to evaluate its performance, identify any potential adjustments, and, most importantly, revel in the captivating audio experience it delivers. Here’s a comprehensive approach to testing and enjoying your 2.1 surround sound system:
- Audio Source Selection: Choose a diverse selection of audio content to test the system’s versatility. This can include movie scenes with dynamic sound effects, music tracks spanning various genres, and video games with immersive soundscapes. The goal is to assess how the system handles different types of audio content and to experience the full range of its sonic capabilities.
- Speaker Balance and Imaging: Sit in the primary listening position and pay attention to the balance and imaging of the sound. Dialogue and vocals should be anchored in the center, while music and sound effects should seamlessly envelop you, creating a cohesive and immersive audio environment. Fine-tune the speaker positions and angles if necessary to optimize the sonic imaging.
- Bass Response and Impact: Evaluate the subwoofer’s performance by listening for deep, impactful bass reproduction without overpowering or muddying the overall sound. Engage with content that features low-frequency effects and musical bass lines to gauge the subwoofer’s ability to deliver tight, well-defined bass with authority and precision.
- Dynamic Range and Clarity: Test the system’s ability to handle dynamic shifts in volume and sound intensity. Listen for subtle details in quiet passages and the system’s capability to convey explosive, high-energy moments with clarity and impact. Assess the overall dynamic range and the system’s ability to convey the nuances of the audio content.
- Room Acoustics and Immersion: Pay attention to how the room’s acoustics interact with the audio playback. Note any reflections, reverberations, or resonances that may impact the sound quality. Consider making further adjustments to the room layout or acoustic treatments to enhance the system’s immersive capabilities.
By thoroughly testing the system with a diverse range of audio content, you gain valuable insights into its performance characteristics and the overall sonic experience it offers. This process allows you to fine-tune the system to suit your preferences and the unique attributes of your listening space, ensuring that you can fully appreciate the captivating audio immersion that a well-configured 2.1 surround sound system provides.