Introduction
Welcome to the world of the Ecobee Smart Thermostat! If you’re a proud owner of this innovative device, you’re probably wondering how to set the time on it. No worries, we’ve got you covered. In this article, we’ll guide you through the step-by-step process of setting the time on your Ecobee Smart Thermostat.
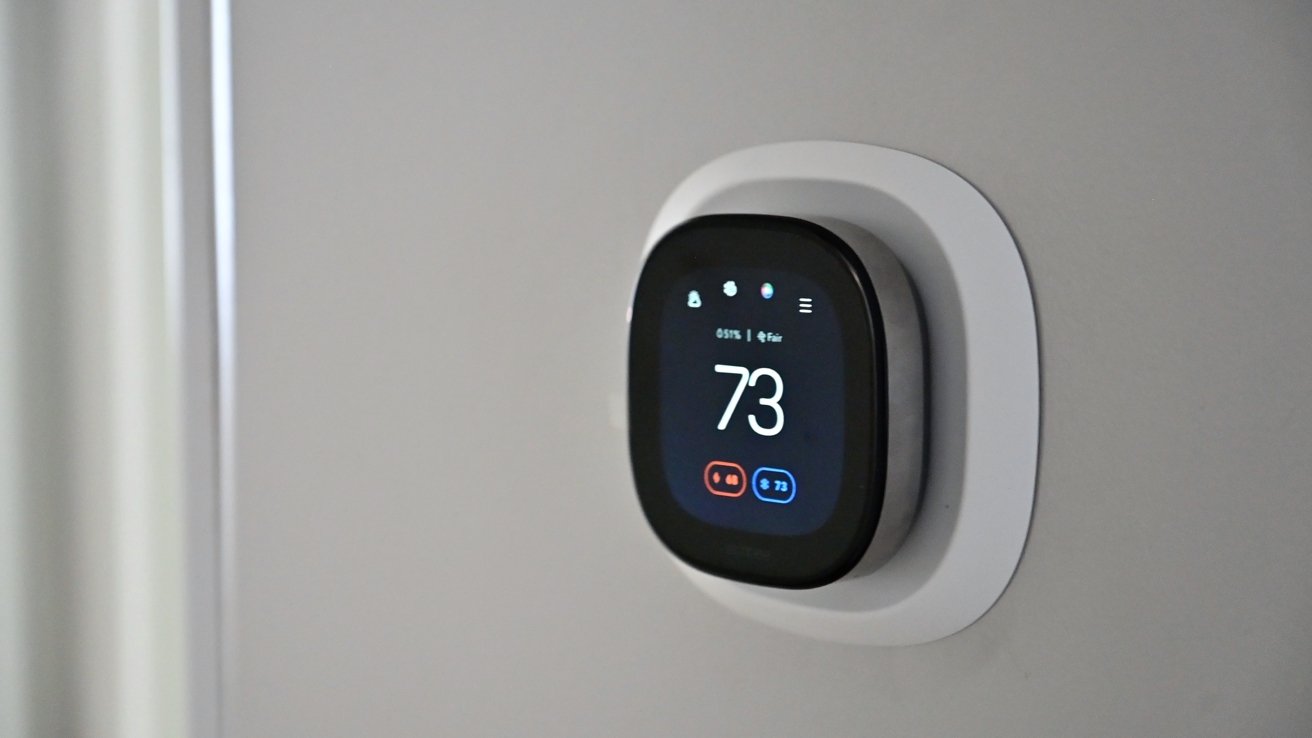
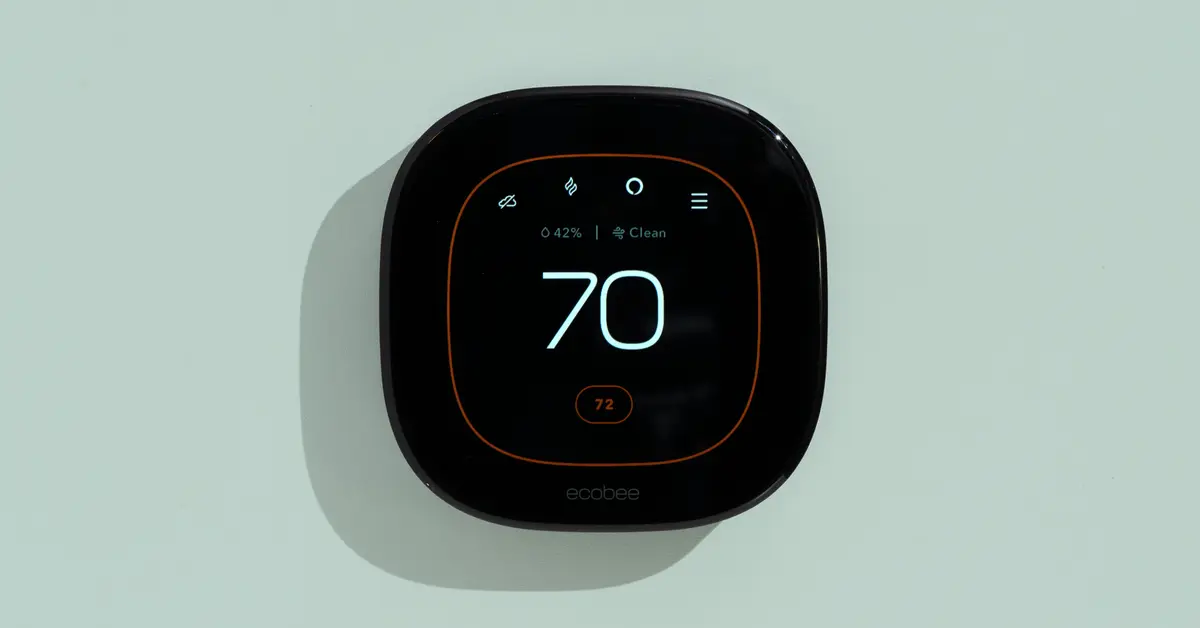
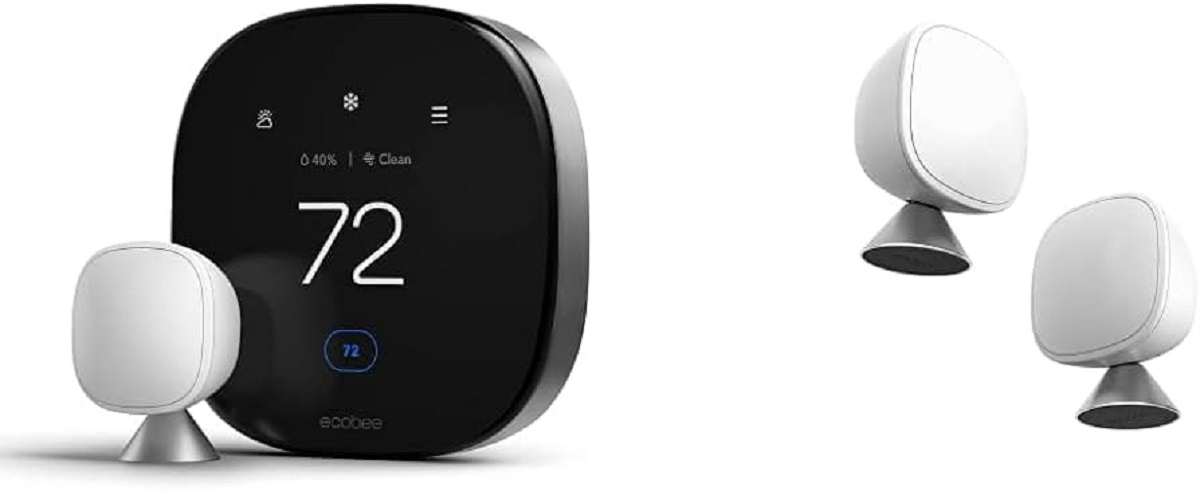
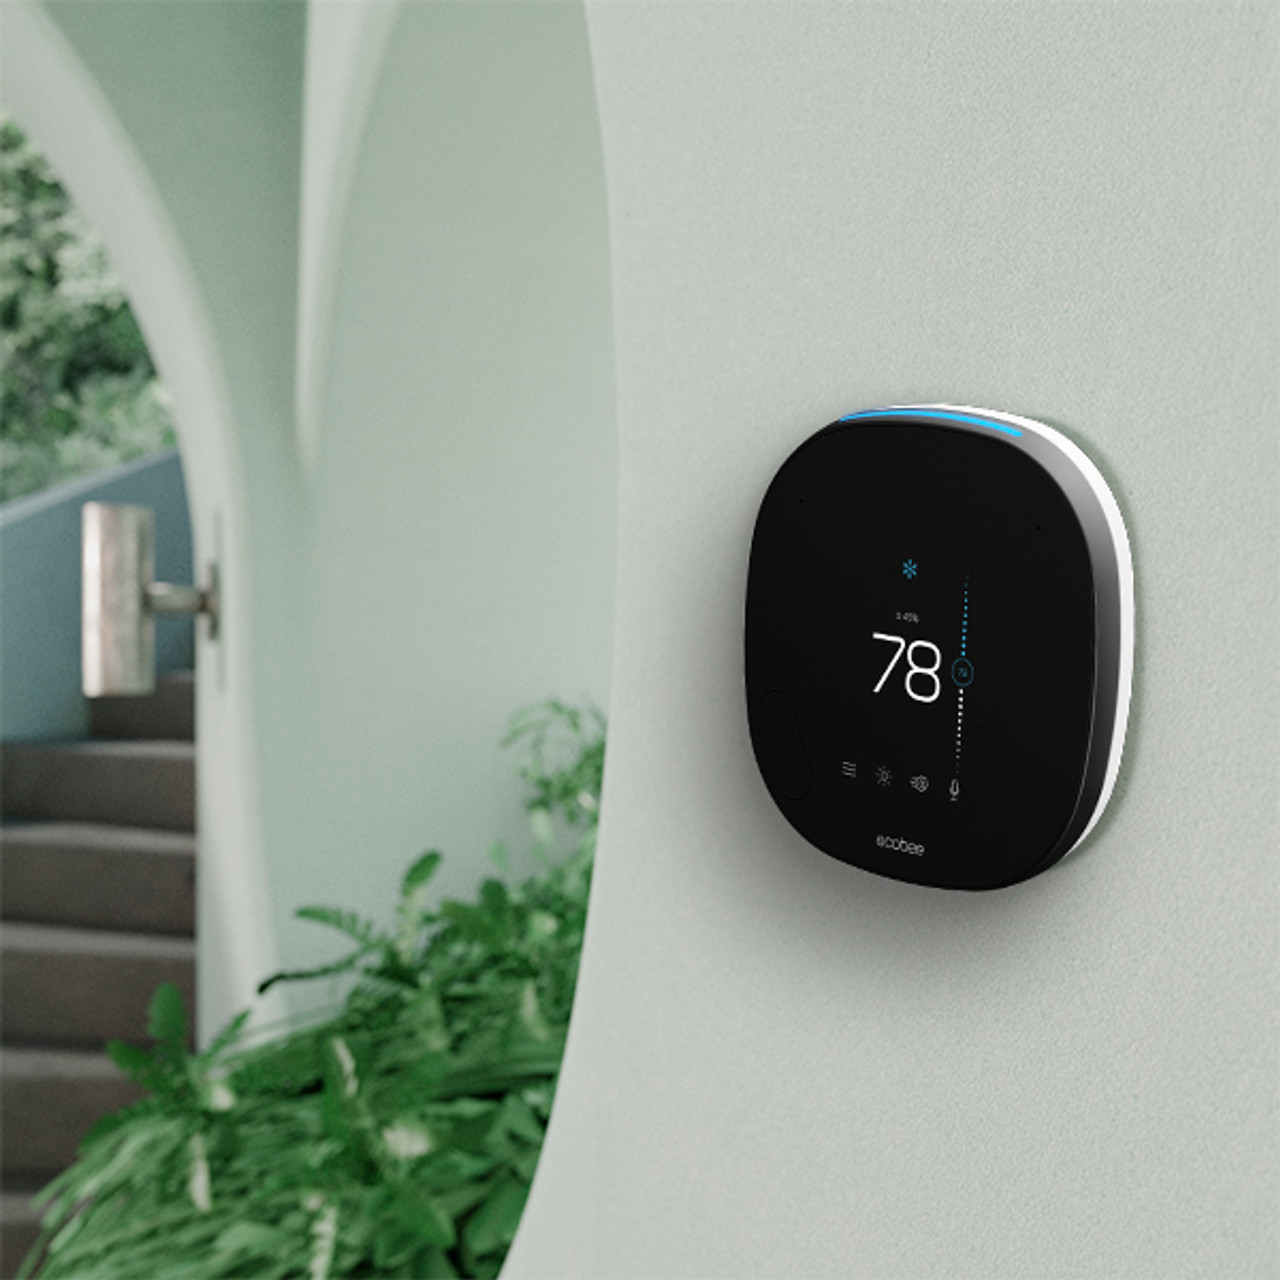
The Ecobee Smart Thermostat is not just your average thermostat; it’s a smart home device that offers advanced features and connectivity options, allowing you to control and monitor your home’s climate with ease. Whether you want to adjust the temperature, set schedules, or track energy usage, the Ecobee Smart Thermostat does it all.
But before you can take advantage of its smart capabilities, you need to ensure that the time is correctly set on your thermostat. This is crucial as it allows for accurate heating and cooling schedules, ensuring optimal comfort and energy efficiency in your home.
So, without further ado, let’s dive into the step-by-step guide to set the time on your Ecobee Smart Thermostat. From turning it on to saving the changes, we’ll walk you through the process effortlessly.
Step 1: Turning on the Ecobee Smart Thermostat
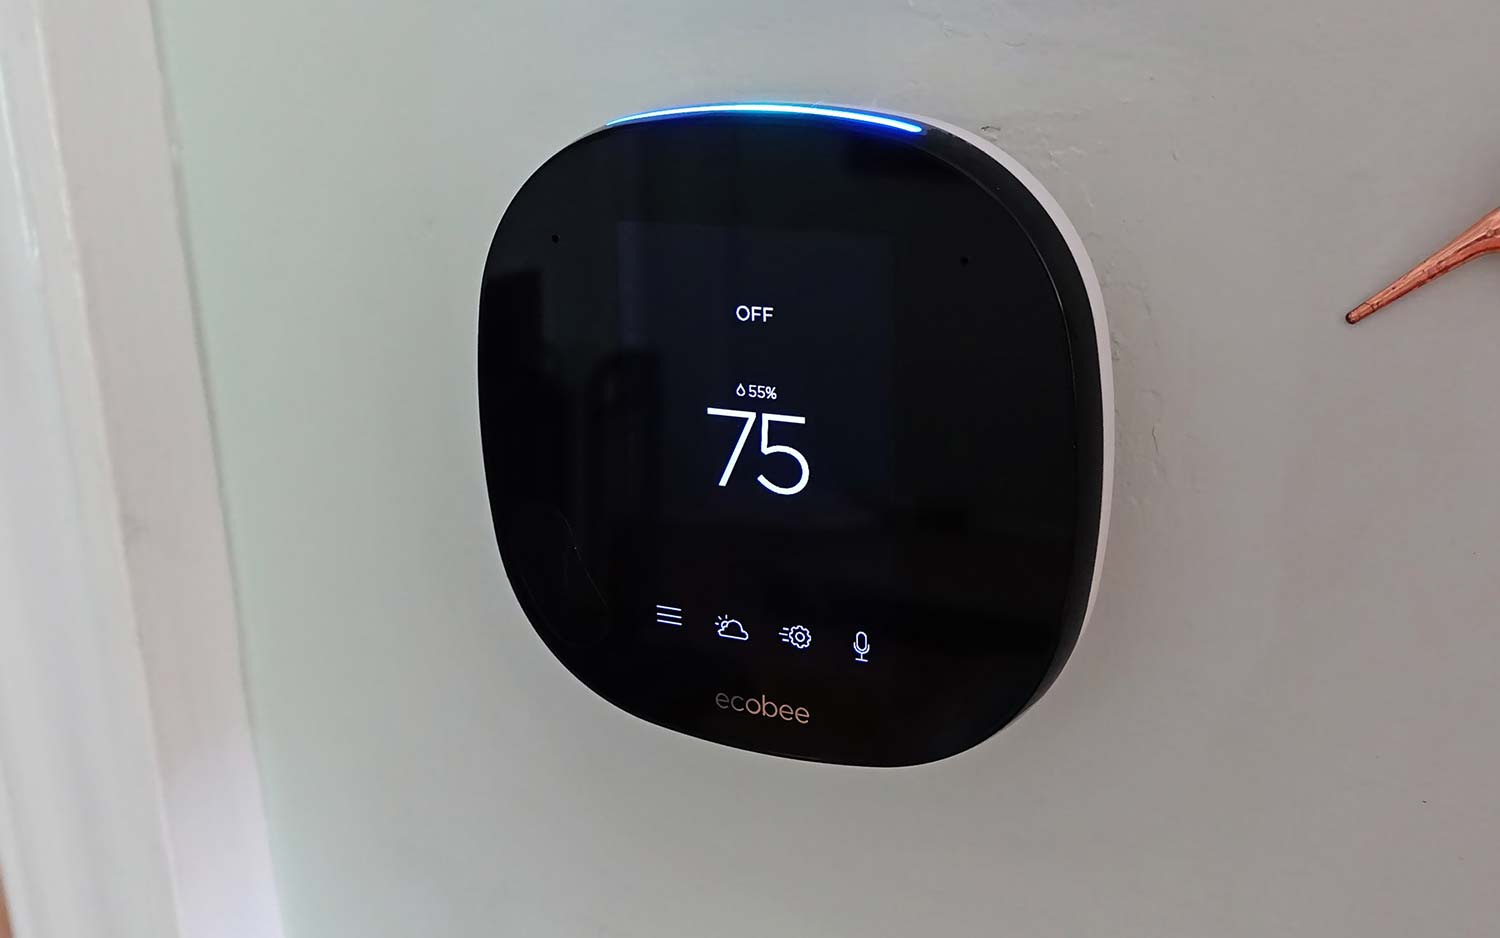
The first step in setting the time on your Ecobee Smart Thermostat is to make sure it is turned on. Locate the thermostat on your wall and find the power button. Press and hold the power button for a few seconds until the Ecobee logo appears on the screen. This indicates that the thermostat has successfully powered on.
If you have just installed the Ecobee Smart Thermostat, it may take a few moments to start up. Once it is powered on, you will be directed to the initial setup screen. If you have already completed the initial setup, skip to the next step.
Now that your Ecobee Smart Thermostat is powered on, you are ready to move on to the next step of setting the time.
Pro tip: If the Ecobee Smart Thermostat does not turn on after pressing the power button, ensure that it is securely connected to your home’s electrical system. If the issue persists, consult the user manual or reach out to Ecobee customer support for assistance.
Step 2: Navigating to the Settings Menu
Once your Ecobee Smart Thermostat is powered on, the next step is to navigate to the Settings menu, where you can access various options, including the time and date settings.
To navigate to the Settings menu, start by tapping the main menu button located on the bottom left corner of the thermostat’s screen. This will open up the main menu.
Using the touch screen, scroll through the menu options and look for the “Settings” option. Once you find it, tap on it to enter the Settings menu.
Inside the Settings menu, you will find a range of customizable options to personalize your Ecobee Smart Thermostat. These options include Wi-Fi settings, display settings, and of course, the time and date settings.
Now that you have successfully accessed the Settings menu, let’s move on to the next step of adjusting the time and date on your Ecobee Smart Thermostat.
Pro tip: If you’re having trouble navigating through the menu options, refer to the user manual or check out Ecobee’s online support resources for detailed instructions.
Step 3: Adjusting the Time and Date
Now that you’re in the Settings menu of your Ecobee Smart Thermostat, it’s time to adjust the time and date settings.
Scroll through the options in the Settings menu until you find the “Time and Date” option. Tap on it to access the time and date settings.
Within the time and date settings, you will have the option to adjust both the time and the date individually. The thermostat will usually display the current time and date, allowing you to make any necessary changes.
To adjust the time, tap on the field displaying the current time. A keypad will appear on the screen, allowing you to manually enter the correct time. Once you have entered the desired time, tap “OK” or a similar confirmation button to save the changes.
Similarly, to adjust the date, tap on the field displaying the current date. A calendar interface will appear on the screen, allowing you to select the correct date. Scroll through the months and tap on the specific day to set the date. Again, don’t forget to save the changes.
Once you have adjusted both the time and date, take a moment to review the changes and ensure that they are accurate. If everything looks good, proceed to the next step to choose the time format.
Pro tip: Some Ecobee Smart Thermostats offer automatic time and date synchronization through an internet connection. If your device supports this feature, you can enable it for hassle-free time updates.
Step 4: Choosing the Time Format
After adjusting the time and date settings on your Ecobee Smart Thermostat, the next step is to choose the time format that suits your preference.
Within the time and date settings menu, you will find an option to select the time format, usually listed as “Time Format” or something similar. Tap on this option to access the available time format options.
Depending on your Ecobee model and software version, you may have various time format options to choose from. Common options include 12-hour format (AM/PM) and 24-hour format (military time).
To choose the desired time format, simply tap on the option that aligns with your preference. The selected time format will be highlighted or checked, indicating that it has been successfully chosen.
It’s important to select the time format that you are most comfortable with since it will be displayed on your Ecobee Smart Thermostat’s screen and used in scheduling and timing functions.
Once you have chosen the time format, ensure that it is accurately reflected on the screen, along with the adjusted time and date. If everything looks correct, you’re ready to move on to the final step of saving the changes.
Pro tip: Experiment with different time formats to see which one suits your lifestyle and preferences the best. Feel free to switch between formats until you find the one that you find most convenient.
Step 5: Saving the Changes
Now that you have adjusted the time, date, and time format on your Ecobee Smart Thermostat, it is crucial to save the changes you’ve made.
To save the changes, look for the “Save” or “Apply” button within the time and date settings menu. This button is typically located at the bottom or top-right corner of the screen. Tap on it to confirm and save the updated time and date settings.
After tapping the save button, the Ecobee Smart Thermostat will process the changes and update the displayed time accordingly. You may notice a brief loading or refreshing screen before the changes take effect.
Once the changes have been saved and applied, you can navigate back to the main menu or exit the settings menu. The time and date you have set should now be accurately reflected on your Ecobee Smart Thermostat’s screen.
Remember, the correct time and date settings are essential for ensuring that your thermostat functions properly and accurately schedules temperature adjustments. With the changes saved, you can now enjoy the benefits of a precisely timed and controlled home climate.
Pro tip: It’s a good practice to periodically check and adjust your Ecobee Smart Thermostat’s time and date settings to account for daylight saving time changes or other time adjustments.
Conclusion
Setting the time on your Ecobee Smart Thermostat is a simple and straightforward process. By following the step-by-step guide outlined in this article, you can ensure that your thermostat displays the correct time and date, allowing for accurate scheduling and precise temperature control in your home.
Remember to start by turning on the Ecobee Smart Thermostat and accessing the Settings menu. From there, you can adjust the time and date settings, choose the preferred time format, and save the changes made. It’s important to review the adjustments and ensure accuracy before saving.
By taking the time to set the correct time on your Ecobee Smart Thermostat, you can optimize energy efficiency, enhance home comfort, and seamlessly integrate it into your smart home setup.
If you encounter any difficulties during the process or have any questions, refer to the user manual provided by Ecobee or seek assistance from their customer support team. They will be more than happy to help you troubleshoot and have your thermostat running smoothly.
Now that you have successfully set the time on your Ecobee Smart Thermostat, enjoy the convenience and control it brings to your home’s climate management. Sit back, relax, and let your smart thermostat take care of your comfort needs.