Introduction
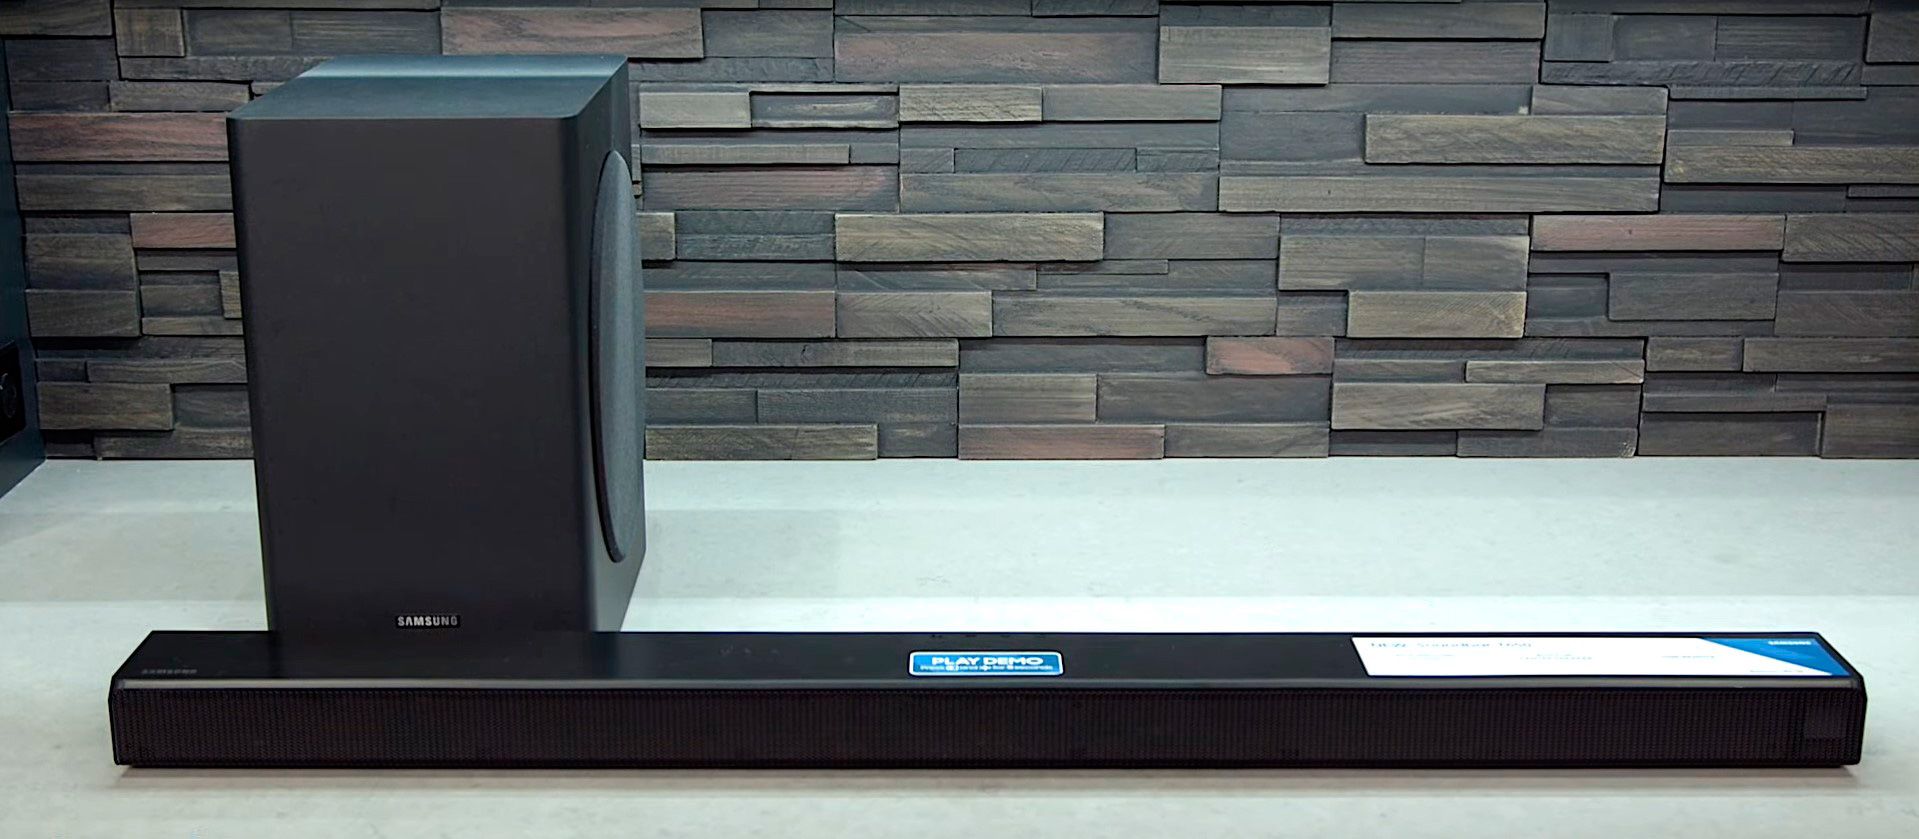
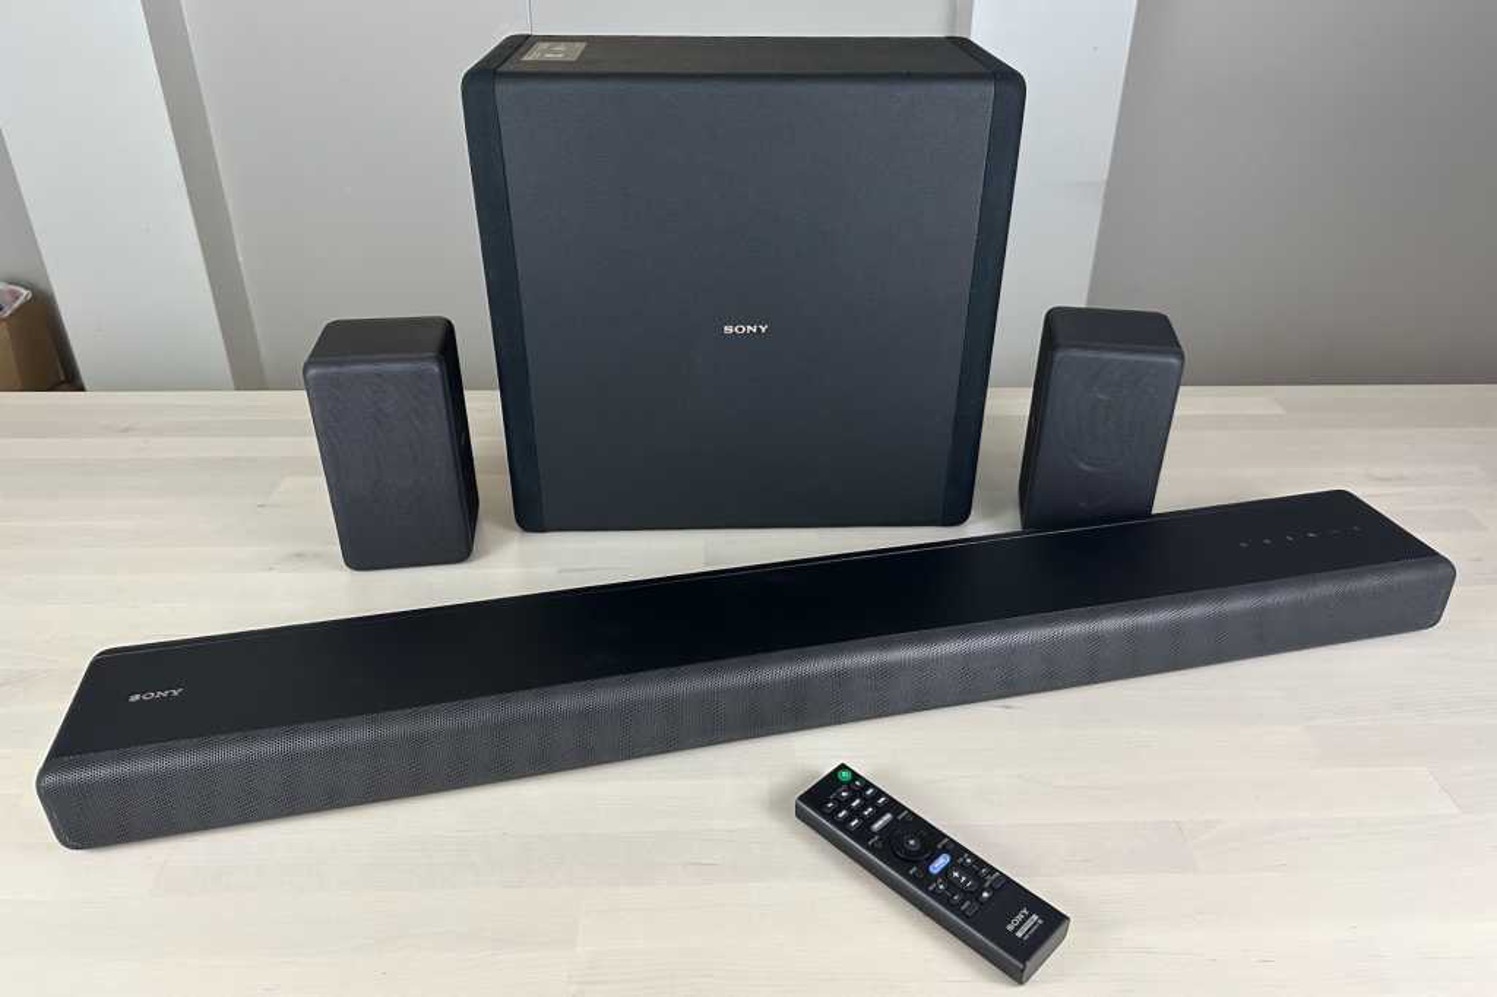
When it comes to moving, packing fragile electronic equipment like a soundbar requires extra care and attention. A soundbar is a valuable and essential item for many people, providing an immersive audio experience while watching movies or listening to music. To ensure that your soundbar arrives at your new location in one piece and continues to deliver exceptional sound quality, it is crucial to pack it properly.
In this guide, we will provide you with step-by-step instructions on how to pack a soundbar for moving. Whether you are relocating to a new home, traveling long distances, or simply need to store your soundbar for a while, following these guidelines will help protect your device from potential damage and ensure its safe arrival at the destination.
Proper packing ensures that the soundbar remains intact and functional throughout the moving process. By taking the time to pack it correctly, you can avoid costly repairs or having to replace your soundbar altogether. So, let’s dive into the details of how to pack your soundbar to safeguard it during your move.
Step 1: Gather the necessary packing materials
Before you start packing your soundbar, it is essential to gather all the necessary materials to ensure its safe transportation. Here are the items you will need:
- Cardboard box: Find a box that is large enough to accommodate your soundbar and provides adequate space for additional padding.
- Bubble wrap: This will provide cushioning and protect your soundbar from any impacts during the move.
- Packing tape: Use strong packing tape to secure the box and keep it closed throughout the transportation process.
- Packing paper: Use packing paper or newspaper to wrap fragile parts and fill any empty spaces in the box.
- Ziplock bags: These will come in handy for storing and organizing the cables and accessories.
- Marker: Use a permanent marker to label the box containing the soundbar for easy identification.
Having these materials ready beforehand will make the packing process smoother and more efficient. Once you have gathered all the necessary items, you can proceed to the next step of disconnecting the cables and accessories from your soundbar.
Step 2: Disconnect all cables and accessories
Before packing your soundbar, it is crucial to disconnect all cables and accessories properly. This will not only make the packing process easier but also prevent any potential damage to the soundbar or its components. Follow these steps to disconnect your soundbar:
- Power off the soundbar: Make sure to turn off the soundbar and disconnect it from the power source. This will safeguard against any electrical interference or accidental power surges.
- Unplug all cables: Carefully unplug all the cables connected to the soundbar. This includes HDMI cables, audio cables, power cords, and any other peripherals attached to it.
- Remove additional accessories: If your soundbar has any additional accessories like wall mounting brackets or speaker stands, detach them from the soundbar as well.
Take your time during this step to ensure that each cable is properly disconnected without causing any strain or damage. It is recommended to wrap each cable separately and use ziplock bags to keep them organized. Additionally, remember to label the cables to easily identify them when setting up your soundbar in the new location.
By disconnecting all cables and accessories correctly, you minimize the risk of tangling, misplacement, or damage during the moving process. Once everything is disconnected, you can move on to the next step of removing the soundbar from the wall or TV stand.
Step 3: Remove the soundbar from the wall or TV stand
If your soundbar is mounted on the wall or placed on a TV stand, you will need to carefully remove it before packing it for the move. Follow these steps to ensure a safe and secure removal:
- Consult the manual: If you are unsure about how to remove your specific soundbar model, refer to the instruction manual for guidance. It will provide detailed steps on how to detach it from the wall or TV stand.
- Locate the mounting brackets or screws: Identify the mounting brackets or screws that secure the soundbar to the wall or TV stand. Carefully loosen or remove them using the appropriate tools.
- Assist with a second person if necessary: If the soundbar is large or heavy, it is recommended to have someone assist you. They can help support the weight and ensure a steady removal.
- Gently lift the soundbar: Lift the soundbar from either side, using a firm grip, and slowly detach it from the wall or TV stand. Avoid any sudden movements or jerks to prevent accidental damage.
Taking your time and being cautious during this step is crucial. Make sure to follow the manufacturer’s guidelines for safely removing your soundbar. If you encounter any difficulties, do not hesitate to seek professional assistance to avoid accidents or damage.
Now that the soundbar is successfully removed from the wall or TV stand, you are ready to move on to the next step of packing it securely.
Step 4: Pack the soundbar in its original packaging (if available)
If you kept the original packaging of your soundbar, it is highly recommended to use it for packing. The original packaging is specifically designed to provide the optimal protection for your soundbar during transportation. Follow these steps to pack your soundbar in its original packaging:
- Retrieve the original packaging: Locate the box and additional protective materials that originally came with your soundbar. This typically includes foam inserts, cardboard inserts, and plastic covers.
- Place the soundbar in the foam inserts: Slide the soundbar into the designated foam inserts carefully. The inserts are designed to snuggly hold the soundbar in place and provide cushioning against impacts.
- Secure any loose components: If there are any detachable components or accessories that came with the soundbar, make sure to secure them in their specific compartments or pockets within the foam inserts.
- Close the box securely: Once the soundbar is properly placed in the foam inserts, close the box and secure it with packing tape. Make sure the box is well-sealed and the soundbar cannot move around inside.
Packing your soundbar in its original packaging offers the highest level of protection during the move. The designed inserts provide a custom fit, ensuring that your soundbar remains secure and shielded from any potential damage. However, if you no longer have the original packaging, proceed to the next step for an alternative packing method.
Please note that if you do not have the original packaging, it is crucial to provide sufficient protection to the soundbar to prevent any potential damage. Fortunately, there are alternative methods available to pack your soundbar securely, which we will discuss in the following steps.
Step 5: If original packaging is not available, wrap the soundbar in bubble wrap
If you no longer have the original packaging for your soundbar, don’t worry! You can still pack it securely using bubble wrap. Follow these steps to ensure adequate protection for your soundbar:
- Prepare the bubble wrap: Cut out a piece of bubble wrap large enough to fully wrap around the soundbar. Make sure you have enough bubble wrap to provide multiple layers of cushioning.
- Wrap the soundbar: Start by wrapping the soundbar snugly with the bubble wrap, ensuring that all sides and corners are covered. Pay extra attention to the fragile areas of the soundbar, such as the speakers and controls.
- Secure with tape: Use packing tape to secure the bubble wrap tightly around the soundbar. Make sure the tape is firmly attached but be careful not to put too much pressure on the soundbar itself.
- Add additional layers: For added protection, consider adding additional layers of bubble wrap around the soundbar. This will provide extra cushioning against any potential impacts during the move.
By wrapping your soundbar in bubble wrap, you create a protective barrier that absorbs shock and prevents scratches during transportation. Remember to handle the wrapped soundbar with care and avoid placing heavy objects on top of it.
While bubble wrap is an excellent option for soundbars without original packaging, it is essential to add an extra layer of protection when using this method. In the next step, we will discuss how to secure the soundbar using packing tape.
Step 6: Secure the soundbar with packing tape
After wrapping your soundbar in bubble wrap, it is essential to secure it further using packing tape. This will provide extra stability and prevent the bubble wrap from coming loose during the move. Follow these steps to secure your soundbar:
- Inspect the wrapped soundbar: Ensure that the bubble wrap is tightly secured and that all sides of the soundbar are adequately covered.
- Apply packing tape across the bubble wrap: Starting from one end, wrap packing tape horizontally around the soundbar. Be careful not to pull too tightly, as this may damage the soundbar.
- Repeat the process vertically: Once you have wrapped the soundbar horizontally, add another layer of packing tape vertically. This will provide additional reinforcement and keep the bubble wrap securely in place.
- Secure any loose ends: If there are any loose ends of the bubble wrap, fold them over and secure them with packing tape. This will prevent them from unraveling during transportation.
The packing tape will keep the bubble wrap tightly wrapped around the soundbar, providing an extra layer of protection against potential bumps and jostles. It is essential to ensure that the packing tape is applied securely but without excessive tension that might damage the soundbar.
Securing the soundbar with packing tape adds an extra level of stability to the packaging. In the next step, we will discuss how to pack the cables and accessories separately to avoid any tangling or damage.
Step 7: Pack the cables and accessories separately
When moving your soundbar, it is important to pack the cables and accessories separately to prevent any tangling, damage, or loss. Keep the necessary cables and accessories organized so that setting up your soundbar in the new location is hassle-free. Follow these steps to pack your cables and accessories:
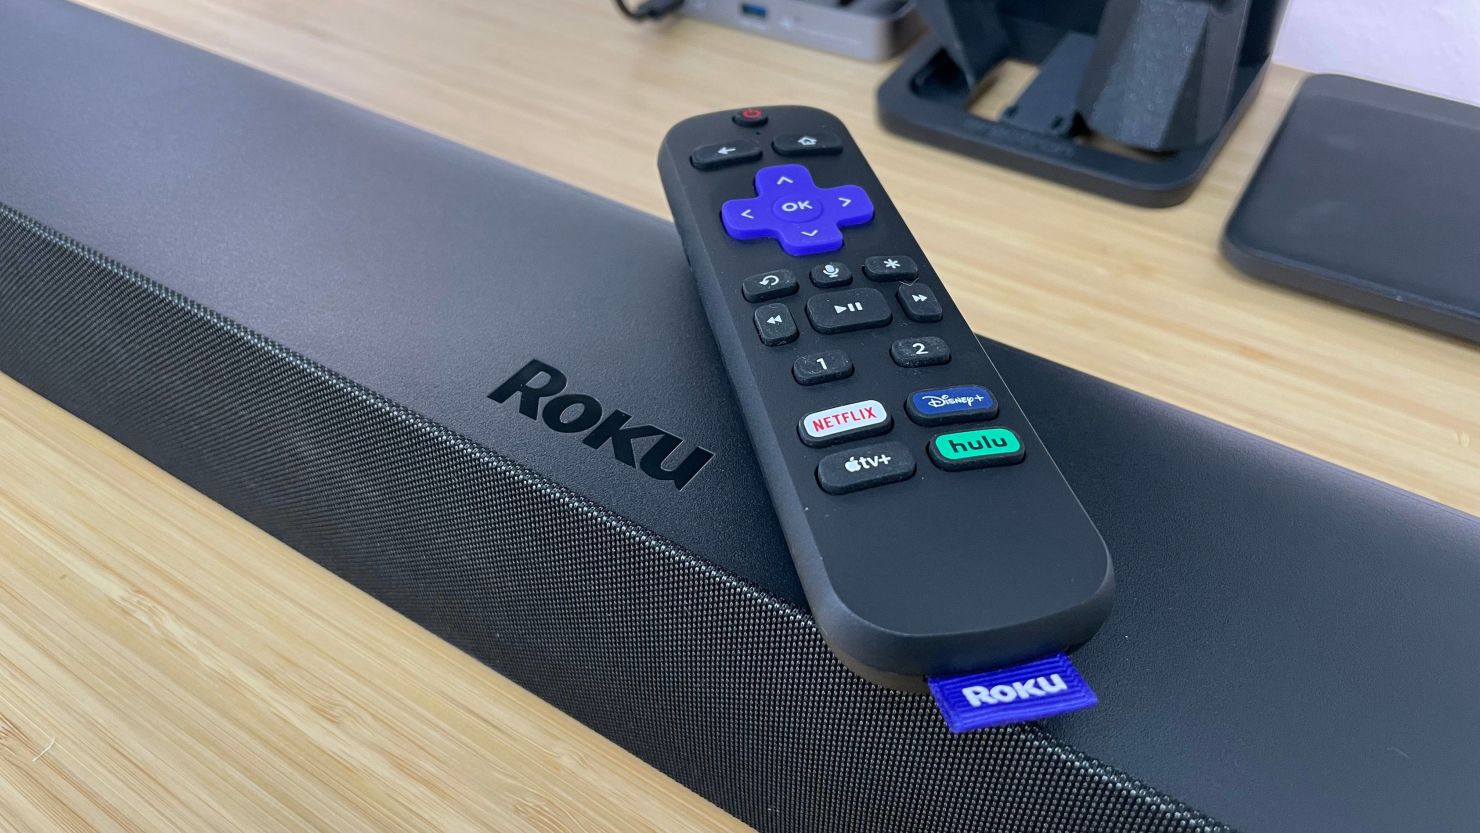
- Remove any cables and accessories still connected to the soundbar: Double-check that all cables and accessories are disconnected from the soundbar. This includes HDMI cables, audio cables, power cords, remote controls, and any other peripherals.
- Wrap cables individually: Take each cable and neatly coil it, securing it with a cable tie or twist tie. This will prevent them from getting tangled and make it easier to set up your soundbar later.
- Store cables and accessories in separate ziplock bags: Place the coiled cables and small accessories in individual ziplock bags. Label each bag to identify the contents, making it convenient when unpacking and reconnecting the soundbar.
- Place all packed cables and accessories in a larger bag or container: To keep everything together, store all the ziplock bags with cables and accessories in a larger bag or container. This will help you easily locate and unpack them when needed.
By packing the cables and accessories separately, you ensure that everything remains organized and protected during the move. Additionally, this approach prevents cables from tangling and accessories from being misplaced.
Once the cables and accessories are packed and securely stored, you can proceed to label the box containing the soundbar for easy identification during unpacking.
Step 8: Label the box containing the soundbar
Labeling the box containing your soundbar is an essential step to ensure easy identification and proper handling during the moving process. By clearly marking the box, you and your movers will know to handle it with care and prioritize its safe transportation. Follow these steps to label the box:
- Use a marker or label: Grab a marker or a pre-printed label to clearly mark the box that contains your soundbar.
- Write “Fragile” or “Handle with Care”: Indicate on the box that it contains delicate and fragile items by writing “Fragile” or “Handle with Care”. This will alert the movers to treat the box delicately and avoid any rough handling.
- Include “Soundbar” or product details: Write “Soundbar” on the label or include specific details about the brand and model of your soundbar. This will help ensure that the box is easily identifiable and distinguishable from other boxes.
- Add arrows or instructions if necessary: If there are any specific instructions for handling or unpacking the soundbar, such as “Keep upright” or “Do not stack,” label the box accordingly to ensure proper care.
By labeling the box appropriately, you can communicate the importance of handling the soundbar with care to the moving team. This will minimize the risk of accidental damage and ensure that your soundbar arrives safely at its destination.
With the soundbar box properly labeled, you are now ready to pack and prepare it for transportation in a moving vehicle. Let’s move on to the next step.
Step 9: Prepare the soundbar for transportation in a moving vehicle
Transporting your soundbar in a moving vehicle requires additional precautions to ensure its safety and protection. By properly securing the soundbar, you can minimize the risk of damage during transit. Follow these steps to prepare the soundbar for transportation:
- Select a secure location in the vehicle: Choose a safe and secure spot in your moving vehicle to place the box containing the soundbar. Avoid stacking heavy items on top of it to prevent any potential crushing or damage.
- Secure the box: Use straps, bungee cords, or furniture blankets to secure the box in place. This will prevent it from sliding or shifting during the move, reducing the risk of any impact or accidental drop.
- Avoid extreme temperatures: Ensure that the soundbar box is not exposed to extreme temperatures, such as direct sunlight or freezing cold. Extreme heat or cold can potentially damage the soundbar and its components.
- Communicate with your movers: If you have hired professional movers or are receiving assistance, inform them about the box containing the soundbar. Provide any specific instructions or precautions to ensure its safe transportation.
By taking these steps, you are prioritizing the safe and secure transportation of your soundbar. Properly securing the box and communicating any necessary precautions will minimize the chances of damage occurring during the move.
Now that you have prepared your soundbar for transportation, let’s move on to the final step of unpacking and reconnecting it in your new location.
Step 10: Unpack the soundbar carefully and reconnect in your new location
Once you have arrived at your new location, it’s time to unpack your soundbar and reconnect it. Follow these steps to ensure a smooth and successful setup:
- Locate the box containing the soundbar: Identify the box labeled with “Soundbar” or the specific details you marked earlier.
- Carefully unseal the box: Gently remove the packing tape and open the box, taking care not to damage the soundbar or other contents.
- Inspect the soundbar: Before taking the soundbar out of the box, visually inspect it for any signs of damage or dislodged components. If you notice anything concerning, document it and consider contacting the moving company or manufacturer for assistance.
- Unwrap the soundbar: If you wrapped the soundbar in bubble wrap or other protective materials, carefully unwrap it to reveal the device.
- Reconnect the cables and accessories: Retrieve the cables and accessories that you packed separately. Uncoil the cables and connect them to their corresponding ports on the soundbar. Place the accessories, such as remote controls, in their designated spots.
- Position the soundbar: Decide on the ideal location for your soundbar in the new space. Whether it’s mounting it on the wall or placing it on a TV stand, ensure it is stable and securely positioned.
- Test the soundbar: Power on the soundbar and test its functionality. Play music or a movie to ensure the audio output is working correctly.
- Make adjustments if necessary: Adjust the soundbar’s settings, such as volume levels or audio presets, to your preference. Fine-tune the sound to achieve the best audio experience in your new location.
By following these steps, you can carefully unpack and reconnect your soundbar in the new location. Take your time to ensure everything is set up correctly, allowing you to enjoy your soundbar’s immersive audio experience once again.
Now that you have successfully unpacked and set up your soundbar, you can sit back, relax, and enjoy the amazing sound quality in your new space!
Conclusion
Packing and transporting your soundbar during a move can be a daunting task, but with the right steps and precautions, you can ensure its safe arrival at your new location. By following the ten steps outlined in this guide, you can properly pack your soundbar and protect it from any potential damage along the way.
Starting with gathering the necessary packing materials and disconnecting all cables and accessories, you can then proceed to remove the soundbar from the wall or TV stand. If the original packaging is available, it provides the optimal protection. However, if not, wrapping the soundbar in bubble wrap and securing it with packing tape will offer the required cushioning and stability.
Remember to pack the cables and accessories separately, label the box containing the soundbar, and take the necessary precautions when loading it into the moving vehicle. Once you reach your new location, carefully unpack the soundbar, reconnect the cables, and position it to your liking. Take the time to test its functionality and make any necessary adjustments for the best audio experience.
By following these steps, you can ensure that your soundbar is well-protected during the move, minimizing the risk of damage and allowing you to continue enjoying high-quality sound in your new space.
Keep in mind that each soundbar may have specific instructions and considerations, so consulting the manufacturer’s guidelines and manuals can provide additional insights and guidance.
With the proper packing techniques and careful handling, you can confidently transport your soundbar to your new home, ensuring that your audio experience remains exceptional throughout the moving process.


