Introduction
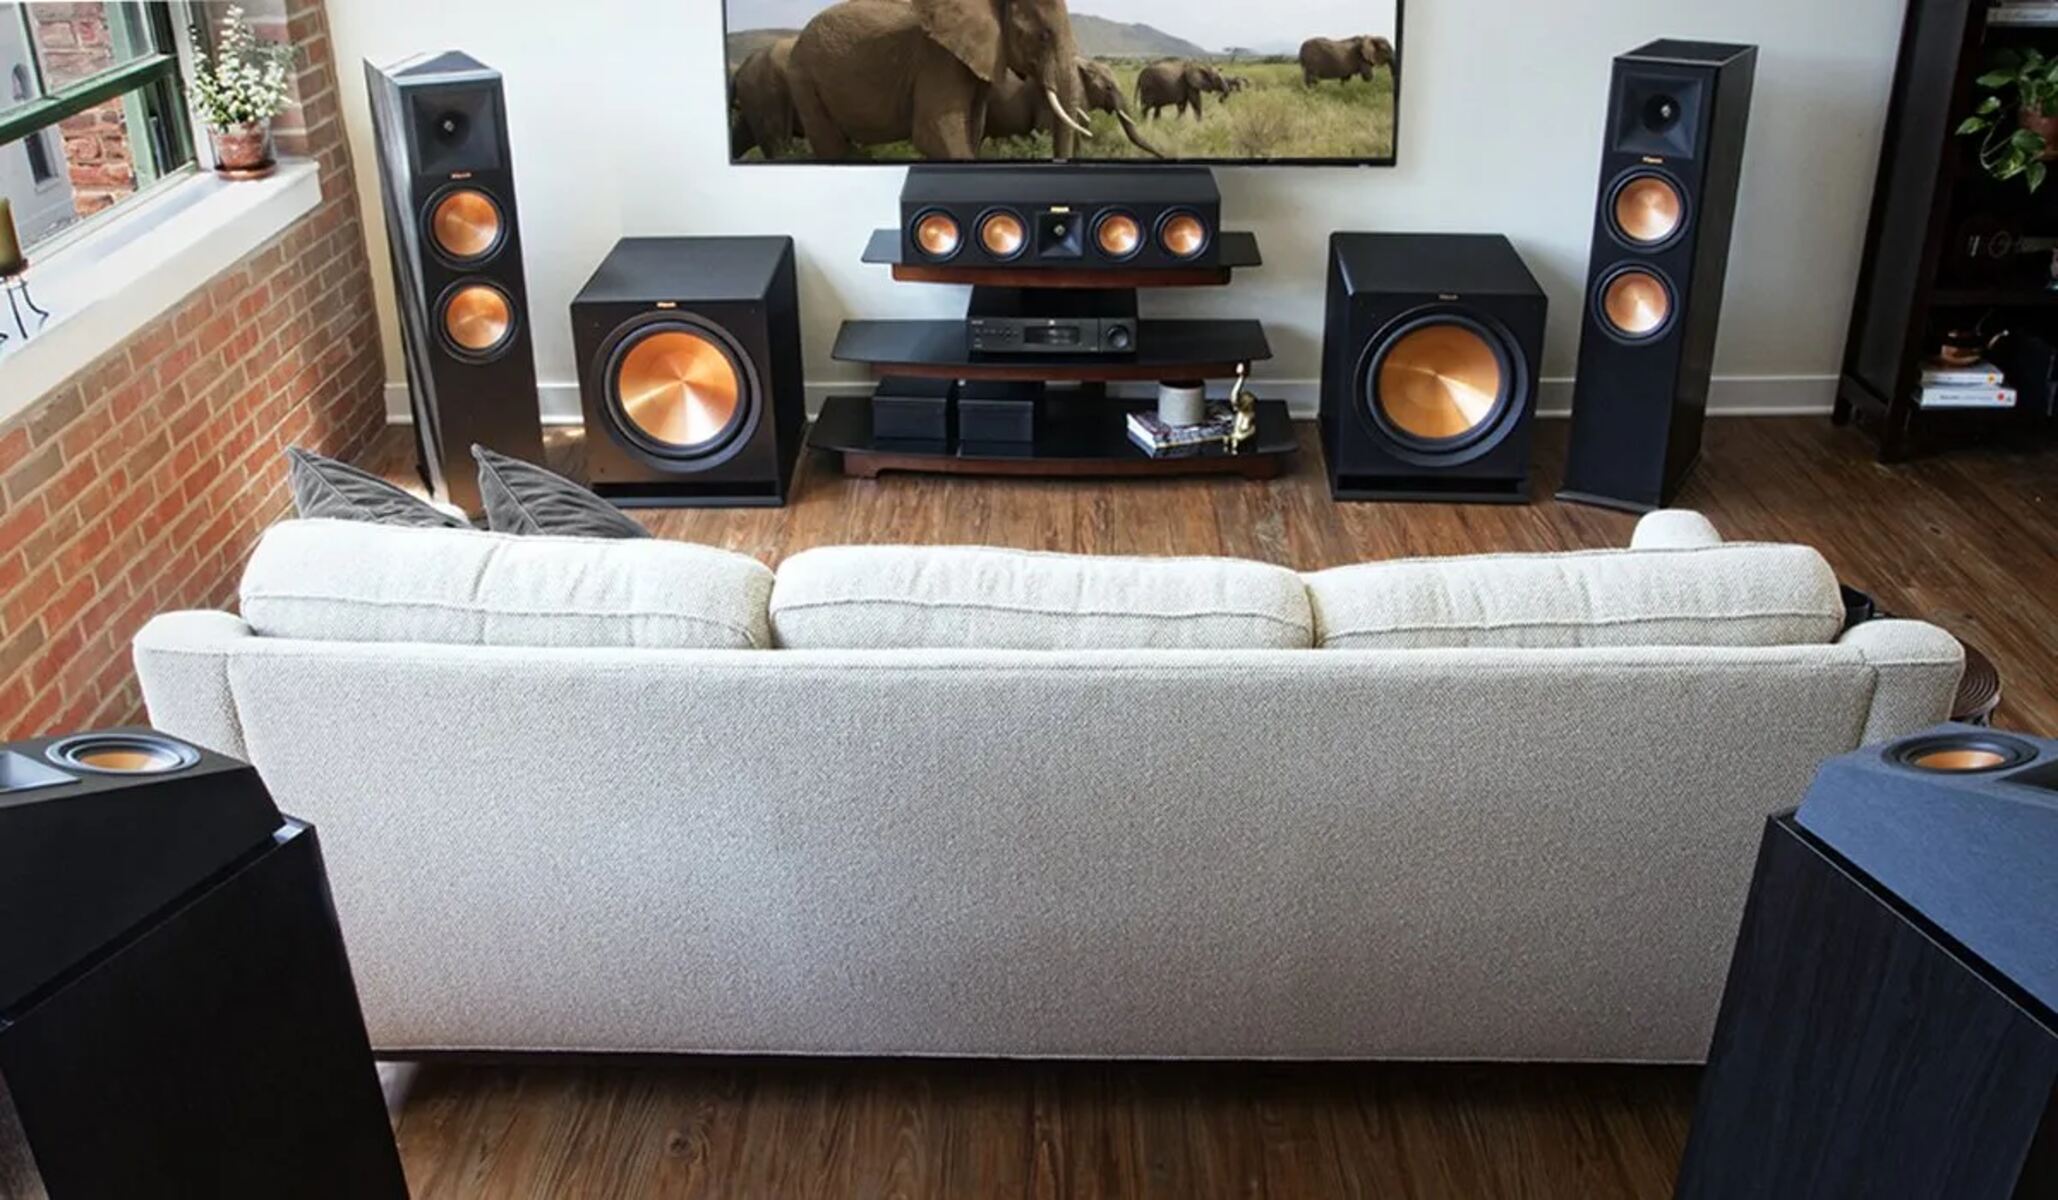
A surround sound system is a great addition to any home entertainment setup. It brings the cinematic experience right into your living room, immersing you in a world of sound and enhancing your viewing pleasure. One crucial component of a surround sound system is the powered subwoofer. This specialized speaker is designed to reproduce low-frequency sounds, providing deep bass and adding impact to music, movies, and games.
In this guide, we will walk you through the process of connecting a powered subwoofer to your stereo system, as well as the necessary steps for setting up the surround sound speakers for optimal performance. Whether you are a seasoned audiophile looking to upgrade your audio setup or a beginner trying to dive into the world of surround sound, this article will provide you with the knowledge and guidance you need.
Before we dive into the technical details, let’s take a moment to familiarize ourselves with the key components of a surround sound system. Typically, a surround sound system consists of a receiver or amplifier, a set of speakers, and a powered subwoofer. The receiver acts as the central hub, processing audio signals and distributing them to the speakers. The speakers are strategically positioned around the room to create a multi-dimensional soundstage. Lastly, the powered subwoofer delivers deep and powerful bass frequencies, adding richness and depth to the overall sound experience.
Now that we have a basic understanding of the components, it’s time to delve into the process of connecting the powered subwoofer to your stereo system. Follow along as we guide you through the necessary steps, ensuring that you can enjoy the full impact of your surround sound system.
Understanding the components of a Surround Sound System
Before you can successfully connect a powered subwoofer to your stereo system, it’s essential to have a clear understanding of the various components that make up a surround sound system. Let’s take a closer look at each of these components:
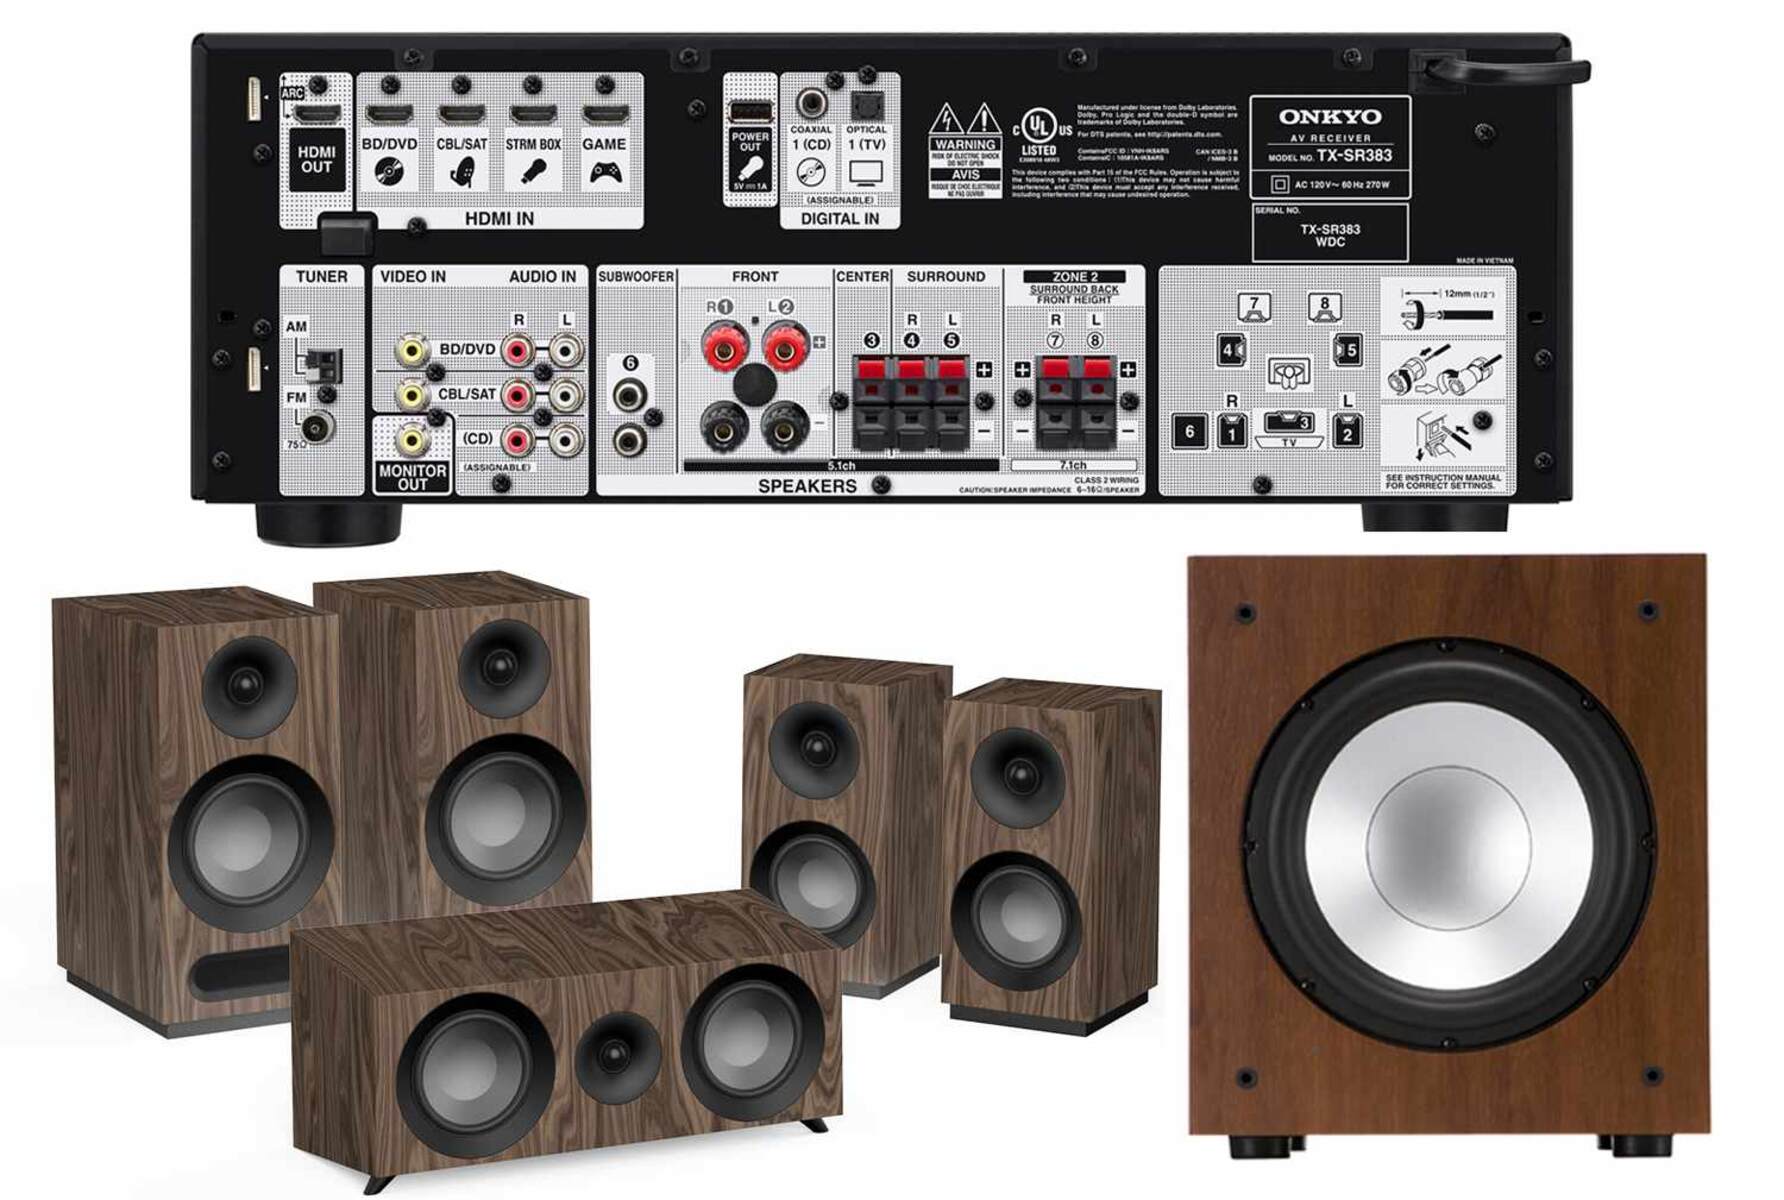
- Receiver or Amplifier: This serves as the heart of your surround sound system. The receiver or amplifier receives the audio signals from your audio sources (such as a Blu-ray player, gaming console, or television) and distributes them to the appropriate speakers. It also offers various audio processing capabilities and connectivity options.
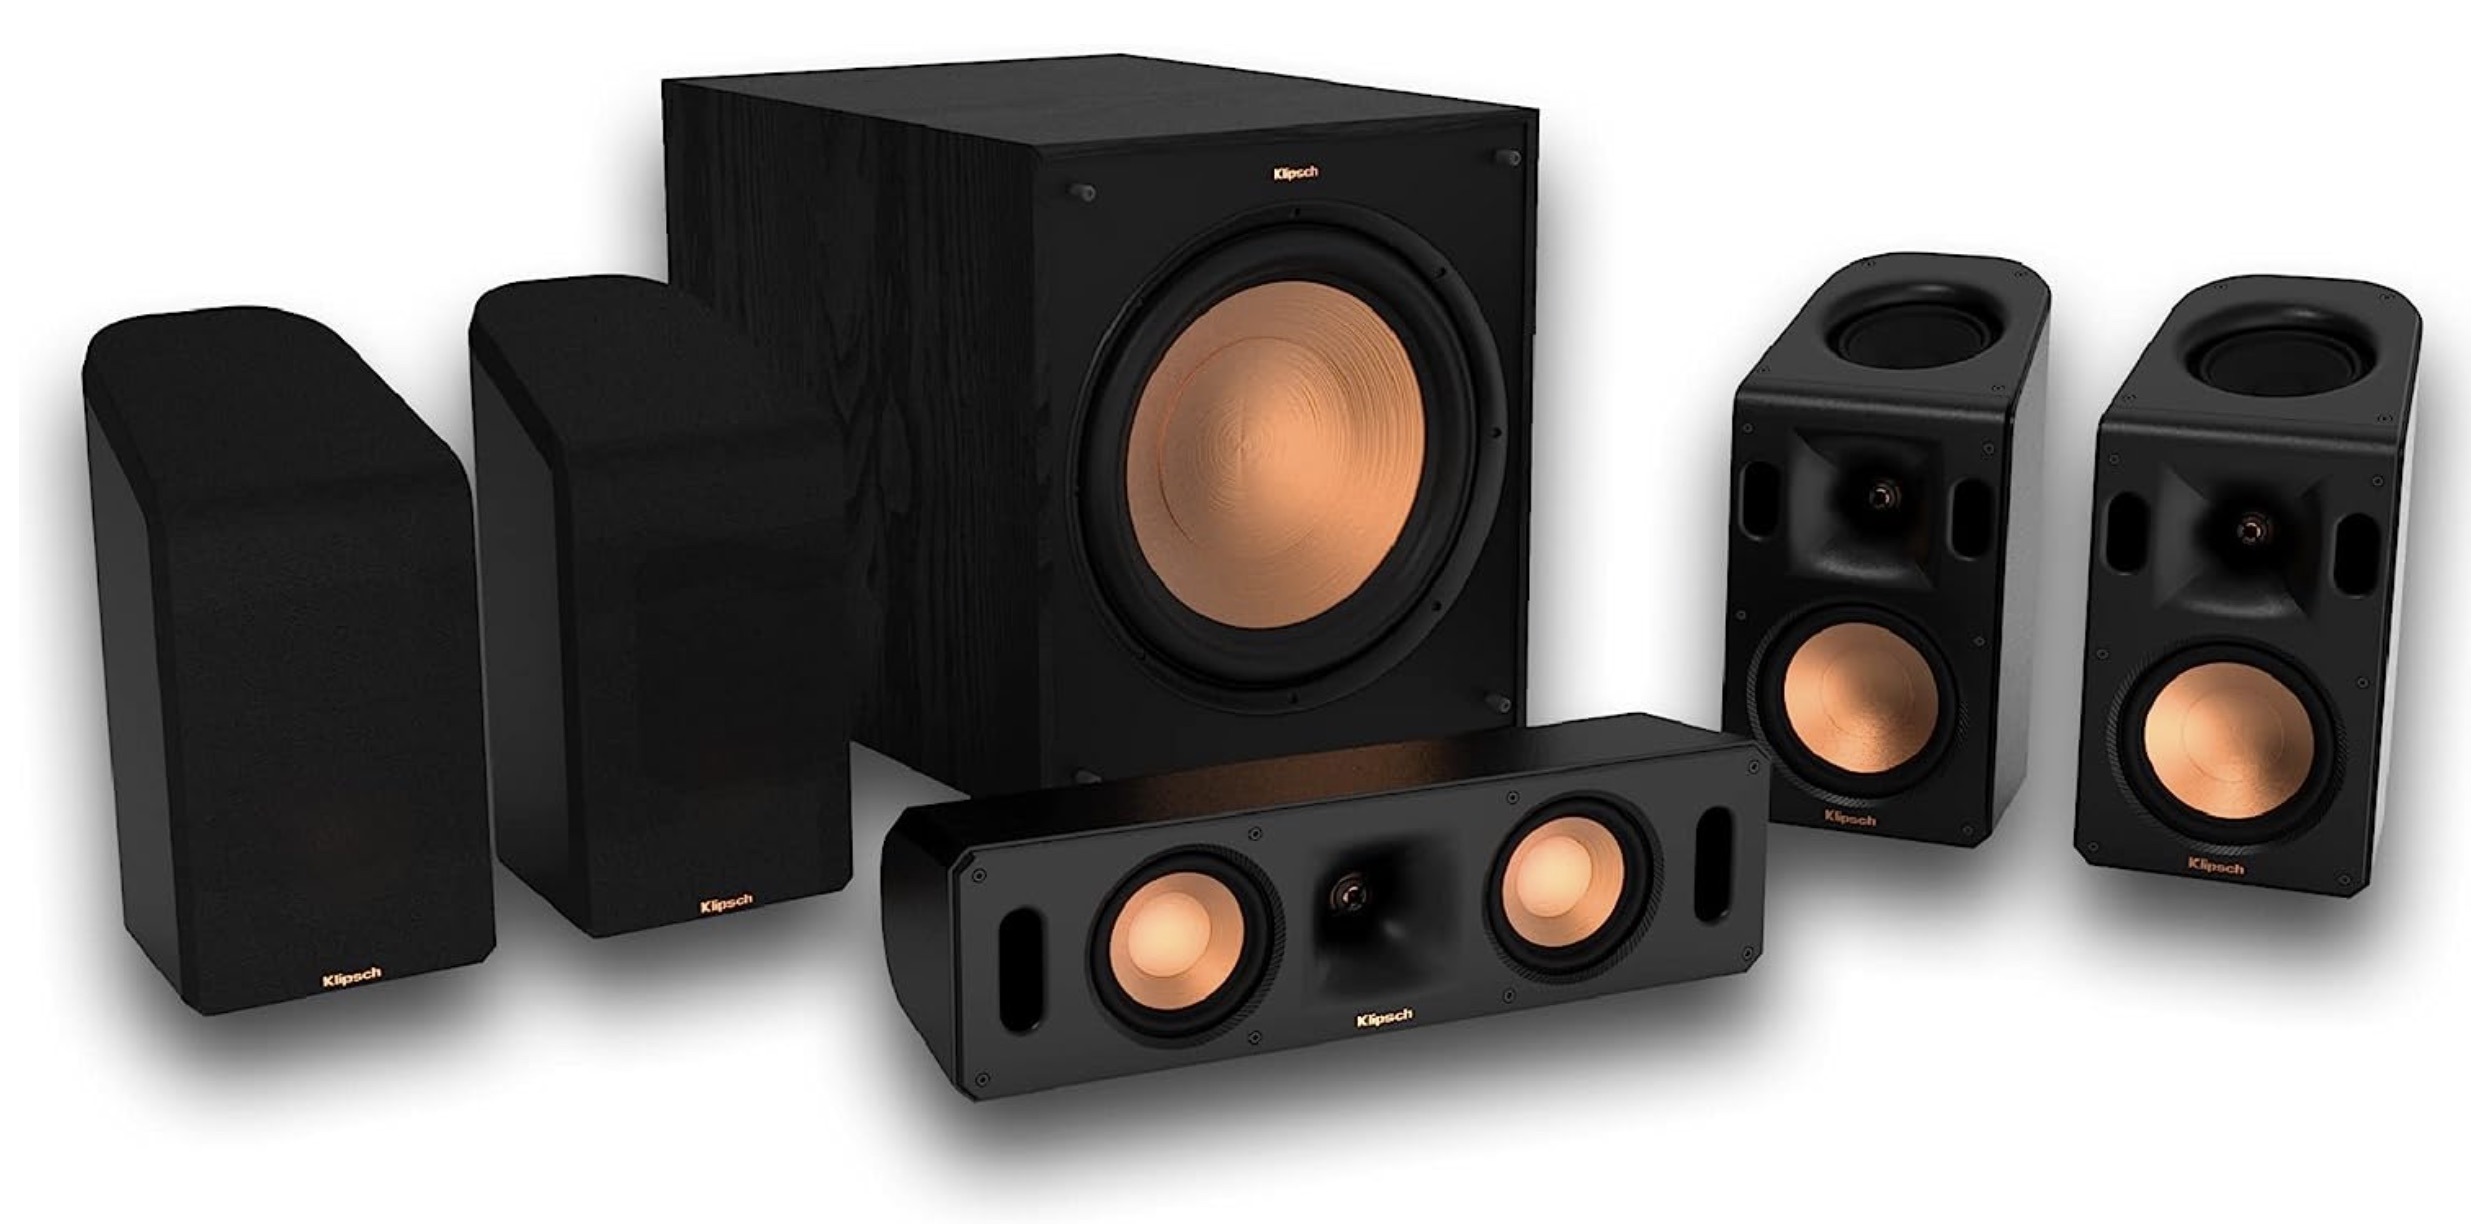
- Speakers: The speakers are responsible for reproducing sound and creating an immersive audio experience. A typical surround sound system consists of multiple speakers, each serving a specific purpose. These include:
- Front Speakers (Left and Right): Positioned on either side of the television or screen, these speakers deliver most of the audio, including dialogue and music.
- Center Speaker: Placed above or below the television, the center speaker emphasizes dialogue and enhances on-screen sound effects.
- Surround Speakers: These speakers are positioned around the room to provide ambient and positional audio, adding depth and immersion to the listening experience.
- Height Speakers (Optional): For an even more immersive experience, height speakers can be added to reproduce sound from above, creating the illusion of overhead effects and vertical spatial audio.
- Powered Subwoofer: The powered subwoofer is responsible for reproducing low-frequency sounds, particularly deep bass. It adds a sense of impact and intensity to movies, games, and music, giving you a more immersive audio experience.
Now that you have a clear understanding of the components of a surround sound system, you can proceed with connecting the powered subwoofer to your stereo system. In the next section, we will provide you with a step-by-step guide to help you navigate the connection process effectively.
Connecting the powered subwoofer to your stereo system
Connecting a powered subwoofer to your stereo system may seem daunting, but it’s actually a straightforward process. By following these step-by-step instructions, you’ll have your subwoofer up and running in no time:
- Locate the subwoofer output: Check the back of your stereo receiver or amplifier for a dedicated subwoofer output. It’s usually labeled as “Sub Out” or “LFE Out.” This output sends the low-frequency signals to the subwoofer, so make sure it’s available.
- Identify the subwoofer input: Look for the input section on your powered subwoofer. It is typically labeled as “Line In” or “Sub In.” This is where you’ll connect the subwoofer to the receiver.
- Connect using an RCA cable: Take an RCA cable and plug one end into the subwoofer output on the receiver and the other end into the subwoofer input on the powered subwoofer. Ensure a secure connection by twisting the connectors or using the locking mechanism, if available.
- Power on the subwoofer: Plug the power cord of the subwoofer into a power outlet and turn it on. The subwoofer should power up and be ready for use.
- Configure the subwoofer settings: On your stereo receiver or amplifier, navigate to the speaker setup menu. Look for the subwoofer settings and ensure that the subwoofer output is enabled or set to “On.” You may also have additional options to adjust the crossover frequency (the point at which the subwoofer takes over) and the level or volume of the subwoofer.
- Test the subwoofer: Play audio content with a prominent bass element, such as a movie, song, or sound test. Listen for the bass coming from the subwoofer and make sure it’s in sync with the rest of the audio. If necessary, make further adjustments to the subwoofer settings to achieve the desired balance and impact.
With these simple steps, you can successfully connect your powered subwoofer to your stereo system. Now that the subwoofer is properly integrated, it’s time to move on to the next section, where we’ll guide you through the process of setting up the surround sound speakers to create an immersive audio experience.
Step-by-step guide for connecting the surround sound speakers
Setting up surround sound speakers is an essential part of creating a fully immersive audio experience. Follow these step-by-step instructions to connect your surround sound speakers and elevate your home entertainment setup:
- Plan your speaker placement: Before you start connecting the speakers, determine their optimal locations in the room. Typically, the front left and right speakers should be placed in front of the viewing area, while the center speaker is positioned above or below the TV. The surround speakers should be placed to the sides or slightly behind the seating area, while the optional height speakers can be installed above for overhead effects.
- Identify the speaker terminals: Each speaker will have two terminals labeled as “positive (+)” and “negative (-).” These terminals correspond to the speaker wire connections.
- Prepare the speaker wires: Cut the speaker wire into appropriate lengths for each speaker. Strip off a small section of the insulation from each wire end to expose the copper strands. This will ensure a proper connection.
- Connect the front speakers: Take the speaker wire and insert one stripped end into the positive terminal of the front left speaker. Repeat the process for the front right speaker. Connect the other ends of the respective wires to the corresponding positive and negative terminals on the receiver or amplifier.
- Connect the center speaker: Connect the speaker wire from the receiver’s center channel output to the positive and negative terminals of the center speaker.
- Connect the surround speakers: Connect the speaker wire from the receiver’s surround or rear channel outputs to the corresponding positive and negative terminals of the surround speakers.
- Connect the optional height speakers: If you have height speakers for a more immersive experience, connect them to the receiver’s height channel outputs using speaker wire, following the same process as connecting the other speakers.
- Secure the connections: Double-check that all the speaker wire connections are secure and tightened properly. Loose connections can result in inconsistent sound quality or intermittent signal loss.
- Configure speaker settings: On your receiver or amplifier, navigate to the speaker setup menu and specify the speaker configuration. Set the appropriate speaker sizes, crossover frequencies, and channel levels to ensure the best sound balance for your specific system. This may vary depending on your receiver model.
- Test the speaker setup: Play test tones or audio content that showcases each speaker’s sound individually. This will help you confirm that each speaker is functioning correctly and positioned correctly.
By following these step-by-step instructions, you can successfully connect and configure your surround sound speakers. Now that everything is set up, we’ll move on to the next section to ensure that you optimize the settings for optimal sound quality.
Adjusting the settings for optimal sound quality
Once you have connected your surround sound speakers, it’s crucial to fine-tune the settings for optimal sound quality. Here are some key adjustments you can make to enhance your audio experience:
- Speaker levels: Use your receiver’s speaker setup menu to adjust the individual volume levels of each speaker. This ensures a balanced soundstage and optimal sound localization.
- Crossover frequency: The crossover frequency determines the point at which the bass signals are redirected from the main speakers to the subwoofer. Experiment with different crossover frequencies to find the best balance between the main speakers and the subwoofer.
- Room acoustics: Take into consideration the acoustics of your room. Adjustments may include using acoustic treatments like diffusers or absorbers to reduce echo, repositioning furniture to optimize sound reflection, or using room correction software on your receiver to compensate for any acoustic anomalies.
- Audio modes and equalizer: Explore the various audio modes offered by your receiver, such as Dolby Digital, DTS, or other dedicated modes for specific content types. Additionally, use the equalizer presets or manual equalizer settings to fine-tune the audio frequency response to suit your preferences.
- Audio source quality: Ensure that your audio sources (such as Blu-ray players, streaming devices, or gaming consoles) are set to output the highest quality audio signal. This typically involves selecting the appropriate audio output format and enabling any necessary audio enhancements in the device settings.
- Listening position: Consider the optimal listening position in the room. Ideally, the main listening area should be centered between the front speakers and at a comfortable distance from the surround speakers for an immersive audio experience.
Be prepared to experiment and make adjustments based on your personal preferences and the specific characteristics of your room. Take some time to fine-tune the settings, listen to various audio content, and make small incremental changes to achieve the best sound quality.
Remember, audio preferences are subjective, and what sounds great to one person may not be as pleasing to another. Trust your ears and make adjustments that create an immersive and enjoyable listening experience for you.
With the settings optimized, you should now be able to fully enjoy the immersive audio experience provided by your surround sound system. In the next section, we will address some common troubleshooting issues you may encounter while setting up your system.
Troubleshooting common issues
While setting up a surround sound system, you may encounter some common issues. Here are a few troubleshooting tips to help you resolve them:
- No sound from subwoofer: Ensure that the subwoofer is powered on and that the connection between the subwoofer output on the receiver and the subwoofer input is secure. Check the speaker setup menu on the receiver to ensure that the subwoofer output is enabled and the volume level is adequate.
- Imbalanced volume levels: If you notice that the volume levels between different speakers are imbalanced, check the speaker setup menu on your receiver. Adjust the individual speaker levels until you achieve a more balanced soundstage. Additionally, ensure that each speaker is positioned correctly and not obstructed by any objects.
- Poor sound quality or distortion: If you experience poor sound quality or distortion, check the speaker wire connections to ensure they are secure. Ensure that the speaker wires are not damaged or frayed. Adjusting the crossover frequency and speaker distances in the receiver’s setup menu may also help improve sound quality.
- Lack of surround sound effects: If surround sound effects are not as pronounced as expected, check the speaker placement and positioning. Make sure the surround speakers are positioned correctly, facing inward towards the listening area. Adjusting the surround speaker levels and experimenting with different audio modes can also enhance the surround sound experience.
- No audio from specific speakers: If you have a speaker that is not producing any sound, check the speaker wire connections to ensure they are properly connected to both the speaker and the receiver. Also, verify that the speaker is not in “mute” or “off” mode on the receiver. If the issue persists, try connecting the speaker to a different channel on the receiver to determine if the problem lies with the speaker or the receiver.
- Audio delay or synchronization issues: If you notice a noticeable delay between the audio and video, adjust the audio delay or lip-sync settings on your receiver. These settings allow you to synchronize the audio with the video to ensure a seamless viewing experience.
If you encounter any other issues not mentioned here, consult the user manual for your specific receiver and speakers. It’s also helpful to research online forums or reach out to customer support for further assistance.
Remember, troubleshooting audio issues can be a process of trial and error. Be patient and methodical in your approach, and don’t hesitate to seek help when needed. Once you’ve resolved any issues, you’ll be able to fully enjoy the immersive and high-quality audio experience provided by your surround sound system.
Conclusion
Setting up a surround sound system with a powered subwoofer can transform your home entertainment experience by immersing you in rich and immersive audio. By understanding the components of a surround sound system, connecting the subwoofer and speakers correctly, adjusting the settings, and troubleshooting common issues, you can achieve optimal sound quality and create a cinematic experience right in your living room.
Remember to familiarize yourself with the receiver or amplifier, ensuring you have the necessary outputs and understanding the speaker placement for optimal performance. Connect the powered subwoofer using the appropriate cables, and then proceed to connect the surround sound speakers, including the center, front, surround, and optional height speakers. Check the connections, configure the settings, and fine-tune the audio to your preferences.
Throughout the setup process, it’s important to troubleshoot any issues that may arise, such as subwoofer or speaker sound problems, imbalanced volume levels, poor sound quality, or synchronization issues. Take the time to carefully identify the root cause of the issue and apply the necessary adjustments or seek further assistance.
With your surround sound system properly set up and optimized, you can enjoy the full impact of your favorite movies, music, and games. So sit back, relax, and prepare to be immersed in a world of stunning soundscapes and breathtaking audio.
Now that you have the knowledge and tools to connect a surround sound system with a powered subwoofer to your stereo system, it’s time to elevate your home entertainment experience and enjoy audio like never before.