Introduction
Connecting a soundbar to your PS4 can greatly enhance your gaming experience by providing immersive audio quality. While the built-in speakers of the PS4 are functional, they often fail to deliver the rich and dynamic sound that many gamers desire. By connecting a soundbar, you can enjoy clearer dialogue, more powerful explosions, and a more immersive overall gaming experience.
In this guide, we will walk you through the steps to connect a soundbar to your PS4, ensuring that you can enjoy the best possible audio while gaming. Whether you’re a casual gamer or a dedicated enthusiast, this guide will help you unleash the full audio potential of your PS4 and elevate your gaming sessions to a whole new level.
Before we dive into the steps, it’s important to note that the method of connecting a soundbar to a PS4 may vary depending on the specific models and brands involved. However, we will outline the most common methods that can be used with a majority of soundbars and PS4 models.
So, let’s get started on this audio adventure and learn how to connect a soundbar to your PS4!
Step 1: Gather the necessary equipment
Before diving into the process of connecting your soundbar to your PS4, it’s essential to gather the necessary equipment. Having everything prepared beforehand will make the setup process much smoother and more efficient.
Here are the items you will need:
1. Soundbar: Make sure you have a compatible soundbar that can be connected to the PS4. There are various models available, so be sure to check the specifications and ensure it has the necessary input ports.
2. PS4 console: Obviously, you’ll need your PS4 console up and running. Ensure that it is in good working condition and has the latest firmware updates installed.
3. HDMI cable: In most cases, connecting the soundbar to the PS4 requires an HDMI cable. This cable will transmit both audio and video signals, providing a convenient and high-quality connection.
4. Power cables: Make sure you have the appropriate power cables for both the soundbar and the PS4. Ensure that they are securely plugged into a power source and ready to be connected.
5. Optional: Optical or RCA cable: Depending on your soundbar’s input options, you may need an optical or RCA cable as an alternative to HDMI. Check the soundbar’s documentation to determine the required cable type.
6. Remote control: Keep the soundbar’s remote control handy as you may need to adjust audio settings or switch between different sound modes during the setup process.
Gathering all of these items in advance will save you time and frustration during the connection process. Once you have everything ready, you are now prepared to move on to the next step: checking the soundbar’s compatibility with the PS4.
Step 2: Check the soundbar’s compatibility with the PS4
Before proceeding with the connection process, it’s important to ensure that your chosen soundbar is compatible with your PS4. Compatibility can vary depending on the specific models and brands involved, so it’s crucial to check the documentation or manufacturer’s website for compatibility information.
To check compatibility, follow these steps:
1. Refer to the soundbar’s documentation: Read through the user manual or check the manufacturer’s website for information on connecting the soundbar to gaming consoles. Look for any specific instructions or compatibility listings for the PS4. This will help you determine if your soundbar is suitable for use with the PS4.
2. Check the soundbar’s input options: Look for the available input ports on the soundbar. The most common connection method for a soundbar and PS4 is HDMI, but some soundbars may also have optical or RCA input options. Ensure that the soundbar has the necessary input ports to connect to your PS4.
3. Research model-specific compatibility: If you have a specific model of soundbar in mind, search online for any known compatibility issues or solutions related to connecting it to the PS4. Online forums, user reviews, and support websites can provide valuable insights into any potential compatibility challenges you might face.
By checking the soundbar’s compatibility with your PS4 in advance, you can avoid any potential frustration or issues during the setup process. If you find that your soundbar is not compatible, you may need to consider alternative options or seek assistance from the manufacturer.
Once you have confirmed compatibility, you can proceed to the next step: choosing the connection method for your soundbar and PS4.
Step 3: Choose the connection method
Now that you have confirmed the compatibility of your soundbar with the PS4, the next step is to choose the appropriate connection method. The connection method you choose will depend on the available input options on both your soundbar and PS4, as well as your personal preferences.
Here are some of the most common connection methods:
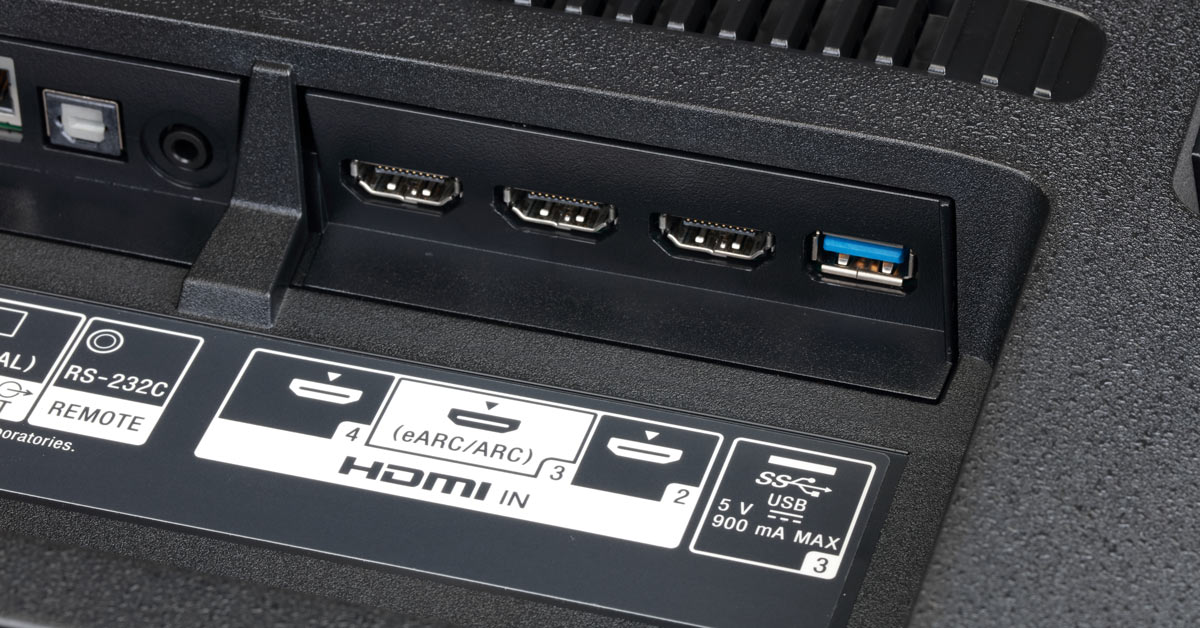
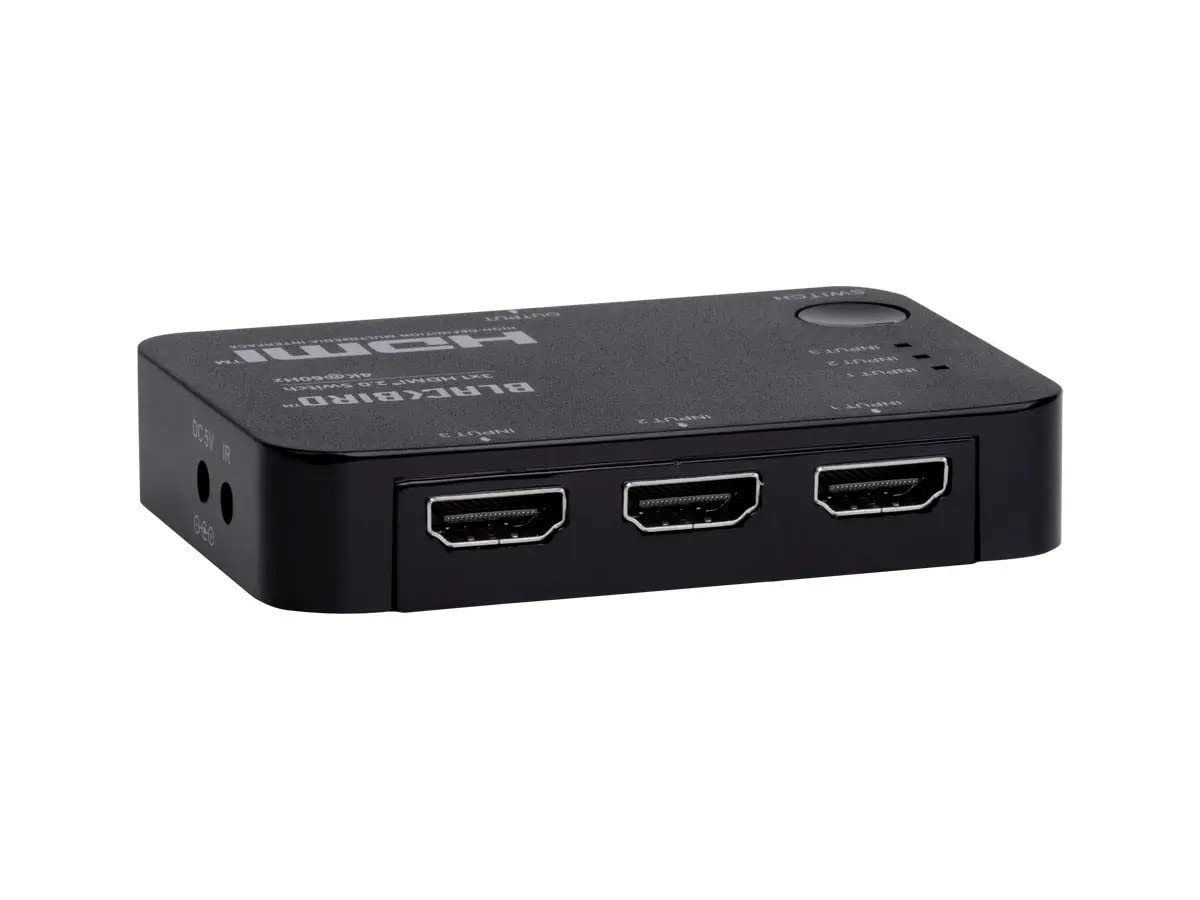
1. HDMI: The HDMI connection method is widely used and recommended for connecting a soundbar to a PS4. Most soundbars and PS4 consoles have HDMI ports, making this method convenient and offering high-quality audio and video transmission. Simply connect one end of the HDMI cable to the HDMI output port of the PS4 and the other end to the HDMI input port of the soundbar. Once connected, select the appropriate HDMI input on the soundbar to receive the audio signal from the PS4.
2. Optical cable: Some soundbars and PS4 models also have optical audio ports. If your soundbar has an optical input and your PS4 has an optical output, you can use an optical cable to establish the connection. Connect one end of the optical cable to the optical output on the PS4 and the other end to the optical input on the soundbar. Remember to select the optical input on the soundbar to receive the audio signal.
3. RCA cables: If your soundbar and PS4 have RCA input and output options, you can use RCA cables to connect them. The RCA cables have red and white connectors, with red usually representing the right audio channel and white representing the left audio channel. Connect the corresponding colored cables from the PS4 to the soundbar to establish the connection.
It’s recommended to prioritize the HDMI connection method if both your soundbar and PS4 have HDMI ports, as it provides the best audio and video quality. However, if HDMI is not available, you can opt for the optical or RCA cable options.
Once you have chosen the appropriate connection method, it’s time to move on to the next step: actually connecting the soundbar to the PS4.
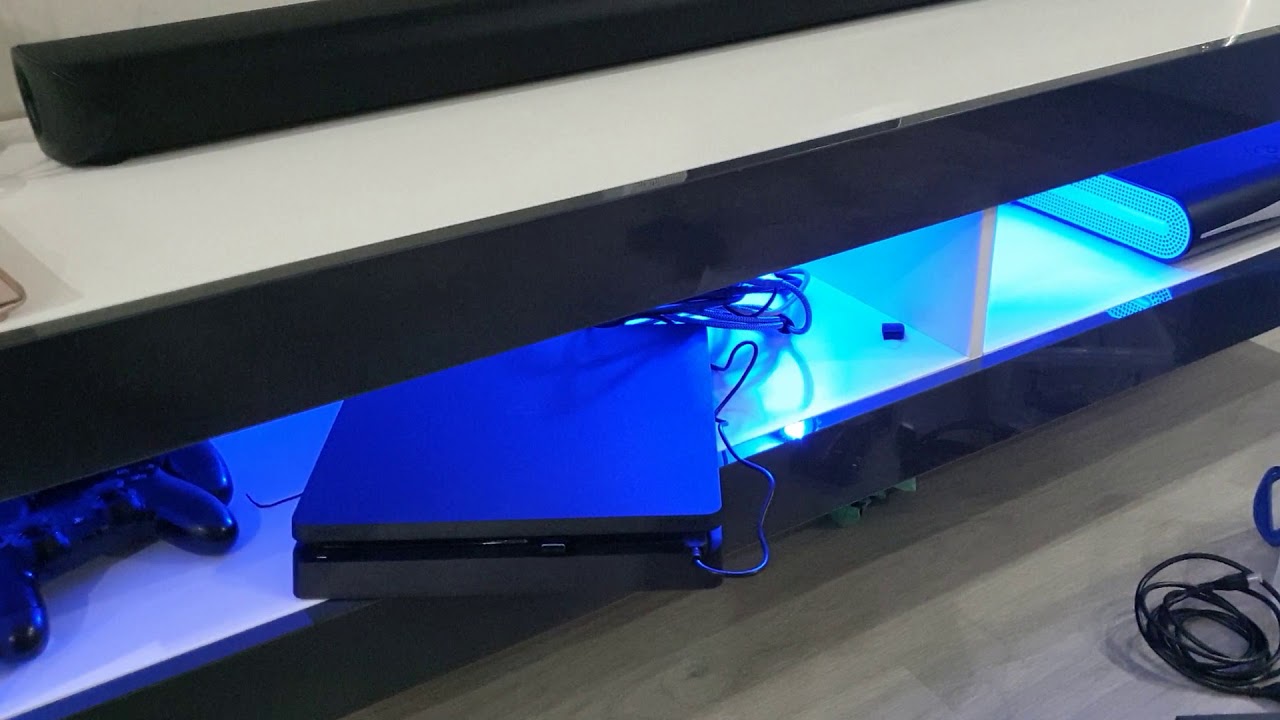
Step 4: Connect the soundbar to the PS4
With your chosen connection method in mind, it’s time to physically connect the soundbar to your PS4. Follow these steps to ensure a successful connection:
1. Power off the PS4 and the soundbar: Before making any connections, it’s important to power off both the PS4 console and the soundbar to avoid any potential damage.
2. Locate the appropriate ports: Identify the HDMI, optical, or RCA ports on both the soundbar and the PS4. Ensure they are easily accessible and clearly labeled.
3. Connect the cables: If using an HDMI cable, connect one end of the cable to the HDMI output port on the PS4 and the other end to the HDMI input port on the soundbar. If using an optical cable, connect one end to the optical output on the PS4 and the other end to the optical input on the soundbar. And if using RCA cables, connect the appropriate colored cables from the PS4 to the soundbar’s RCA input ports.
4. Power on the PS4 and the soundbar: Once the cables are securely connected, power on both the PS4 and the soundbar. Allow them a few moments to initialize and establish the connection.
5. Select the appropriate input/source: Using your soundbar’s remote or control panel, select the correct input/source that corresponds to the connected PS4. This will ensure that the soundbar receives the audio signal from the PS4.
6. Adjust the soundbar settings: Depending on your soundbar model, you may need to adjust some audio settings to optimize the sound output. Consult the soundbar’s user manual for instructions on adjusting settings such as volume, equalizer, surround sound, and other available features.
By following these steps, you should now have successfully connected your soundbar to your PS4. It’s time to move on to the next step: adjusting the sound settings on the PS4 itself.
Step 5: Adjust the sound settings on the PS4
Now that you have connected your soundbar to your PS4, it’s important to optimize the sound settings on the console to ensure the best audio experience. Follow these steps to adjust the sound settings on your PS4:
1. Access the PS4 settings: Turn on your PS4 and navigate to the main menu. From there, go to the “Settings” option, represented by a toolbox icon.
2. Select “Sound and Screen”: In the settings menu, scroll down until you find the “Sound and Screen” option. Select it to access the sound settings.
3. Adjust the audio output settings: Within the “Sound and Screen” menu, choose “Audio Output Settings”. Here, you will have various options to customize the audio settings.
4. Set the primary output port: In the “Audio Output Settings”, select the primary output port that corresponds to the connection method you used (HDMI, optical, or RCA).
5. Configure audio format and settings: Depending on your soundbar’s capabilities, you can adjust the audio format and settings to suit your preference. Options may include adjusting the audio format (such as PCM, Bitstream, or Dolby) and enabling features like surround sound or audio enhancements.
6. Test the audio: It’s recommended to use the “Test Audio” option within the audio settings to ensure that the sound is properly configured. This feature will play audio cues through each speaker, allowing you to verify that the sound is correctly routed to your soundbar.
By adjusting these sound settings on the PS4, you can fine-tune the audio output and optimize it to complement your connected soundbar. Take some time to explore the options available and experiment with different settings to find the configuration that suits your preferences.
Now that you have adjusted the sound settings on your PS4, it’s time for the final step: testing the sound output to ensure everything is working correctly.
Step 6: Test the sound output
After connecting and adjusting the sound settings on your PS4 and soundbar, it’s essential to test the sound output to confirm that everything is functioning as expected. This step will help you ensure that you can enjoy immersive audio while gaming on your PS4. Here are the steps to test the sound output:
1. Start a game or play a movie: Launch a game that you are familiar with or play a movie that has dynamic audio. This will allow you to test the sound output in a real-world scenario.
2. Listen for audio cues: Pay attention to the audio cues in the game or movie. Listen for sound effects, dialogue, and background music to ensure they are clear and properly balanced. The audio should be coming from the soundbar and creating a surround sound experience if it is supported by your soundbar.
3. Adjust soundbar settings: If you feel that the sound is not optimal or if certain audio elements are overpowering others, adjust the soundbar’s settings accordingly. You can fine-tune the volume, bass, treble, or other audio parameters to create your desired audio experience.
4. Test different content: In addition to the initial game or movie, try playing different types of content to test the sound output. This could include games with varying audio styles, movies with different genres, or even streaming services that offer a wide range of content. This will provide a more comprehensive understanding of how the sound output performs with different media.
5. Make necessary adjustments: If you encounter any issues or inconsistencies with the sound output, make the necessary adjustments. This could involve revisiting the PS4’s audio settings, checking the connections between the soundbar and the PS4, or troubleshooting any potential soundbar issues.
By performing this sound output test, you can ensure that the soundbar is functioning properly and delivering the desired audio experience. Take note of any adjustments or tweaks you make during the testing process to optimize your audio setup even further.
Congratulations! You have successfully connected your soundbar to your PS4, adjusted the sound settings, and tested the sound output. Now you can enjoy a more immersive gaming experience with enhanced audio quality.
Conclusion
Connecting a soundbar to your PS4 can significantly enhance your gaming experience by providing superior audio quality. By following the steps outlined in this guide, you can successfully connect your soundbar to your PS4 and enjoy immersive sound while playing your favorite games.
Throughout this guide, we covered the necessary equipment you need to gather, checked the soundbar’s compatibility with the PS4, chose the appropriate connection method, connected the soundbar to the PS4, adjusted the sound settings, and tested the sound output.
By ensuring compatibility, selecting the right connection method, and adjusting the sound settings, you can optimize the audio output on your PS4 to match the capabilities of your soundbar. This will allow you to experience crisp dialogue, powerful sound effects, and immersive surround sound, elevating your gaming sessions to a whole new level.
Remember to consult the documentation provided with your soundbar and refer to the user manual of your PS4 for specific instructions and troubleshooting tips. Each model may have slight variations in terms of connections and settings, so it’s important to familiarize yourself with the specifics of your own setup.
Now that you have successfully connected your soundbar to your PS4, it’s time to sit back, grab your controller, and immerse yourself in the world of gaming with enhanced audio. Whether you’re battling enemies in a virtual world or watching movies on your PS4, the superior sound quality provided by your soundbar will add a new dimension to your entertainment experience.
So, go ahead, enjoy your games, and let the powerful sound of your new soundbar transport you to the heart of the action.