Introduction
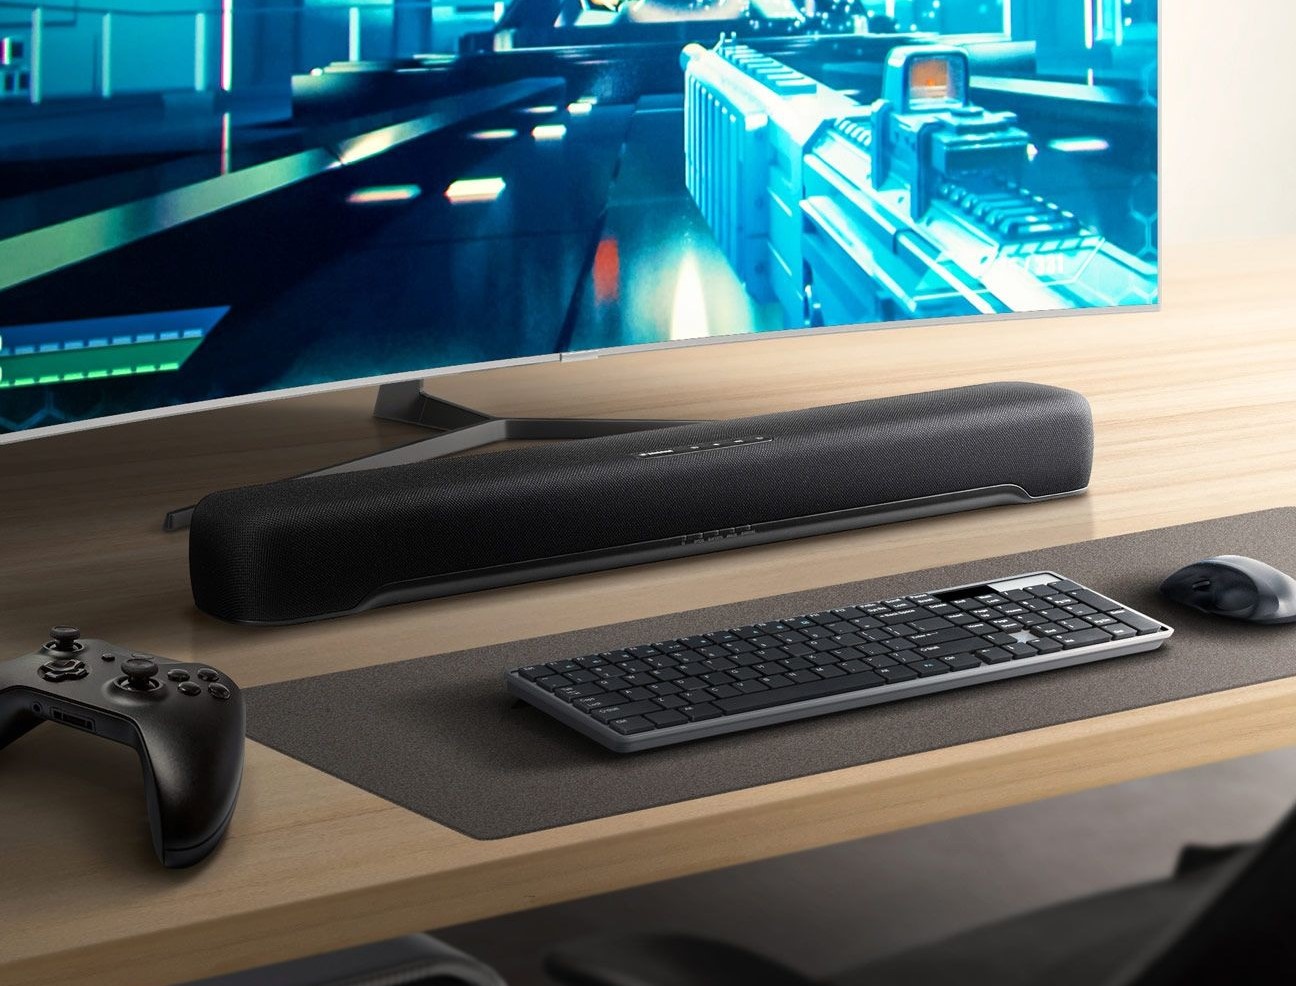
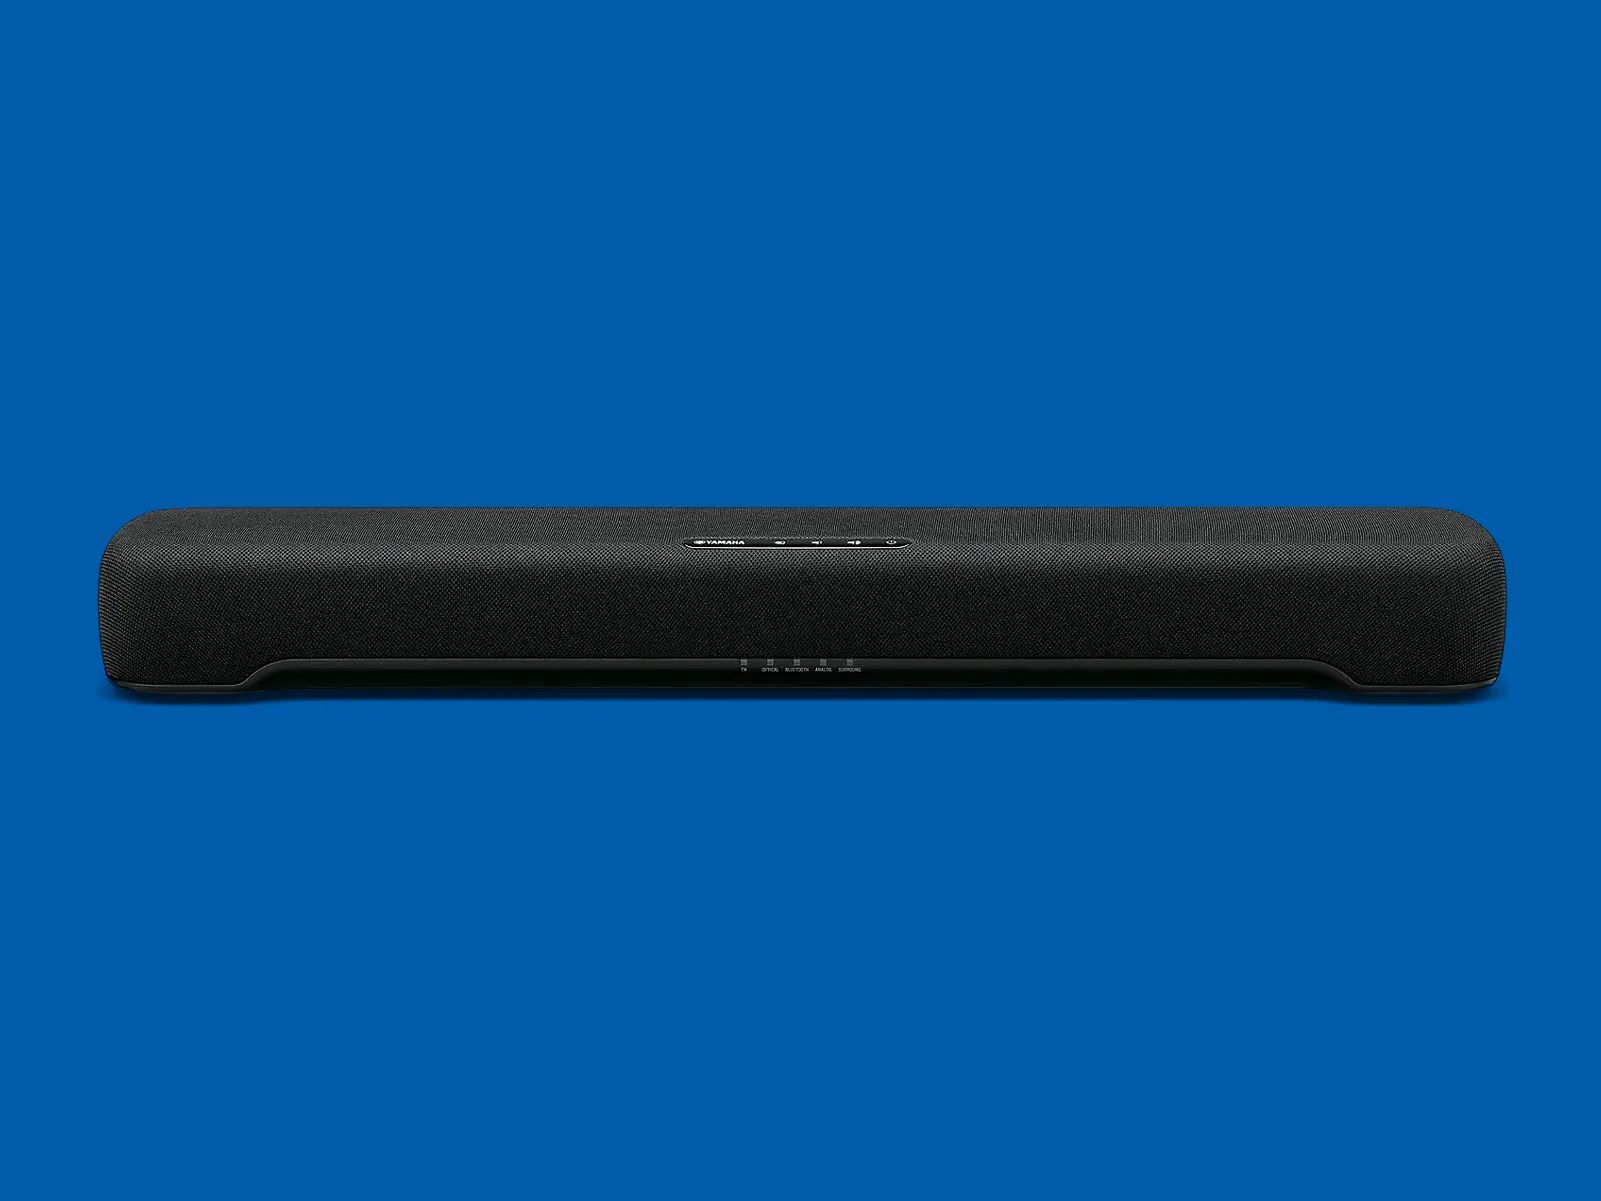
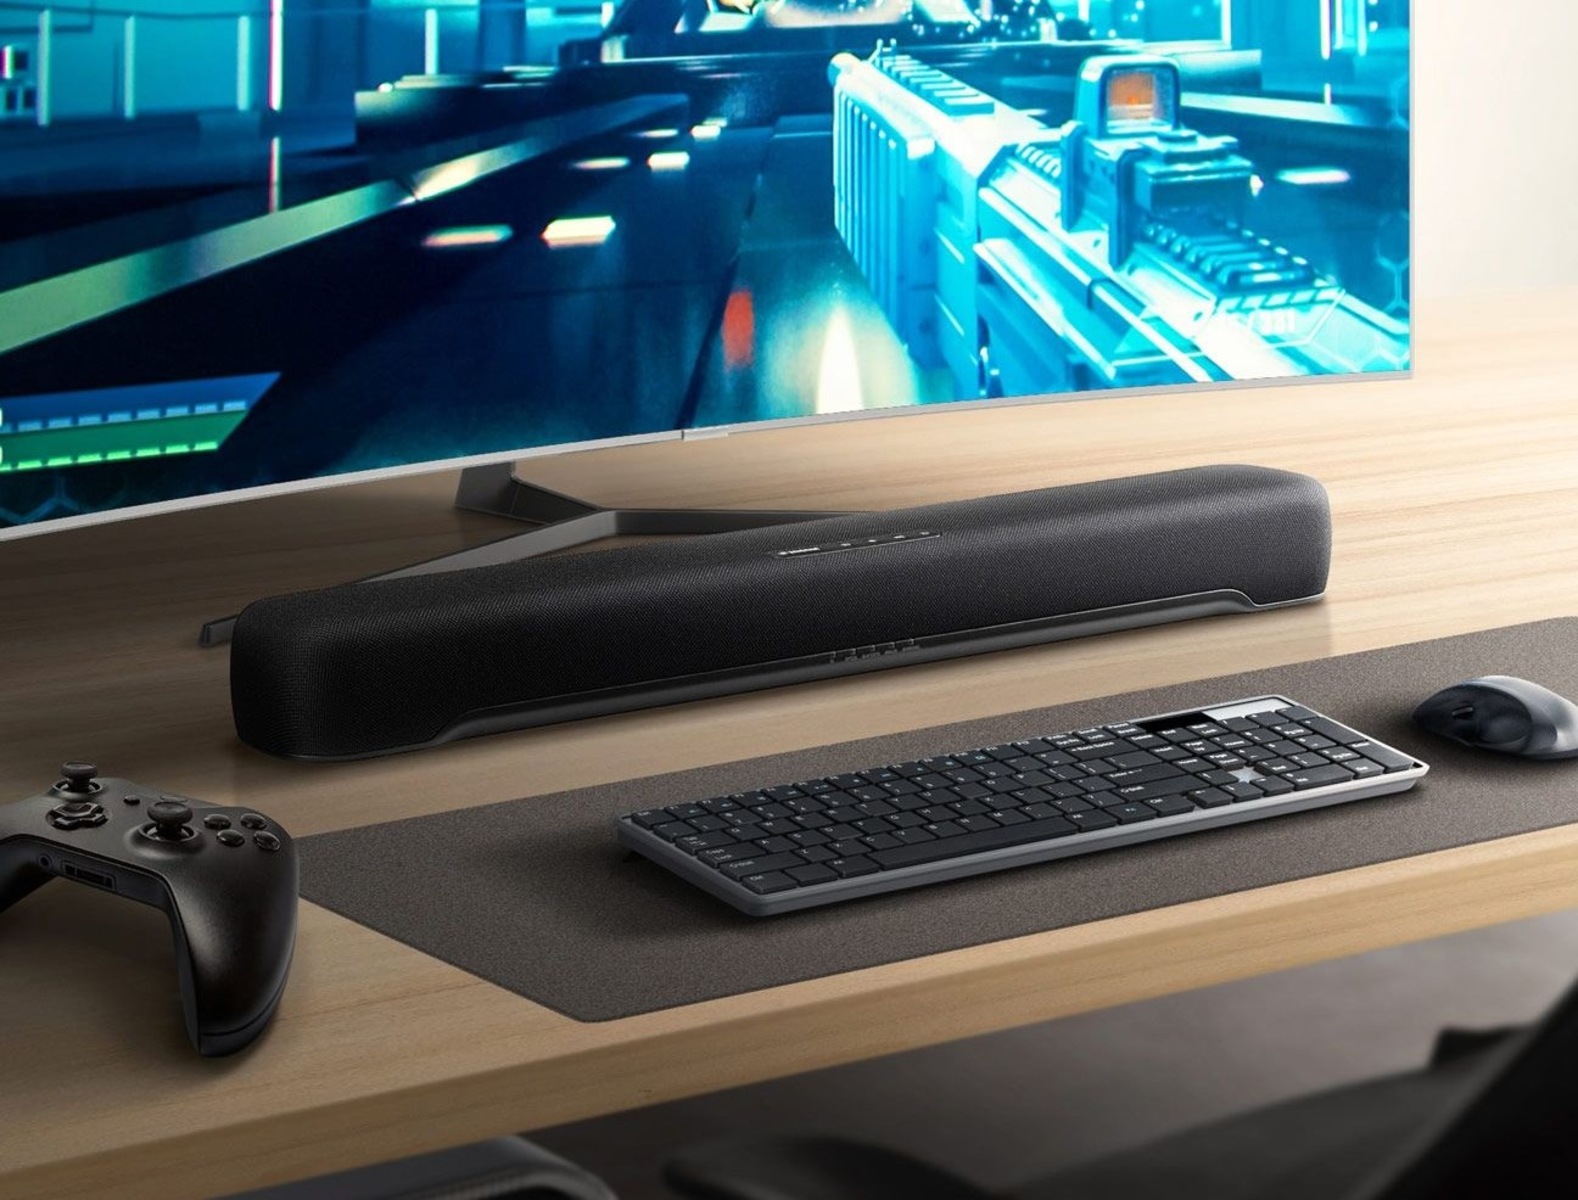
Connecting a soundbar to a monitor can greatly enhance your audio experience when watching movies, playing games, or simply listening to music. While monitors are typically known for their vibrant visuals, most lack built-in speakers or provide subpar audio quality. This is where a soundbar comes in handy, delivering rich and immersive sound that complements the stunning visuals on your monitor.
Whether you’re setting up a home theater system or just want to enjoy better audio while using your monitor, connecting a soundbar is a relatively straightforward process. The specific steps may vary depending on the connectors available on your soundbar and monitor, as well as the audio output options provided by your monitor. In this guide, we will walk you through the steps to successfully connect a soundbar to your monitor.
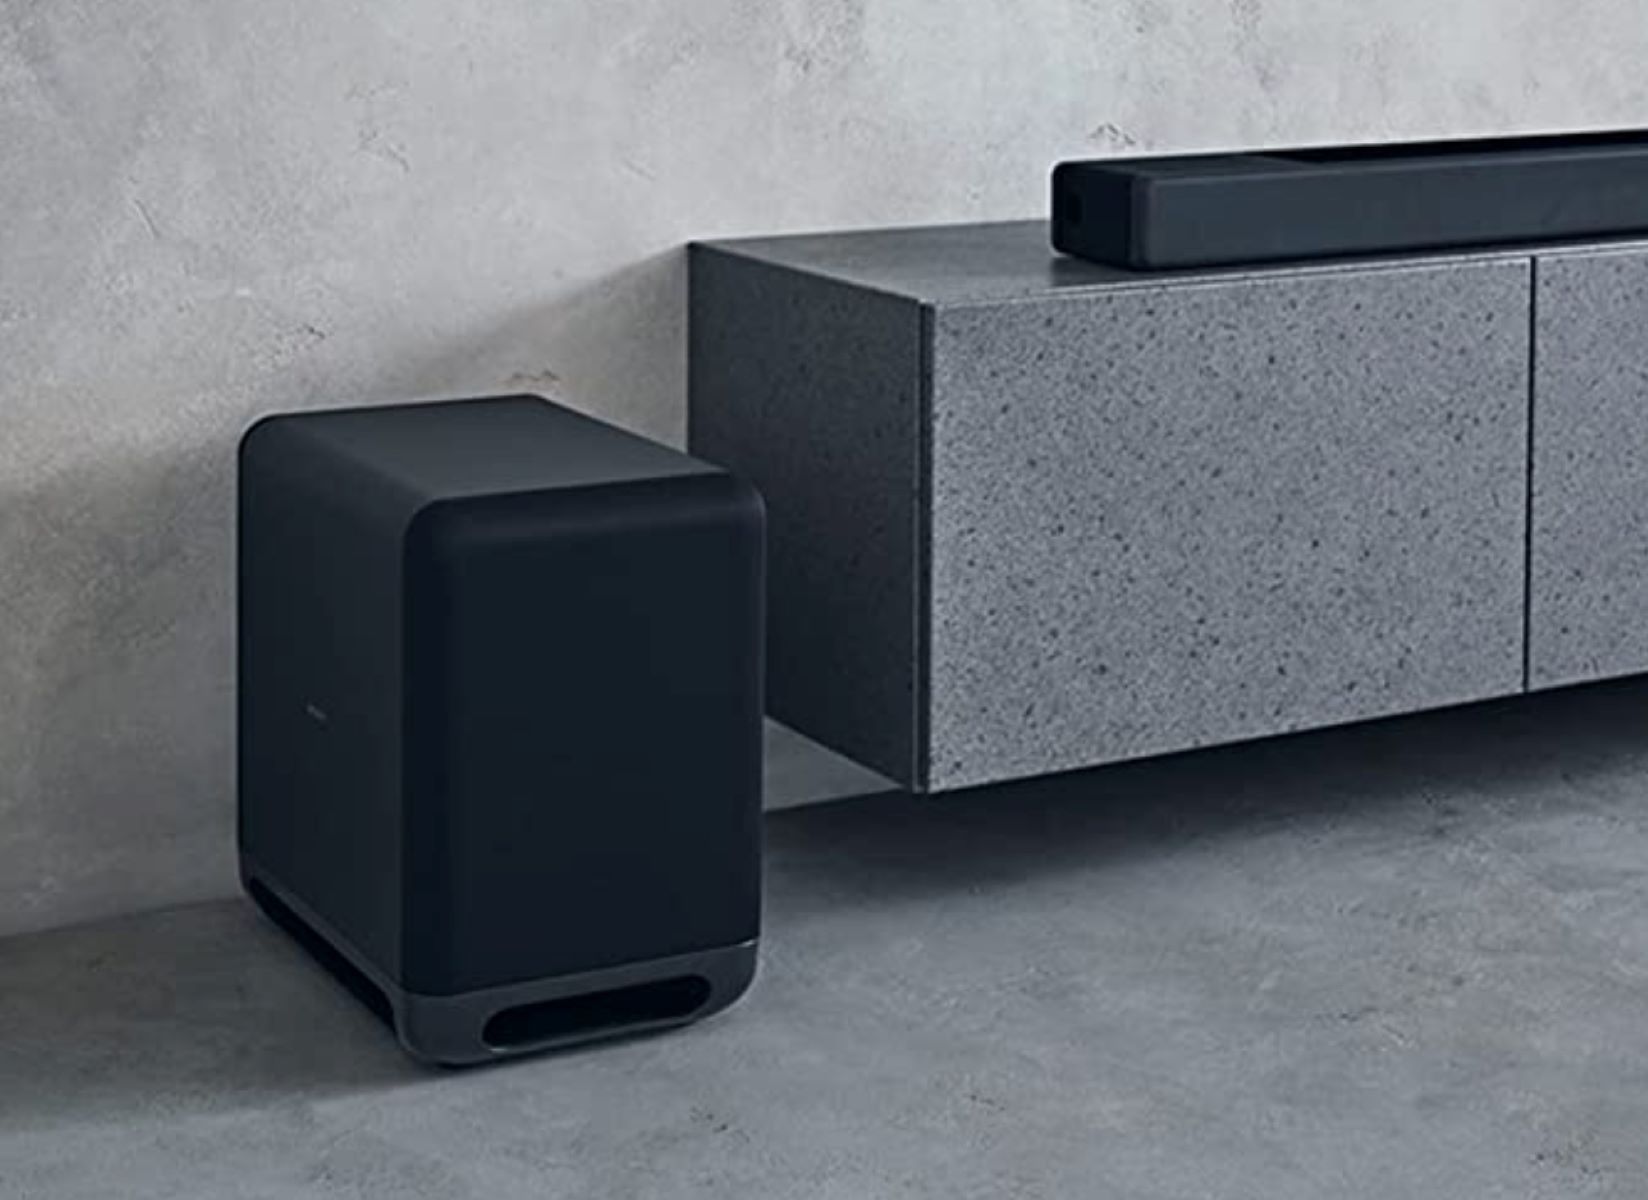
Before diving into the technical aspects, it’s important to note that having a soundbar can significantly improve the overall audio quality and provide a more immersive experience. With a soundbar, you can enjoy clear dialogue, powerful bass, and enhanced surround sound without the need for a complex speaker setup.
Now, let’s get started with the step-by-step process of connecting your soundbar to a monitor. By the end of this guide, you’ll be able to enjoy high-quality audio while watching your favorite movies or playing intense gaming sessions.
Step 1: Determine the type of connectors available on your soundbar and monitor
The first step in connecting a soundbar to your monitor is to identify the types of connectors available on both devices. This will help you determine the most suitable method for connecting them.
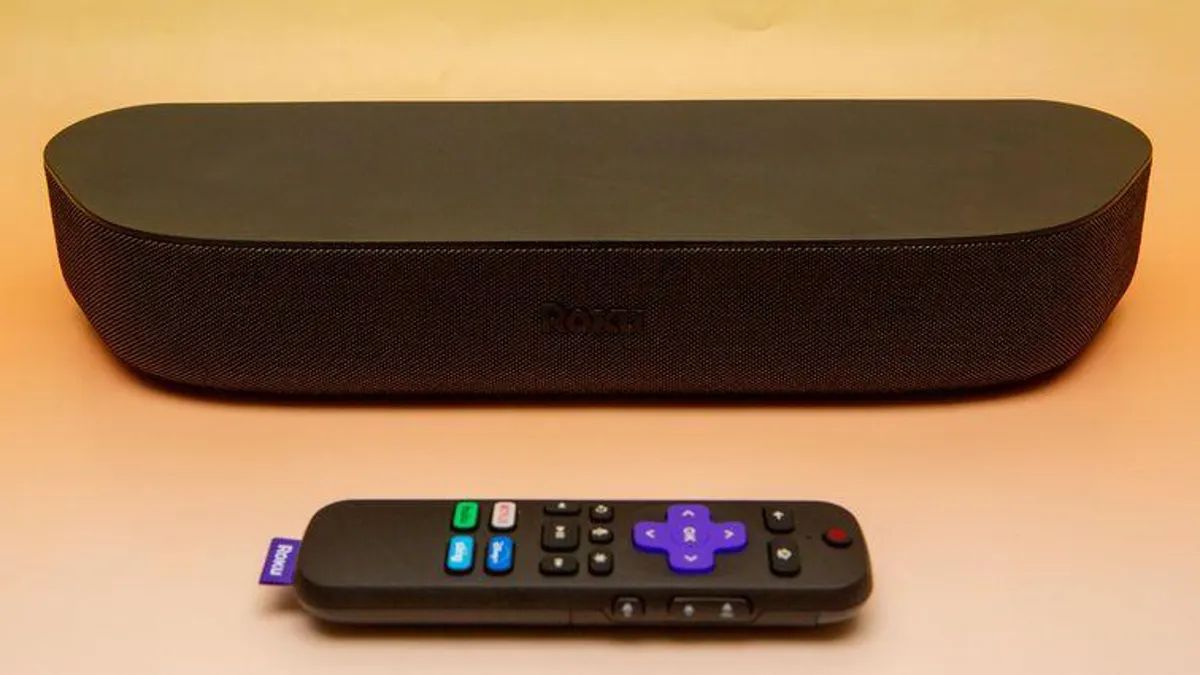
Start by examining your soundbar. Most soundbars offer multiple input options such as HDMI, optical audio, RCA, or 3.5mm auxiliary ports. Take note of the available connectors and ensure that they are compatible with the output options provided by your monitor.
Next, turn your attention to the monitor. Check for audio output ports, which may include HDMI ARC (Audio Return Channel), optical audio, headphone jack, or even Bluetooth connectivity. If your monitor has built-in speakers, it may also have an audio output option that allows you to connect external speakers or a soundbar.
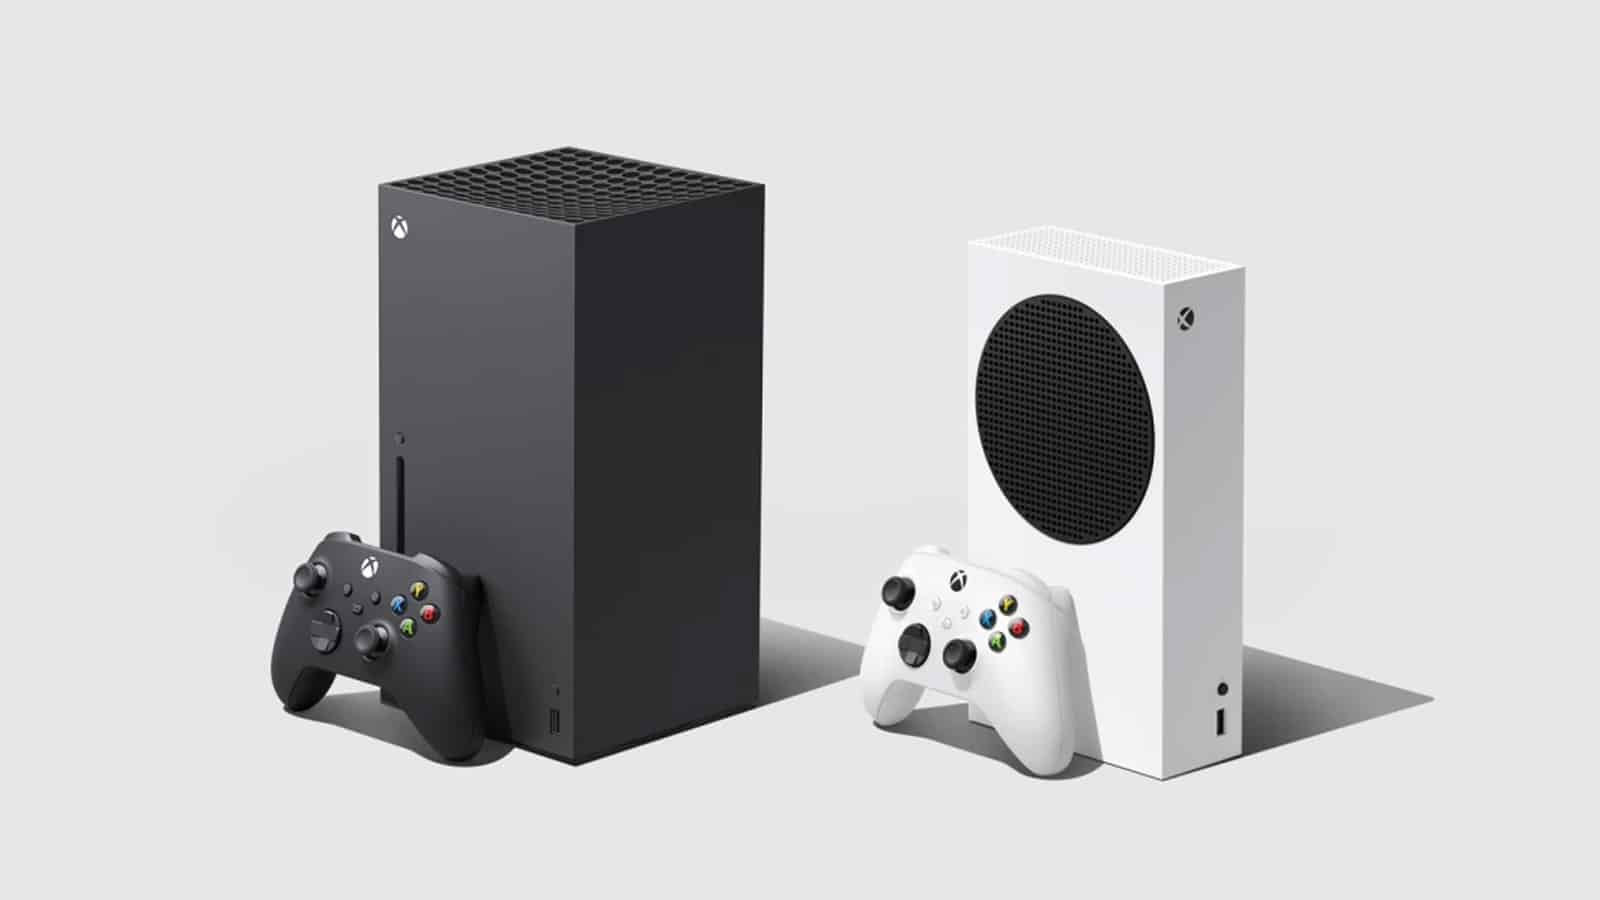
It’s important to note that not all monitors have audio output capabilities. If your monitor lacks audio output ports, connecting a soundbar directly to it may not be possible. In such cases, you can explore alternative options like connecting the soundbar to a media device or gaming console that is connected to the monitor.
Once you have identified the available connectors on both your soundbar and monitor, you can move on to the next step of selecting the appropriate cables and adapters for the connection. This will ensure seamless compatibility and optimal audio performance.
Step 2: Check if your monitor has built-in speakers or audio output
Before proceeding with the connection, it’s essential to determine if your monitor has built-in speakers or audio output options. This information will help you understand how to route the audio signal from your monitor to the soundbar.
Start by examining your monitor for any visible speaker grills or audio-related symbols. If your monitor has built-in speakers, it means that it can produce audio independently without the need for external speakers or a soundbar. In this case, you can skip the connection process as the monitor’s speakers will handle the audio output.
However, if your monitor does not have built-in speakers or if the audio quality is not up to par, you’ll need to use an audio output option to connect a soundbar. Look for ports like HDMI ARC (Audio Return Channel), optical audio, headphone jack, or even Bluetooth connectivity. These output options allow you to connect external speakers or a soundbar to enhance the audio experience.
If your monitor has HDMI ARC capability, it’s one of the most convenient options for connecting a soundbar. HDMI ARC supports two-way communication between your monitor and the soundbar through a single HDMI cable, eliminating the need for extra audio cables. Simply locate the HDMI ARC port on your monitor and soundbar, and connect them using an HDMI cable.
In the absence of HDMI ARC, you can use other available audio output ports. Optical audio ports provide high-quality digital audio transmission. Locate the optical audio output port on your monitor and connect it to the corresponding input port on your soundbar using an optical audio cable.
If your monitor only has a headphone jack, you can connect a soundbar using a 3.5mm auxiliary cable. Plug one end of the cable into the headphone jack of your monitor and the other end into the auxiliary input port on your soundbar.
In situations where your monitor doesn’t have any audio output options, consider connecting the soundbar to external media devices or gaming consoles that are connected to the monitor. This way, the audio signal will be routed through the media device or gaming console to the soundbar.
By checking for built-in speakers or audio output options in your monitor, you can determine the appropriate method of connecting the soundbar and ensure a seamless audio experience.
Step 3: Gather the necessary cables and adapters
Once you have determined the audio output options and connectors available on your soundbar and monitor, it’s time to gather the necessary cables and adapters for the connection. Having the right cables and adapters is crucial to ensure compatibility and optimal audio performance.
If you are using HDMI ARC for the connection, you will need an HDMI cable that supports ARC. HDMI cables come in different versions, such as HDMI 1.4, HDMI 2.0, or HDMI 2.1. Ensure that you have a high-quality HDMI cable capable of transmitting audio and video signals simultaneously.
If your monitor has an optical audio output, you will need an optical audio cable. Look for a TOSLINK cable or a fiber optic cable with the appropriate connectors on both ends. Optical audio cables transmit digital audio signals without any loss in quality, ensuring clear and crisp sound from the soundbar.
For monitors with a headphone jack or a 3.5mm auxiliary output, a standard 3.5mm auxiliary cable is required. This cable has a 3.5mm audio jack on both ends, allowing you to connect the monitor’s headphone jack to the auxiliary input on the soundbar.
In some cases, you may need additional adapters to make the connection possible. For example, if your soundbar has an HDMI input but your monitor only has a DVI or VGA output, you will need an HDMI to DVI or VGA adapter. These adapters allow you to convert the video signal and still connect the soundbar using HDMI.
Another common scenario is when your monitor has an optical audio output, but your soundbar only accepts RCA input. In this case, you will need an optical to RCA adapter. This adapter converts the digital optical audio signal to analog RCA, allowing you to connect the soundbar.
It’s important to ensure that the cables and adapters you choose are of good quality and match the specifications of your devices. Poor-quality cables or adapters may result in signal loss, interference, or audio degradation. It’s worth investing in high-quality cables and adapters to ensure a reliable and optimal audio connection.
By gathering the necessary cables and adapters beforehand, you can proceed smoothly to the next step of connecting the soundbar to your monitor.
Step 4: Connect the soundbar to the monitor using HDMI ARC or optical audio cable
With the necessary cables and adapters in hand, you can now proceed to connect the soundbar to your monitor. The method of connection will depend on the available audio output options and connectors on both devices.
If your monitor and soundbar both support HDMI ARC (Audio Return Channel), this is the most convenient method of connection. Start by locating the HDMI ARC ports on both your monitor and soundbar. Connect one end of the HDMI cable to the HDMI ARC port on the monitor and the other end to the HDMI ARC input on the soundbar. This single cable will transmit both audio and video signals, simplifying the setup process.
If your monitor has an optical audio output and your soundbar has an optical audio input, you can use an optical audio cable. Insert one end of the cable into the optical audio output port on the monitor and the other end into the optical audio input port on the soundbar. Ensure a secure connection by firmly pushing the connectors into the respective ports.
For monitors that have a headphone jack or a 3.5mm auxiliary output, connect one end of the 3.5mm auxiliary cable to the headphone jack or auxiliary output port on the monitor. Insert the other end of the cable into the auxiliary input port on the soundbar. Ensure a snug fit to prevent any audio distortions or loose connections.
If you’re using an adapter to connect different types of connectors, such as HDMI to DVI or optical to RCA, make sure to connect the adapter to the appropriate ports on both the monitor and soundbar. Then, use the corresponding cables (HDMI, DVI, or RCA) to connect the adapter to the soundbar.
Once the physical connections are complete, double-check that all cables and adapters are securely attached. Confirm that the soundbar and monitor are receiving power and turned on. This will ensure a successful audio connection and enable you to move on to the next step of adjusting the sound settings.
Remember that every soundbar and monitor brand may have slightly different connection procedures. Refer to the user manuals of your specific devices for more detailed instructions if needed.
By following these steps, you can successfully connect your soundbar to your monitor and pave the way for an enhanced audio experience.
Step 5: Adjust the sound settings on your monitor and soundbar
After connecting your soundbar to the monitor, it’s important to make necessary adjustments to the sound settings on both devices. These settings will help you optimize the audio output and customize the sound according to your preferences.
Start by accessing the sound settings on your monitor. This can usually be done through the on-screen display (OSD) menu. Navigate to the audio or sound settings section and explore the available options. Here, you can adjust settings such as volume, equalizer presets, and audio modes. Take the time to fine-tune these settings to achieve the desired sound quality.
Some monitors may also have specific settings related to external audio devices. Look for options like audio output mode, audio format, or audio source. Select the appropriate audio output mode that matches the connection you made with the soundbar (such as HDMI ARC or optical audio). Ensure that the audio format is set to the suitable option for the best audio performance.
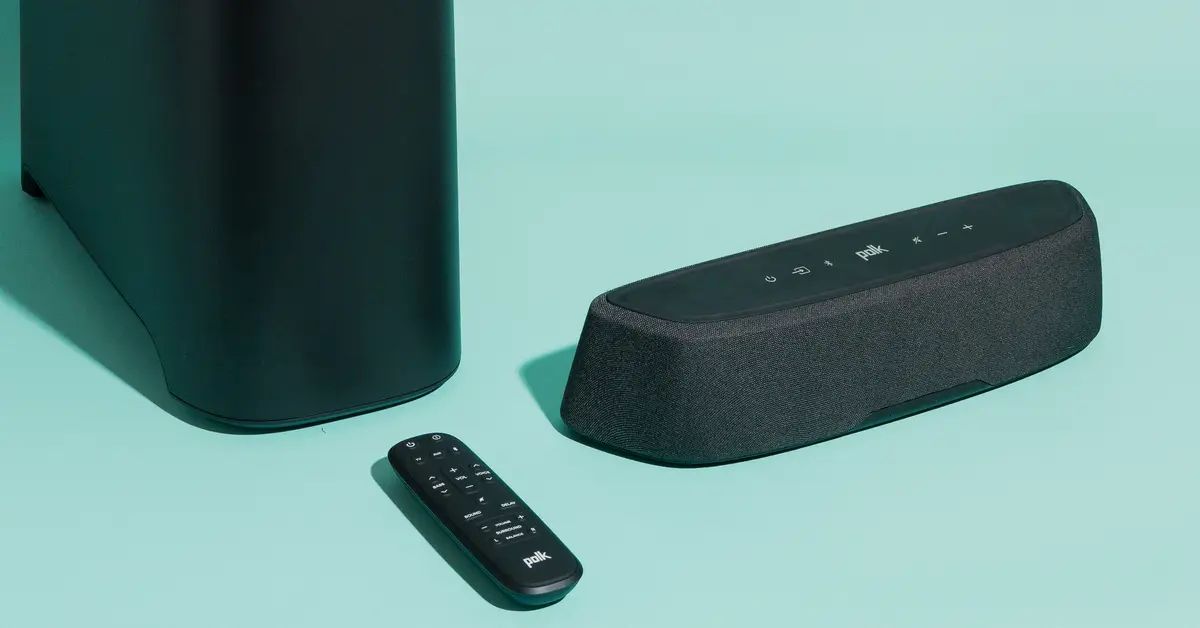
Next, turn your attention to the soundbar. Most soundbars have their own remote control or a control panel on the device itself. Use these controls to access the soundbar’s settings menu. Adjust the volume level to a comfortable level and explore additional sound settings that may be available. These settings could include bass, treble, surround sound modes, or audio enhancements.
Take some time to experiment with different settings to find the optimal audio configuration for your preferences. Depending on the soundbar model, you may have access to various sound modes like movie, music, gaming, or night mode. Select the appropriate mode based on your current activity to enhance the audio experience accordingly.
Keep in mind that the sound settings on both the monitor and soundbar can complement each other. For instance, if your monitor has limited sound adjustment options, you can rely more on the soundbar’s settings to fine-tune the audio output. On the other hand, if the soundbar lacks certain settings, you can utilize the monitor’s audio options to compensate.
Remember to save any changes made to the sound settings on both devices, if applicable. This ensures that the adjusted settings are preserved and will be applied whenever the devices are turned on.
By adjusting the sound settings on your monitor and soundbar, you can further enhance the audio experience and tailor it to your preferences. Take the time to find the perfect audio configuration that brings your movies, games, and music to life.
Step 6: Test the soundbar connection and troubleshoot any issues
Once you have connected the soundbar to your monitor and adjusted the sound settings, it’s crucial to test the audio connection to ensure everything is working properly. Here are some steps you can take to test the soundbar connection and troubleshoot any potential issues.
Start by playing different types of audio content, such as music, movies, or games, to test the soundbar’s performance. Pay attention to the audio quality, clarity, and volume level. Adjust the volume on both the monitor and soundbar to find a balanced and enjoyable listening experience.
If you notice any issues with the audio, such as distortion, low volume, or lack of sound, here are some troubleshooting steps you can follow:
- Check the cable connections: Ensure that all cables are securely plugged into their respective ports on both the monitor and soundbar. Sometimes, loosely connected cables can cause audio issues.
- Verify the input settings: Double-check that the correct input source is selected on both the monitor and soundbar. For example, if you connected the soundbar using HDMI ARC, make sure the input source on the soundbar is set to HDMI ARC.
- Restart the devices: Power off both the monitor and soundbar, and then turn them back on. This can help reset any temporary glitches or configuration issues.
- Try a different cable: If possible, swap the cables with known working ones to eliminate the possibility of a faulty cable causing audio problems.
- Check the soundbar’s firmware: Visit the manufacturer’s website to see if there are any firmware updates available for your soundbar. Updating the firmware can improve compatibility and address any known audio issues.
- Consult the user manuals: Refer to the user manuals of both the monitor and soundbar for further troubleshooting steps specific to your devices. The manuals may provide useful information on common audio issues and their resolutions.
If you have tried all the troubleshooting steps and are still experiencing audio issues, it may be worth contacting the customer support of the monitor or soundbar manufacturer for further assistance. They can provide specific guidance based on the model and help resolve any persistent issues.
By testing the soundbar connection and troubleshooting any issues, you can ensure a seamless audio experience and address any potential audio-related problems.
Conclusion
Connecting a soundbar to a monitor is a straightforward process that can greatly enhance your audio experience while watching movies, playing games, or listening to music. By following the steps outlined in this guide, you can successfully connect your soundbar to your monitor and enjoy immersive sound quality.
First, determine the type of connectors available on your soundbar and monitor. This will help you choose the appropriate cables and adapters for the connection. Next, check if your monitor has built-in speakers or audio output options. This will determine how the audio signal is routed to the soundbar.
Gather the necessary cables and adapters based on the available connectors. High-quality cables and adapters are essential for ensuring compatibility and optimal audio performance. Then, connect the soundbar to the monitor using HDMI ARC, optical audio, or auxiliary cables, depending on the available ports and connections on both devices.
After the physical connection is established, adjust the sound settings on both the monitor and soundbar. This will allow you to customize the audio output according to your preferences. Fine-tune settings such as volume, equalizer presets, and surround sound modes to enhance the audio experience.
Test the soundbar connection by playing various audio content and troubleshoot any issues that may arise. Check cable connections, input settings, and try restarting the devices if needed. Update the soundbar’s firmware and consult user manuals for further troubleshooting guidance if necessary.
By following these steps and troubleshooting any potential issues, you can enjoy superior audio quality through your monitor with the added power and depth of a soundbar. Sit back, relax, and immerse yourself in a cinematic or gaming experience that is enhanced by crystal-clear sound.
Remember, every monitor and soundbar model may have slight variations in the connection process, so always refer to the user manuals and guidelines provided by the manufacturers for specific instructions.
Now, you are ready to connect your soundbar to your monitor and enjoy an incredible audio experience that complements the stunning visuals on your screen. Elevate your entertainment and immerse yourself in a world of rich sound.


