Introduction
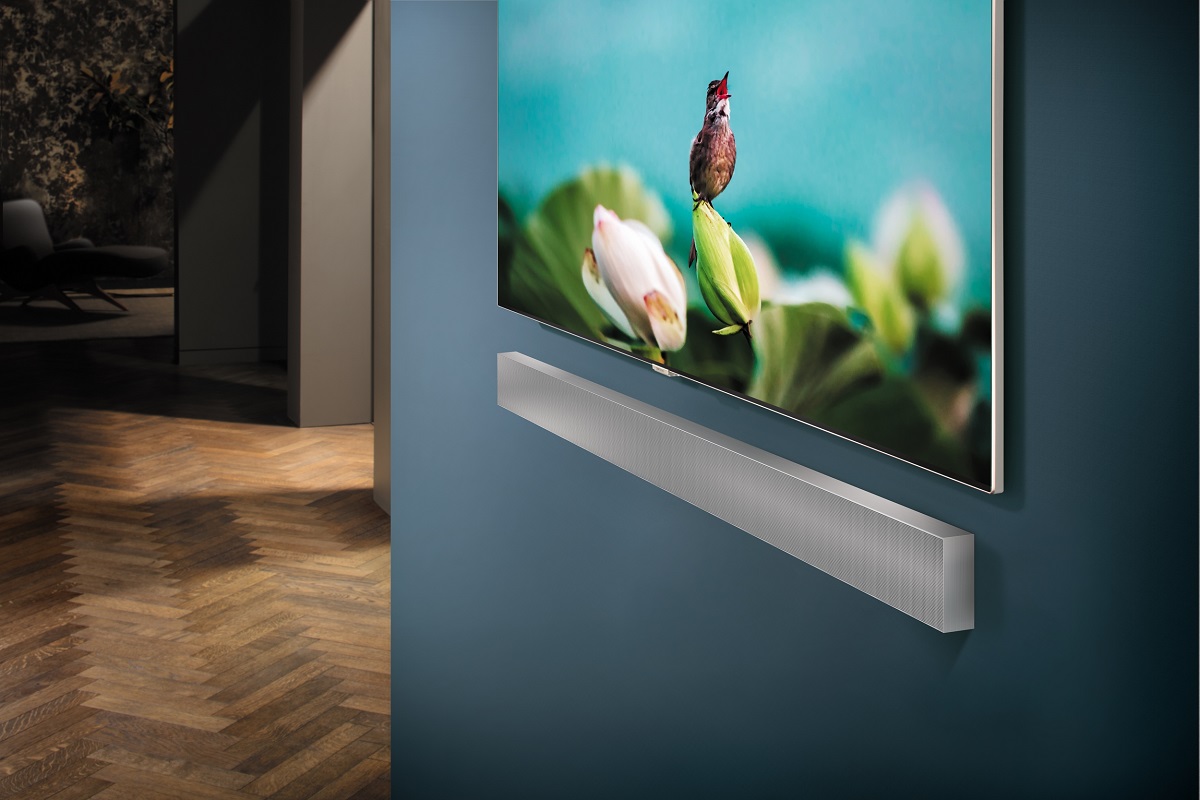
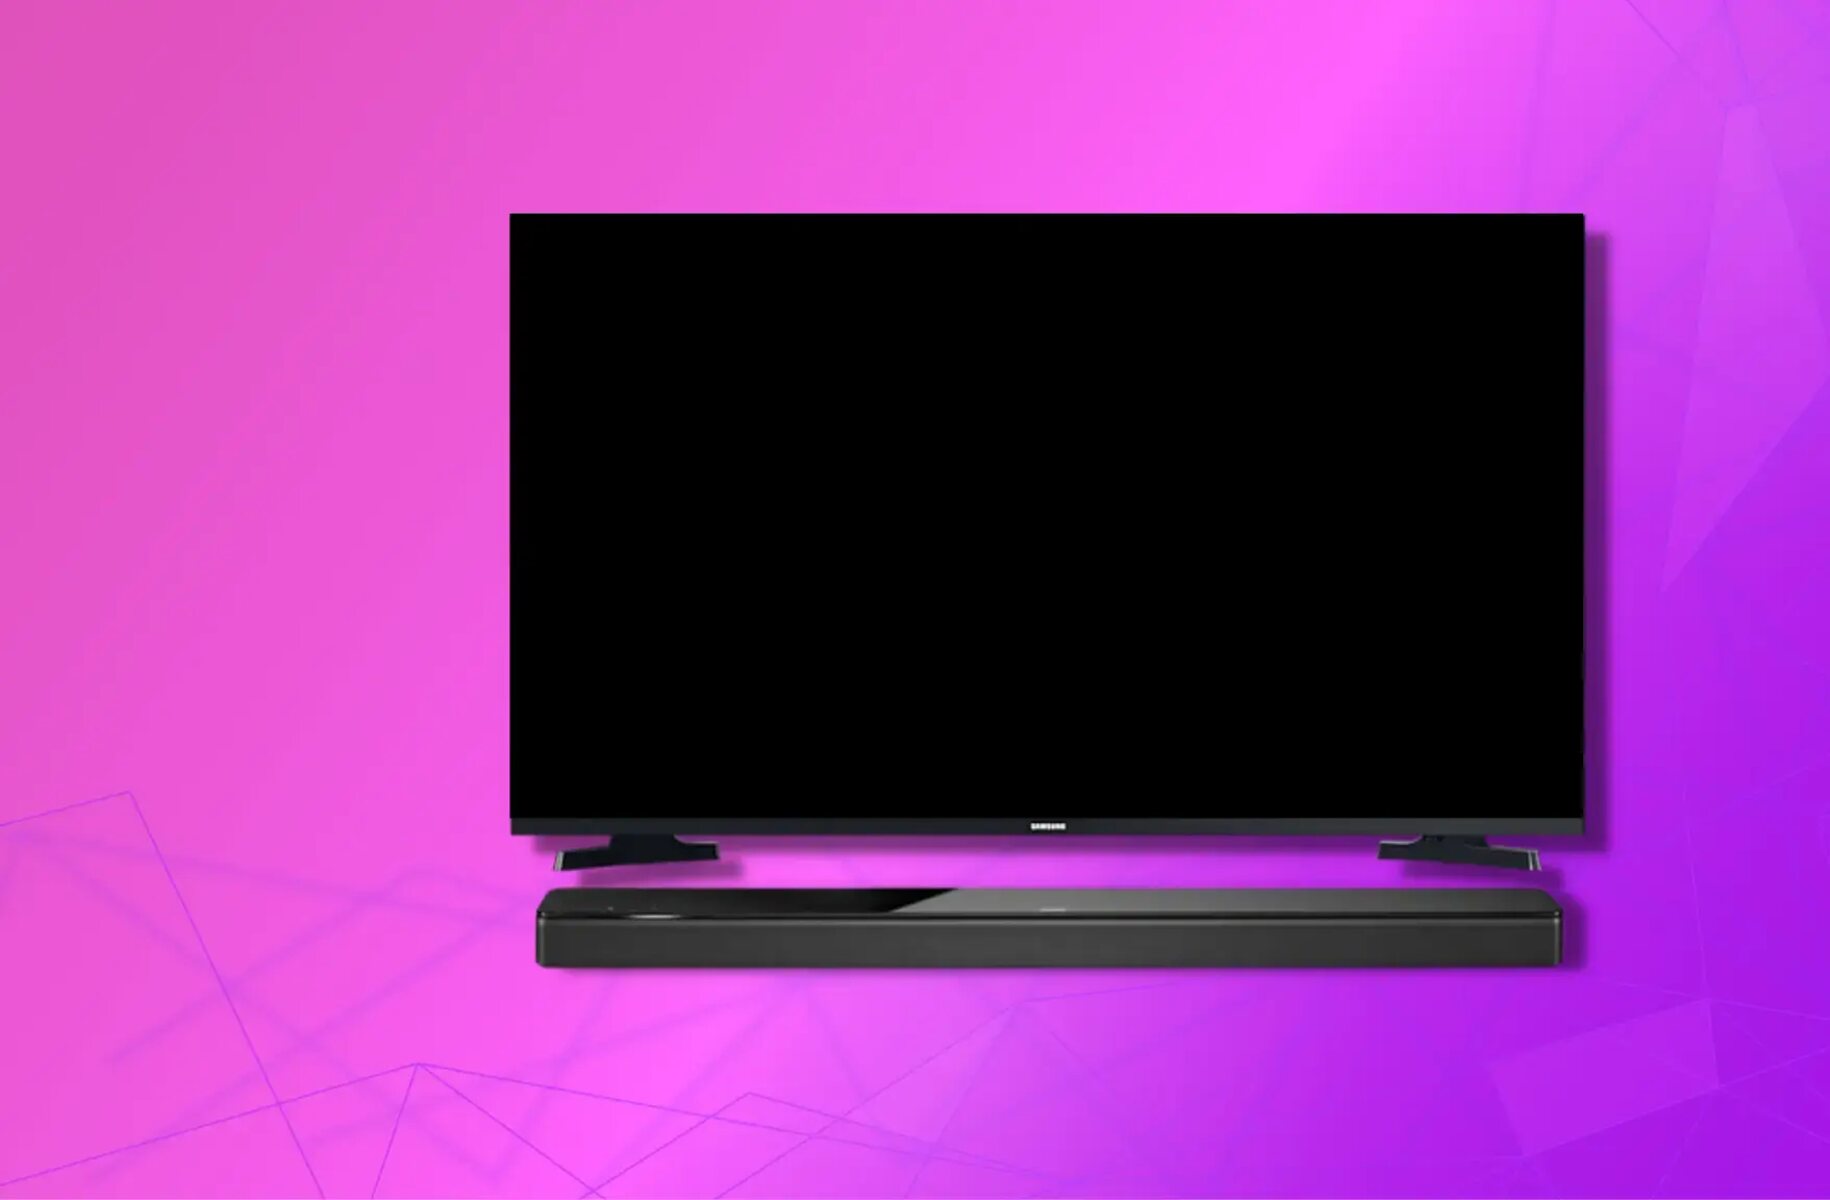
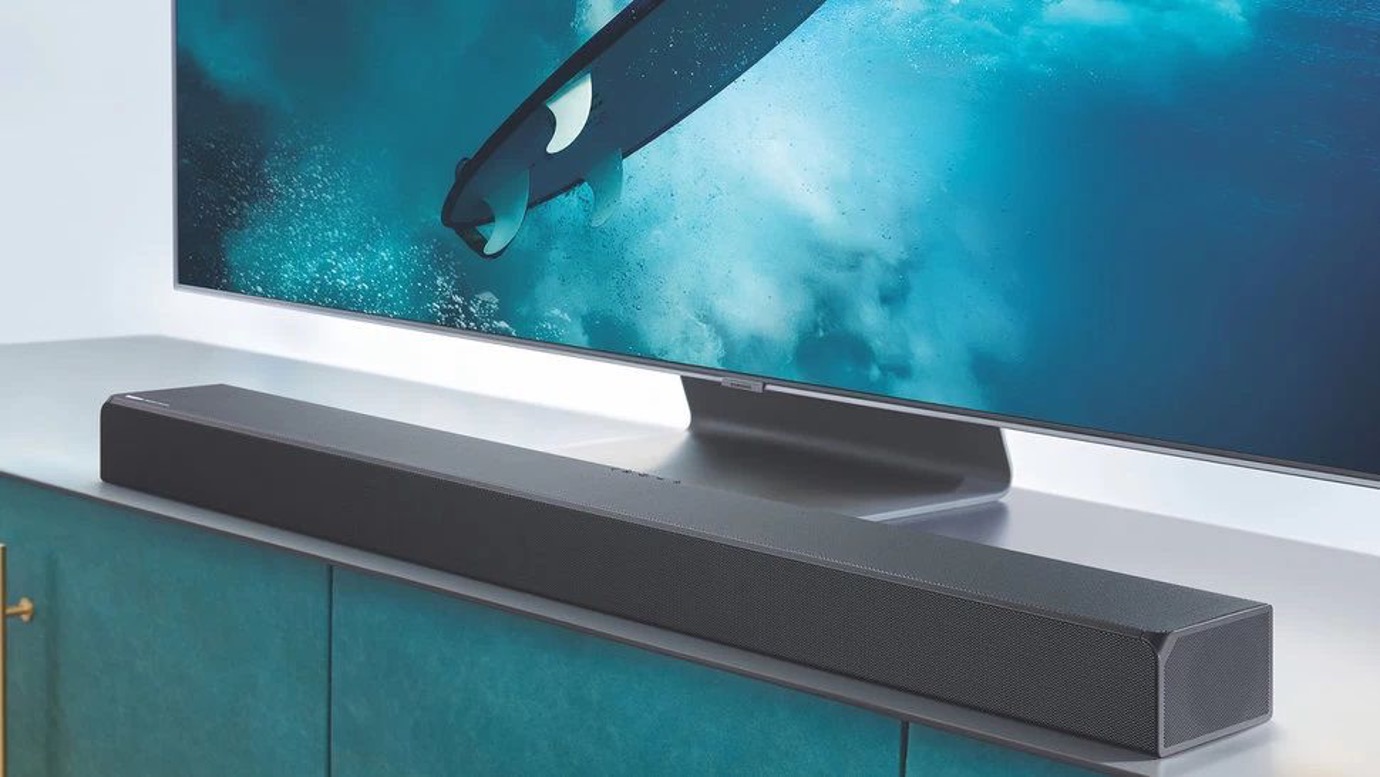
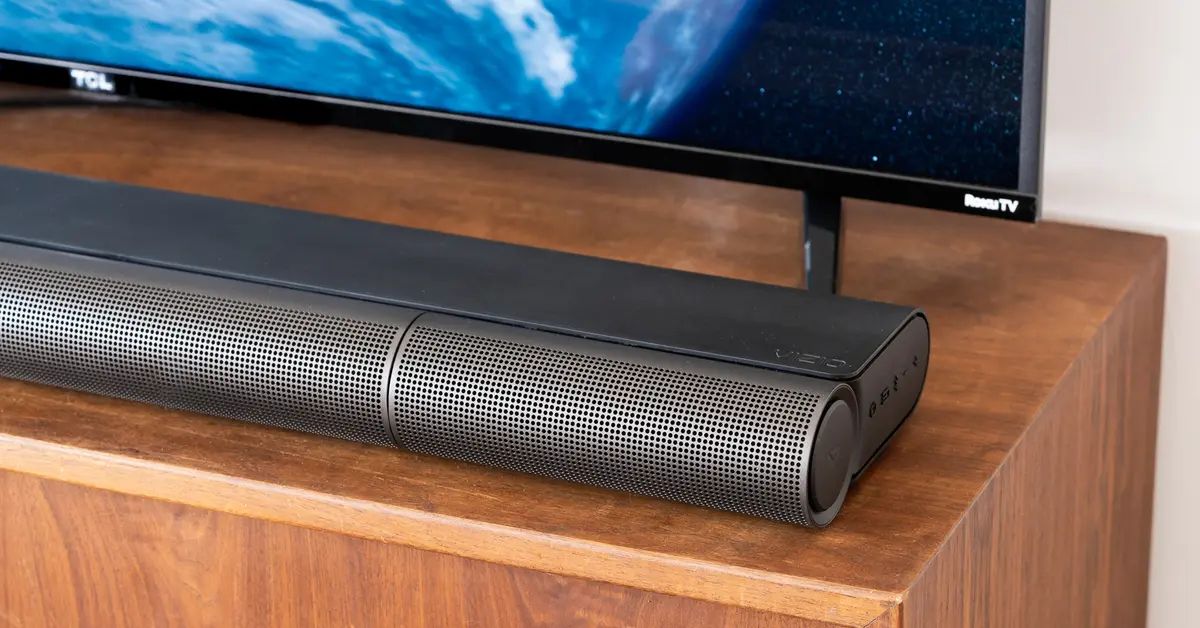
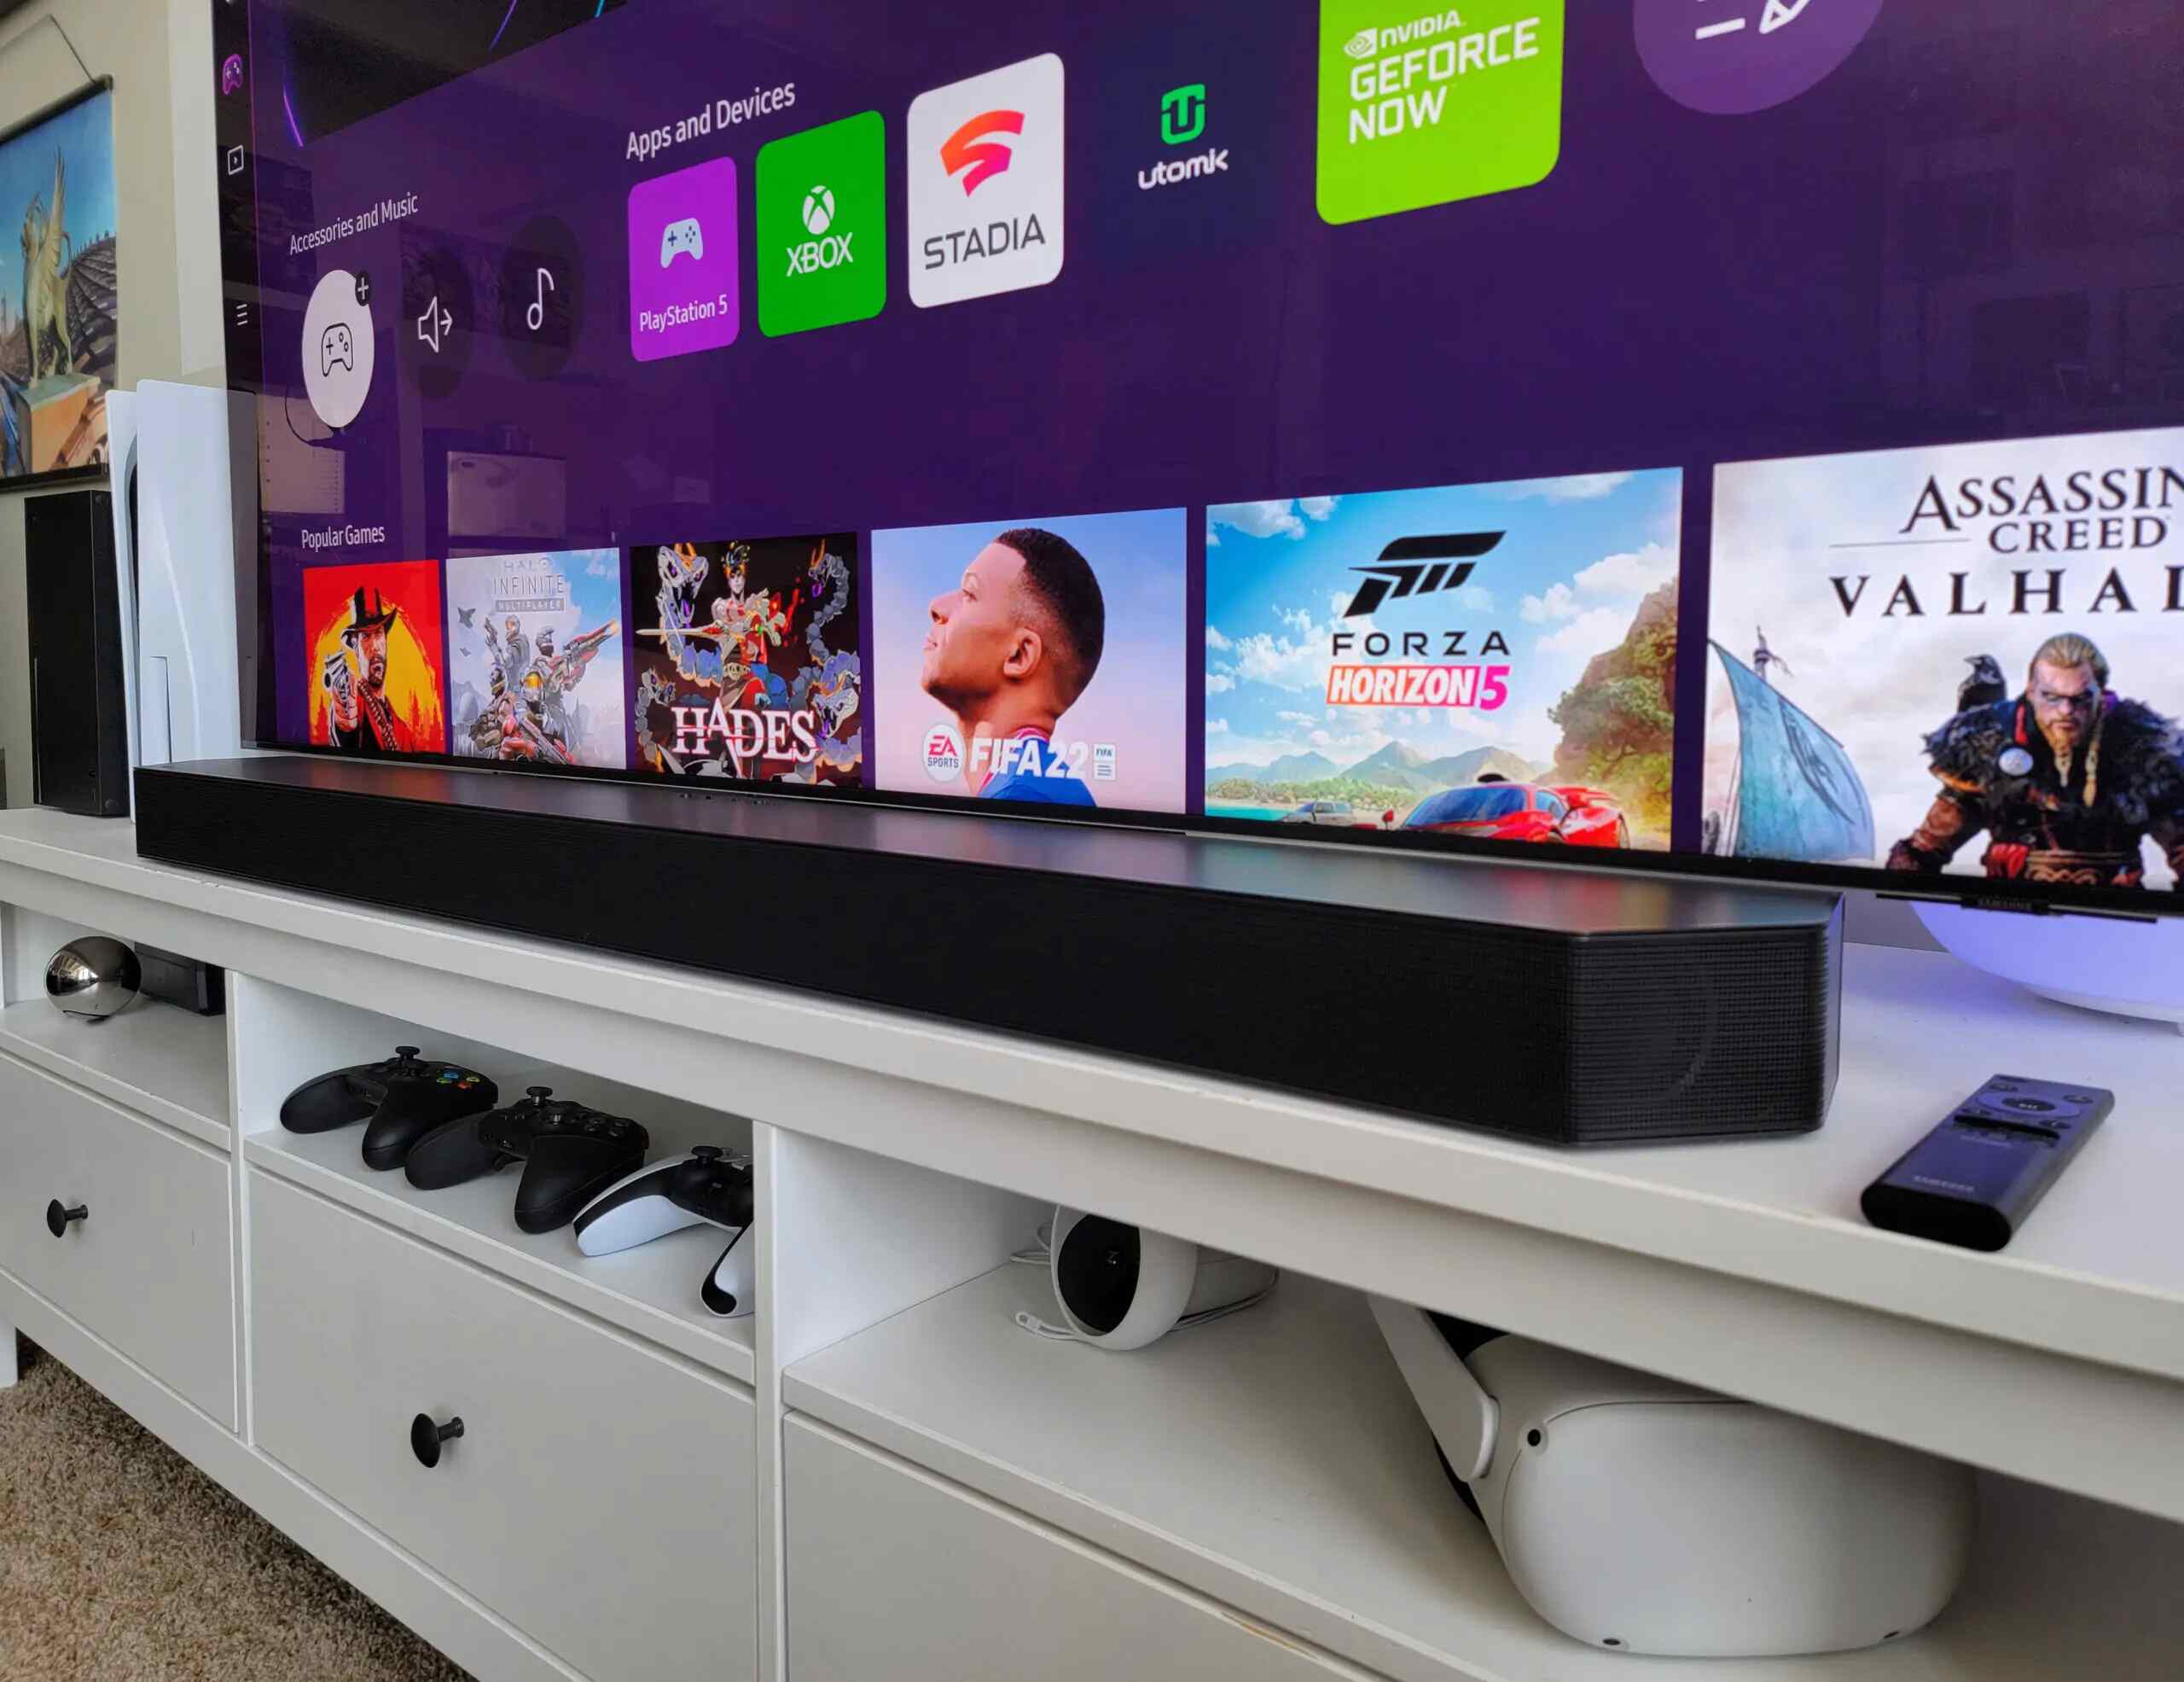
Welcome to this guide on how to connect a Samsung soundbar to your TV. A soundbar is a fantastic addition to any home theater setup, as it enhances the audio experience and provides immersive sound quality. By connecting a soundbar to your TV, you can enjoy optimized sound for movies, music, and gaming.
Before we dive into the steps, it’s essential to check the compatibility between your Samsung soundbar and your TV. Ensure that both devices have the necessary ports and connectivity options to establish a seamless connection. Compatibility may vary depending on the model and age of your soundbar and TV.
In this comprehensive guide, we will explore various audio connection methods such as HDMI ARC, optical audio cable, and Bluetooth. Each method offers its own advantages and considerations, so you can choose the one that best suits your setup and preferences.
To successfully connect your Samsung soundbar to your TV, you’ll need to gather the necessary equipment. Don’t worry; it’s not complicated. The equipment required will largely depend on the connection method you choose.
Once you have the equipment ready, it’s time to dive into the step-by-step instructions. We’ll guide you through each process, explaining the exact steps to connect your Samsung soundbar to your TV.
After establishing the physical connection, you’ll need to adjust the sound settings on your TV to ensure the optimal audio performance. These settings might include adjusting the sound output to the soundbar, enabling certain audio features, or selecting the appropriate audio format.
Finally, you’ll want to test the soundbar connectivity to ensure everything is working correctly. We’ll show you how to test different audio sources and troubleshoot any potential issues that may arise.
By the end of this guide, you’ll have all the knowledge and confidence you need to successfully connect your Samsung soundbar to your TV, transforming your home entertainment experience. So let’s get started!
Step 1: Check Compatibility
Before connecting your Samsung soundbar to your TV, it’s crucial to check the compatibility between the two devices. This step ensures that you have the necessary ports and connectivity options to establish a successful connection.
Start by checking the model and specifications of your Samsung soundbar and TV. Look for the available input and output ports on both devices. Typically, common ports include HDMI ARC (Audio Return Channel), optical audio, and Bluetooth.
Make sure that your TV has an HDMI ARC port if you plan to use this connection method. HDMI ARC allows for both audio input and output, providing a convenient and streamlined setup. Another option is the optical audio port, which transmits audio via an optical cable.
If your soundbar and TV support Bluetooth, you may have the option to connect wirelessly. Bluetooth connectivity eliminates the need for physical cables, providing flexibility and convenience in placing your soundbar.
Additionally, check the compatibility between the sound formats supported by your soundbar and the audio capabilities of your TV. Some sound formats, such as Dolby Atmos or DTS:X, require specific audio equipment and settings to work optimally. Ensure that both your soundbar and TV support the desired sound formats for the best audio experience.
Keep in mind that compatibility can vary based on the age and model of your soundbar and TV. Older devices may lack certain ports or features found in newer ones. It’s essential to refer to the user manuals or product specifications to verify compatibility.
If your soundbar and TV are not compatible, you may need to consider alternative connection methods or explore the possibility of using an external audio device to bridge the gap between the two. In such cases, additional equipment, such as audio converters or adapters, may be required.
By ensuring compatibility between your Samsung soundbar and TV, you can proceed with confidence to the next steps. Take the time to double-check the specifications and availabilities to avoid any connectivity issues later on.
Step 2: Gather the Necessary Equipment
Before you can connect your Samsung soundbar to your TV, it’s important to gather all the necessary equipment. The equipment needed will depend on the specific connection method you choose, so let’s take a look at the options:
- HDMI ARC: If you plan to connect your soundbar to your TV using HDMI ARC, you’ll need an HDMI cable. Make sure to check the HDMI version supported by both your soundbar and TV and choose a compatible cable.
- Optical Audio: If you decide to go with the optical audio connection method, you’ll need an optical audio cable. Ensure that the cable length is suitable for your setup.
- Bluetooth: If your soundbar and TV support Bluetooth connectivity, no additional cables are required. Just make sure that both devices are in Bluetooth pairing mode.
Aside from the necessary cables, ensure that your soundbar and TV are plugged into a power source and turned on. It’s also a good idea to have the remote controls for both the soundbar and TV handy, as you may need to access specific settings.
Depending on your specific soundbar model, you may need additional accessories or equipment. For example, some soundbars come with a wall-mounting kit, a separate subwoofer, or satellite speakers. Refer to the user manual for your soundbar to ensure that you have all the required components ready.
It’s worth noting that some Samsung soundbars come with a dedicated app that allows you to control and configure your soundbar via your smartphone. If this feature is available for your soundbar model, consider downloading the app before starting the setup process.
By gathering all the necessary equipment and accessories beforehand, you’ll be well-prepared to connect your Samsung soundbar to your TV seamlessly. Having everything on hand will save you time and ensure a smooth setup process.
Step 3: Determine the Audio Connection Method
Now that you have checked the compatibility and gathered the necessary equipment, it’s time to determine the audio connection method that suits your setup and preferences. Samsung soundbars offer various options, including HDMI ARC, optical audio, and Bluetooth.
HDMI ARC: HDMI ARC (Audio Return Channel) is a convenient method to connect your soundbar to your TV. This method allows for both audio input and output through a single HDMI cable. To use this connection, make sure that your TV and soundbar have HDMI ARC ports. Simply connect one end of the HDMI cable to the HDMI ARC port on your TV and the other end to the HDMI ARC port on your soundbar. Your TV may have multiple HDMI ports, so be sure to choose the one labeled for ARC.
Optical Audio: If your TV doesn’t have an HDMI ARC port or if you prefer using the optical audio connection method, you’ll need an optical audio cable. Connect one end of the optical audio cable to the optical audio port on your TV and the other end to the corresponding port on your soundbar. Ensure that both devices are powered on and select the optical audio input on your soundbar using the remote control.
Bluetooth: Bluetooth connectivity offers the freedom to connect your soundbar to your TV without the need for physical cables. If your soundbar and TV support Bluetooth, you can pair them wirelessly. Access the Bluetooth settings on both devices and enable pairing mode. Once connected, you can enjoy audio wirelessly streamed from your TV to the soundbar. Keep in mind that Bluetooth connectivity may have limitations in terms of audio quality and range.
Each connection method has its own advantages and considerations. HDMI ARC provides a streamlined setup and can also transfer audio from your TV’s built-in apps. Optical audio offers a reliable and high-quality connection, while Bluetooth provides flexibility and convenience. Consider your specific needs and preferences when determining the audio connection method.
Remember to consult the user manuals for your specific soundbar and TV models for detailed instructions on how to access and enable the different audio connection methods. Once you have determined the connection method, you can proceed to the next step of physically connecting the soundbar to your TV.
Step 4: Connect the Soundbar to the TV using HDMI ARC
If you have chosen to connect your Samsung soundbar to your TV using the HDMI ARC (Audio Return Channel) method, follow these steps:
- Locate the HDMI ARC ports on both your soundbar and your TV. Typically, these ports are labeled as “HDMI ARC” or “ARC.”
- Connect one end of the HDMI cable to the HDMI ARC port on your TV. Usually, it is located on the back or side of the TV.
- Connect the other end of the HDMI cable to the HDMI ARC port on your soundbar. Ensure that you insert it into the HDMI ARC port specifically, as soundbars often have multiple HDMI ports.
- Power on both your soundbar and your TV. Use their respective power buttons or remote controls to do so.
- On your TV, navigate to the settings menu and locate the audio settings. Look for the option to enable HDMI ARC or audio output through the HDMI port.
- Select the HDMI ARC as the audio output source. This will route the audio from your TV to the soundbar.
- Adjust the soundbar settings if needed. Many Samsung soundbars come with various audio modes and customizable settings, allowing you to tailor the sound to your liking.
Once the HDMI ARC connection is established, your TV should automatically recognize the soundbar as the audio output device. This means that the sound from your TV, including the audio from TV channels, built-in apps, or connected devices, will be routed through the soundbar.
Remember to refer to the user manual for your specific soundbar and TV models if you encounter any difficulties during the setup process. Troubleshooting steps and specific instructions may vary depending on the devices’ models and firmware versions.
With the HDMI ARC connection successfully established, you can now enjoy enhanced sound quality and immersive audio experience from your Samsung soundbar while watching your favorite movies, TV shows, or playing games.
Step 5: Connect the Soundbar to the TV using Optical Audio Cable
If you have opted to connect your Samsung soundbar to your TV using an optical audio cable, follow these steps:
- Locate the optical audio output port on your TV. It is usually labeled as “Optical,” “Digital Audio Out,” or “Toslink.”
- Connect one end of the optical audio cable to the optical audio output port on your TV.
- Connect the other end of the optical audio cable to the corresponding optical audio input port on your soundbar.
- Plug in both your soundbar and TV and power them on.
- Using your soundbar’s remote control, select the optical audio input mode.
Once the connection is established, the sound from your TV will be transmitted through the optical audio cable to your soundbar. You may need to adjust the TV’s audio settings to ensure that the audio is outputting through the optical audio connection. Consult your TV’s user manual for instructions on navigating the audio settings menu.
Note that optical audio cables transmit audio only. If you want to control the soundbar’s volume using the TV’s remote control, you will need to enable CEC (Consumer Electronics Control) or HDMI-CEC on both your soundbar and TV. This feature allows for synchronized control between devices via HDMI.
Verify that the audio is properly routed to the soundbar by playing a sound source on your TV, such as a movie or music. Adjust the sound settings on your soundbar as needed to achieve the desired audio experience.
If your soundbar has additional audio modes or settings, such as surround sound or equalizer presets, you can explore and customize them to enhance your listening experience.
Remember, every soundbar and TV model may have slight variations in the setup process. Be sure to consult the user manuals for your specific devices for detailed instructions and troubleshooting steps.
Once the optical audio connection is established, you can enjoy high-quality sound and immerse yourself in your favorite movies, TV shows, and games with the enhanced audio performance from your Samsung soundbar.
Step 6: Connect the Soundbar to the TV using Bluetooth
If your Samsung soundbar and TV support Bluetooth connectivity, you can easily connect them wirelessly. Follow these steps to establish the Bluetooth connection:
- Ensure that both your soundbar and TV are turned on and in Bluetooth pairing mode.
- On your TV, navigate to the settings menu and locate the Bluetooth settings. Enable Bluetooth and ensure that your TV is discoverable.
- Using your soundbar’s remote control, access the Bluetooth settings and put the soundbar into pairing mode.
- On your TV, initiate the pairing process by searching for nearby Bluetooth devices. Select your soundbar from the list of available devices.
- Once the connection is established, your TV will indicate that it is paired with the soundbar.
With the Bluetooth connection established, the audio from your TV will be wirelessly transmitted to your Samsung soundbar. You can now enjoy the enhanced sound quality without the need for any physical cables.
It’s important to note that Bluetooth connectivity may have limitations in terms of audio quality and range. If you experience any audio issues or dropouts, ensure that both your soundbar and TV are within close proximity and have a clear line of sight. Additionally, make sure there are no other devices interfering with the Bluetooth signal.
Remember that the Bluetooth connection may need to be manually reestablished each time you power on your soundbar and TV. Some models have the option to automatically connect when both devices are in range and turned on. Refer to the user manuals for your specific devices to explore these settings.
Once connected via Bluetooth, you can adjust the soundbar’s volume using either the soundbar’s remote control or the TV’s remote control, depending on your preference and settings. Enjoy the freedom of wireless audio transmission and the convenience it brings to your home entertainment setup.
Take note that the specific steps for Bluetooth pairing may vary depending on your Samsung soundbar and TV models. Consult the user manuals for detailed instructions and troubleshooting tips if needed.
With the soundbar connected via Bluetooth, you can now immerse yourself in high-quality audio while enjoying your favorite movies, shows, or music on your TV.
Step 7: Adjust the Sound Settings on Your TV
After connecting your Samsung soundbar to your TV, it’s essential to adjust the sound settings on your TV to optimize the audio performance. These settings ensure that the audio is correctly routed to the soundbar and that you get the best possible sound quality.
Here are some general steps to adjust the sound settings on your TV:
- Access the settings menu on your TV. This is typically done by pressing the “Menu” or “Settings” button on your TV remote control.
- Navigate to the “Audio” or “Sound” settings. The exact name may vary depending on your TV model.
- Look for the option to select the audio output or audio format. Choose the option that corresponds to your connected soundbar, such as “External Speakers” or “Soundbar.”
- Configure any additional sound settings or modes offered by your TV. This may include adjusting the bass, treble, or balance, as well as selecting sound presets or modes to enhance your audio experience.
- Ensure that the TV’s internal speakers are muted or turned off to avoid any audio interference or echo caused by simultaneous sound output.
Keep in mind that the specific sound settings and options may vary depending on your TV model and firmware version. Consult your TV’s user manual for detailed instructions specific to your device.
Additionally, if you have connected your soundbar using HDMI ARC, you may need to enable CEC (Consumer Electronics Control) or HDMI-CEC on both your soundbar and TV. This feature allows for synchronized control between devices via HDMI, including volume control and power on/off commands. Check your TV’s CEC settings menu and the soundbar’s user manual for instructions on how to enable this feature.
Remember to experiment with different sound settings and configurations to find the optimal audio quality for your preferences and setup. Adjust the settings to your liking and enjoy an immersive audio experience.
If you encounter any difficulties or have specific questions about adjusting the sound settings on your TV, refer to the user manual or online support resources provided by the TV manufacturer.
With the sound settings adjusted on your TV, you can now sit back, relax, and enjoy your favorite content with enhanced sound delivered through your Samsung soundbar.
Step 8: Test the Soundbar Connectivity
After connecting your Samsung soundbar to your TV and adjusting the sound settings, it’s important to test the connectivity to ensure everything is working as expected. Performing a sound test will help you confirm that the audio is properly routed to the soundbar and that you can enjoy the enhanced sound quality.
Here are some steps to test the soundbar connectivity:
- Play a sound source on your TV, such as a movie, TV show, or music.
- Ensure that the audio is being output through the soundbar and not the TV’s internal speakers.
- Listen to the audio from the soundbar and assess the sound quality. Pay attention to the depth, clarity, and balance of the sound.
- Adjust the volume of the soundbar using the soundbar’s remote control or the TV’s remote control, depending on your preference and settings.
- Test different audio sources to verify that the soundbar is properly receiving and reproducing the audio from your TV, including channels, apps, and connected devices.
During the sound test, make sure to listen for any abnormalities or issues, such as audio dropouts, distortion, or mismatched audio and video synchronization. If you encounter any problems, double-check the connections and settings on both your soundbar and TV to ensure they are correctly configured.
If you experience audio delay or synchronization issues, consult your soundbar’s user manual for instructions on adjusting audio delay or lip sync settings. These settings can help align the audio and video playback for an optimal viewing experience.
Remember that different sound sources and content can have varying audio qualities and characteristics. While testing, play different types of content, such as movies, TV shows, and music, to ensure consistent and satisfactory audio performance across various sources.
If you encounter persistent audio issues or have further questions regarding the soundbar connectivity, refer to the user manuals, online support resources, or customer support provided by Samsung for assistance.
By testing the soundbar connectivity, you can ensure that your Samsung soundbar is properly connected and functioning, providing you with an immersive and enhanced audio experience.
Conclusion
Congratulations! You have successfully learned how to connect your Samsung soundbar to your TV. By following the step-by-step instructions provided in this guide, you can now enjoy enhanced audio quality and immersive sound while watching your favorite movies, TV shows, or playing games.
Throughout this guide, we covered important steps such as checking compatibility, gathering the necessary equipment, determining the audio connection method, and physically connecting the soundbar to the TV using various methods such as HDMI ARC, optical audio cable, or Bluetooth.
We also discussed the importance of adjusting the sound settings on your TV to optimize the audio performance. By navigating your TV’s settings and configuring the audio output, you can ensure that the sound from your TV is correctly routed to your Samsung soundbar, delivering exceptional sound quality.
Additionally, we explored the significance of testing the soundbar connectivity. By performing a sound test and listening for any abnormalities or audio issues, you can easily troubleshoot and ensure that the audio is properly received and reproduced by your soundbar.
As you continue to enjoy your Samsung soundbar, remember to keep your devices updated with the latest firmware versions. Regularly check for updates on both your soundbar and TV to ensure optimal compatibility and performance.
If you encounter any difficulties during the setup process or need further assistance, consult the user manuals provided by Samsung or contact their customer support for personalized guidance.
We hope this guide has been informative and helpful in connecting your Samsung soundbar to your TV. Sit back, relax, and enjoy the immersive audio experience that your soundbar brings to your home entertainment setup.


