Introduction
Soundbars have become an essential part of home entertainment systems, delivering immersive audio experiences for movies, music, and gaming. However, to maintain optimal performance and longevity, it’s crucial to keep your soundbar clean and free from dust, dirt, and grime. Regular cleaning not only enhances the aesthetic appeal of your soundbar but also ensures that it continues to deliver high-quality sound.
In this comprehensive guide, we will walk you through the step-by-step process of cleaning your soundbar, covering everything from unplugging the device to cleaning the speaker grille, inputs, outputs, and remote control. By following these simple yet effective cleaning techniques, you can prolong the lifespan of your soundbar and enjoy crystal-clear sound reproduction for years to come.
Whether you’re a seasoned audio enthusiast or a casual user, maintaining a clean soundbar is essential for preserving its performance and appearance. So, let’s dive into the cleaning process and ensure that your soundbar remains in top-notch condition.
Step 1: Unplug and Remove Cables
Before embarking on the cleaning process, it’s crucial to ensure the safety of both yourself and the soundbar. Start by powering off the soundbar and unplugging it from the electrical outlet. This step is essential to prevent any electrical mishaps and to provide a safe environment for cleaning.
Once the soundbar is unplugged, carefully disconnect any cables connected to it, including the power cord, audio cables, HDMI cables, and any other peripherals. Take note of the cable connections to facilitate easy reassembly after cleaning. If your soundbar is a part of a larger home theater system, make sure to label the cables or take a quick snapshot for reference later.
Removing the cables not only ensures that you can thoroughly clean the entire surface of the soundbar but also prevents any accidental damage to the cables during the cleaning process. Additionally, separating the soundbar from its cables allows for a more thorough and effective cleaning, ensuring that no area is overlooked.
By following this initial step and disconnecting the soundbar from its power source and cables, you create a safe and conducive environment for the subsequent cleaning steps. This simple precaution sets the stage for a comprehensive and successful cleaning process, ultimately contributing to the overall maintenance and longevity of your soundbar.
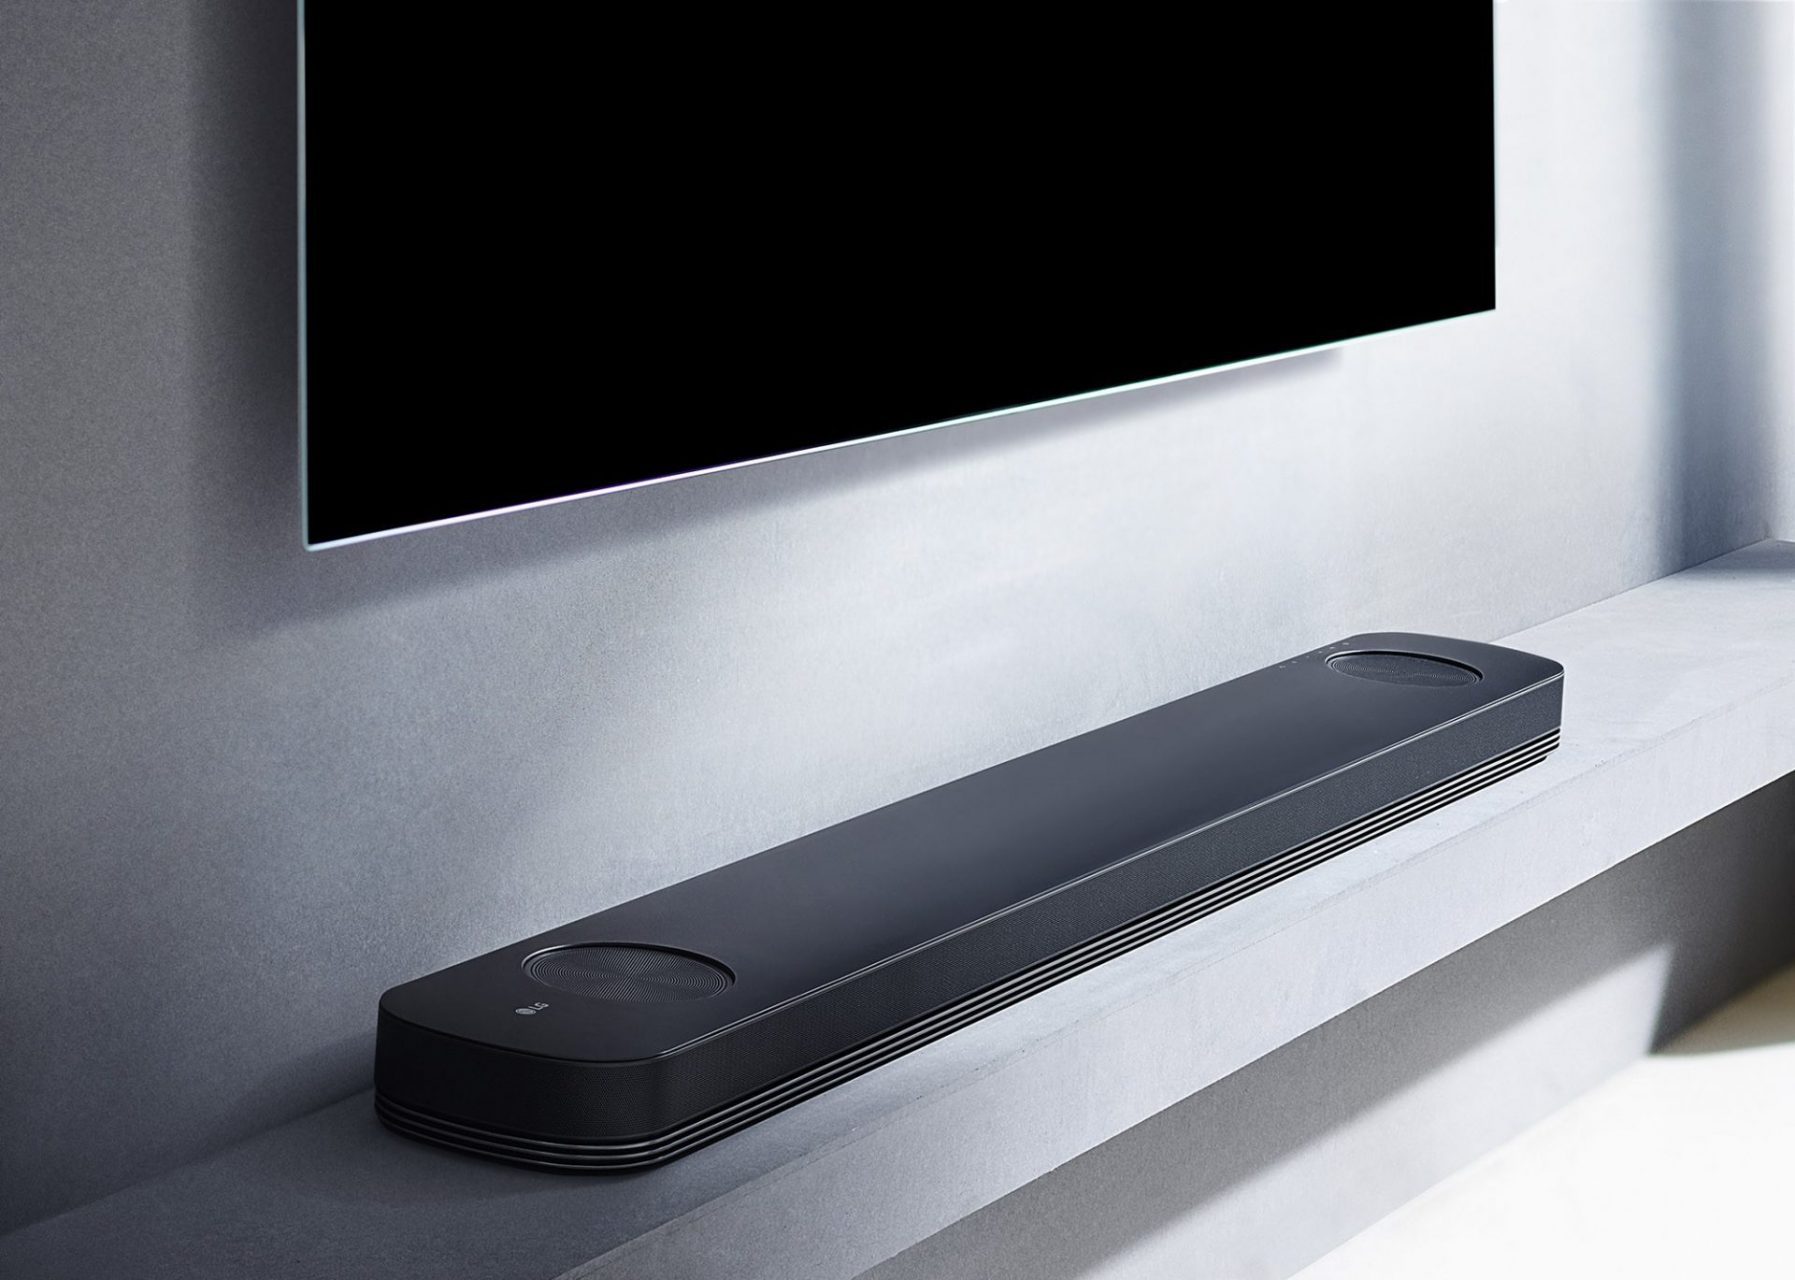
Step 2: Dusting and Wiping Down the Exterior
Once the soundbar and its cables are safely unplugged, it’s time to focus on the exterior cleaning. Begin by using a soft, dry microfiber cloth to gently dust the entire surface of the soundbar. Pay close attention to the vents, corners, and any intricate designs or textures on the exterior. This initial dusting helps remove loose particles and prepares the surface for a more thorough cleaning.
After dusting, dampen a clean microfiber cloth with a small amount of water or a mild, non-abrasive cleaner specifically designed for electronics. Ensure that the cloth is not dripping wet, as excess moisture can seep into the soundbar and cause damage. With gentle, circular motions, wipe down the exterior of the soundbar, focusing on areas that may have accumulated fingerprints, smudges, or light dirt buildup.
For stubborn stains or dirt, lightly dampen a corner of the cloth with a designated electronics cleaner and gently spot-clean the affected areas. Avoid using harsh chemicals, solvents, or abrasive cleaning tools, as these can damage the finish and delicate electronic components of the soundbar.
As you wipe down the exterior, take care around any control buttons, display panels, or indicator lights. Use a cotton swab lightly moistened with water to clean these areas, ensuring that no moisture seeps into the internal components. Thoroughly dry the exterior with a separate dry microfiber cloth to remove any remaining moisture and leave the surface clean and streak-free.
By diligently dusting and wiping down the exterior of your soundbar, you not only maintain its visual appeal but also prevent the accumulation of dirt and grime that can affect its performance over time. This simple yet essential step sets the stage for a comprehensive cleaning process, ensuring that your soundbar remains in top condition.
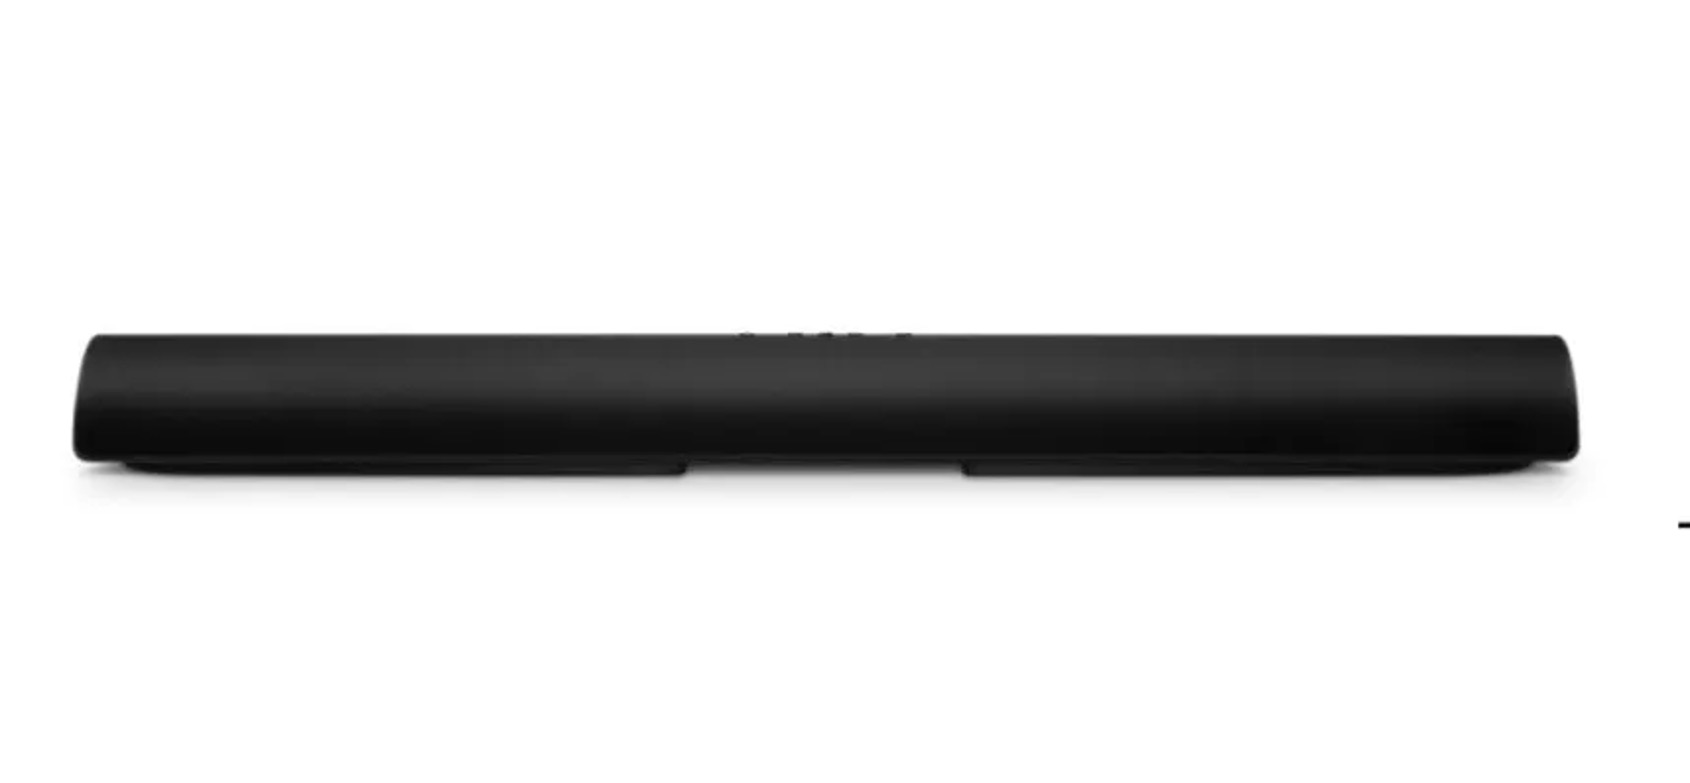
Step 3: Cleaning the Speaker Grille
The speaker grille of a soundbar is not only a prominent visual component but also a crucial element for sound transmission. Over time, dust and debris can accumulate on the grille, potentially impacting the sound quality. Cleaning the speaker grille is essential for maintaining optimal audio performance.
Start by using a soft-bristled brush or a handheld vacuum cleaner with a brush attachment to gently remove any loose dust and debris from the speaker grille. Ensure that the brush or vacuum is on a low setting to prevent damage to the grille or the internal speaker components. Work methodically across the entire surface of the grille, paying attention to any crevices or intricate patterns.
For more stubborn dirt or grime, lightly dampen a microfiber cloth with water and gently wipe the speaker grille. Avoid using excessive moisture, as it can seep into the speaker components and affect their performance. If necessary, a small amount of mild dish soap diluted in water can be used to remove stubborn stains, followed by a thorough wipe with a damp cloth and a subsequent dry cloth to remove any residual moisture.
It’s important to exercise caution and avoid applying excessive pressure on the speaker grille, as this can damage the delicate speaker components behind it. Additionally, ensure that the grille is completely dry before reassembling the soundbar to prevent any potential damage from moisture.
By diligently cleaning the speaker grille, you not only enhance the visual appeal of your soundbar but also contribute to the maintenance of its audio performance. This step ensures that the soundbar continues to deliver clear and immersive sound, free from any obstructions caused by accumulated dust and debris.
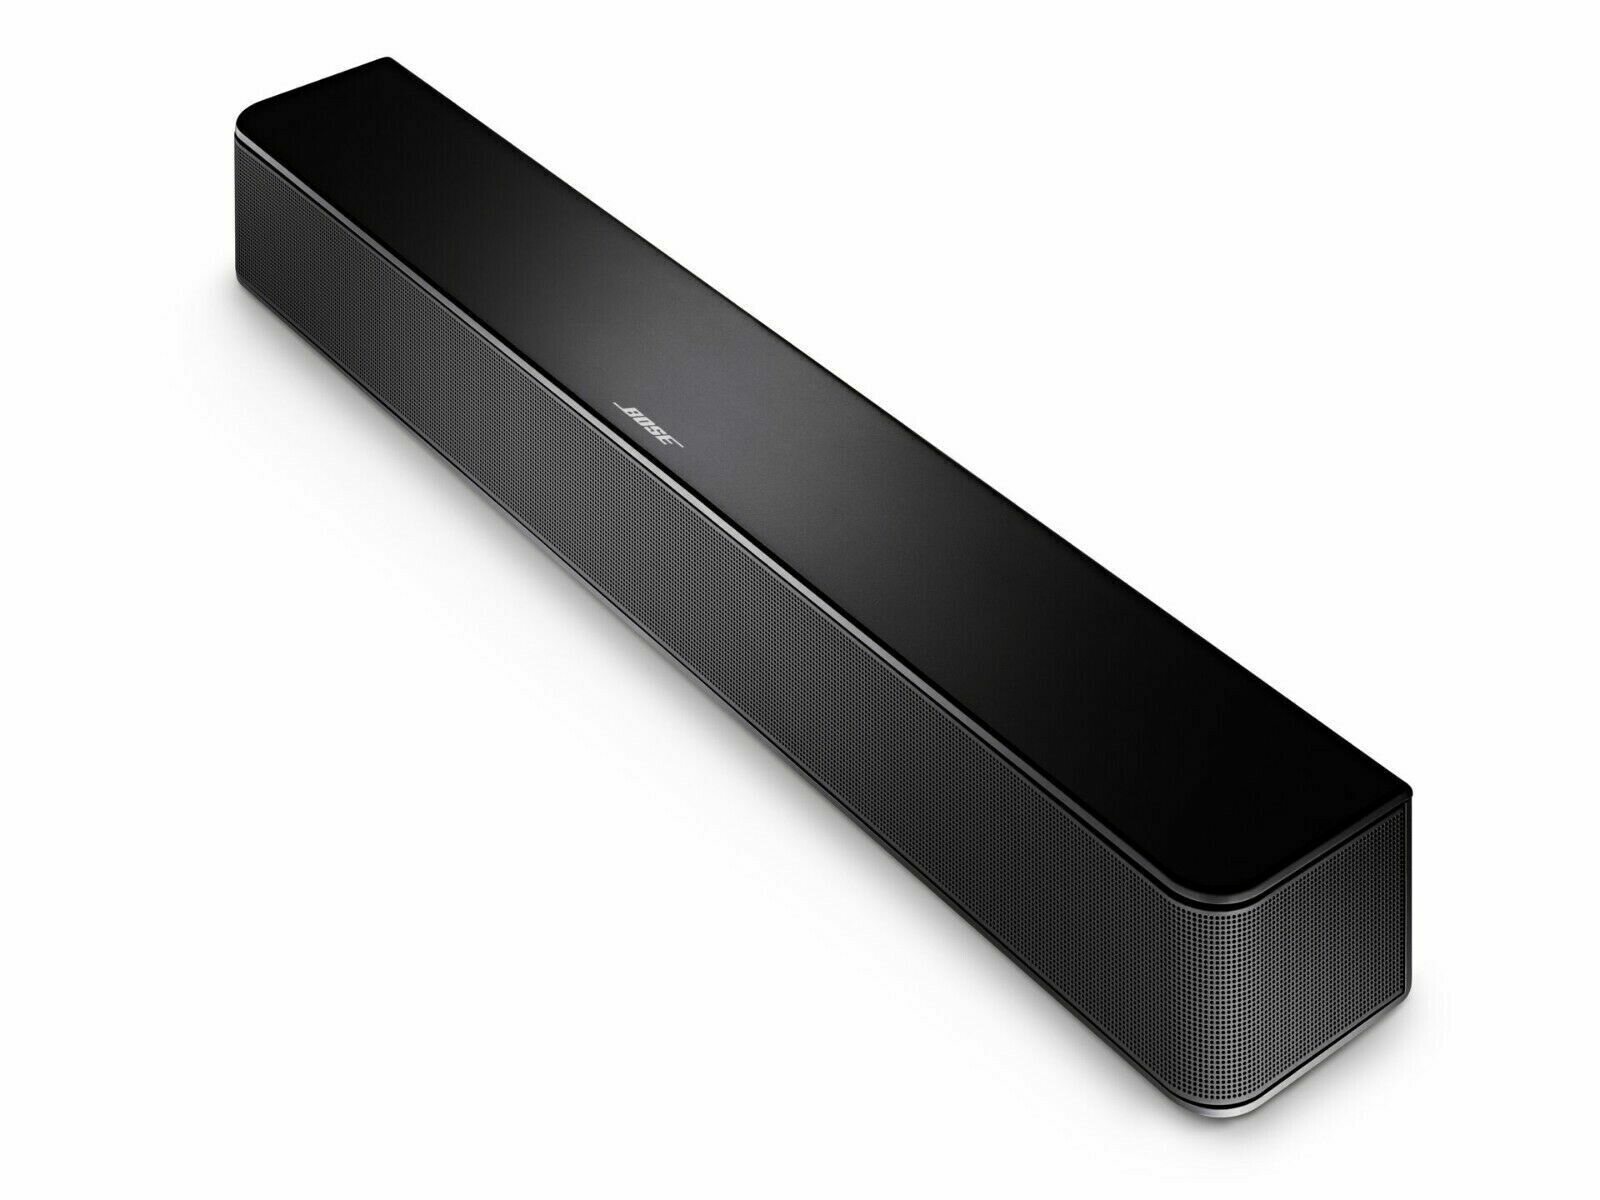
Step 4: Cleaning the Inputs and Outputs
Ensuring that the inputs and outputs of your soundbar are clean is essential for maintaining seamless connectivity and optimal audio performance. Over time, dust and debris can accumulate in these areas, potentially leading to connectivity issues and compromised sound quality. By following a few simple steps, you can effectively clean the inputs and outputs of your soundbar.
Begin by inspecting the input and output ports on the soundbar for any visible dust, dirt, or debris. Use a can of compressed air to blow away loose particles from the ports. Hold the can upright and use short, controlled bursts of air to avoid excessive pressure on the ports. This step helps dislodge and remove any surface-level debris without the risk of causing damage to the ports.
Next, use a small, soft-bristled brush or a cotton swab lightly moistened with isopropyl alcohol to gently clean the interior of the ports. Be extremely gentle and avoid applying excessive force, as the ports are delicate and can be easily damaged. Wipe the ports with the brush or swab in a circular motion, ensuring that any stubborn dirt or residue is effectively removed.
For the exterior surfaces around the inputs and outputs, use a microfiber cloth lightly dampened with isopropyl alcohol to wipe away any visible dirt or grime. Take care to avoid allowing any moisture to enter the ports, as this can lead to corrosion or electrical issues. Thoroughly dry the exterior surfaces with a separate dry microfiber cloth to remove any remaining moisture.
By diligently cleaning the inputs and outputs of your soundbar, you ensure that the connectivity remains reliable and free from any obstructions caused by accumulated debris. This step contributes to the overall maintenance and longevity of your soundbar, allowing you to enjoy uninterrupted audio experiences without connectivity issues.
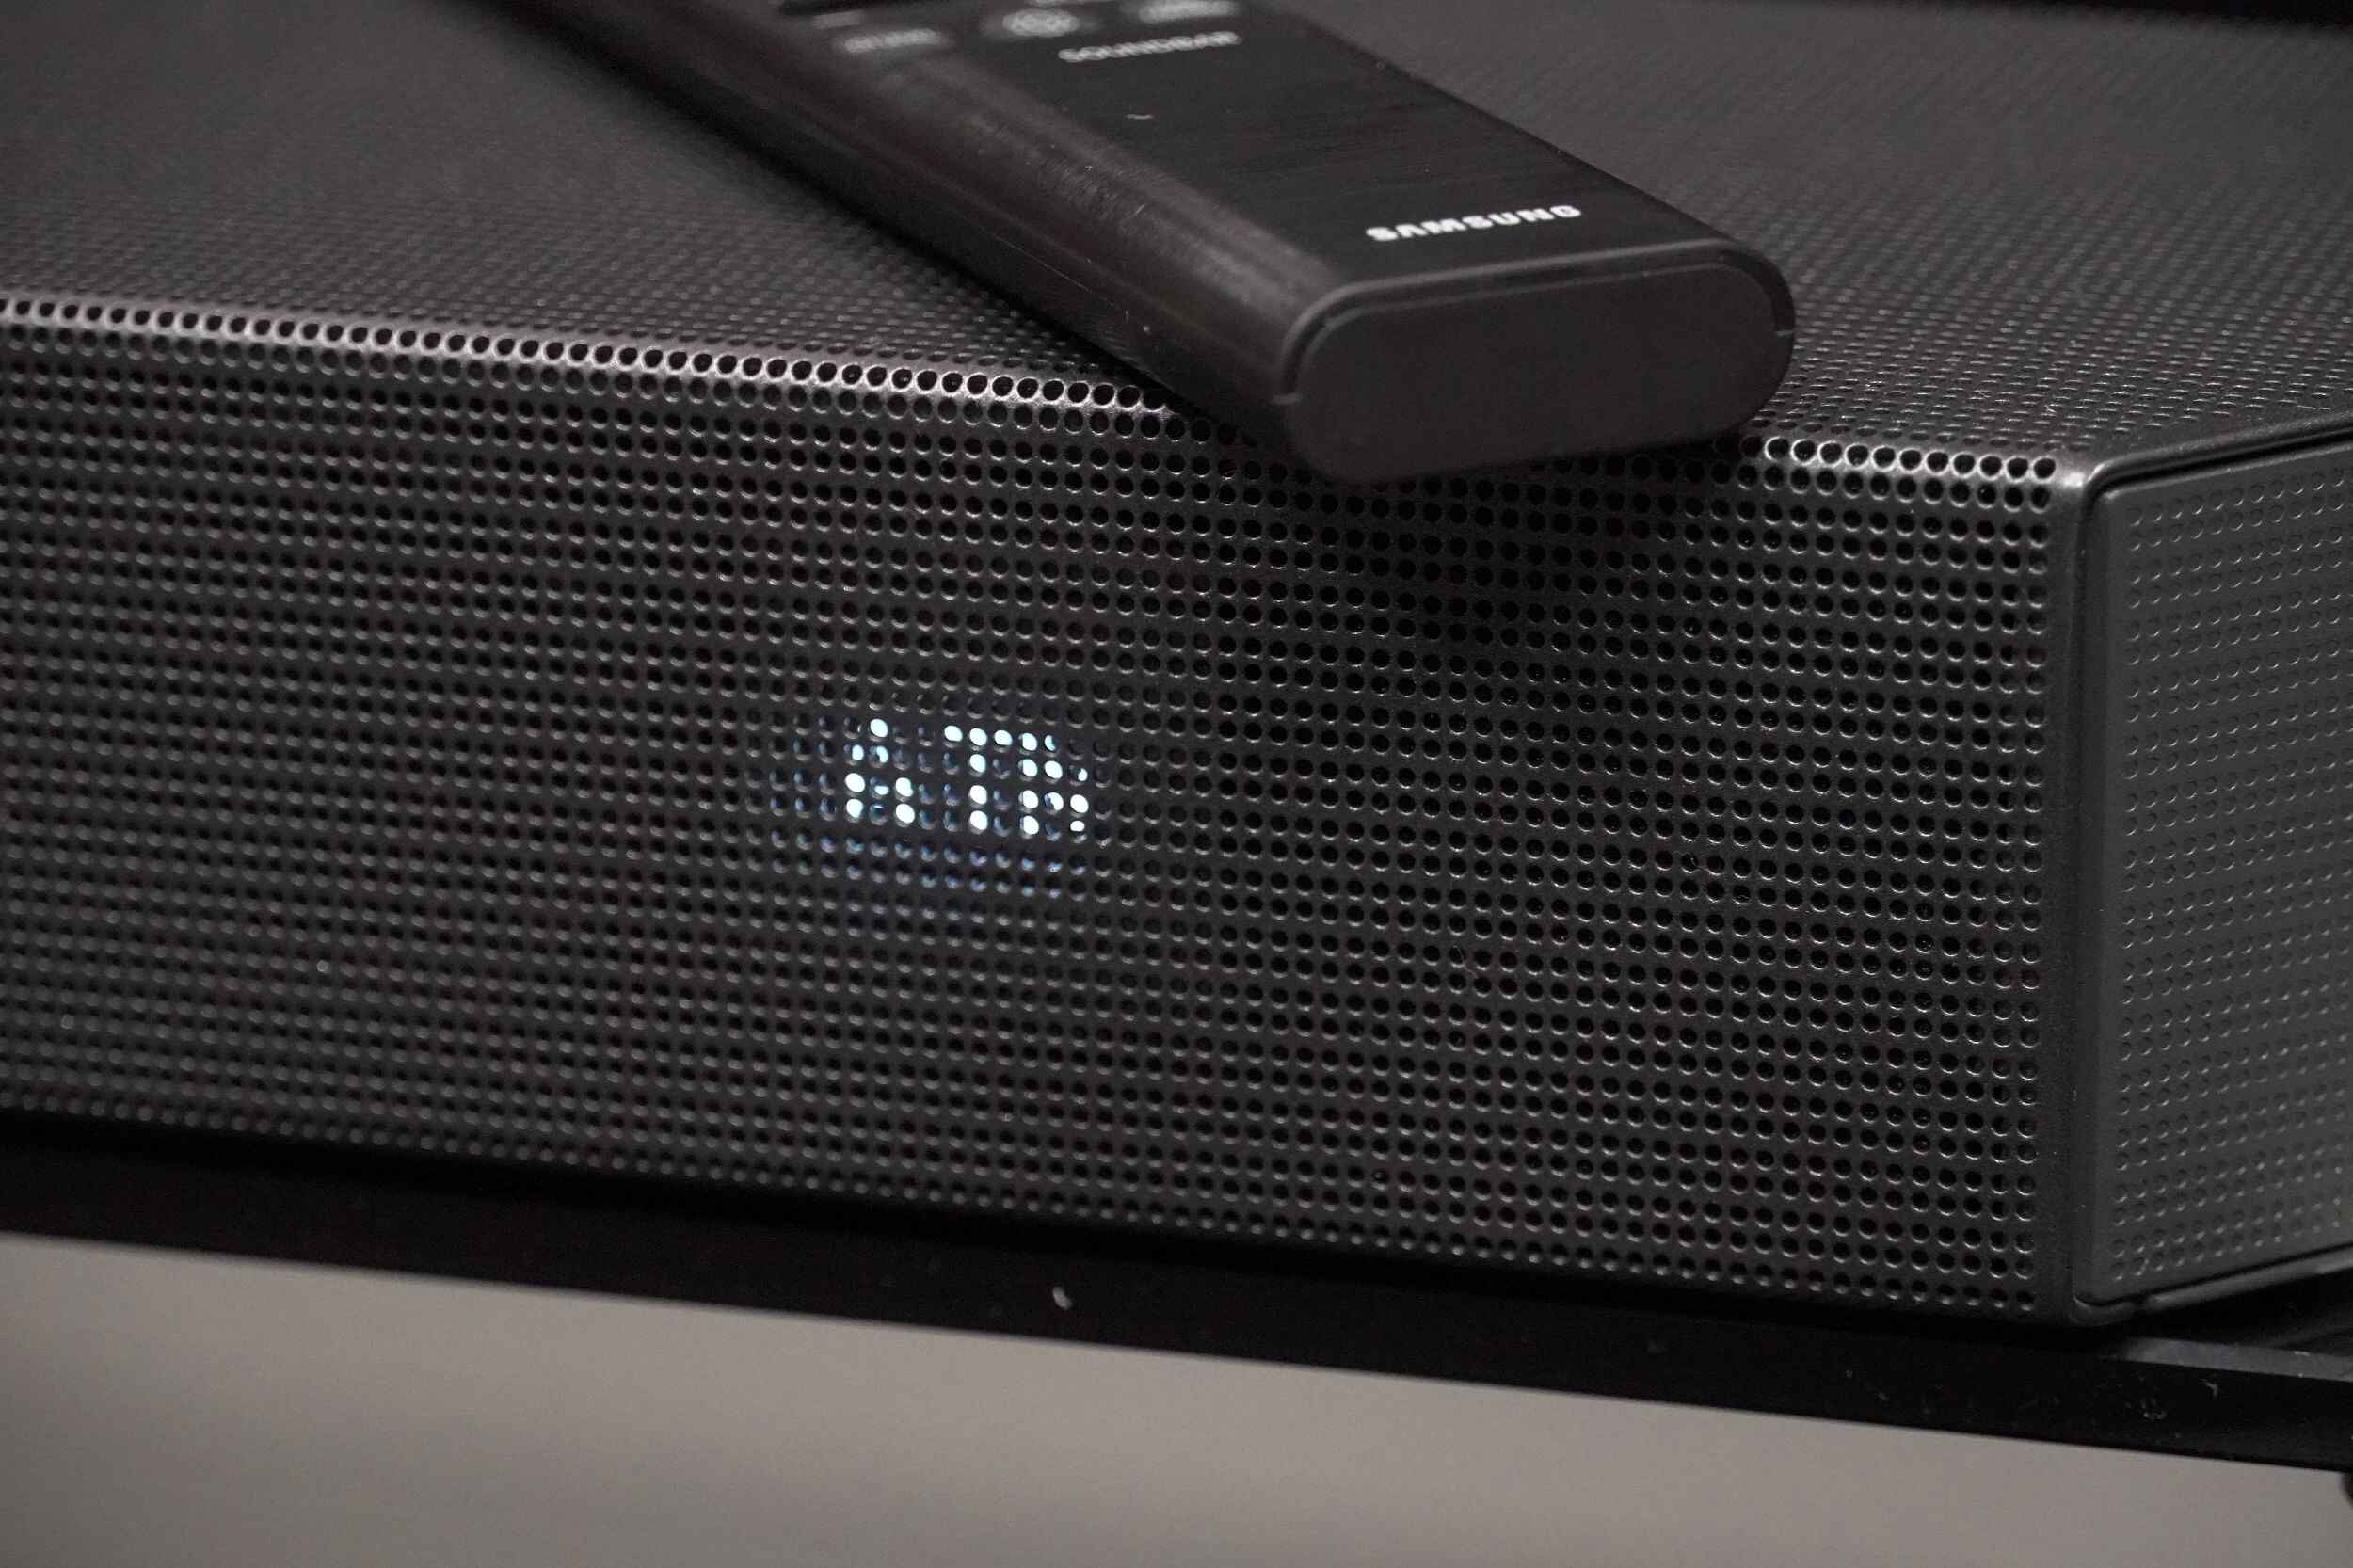
Step 5: Cleaning the Remote Control
The remote control is an integral part of the soundbar experience, allowing you to conveniently adjust settings and control playback without having to interact directly with the soundbar. Keeping the remote control clean is essential for ensuring its functionality and longevity. Here’s how you can effectively clean your soundbar remote control.
Start by removing the batteries from the remote control. This ensures safety during the cleaning process and allows for thorough access to the entire surface of the remote. Inspect the battery compartment for any dust or debris and use a small brush or compressed air to remove any loose particles.
Using a soft, dry microfiber cloth, gently wipe down the entire surface of the remote control to remove any dust, fingerprints, or grime. Pay special attention to the areas around the buttons and the edges of the remote, as these areas are prone to accumulating dirt from regular handling. For more stubborn stains or residue, lightly dampen a corner of the cloth with a small amount of isopropyl alcohol and gently spot-clean the affected areas.
For crevices and areas around the buttons where dirt may be trapped, use a cotton swab lightly moistened with isopropyl alcohol to carefully clean these areas. Take care to avoid allowing any moisture to seep into the internal components of the remote control.
After cleaning, ensure that the remote control is completely dry before reinserting the batteries. Thoroughly dry the entire surface with a separate dry microfiber cloth to remove any remaining moisture and leave the remote control clean and free from streaks.
By diligently cleaning the remote control, you ensure that it remains in optimal condition, allowing for seamless and reliable control of your soundbar. This simple maintenance step contributes to the overall functionality and user experience, ensuring that you can continue to enjoy the convenience of remote control operation without any hindrances.
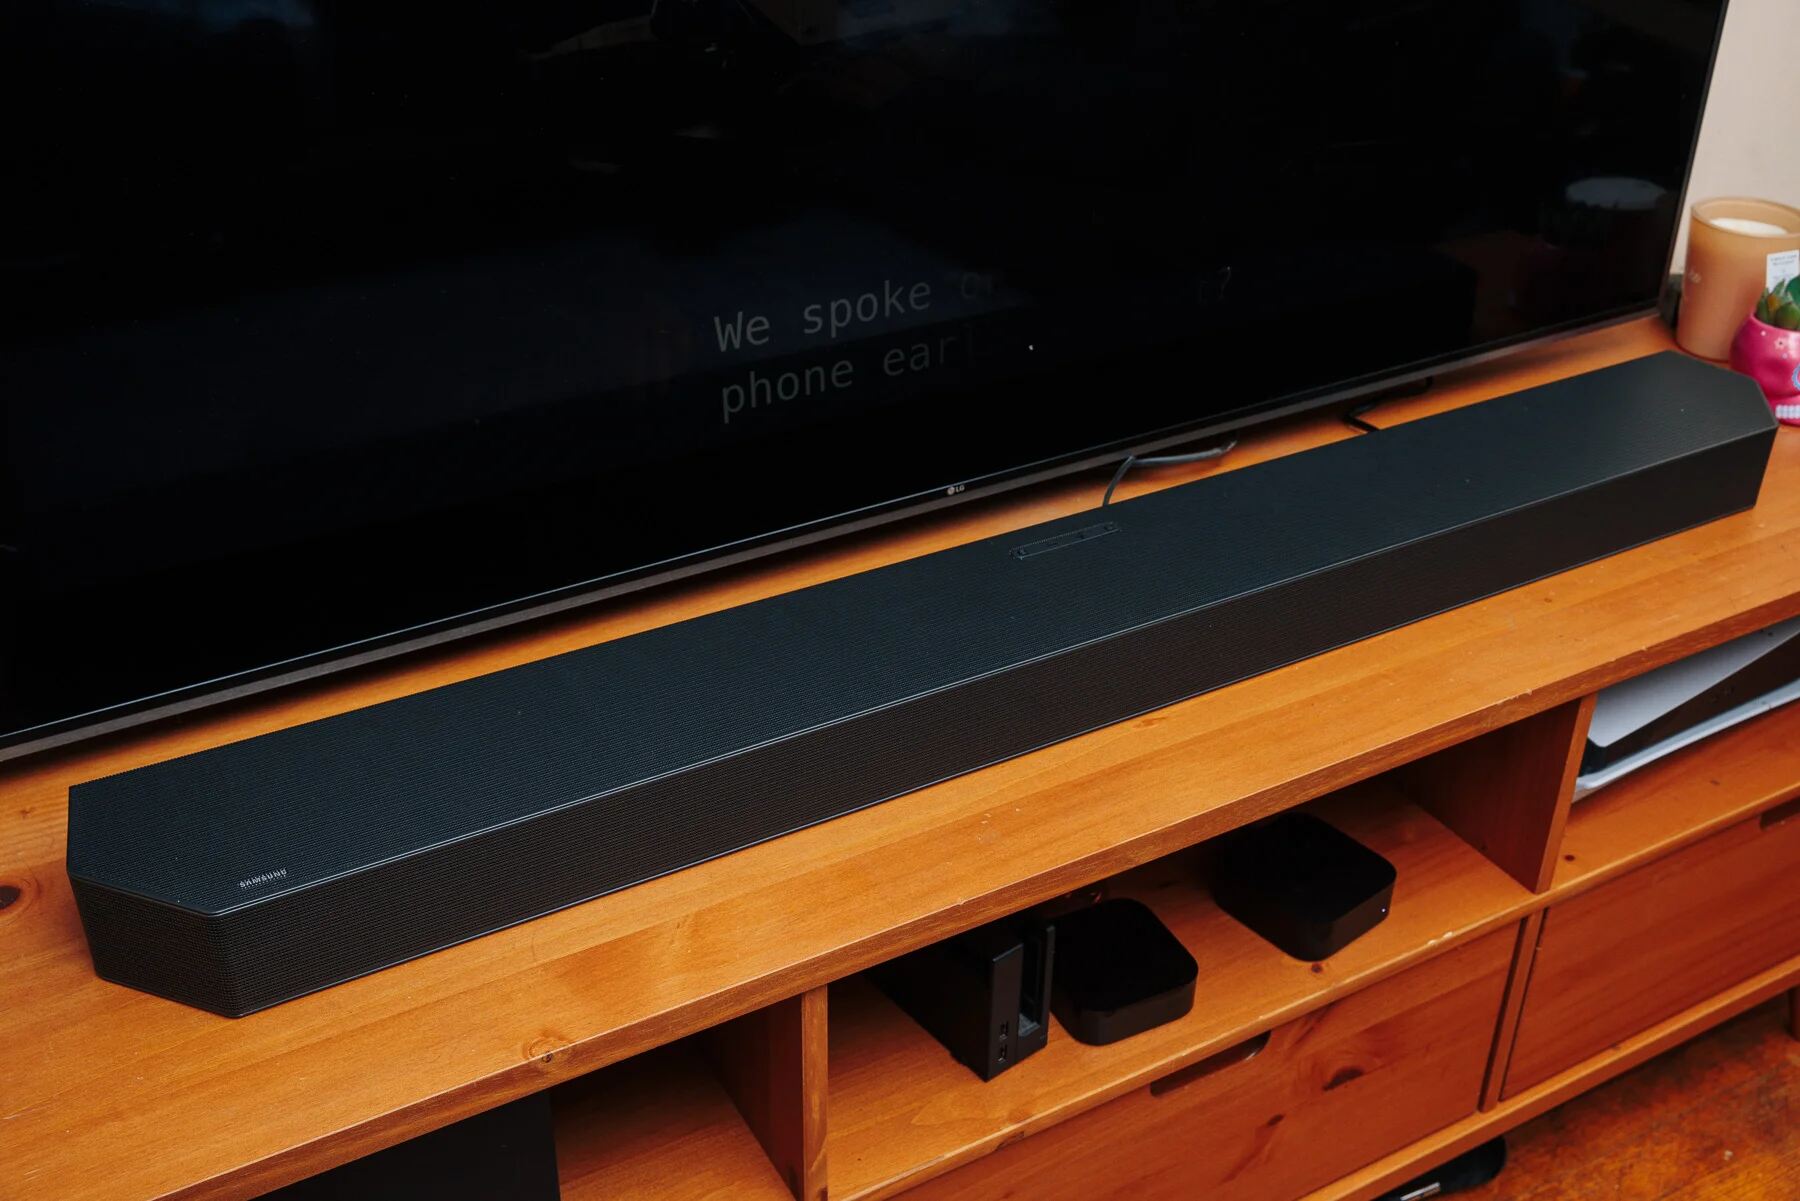
Step 6: Reconnecting and Testing the Soundbar
After completing the cleaning process for your soundbar and its components, it’s time to reassemble and test the system to ensure that everything is functioning optimally. Follow these steps to reconnect and test your soundbar after cleaning.
Begin by carefully reattaching all the cables to the soundbar, including the power cord, audio cables, HDMI cables, and any other peripherals. Ensure that each connection is secure and properly seated to prevent any potential issues with connectivity.
Once the cables are reattached, plug the soundbar back into the electrical outlet and power it on. Take a moment to visually inspect the soundbar for any signs of abnormal behavior, such as unusual lights or error messages on the display. If everything appears normal, proceed to test the audio output by playing a familiar piece of music or a movie with dynamic sound effects.
During the testing phase, pay close attention to the sound quality and volume levels to ensure that the soundbar is performing as expected. Listen for any distortions, crackling sounds, or irregularities in the audio output. If you notice any issues, double-check the cable connections and settings on the soundbar to troubleshoot and address the problem.
Additionally, test the functionality of the remote control by adjusting settings, changing audio modes, and controlling playback. Ensure that the remote responds accurately to your commands and that all functions are operational.
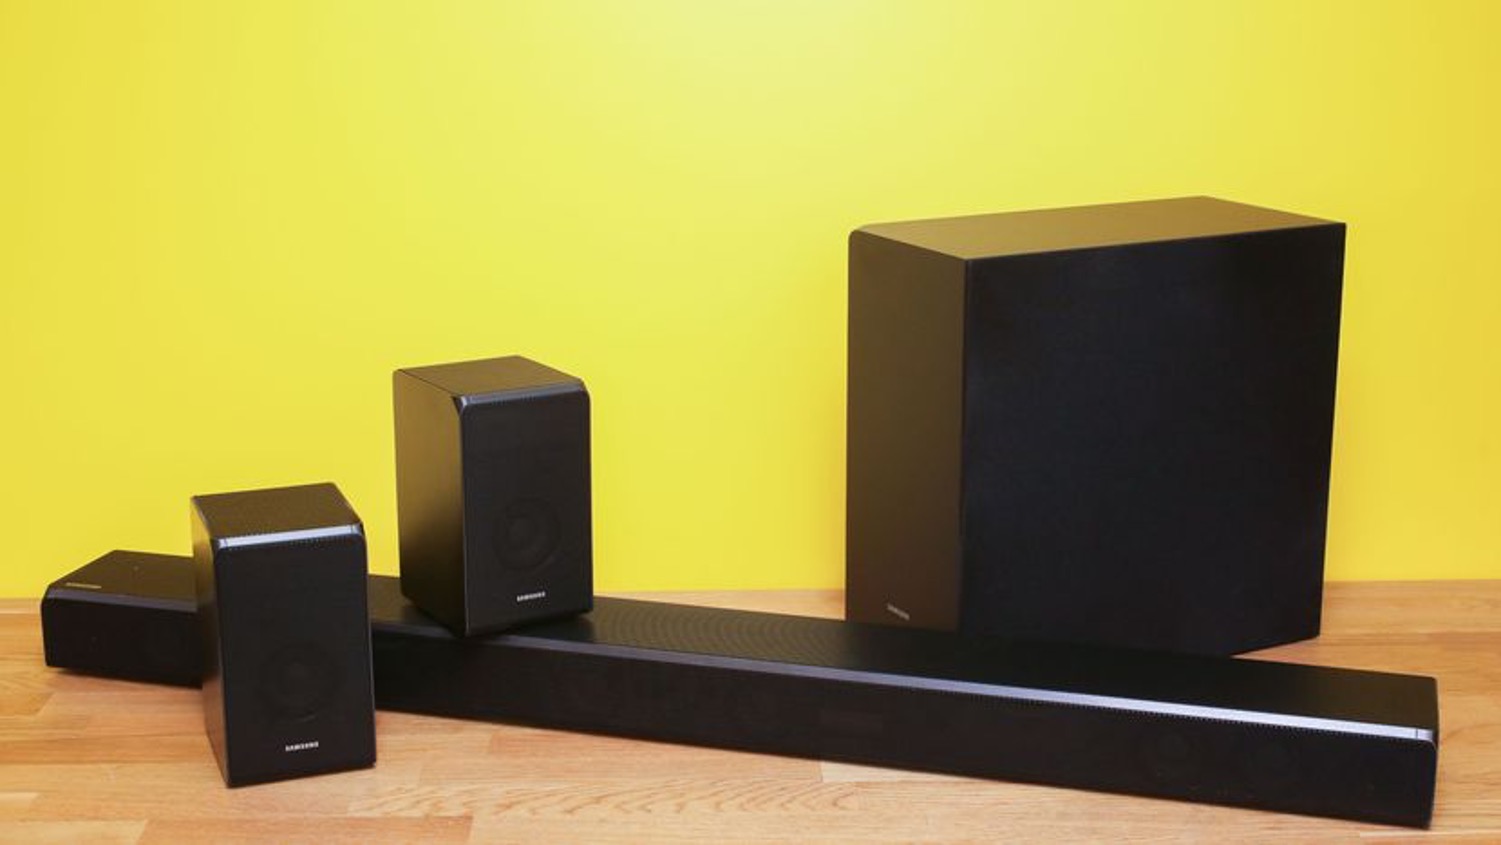
If you have a multi-channel soundbar or a soundbar that is part of a larger home theater system, test the connectivity and synchronization with other speakers to verify that the system is functioning cohesively.
By systematically reconnecting and testing the soundbar after cleaning, you can confirm that the cleaning process has not affected the functionality or performance of the system. This step allows you to address any potential issues promptly and ensures that your soundbar continues to deliver an exceptional audio experience.