Introduction
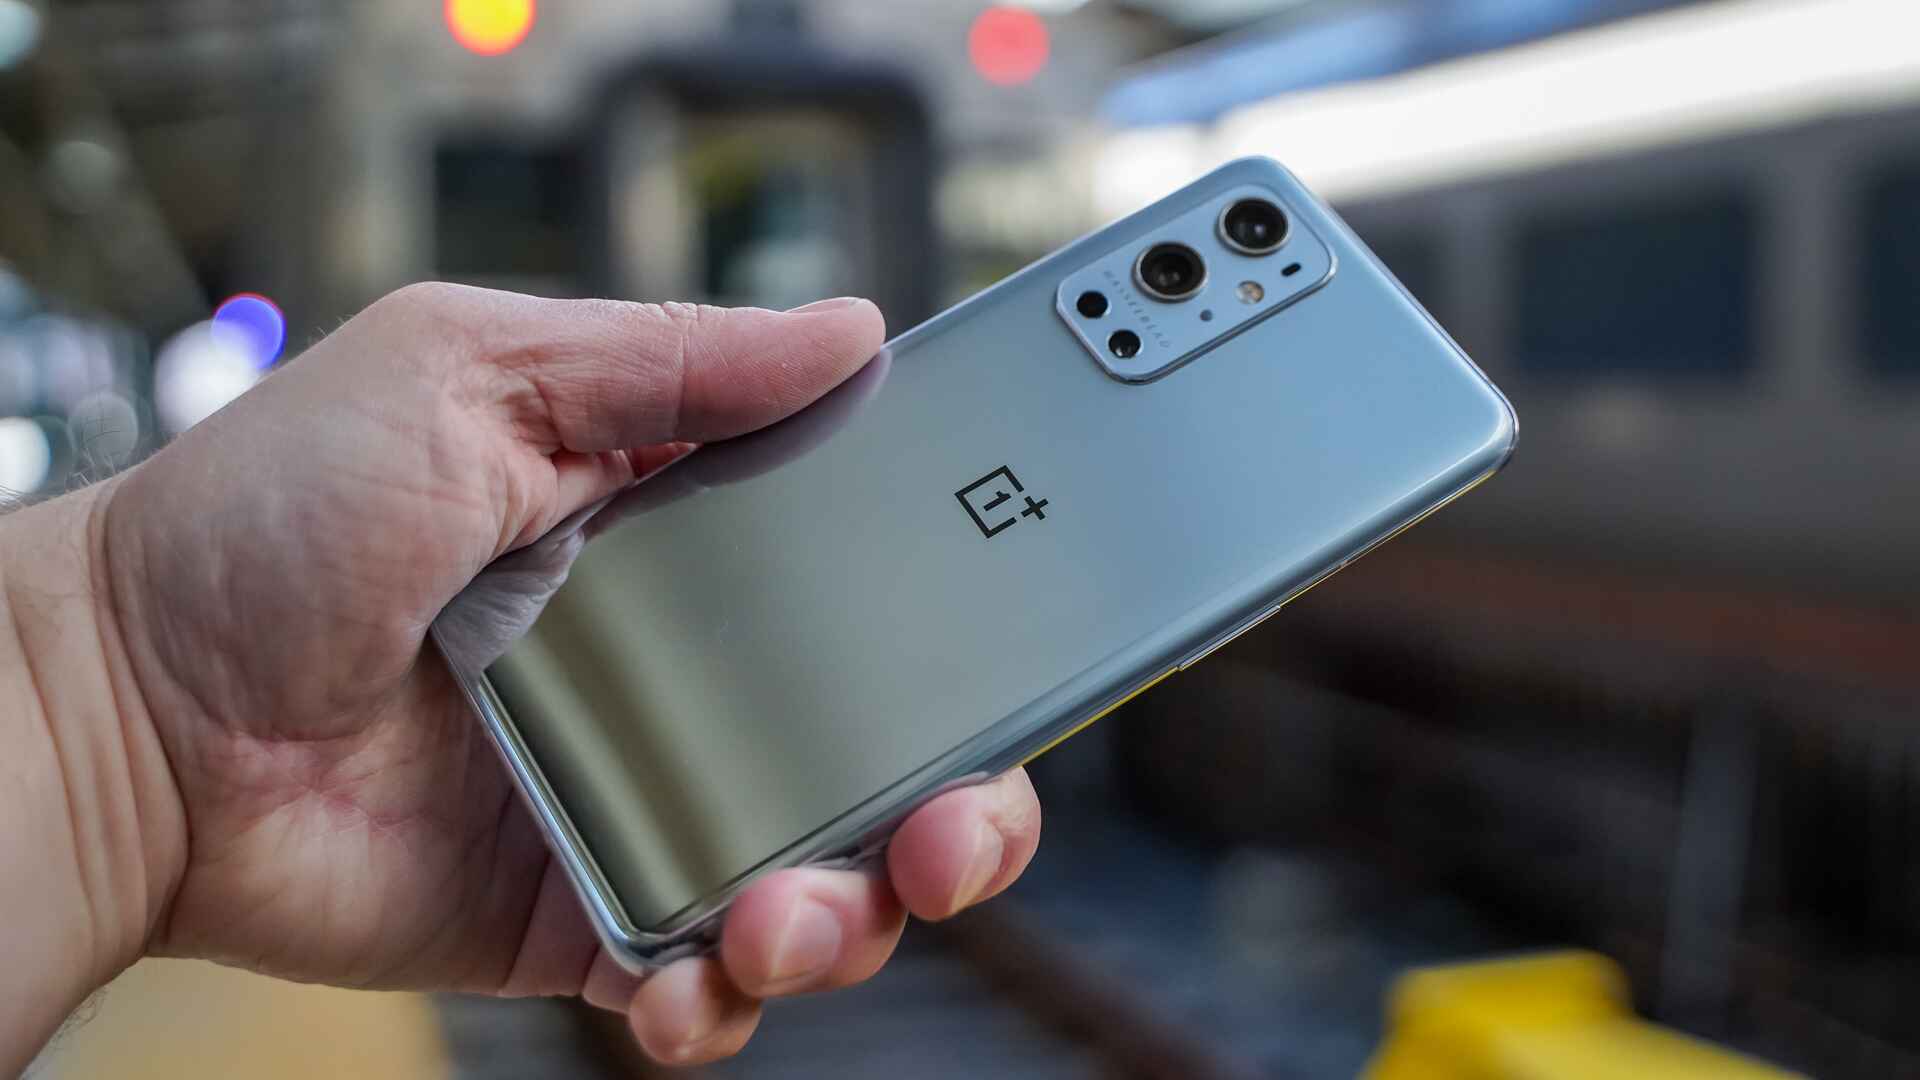
The OnePlus 9 Pro is a powerhouse of a smartphone, boasting cutting-edge features and a sleek design. However, for users seeking to customize their device beyond the manufacturer's limitations, unlocking the OnePlus 9 Pro's bootloader is a crucial initial step. By unlocking the bootloader, users gain the ability to install custom ROMs, root the device, and explore a wide array of advanced customization options. This comprehensive guide will walk you through the process of unlocking the OnePlus 9 Pro, empowering you to unleash the full potential of your device.
Unlocking the bootloader is a technical process that requires careful attention to detail and a willingness to follow instructions closely. It's important to note that unlocking the bootloader will void the device's warranty and may result in data loss. Therefore, it's essential to back up all important data before proceeding with the unlocking process. Additionally, it's crucial to understand that unlocking the bootloader carries certain risks, and it should only be undertaken by users who are comfortable with the potential consequences.
In the following steps, we will delve into the intricacies of unlocking the OnePlus 9 Pro, providing a detailed roadmap for users to follow. From preparing the device for unlocking to obtaining the necessary unlock token and executing the unlocking process, each step will be thoroughly explained to ensure a smooth and successful experience. By the end of this guide, you will have the knowledge and confidence to unlock your OnePlus 9 Pro and embark on a journey of personalized customization and enhanced functionality.
The process of unlocking the OnePlus 9 Pro's bootloader is an exciting endeavor that opens the door to a world of possibilities. Whether you're eager to explore custom ROMs, optimize performance, or delve into the realm of advanced customization, unlocking the bootloader is the first step towards realizing your device's full potential. So, without further ado, let's embark on this transformative journey and unlock the true power of the OnePlus 9 Pro.
Step 1: Preparing Your OnePlus 9 Pro
Before delving into the intricacies of unlocking the bootloader of your OnePlus 9 Pro, it's essential to prepare the device for this transformative process. Proper preparation will ensure a smooth and successful unlocking experience, minimizing the risk of potential complications. Here's a detailed breakdown of the crucial steps involved in preparing your OnePlus 9 Pro:
1. Backup Your Data
The first and foremost step in preparing your OnePlus 9 Pro for bootloader unlocking is to back up all essential data. This includes photos, videos, documents, contacts, and any other important files stored on the device. While unlocking the bootloader doesn't necessarily erase data, there is a risk of data loss during the process. Therefore, creating a comprehensive backup ensures that your valuable information remains safe and accessible throughout the unlocking procedure.
2. Enable Developer Options
To enable Developer Options on your OnePlus 9 Pro, navigate to the device's Settings menu. Scroll down and select "About phone." Locate the "Build number" and tap it seven times. You will then see a message confirming that Developer Options have been enabled. This step is crucial as it grants access to advanced developer settings, which are necessary for unlocking the bootloader.
3. Enable USB Debugging
Within the Developer Options menu, locate and enable USB debugging. This feature allows the device to communicate with a computer via the Android Debug Bridge (ADB) tool, which is essential for the bootloader unlocking process.
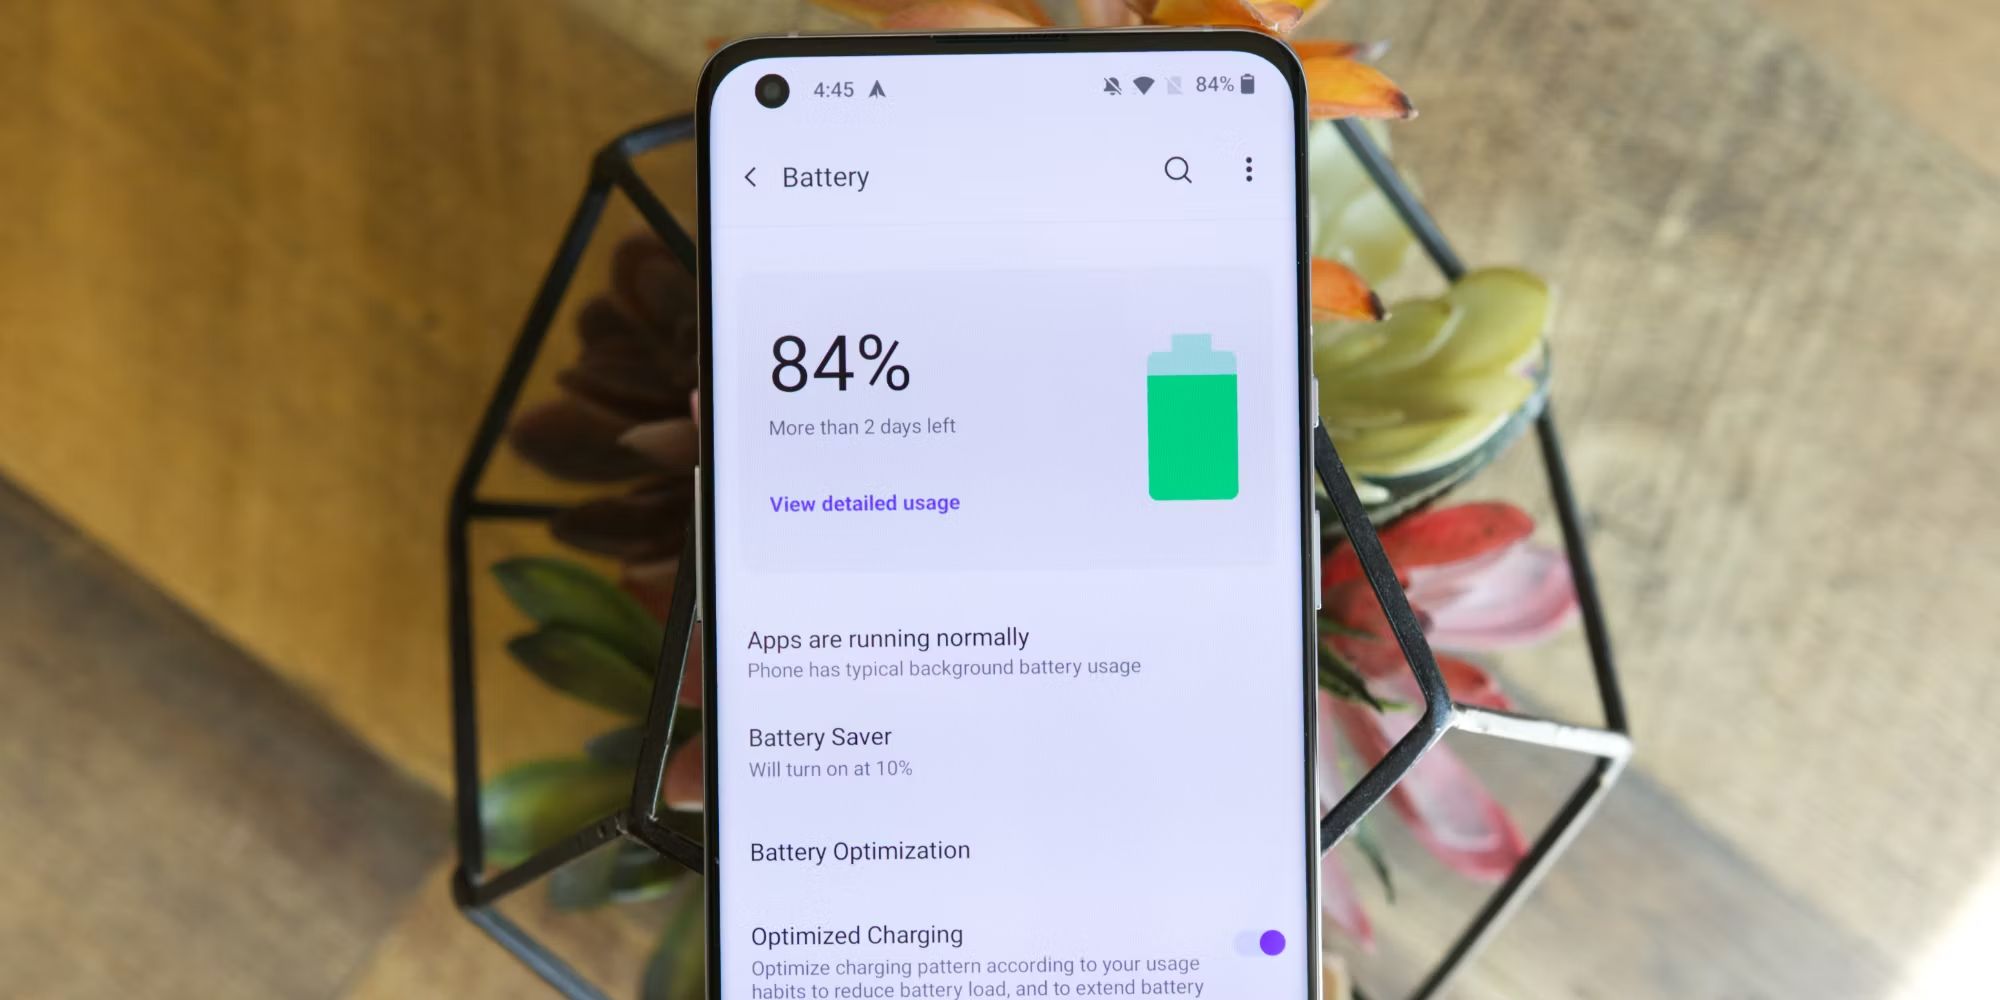
4. Ensure Sufficient Battery Level
Before initiating the bootloader unlocking process, ensure that your OnePlus 9 Pro has an adequate battery level. It's recommended to have the device charged to at least 50% to prevent any interruptions during the unlocking procedure.
5. Install Necessary Drivers
To ensure seamless communication between your OnePlus 9 Pro and the computer, it's important to have the necessary USB drivers installed. These drivers facilitate the transfer of data and commands between the device and the computer, playing a crucial role in the bootloader unlocking process.
By meticulously following these preparatory steps, you will lay a solid foundation for unlocking the bootloader of your OnePlus 9 Pro. With your data securely backed up and the device primed with the essential settings, you are now ready to embark on the next phase of this transformative journey.
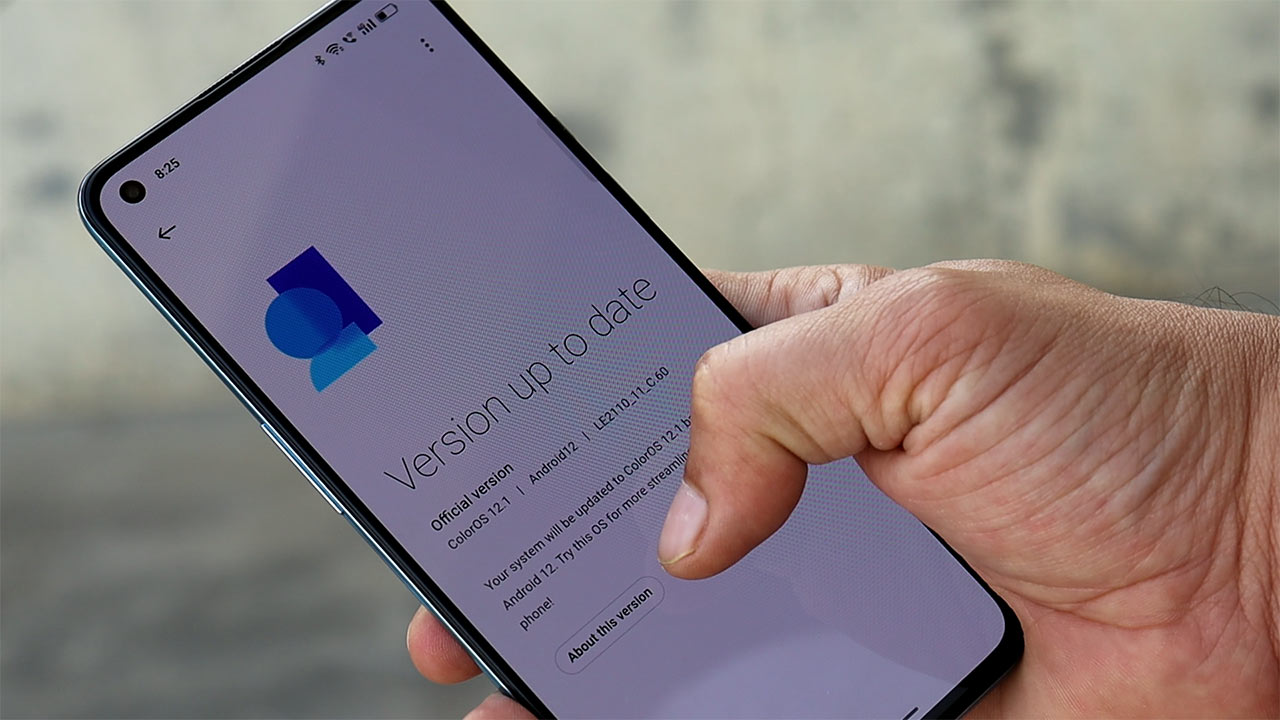
Step 2: Enabling Developer Options
Enabling Developer Options on your OnePlus 9 Pro is a pivotal step in the process of unlocking the device's bootloader. This feature grants access to a plethora of advanced settings and tools that are indispensable for developers and enthusiasts seeking to customize and optimize their Android experience. By enabling Developer Options, users gain the ability to tweak system settings, debug applications, and unleash the full potential of their device. Here's a detailed breakdown of the process to enable Developer Options on the OnePlus 9 Pro:
-
Accessing the Settings Menu: To begin, navigate to the home screen of your OnePlus 9 Pro and locate the "Settings" app. This can typically be found in the app drawer or on the home screen, depending on your device's configuration.
-
Opening the About Phone Section: Within the Settings menu, scroll down and select the "About phone" option. This section provides essential information about your device, including the current software version, model number, and other pertinent details.
-
Locating the Build Number: In the "About phone" section, scroll down until you find the "Build number" entry. This is a crucial element that, when accessed, will pave the way for enabling Developer Options on your OnePlus 9 Pro.
-
Enabling Developer Options: Once you've located the "Build number," tap on it seven times in quick succession. As you do so, you will notice a message indicating that you are approaching developer status. After the seventh tap, a message will confirm that Developer Options have been successfully enabled on your device.
Enabling Developer Options grants you access to a wide array of advanced settings and tools, including USB debugging, OEM unlocking, and various debugging and monitoring features. These options are instrumental in the process of unlocking the bootloader and embarking on a journey of advanced customization and optimization.
By following these simple yet crucial steps, you have successfully enabled Developer Options on your OnePlus 9 Pro, setting the stage for the subsequent phases of the bootloader unlocking process. With Developer Options now at your disposal, you are poised to delve deeper into the realm of Android customization and harness the full potential of your device.
Step 3: Unlocking the Bootloader
Unlocking the bootloader of the OnePlus 9 Pro is a pivotal step that grants users the freedom to customize and optimize their device beyond the constraints imposed by the manufacturer. By unlocking the bootloader, users gain the ability to install custom ROMs, root the device, and explore a myriad of advanced customization options. However, it's important to approach this process with caution, as unlocking the bootloader carries certain risks and will void the device's warranty.
Understanding the Implications
Before proceeding with the bootloader unlocking process, it's essential to understand the implications and potential consequences. Unlocking the bootloader will erase all data on the device, necessitating a comprehensive backup of essential files and information. Additionally, it's crucial to acknowledge that unlocking the bootloader may expose the device to security risks and instability if not performed carefully.
Initiating the Unlocking Process
To commence the bootloader unlocking process, follow these steps:
- Power off the OnePlus 9 Pro.
- Press and hold the Volume Up and Power buttons simultaneously until the device enters Fastboot mode.
- Connect the device to a computer using a USB cable.
Using Fastboot Commands
With the device in Fastboot mode and connected to the computer, the next steps involve executing Fastboot commands to unlock the bootloader. It's important to note that this process will erase all data on the device, so it's crucial to have a backup in place. Here are the steps to unlock the bootloader using Fastboot commands:
- Open a command prompt or terminal window on the computer.
- Navigate to the directory where the ADB and Fastboot tools are installed.
- Enter the following command to confirm the device is being recognized:
fastboot devices - If the device is detected, proceed with the command to unlock the bootloader:
fastboot oem unlock - Follow the on-screen instructions on the device to confirm the bootloader unlocking process.
Completing the Process
Upon successful execution of the Fastboot command to unlock the bootloader, the OnePlus 9 Pro will undergo the unlocking process, erasing all data in the process. Once the process is complete, the device will reboot into a fresh state, with the bootloader now unlocked and ready for advanced customization.
Proceeding with Caution
It's important to exercise caution and thorough preparation before unlocking the bootloader of the OnePlus 9 Pro. This process should only be undertaken by users who are comfortable with the potential risks and implications. Additionally, it's crucial to follow the instructions meticulously to ensure a smooth and successful bootloader unlocking experience.
By unlocking the bootloader of the OnePlus 9 Pro, users gain the freedom to explore a wide array of customization options, enabling them to personalize their device and optimize its performance according to their preferences. However, it's imperative to approach this process with a clear understanding of the implications and to proceed with caution to mitigate potential risks.
Step 4: Installing ADB and Fastboot
Installing Android Debug Bridge (ADB) and Fastboot is a crucial preparatory step in the process of unlocking the bootloader of the OnePlus 9 Pro. ADB and Fastboot are essential command-line tools that facilitate communication between a computer and an Android device, enabling users to execute various commands and perform advanced operations. By installing these tools, users gain the ability to interact with the device at a low level, paving the way for bootloader unlocking and a myriad of other advanced tasks.
Obtaining ADB and Fastboot
Before proceeding with the installation, it's important to obtain the ADB and Fastboot tools. These tools are typically included as part of the Android SDK (Software Development Kit), which can be downloaded from the official Android developer website. Alternatively, users can opt for standalone packages that specifically include ADB and Fastboot, providing a more streamlined and focused installation process.
Installation Process
Once the ADB and Fastboot tools have been obtained, the installation process involves the following steps:
-
Downloading the Tools: Begin by downloading the ADB and Fastboot tools to your computer. Ensure that you obtain the appropriate version compatible with your operating system.
-
Extracting the Files: After downloading the tools, extract the contents of the compressed file to a location on your computer. This will create a directory containing the ADB and Fastboot executables, along with associated files and resources.
-
Adding to System Path (Optional): For convenient access to ADB and Fastboot commands from any directory in the command prompt or terminal, consider adding the location of the ADB and Fastboot executables to the system path. This allows the tools to be executed from any directory without specifying the full file path.
-
Testing the Installation: To ensure that the installation was successful, open a command prompt or terminal window and navigate to the directory where the ADB and Fastboot tools are located. Execute a test command, such as 'adb devices' or 'fastboot devices', to verify that the tools are functioning correctly and can communicate with the connected device.
By meticulously following these steps, users can successfully install ADB and Fastboot, laying the groundwork for the subsequent phases of the bootloader unlocking process. With these essential tools in place, users are equipped to execute advanced commands and interact with the OnePlus 9 Pro at a low level, enabling them to unlock the bootloader and embark on a journey of personalized customization and enhanced functionality.
Step 5: Obtaining the Unlock Token
Obtaining the unlock token is a crucial prerequisite for unlocking the bootloader of the OnePlus 9 Pro. This token, provided by OnePlus, serves as a unique identifier that authorizes the bootloader unlocking process. However, it's important to note that the process of obtaining the unlock token is specific to OnePlus devices and requires users to adhere to the manufacturer's guidelines. Here's a detailed breakdown of the steps involved in obtaining the unlock token for the OnePlus 9 Pro:
-
Visit the OnePlus Unlock Page: Begin by visiting the official OnePlus website and navigating to the dedicated bootloader unlock page. Here, users will find detailed instructions and guidelines for obtaining the unlock token for their specific device.
-
Sign in or Create a OnePlus Account: To proceed with the unlock token request, users are typically required to sign in with their OnePlus account credentials. If users don't have an existing account, they can create one by following the provided instructions.
-
Enter Device Information: Upon signing in, users will be prompted to enter specific details about their OnePlus 9 Pro, including the device's IMEI number, serial number, and other pertinent information. It's crucial to ensure the accuracy of the provided details to facilitate the successful generation of the unlock token.
-
Receive the Unlock Token: After submitting the required information, users will receive the unlock token from OnePlus via email. This token is a unique alphanumeric code that is essential for initiating the bootloader unlocking process on the OnePlus 9 Pro.
-
Save the Unlock Token: Upon receiving the unlock token, it's imperative to save it in a secure location on the computer. The unlock token will be utilized in conjunction with Fastboot commands to authorize the bootloader unlocking process, so it should be readily accessible when needed.
-
Proceeding with Caution: It's important to approach the process of obtaining the unlock token with caution and meticulous attention to detail. Following the manufacturer's guidelines and instructions is crucial to ensure a smooth and successful experience.
By meticulously following these steps, users can obtain the unlock token for their OnePlus 9 Pro, paving the way for the subsequent phase of the bootloader unlocking process. With the unlock token in hand, users are poised to proceed with confidence, armed with the essential authorization required to unlock the bootloader and embark on a journey of advanced customization and optimization.
Step 6: Unlocking the OnePlus 9 Pro
Unlocking the OnePlus 9 Pro's bootloader is a transformative process that empowers users to delve into advanced customization and optimization. With the necessary preparations, Developer Options enabled, and the unlock token obtained, users are now poised to execute the final phase of unlocking the device's bootloader. This pivotal step requires meticulous attention to detail and adherence to the prescribed procedures to ensure a smooth and successful experience.
Executing the Bootloader Unlocking Process
-
Initiating Fastboot Mode: Begin by powering off the OnePlus 9 Pro. Once the device is powered off, press and hold the Volume Up and Power buttons simultaneously. This will initiate Fastboot mode, providing access to low-level system operations essential for unlocking the bootloader.
-
Connecting to the Computer: With the device in Fastboot mode, connect the OnePlus 9 Pro to the computer using a USB cable. This establishes a communication link between the device and the computer, enabling the execution of Fastboot commands.
-
Executing Fastboot Commands: Open a command prompt or terminal window on the computer and navigate to the directory where the ADB and Fastboot tools are installed. Execute the following command to confirm that the device is being recognized:
fastboot devices. If the device is detected, proceed with the command to unlock the bootloader:fastboot oem unlock. -
Confirmation on the Device: Upon entering the Fastboot command to unlock the bootloader, the OnePlus 9 Pro will prompt the user to confirm the unlocking process. Navigate the on-screen instructions to confirm the action, acknowledging the implications of unlocking the bootloader.
-
Completion and Reboot: Upon successful execution of the Fastboot command, the OnePlus 9 Pro will undergo the bootloader unlocking process. This process will erase all data on the device, necessitating a comprehensive backup of essential files and information. Once the process is complete, the device will reboot into a fresh state, with the bootloader now unlocked and ready for advanced customization.
Proceeding with Caution
It's crucial to exercise caution and thorough preparation before initiating the bootloader unlocking process. Users should be aware that unlocking the bootloader will void the device's warranty and may expose it to security risks and instability if not performed carefully. By following the prescribed steps meticulously, users can unlock the OnePlus 9 Pro's bootloader with confidence, paving the way for a journey of personalized customization and enhanced functionality.
Unlocking the bootloader of the OnePlus 9 Pro is a significant milestone that opens the door to a world of possibilities, enabling users to explore custom ROMs, optimize performance, and delve into the realm of advanced customization. However, it's imperative to approach this process with a clear understanding of the implications and to proceed with caution to mitigate potential risks.
Conclusion
In conclusion, the process of unlocking the bootloader of the OnePlus 9 Pro is a transformative journey that empowers users to unleash the full potential of their device. By meticulously following the comprehensive guide outlined in this article, users have gained the knowledge and confidence to embark on this exciting endeavor, paving the way for advanced customization and optimization.
Throughout the steps outlined in this guide, users have learned the importance of thorough preparation, enabling Developer Options, obtaining the unlock token, and executing the bootloader unlocking process with caution and precision. Each phase of the process has been meticulously detailed, providing users with a clear roadmap to navigate the complexities of unlocking the OnePlus 9 Pro's bootloader.
It's important to emphasize that unlocking the bootloader is a technical process that carries certain risks and implications. Users should be aware that unlocking the bootloader will void the device's warranty and may result in data loss. Therefore, it's crucial to approach this process with a clear understanding of the potential consequences and to proceed with caution.
By unlocking the bootloader, users gain the freedom to explore custom ROMs, root the device, and delve into a myriad of advanced customization options. This opens the door to a world of possibilities, enabling users to personalize their device and optimize its performance according to their preferences.
As users proceed with the bootloader unlocking process, it's essential to exercise meticulous attention to detail and follow the prescribed procedures closely. Additionally, maintaining a comprehensive backup of essential data is crucial to mitigate the risk of data loss during the unlocking process.
In essence, unlocking the bootloader of the OnePlus 9 Pro is a significant milestone that marks the beginning of a journey of advanced customization and optimization. By following the steps outlined in this guide and approaching the process with caution and thorough preparation, users are well-equipped to unlock the true power of their OnePlus 9 Pro and embark on a transformative experience of personalized customization and enhanced functionality.