Introduction
Transferring photos to a Samsung SIM card can be a convenient way to free up space on your phone or to create a backup of your precious memories. Whether you're looking to store photos securely or simply want to clear up some space on your device, this process can be a useful solution. By following a few simple steps, you can easily transfer your photos to your Samsung SIM card, ensuring that your memories are safe and accessible whenever you need them.
In this comprehensive guide, we will walk you through the process of transferring photos to your Samsung SIM card, providing easy-to-follow instructions and valuable tips along the way. From inserting the SIM card into your Samsung phone to checking the photos on the SIM card, we've got you covered. By the end of this guide, you'll have a clear understanding of how to successfully transfer your photos, giving you the peace of mind that comes with knowing your memories are securely stored.
So, if you're ready to declutter your phone's storage or safeguard your photos, let's dive into the step-by-step process of transferring photos to your Samsung SIM card. With a few simple actions, you can ensure that your cherished moments are always within reach, whether you're accessing them on your phone or through your SIM card. Let's get started on this seamless journey to efficiently manage your photo collection.
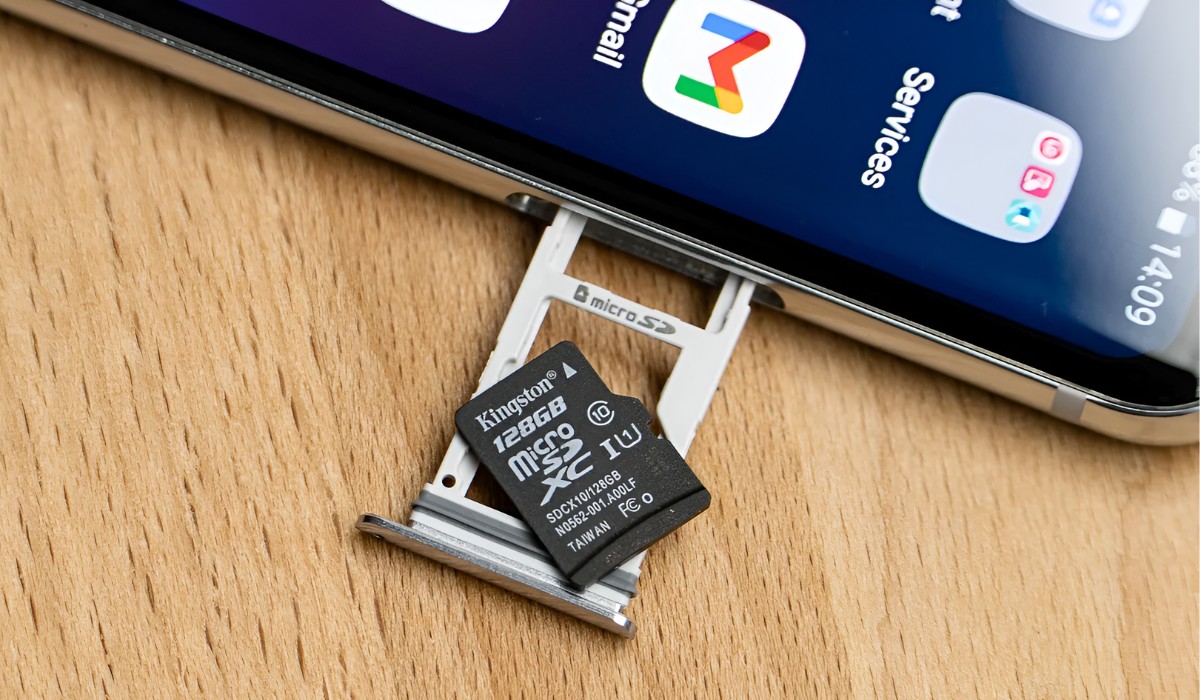
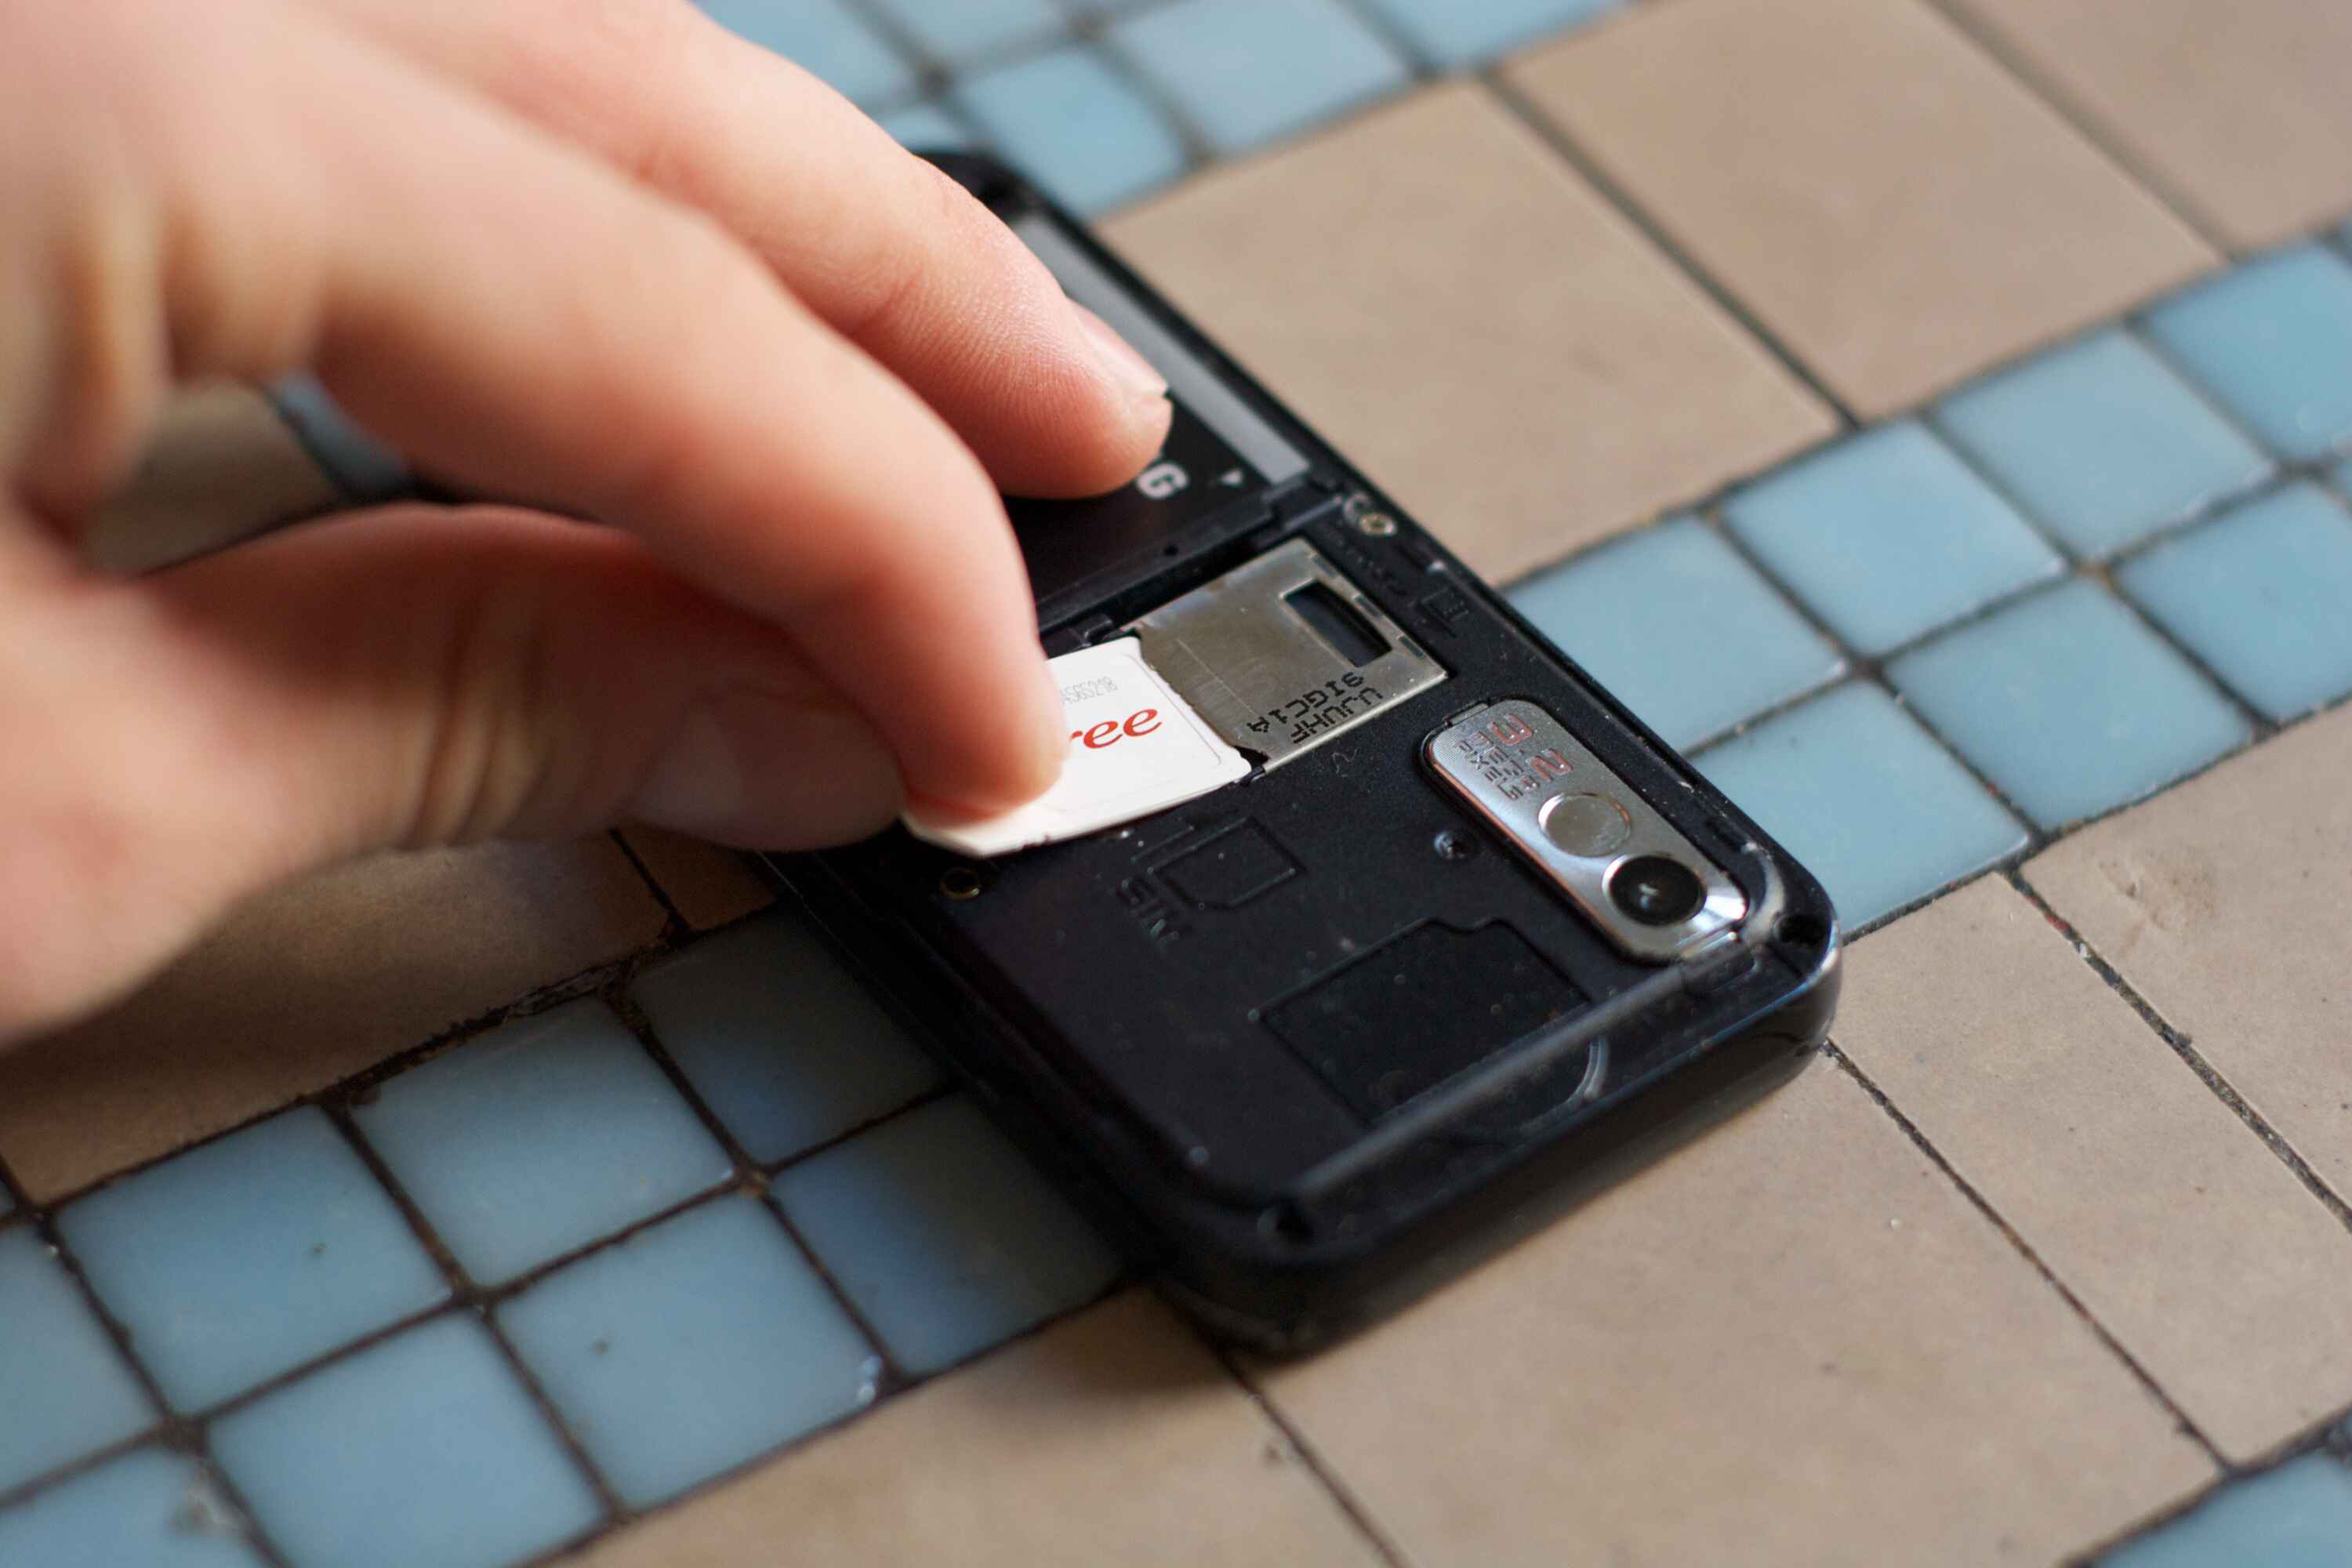
Step 1: Inserting the SIM Card into Your Samsung Phone
Inserting a SIM card into your Samsung phone is the first step in the process of transferring photos to the SIM card. This simple yet crucial step ensures that your phone is ready to store photos on the SIM card. Here's a detailed guide on how to insert the SIM card into your Samsung phone:
-
Power off your phone: Before inserting the SIM card, it's important to power off your Samsung phone. This ensures that the device is safely turned off, allowing you to proceed with the next steps without any interruptions.
-
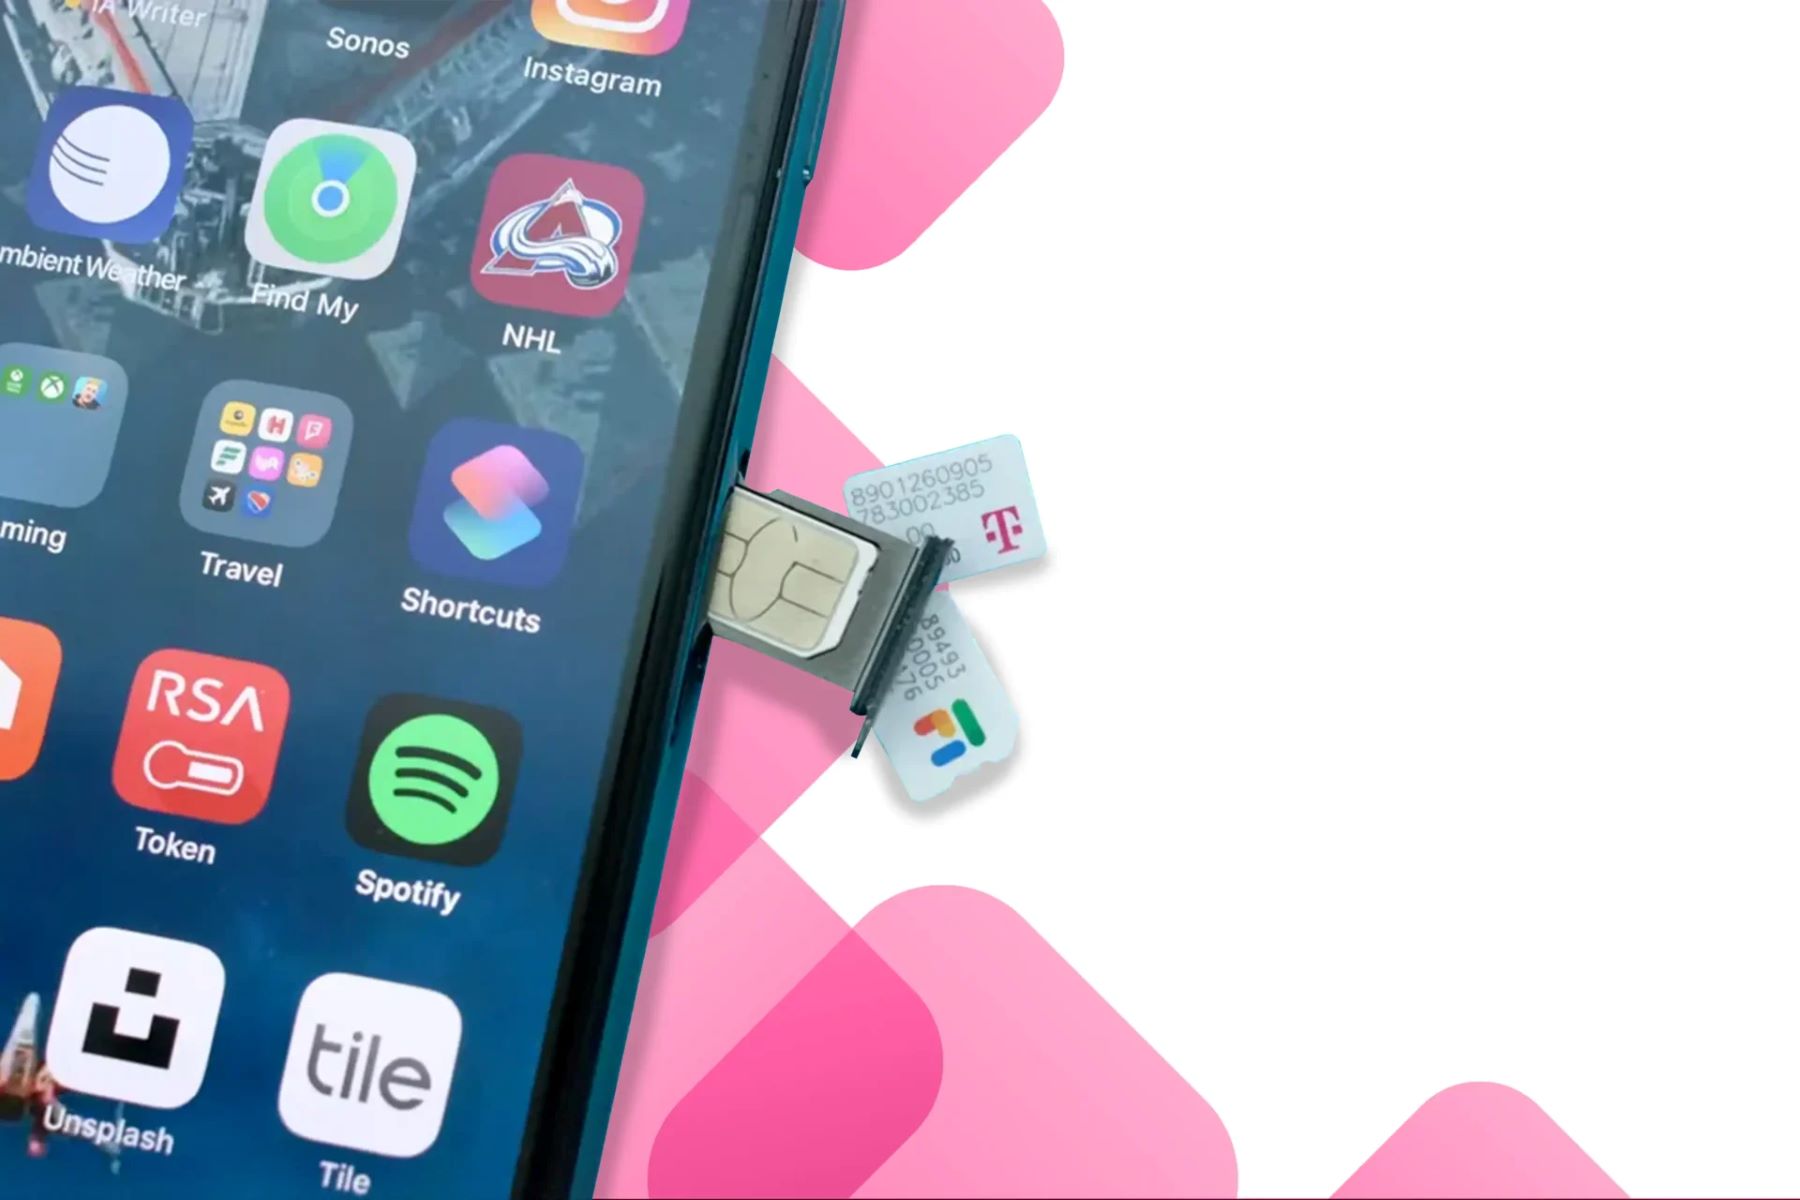
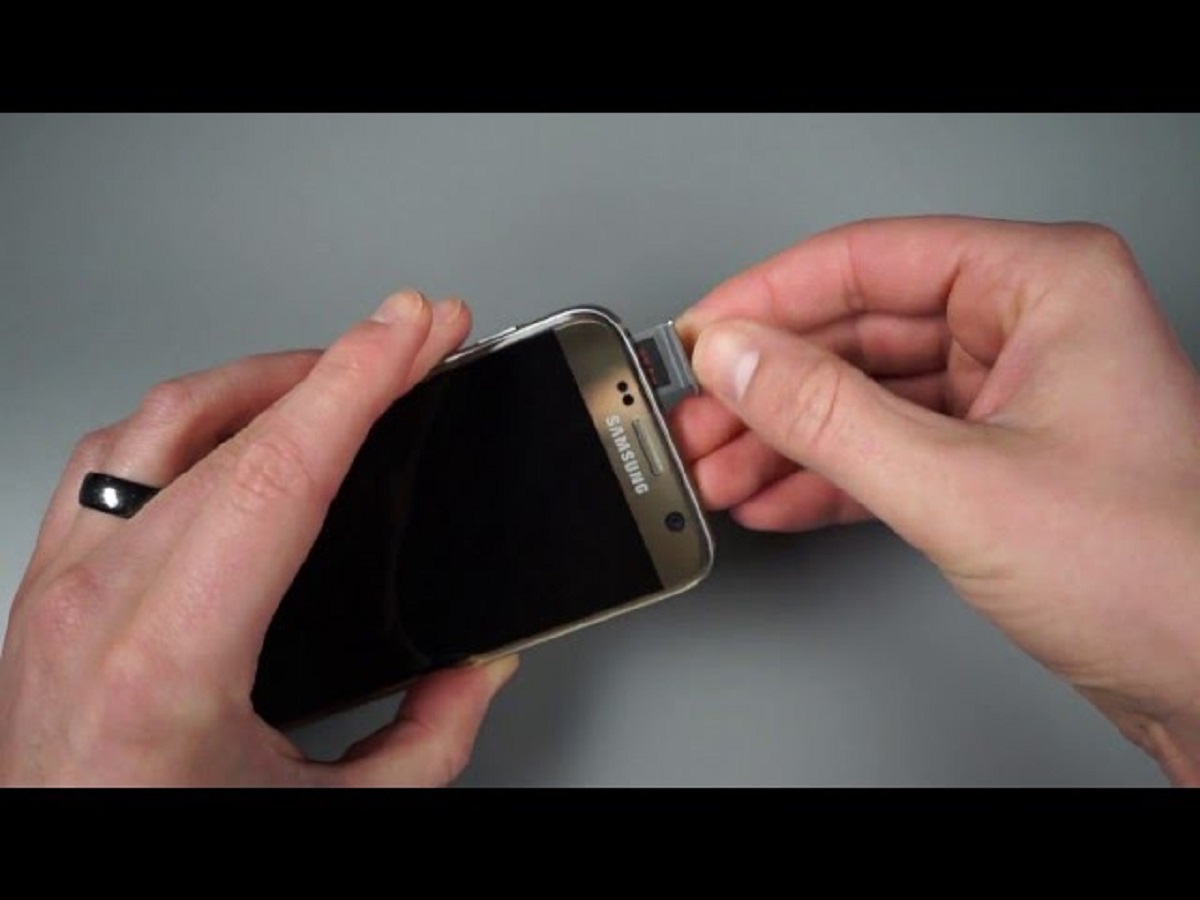
Locate the SIM card slot: Depending on the model of your Samsung phone, the location of the SIM card slot may vary. Generally, the SIM card slot is located on the side of the phone. Use the SIM ejection tool or a small paperclip to gently press the SIM card tray's release button.
-
Remove the SIM card tray: Once the SIM card tray is ejected, carefully remove it from the phone. The tray is designed to hold the SIM card securely in place, so handle it with care to avoid any damage.
-
Insert the SIM card: Take your SIM card and ensure that it is oriented correctly according to the tray's instructions. Carefully place the SIM card on the tray, aligning it with the designated area. Gently slide the tray back into the SIM card slot until it clicks into place.
-
Power on your phone: With the SIM card securely inserted, power on your Samsung phone. Once the device is powered on, it will recognize the SIM card, and you'll be ready to proceed with the next steps of transferring photos to the SIM card.
By successfully completing this step, you have now prepared your Samsung phone to store photos on the SIM card. With the SIM card securely in place, you're one step closer to transferring your cherished photos and ensuring that they are safely stored on your device's SIM card. Now that your phone is ready, let's move on to the next step of transferring photos from your phone to the SIM card.
Step 2: Transferring Photos from Your Phone to the SIM Card
Transferring photos from your phone to the SIM card is a straightforward process that allows you to securely store your precious memories. While SIM cards have limited storage capacity compared to the internal memory of your phone, they can serve as a convenient backup solution for your photos. Here's a detailed guide on how to transfer photos from your phone to the SIM card:
-
Access the Photos App: Begin by accessing the Photos app on your Samsung phone. This app is where all your captured photos are stored, making it the starting point for transferring them to the SIM card.
-
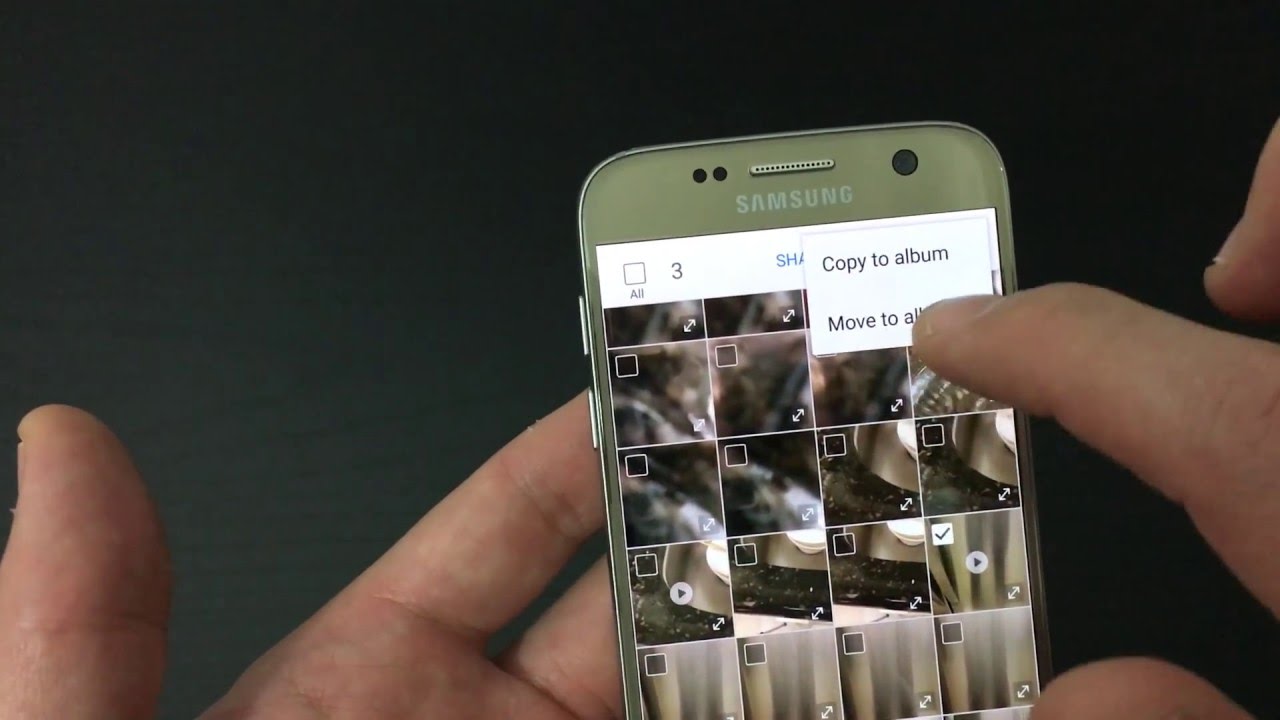
Select the Photos: Once you're in the Photos app, browse through your photo collection and select the photos you want to transfer to the SIM card. You can do this by tapping on each photo to mark it for transfer.
-
Choose the Transfer Option: After selecting the desired photos, look for the option to transfer or move them to the SIM card. Depending on your phone model and software version, this option may be located in the photo's menu or within the app's settings.
-
Follow the Prompts: When you initiate the transfer process, your phone may prompt you to confirm the action and specify the destination for the photos. Select the SIM card as the destination for the transfer to proceed.
-
Monitor the Transfer Progress: Once the transfer begins, monitor the progress to ensure that all selected photos are successfully transferred to the SIM card. Depending on the number of photos and the speed of your device, this process may take a few moments to complete.
-
Verify the Transfer: After the transfer is complete, verify that the photos are now stored on the SIM card. You can do this by accessing the SIM card storage through your phone's settings or file manager.
By following these steps, you can effectively transfer your photos from your Samsung phone to the SIM card, providing you with an additional storage option and a backup for your cherished memories. It's important to note that while SIM cards offer a convenient way to store photos, their storage capacity is limited, and they may not be suitable for large photo collections. However, for a quick backup or to free up space on your phone, transferring photos to the SIM card can be a practical solution.
With your photos successfully transferred to the SIM card, you've taken a proactive step in managing your photo collection and ensuring that your memories are safely stored. Now, let's proceed to the next step and check the photos on the SIM card to confirm the successful transfer.
Step 3: Checking the Photos on the SIM Card
After successfully transferring your photos from your Samsung phone to the SIM card, it's essential to verify that the transfer was completed accurately. Checking the photos on the SIM card ensures that your precious memories are securely stored and easily accessible when needed. Here's a detailed guide on how to check the photos on the SIM card:
-
Access the File Manager: Start by accessing the file manager app on your Samsung phone. The file manager allows you to explore the contents of your device, including the SIM card storage.
-
Locate the SIM Card Storage: Within the file manager, navigate to the section that displays the available storage options. Look for the entry that represents the SIM card storage. It may be labeled as "SIM Card" or "SIM Storage."
-
Open the SIM Card Storage: Tap on the SIM card storage entry to open it and view its contents. Once inside the SIM card storage, you should be able to see the transferred photos listed as individual files or within a designated folder.
-
Verify the Photos: Browse through the contents of the SIM card storage to locate the transferred photos. You can visually inspect the photos and compare them to the original ones on your phone to ensure that they have been accurately transferred.
-
Confirm Accessibility: After locating the transferred photos, tap on them to confirm that they can be accessed and viewed directly from the SIM card storage. This step ensures that the photos are readily available for viewing without any issues.
-
Ensure Data Integrity: While checking the photos, pay attention to their quality and ensure that there are no data corruption issues. The photos should retain their original quality and appear identical to the versions stored on your phone.
By following these steps, you can effectively check the photos on the SIM card and confirm the successful transfer from your Samsung phone. Verifying the presence and accessibility of the photos on the SIM card provides peace of mind, knowing that your cherished memories are securely stored and readily available whenever you need them.
Checking the photos on the SIM card reaffirms the effectiveness of the transfer process and ensures that your photos are not only backed up but also easily retrievable. With this step completed, you can rest assured that your photos are safely stored on the SIM card, offering an additional layer of protection for your valuable memories.
Conclusion
In conclusion, the process of transferring photos to your Samsung SIM card offers a practical solution for managing your photo collection and ensuring that your cherished memories are securely stored. By following the step-by-step guide outlined in this article, you've gained valuable insights into preparing your Samsung phone, transferring photos to the SIM card, and verifying the successful transfer. Each step contributes to a seamless and efficient process that empowers you to take control of your photo storage and backup strategy.
As you navigate through the process, it's important to consider the limitations and benefits of using a SIM card for photo storage. While SIM cards provide a convenient backup option and can help free up space on your phone, their storage capacity is relatively limited compared to the internal memory of modern smartphones. Therefore, transferring a large number of photos to the SIM card may not be practical, and it's essential to assess your storage needs before proceeding with the transfer.
Furthermore, the ability to access and view photos directly from the SIM card adds a layer of convenience, especially in situations where you may need to retrieve specific photos without relying solely on your phone's internal memory. This flexibility underscores the value of utilizing the SIM card as a supplementary storage option for your photo collection.
By embracing the process of transferring photos to the SIM card, you've taken proactive steps to safeguard your memories and ensure that they remain accessible, even in unforeseen circumstances such as device malfunctions or data loss. The peace of mind that comes with knowing your photos are securely stored on the SIM card is invaluable, providing reassurance that your precious moments are always within reach.
As technology continues to evolve, it's important to explore various methods of managing and preserving your digital assets. The process of transferring photos to the SIM card represents a practical and accessible approach to photo storage, offering an additional layer of security for your valuable memories.
In essence, the journey of transferring photos to your Samsung SIM card is not just about managing digital files; it's about preserving moments, emotions, and experiences that hold significance in your life. Whether it's a breathtaking landscape, a heartwarming family gathering, or a spontaneous adventure captured through the lens, each photo represents a unique chapter in your personal narrative.
By embracing the steps outlined in this guide, you've empowered yourself to navigate the digital landscape with confidence, knowing that your memories are safeguarded and easily accessible whenever you need them. As you continue to capture new moments and create lasting memories, the process of transferring photos to your Samsung SIM card stands as a reliable companion, ensuring that your digital legacy remains intact for years to come.