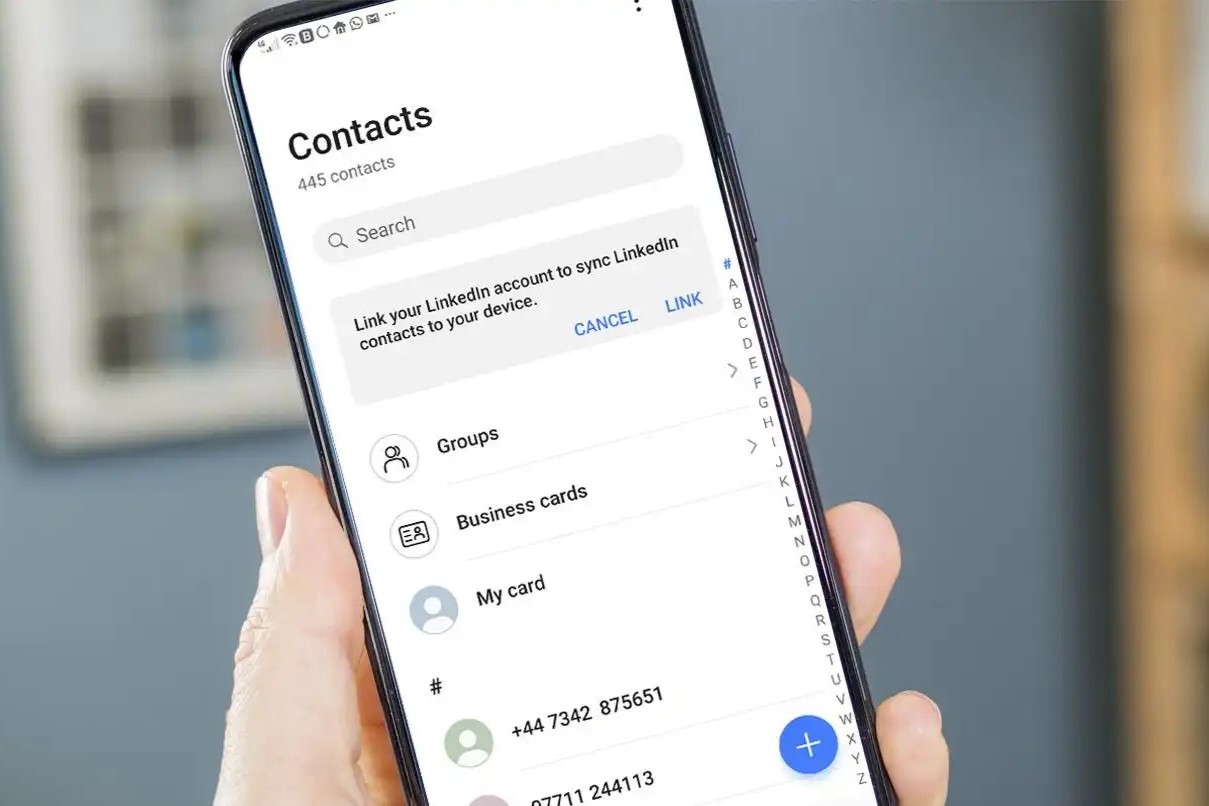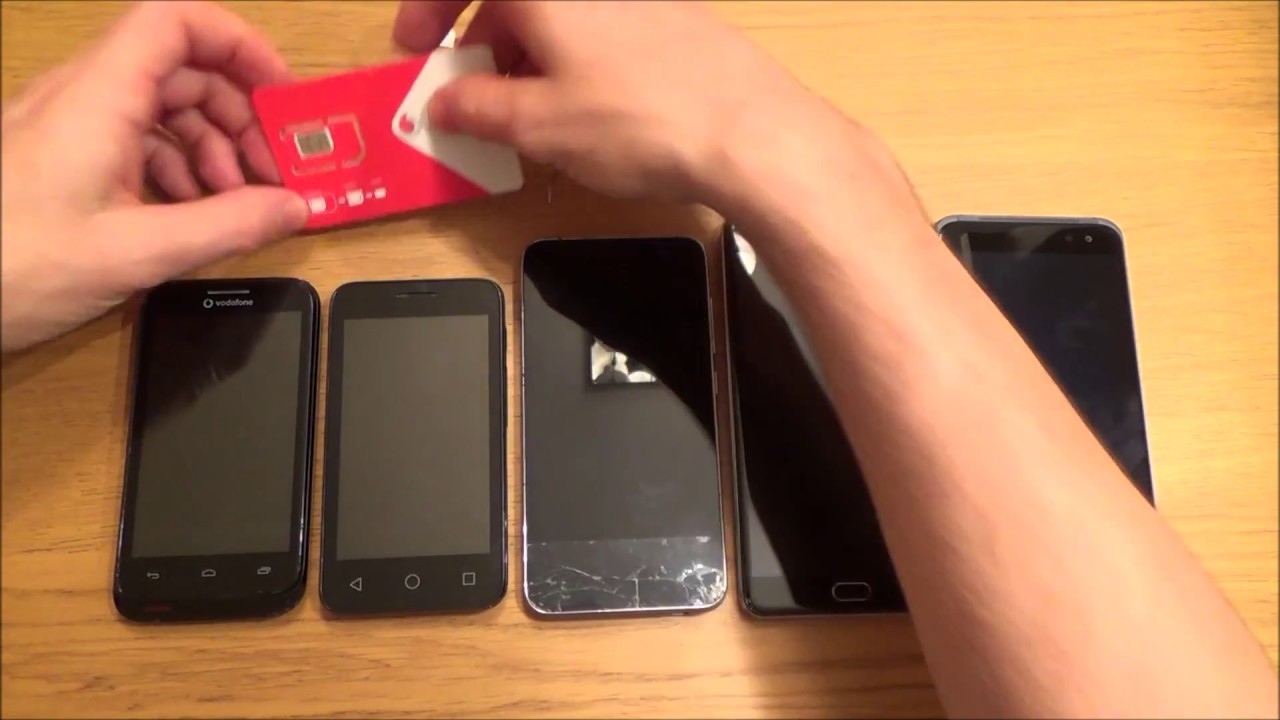
To transfer contacts to a SIM card on Android, you open your Contacts app and use the export function, but this method has severe limitations that make it a poor choice for backup compared to modern cloud syncing. Before you proceed, understand that a SIM card stores only a single phone number per contact and truncates long names to as few as 14 characters, making the result a stripped-down, often unusable list. If you need a similarly limited transfer on an Apple device, see saving contacts to iPhone SIM card.
Before You Transfer Contacts to SIM Card: Know the Limits
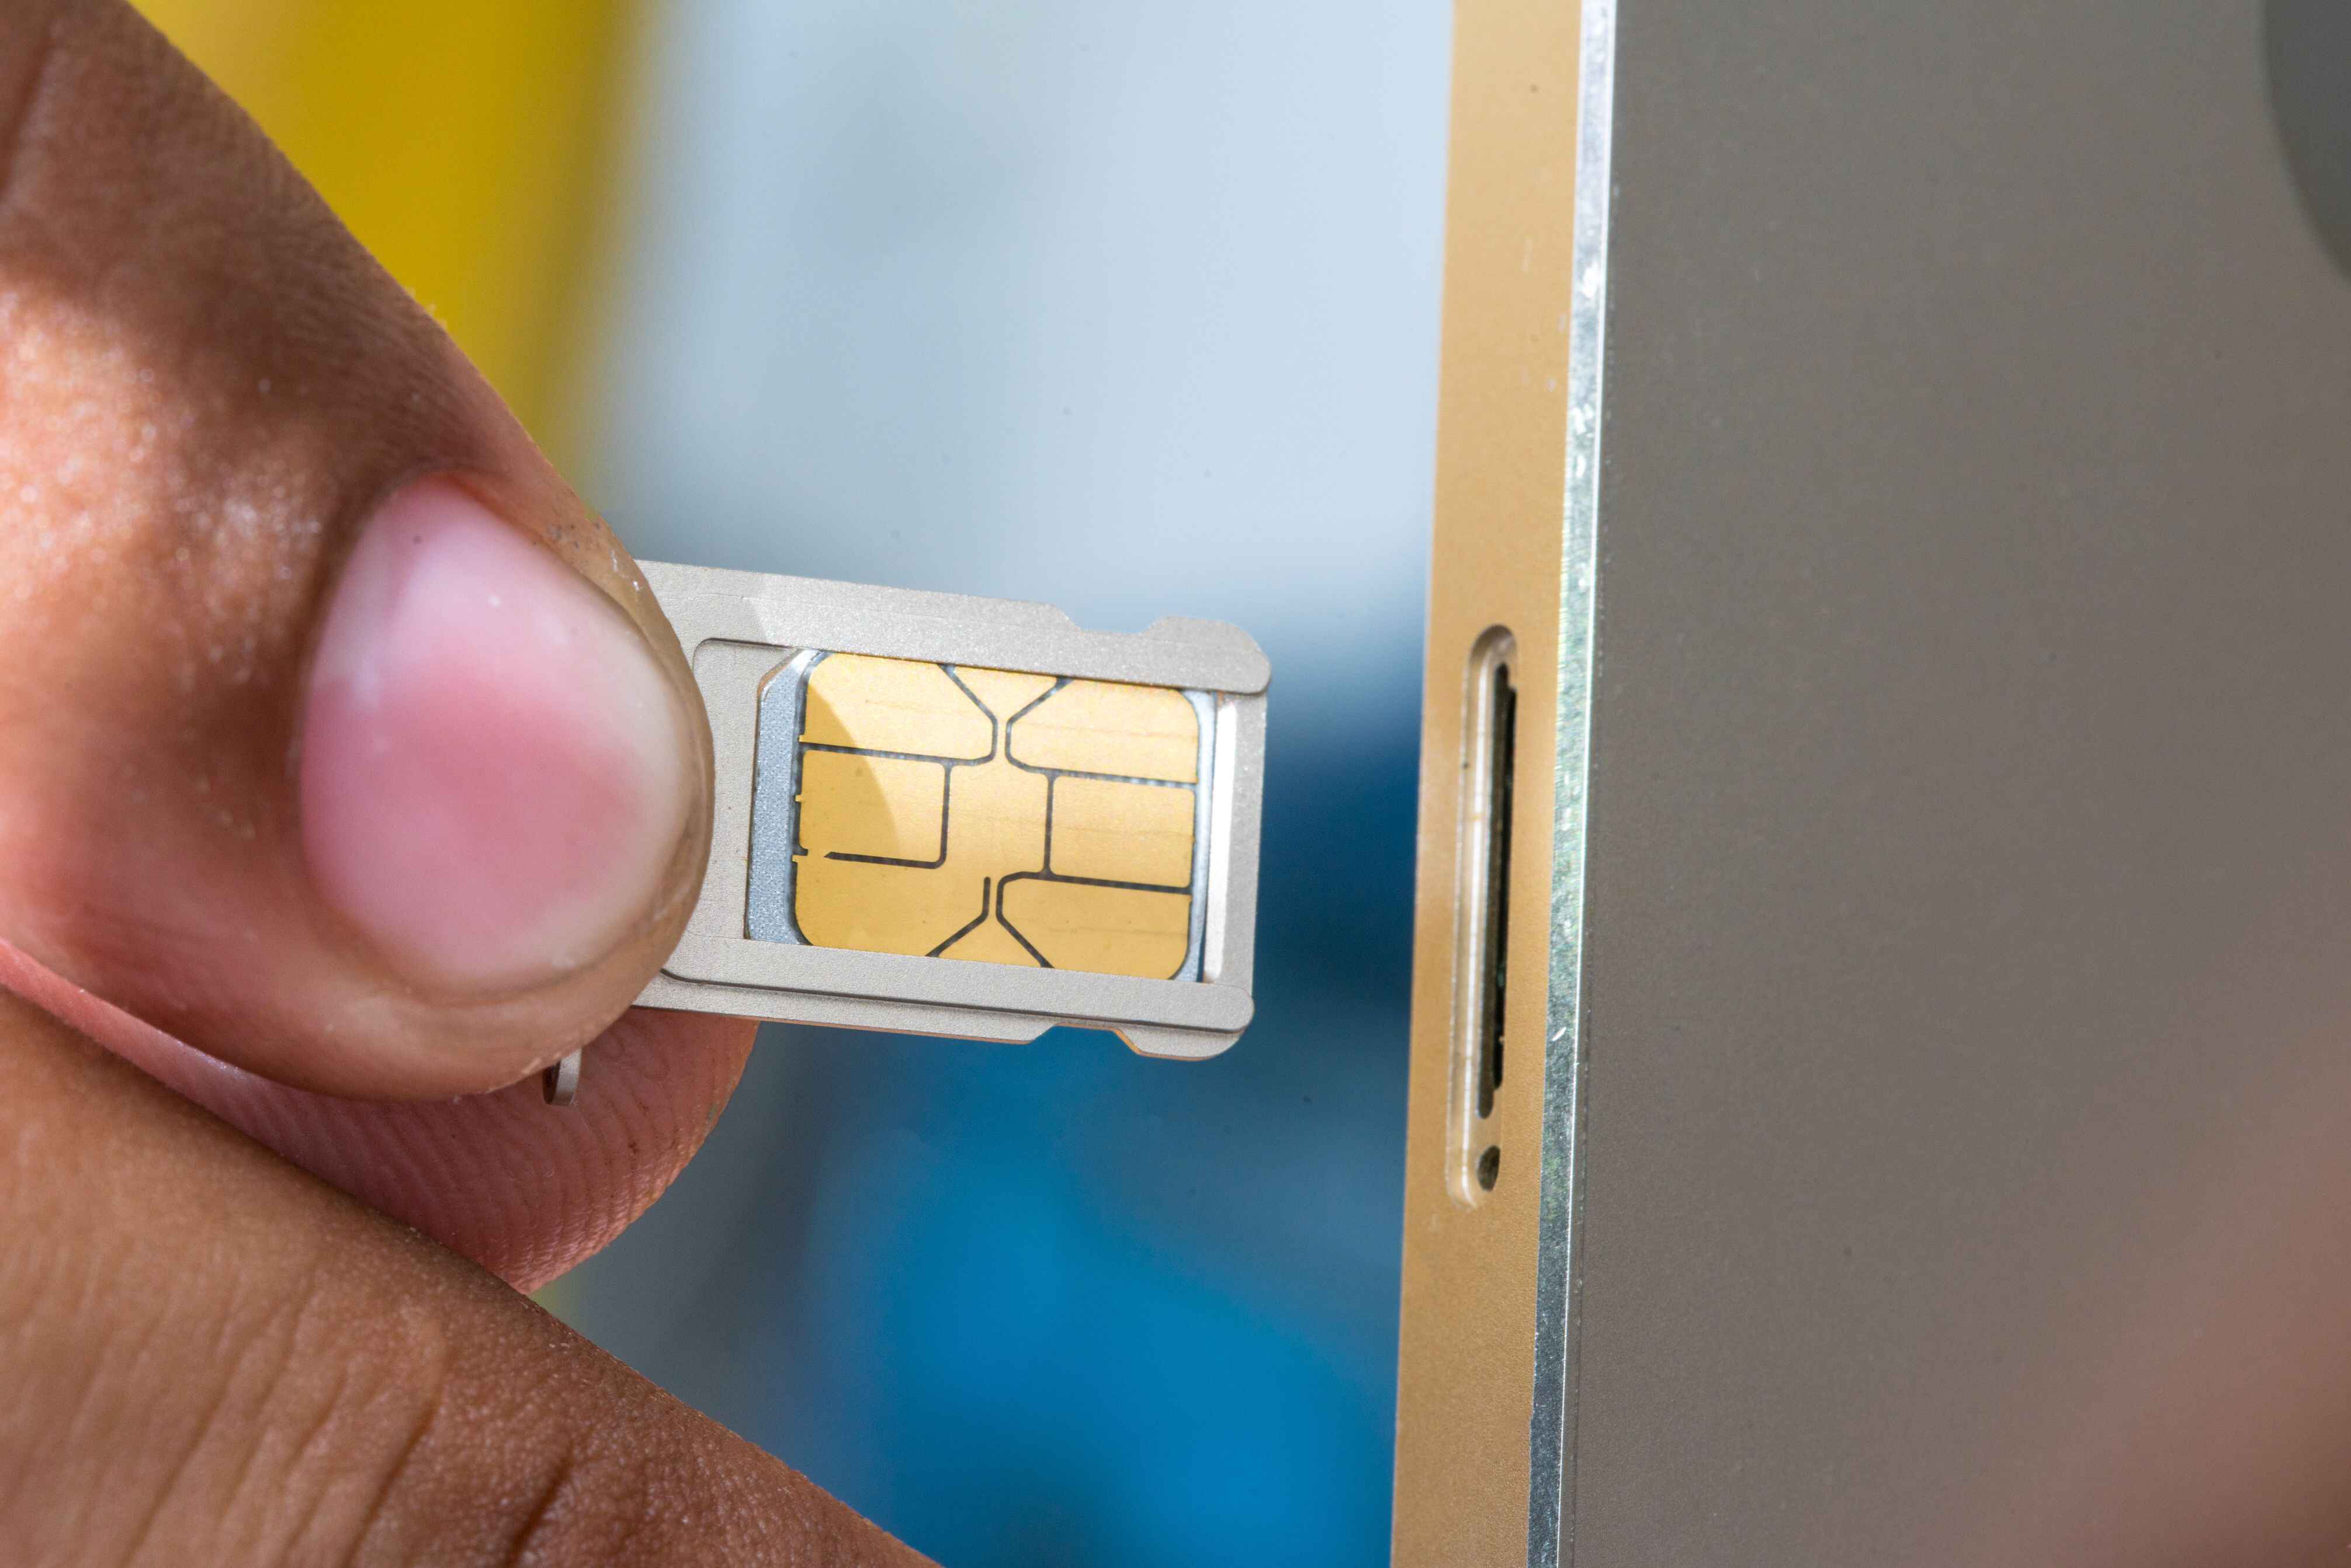
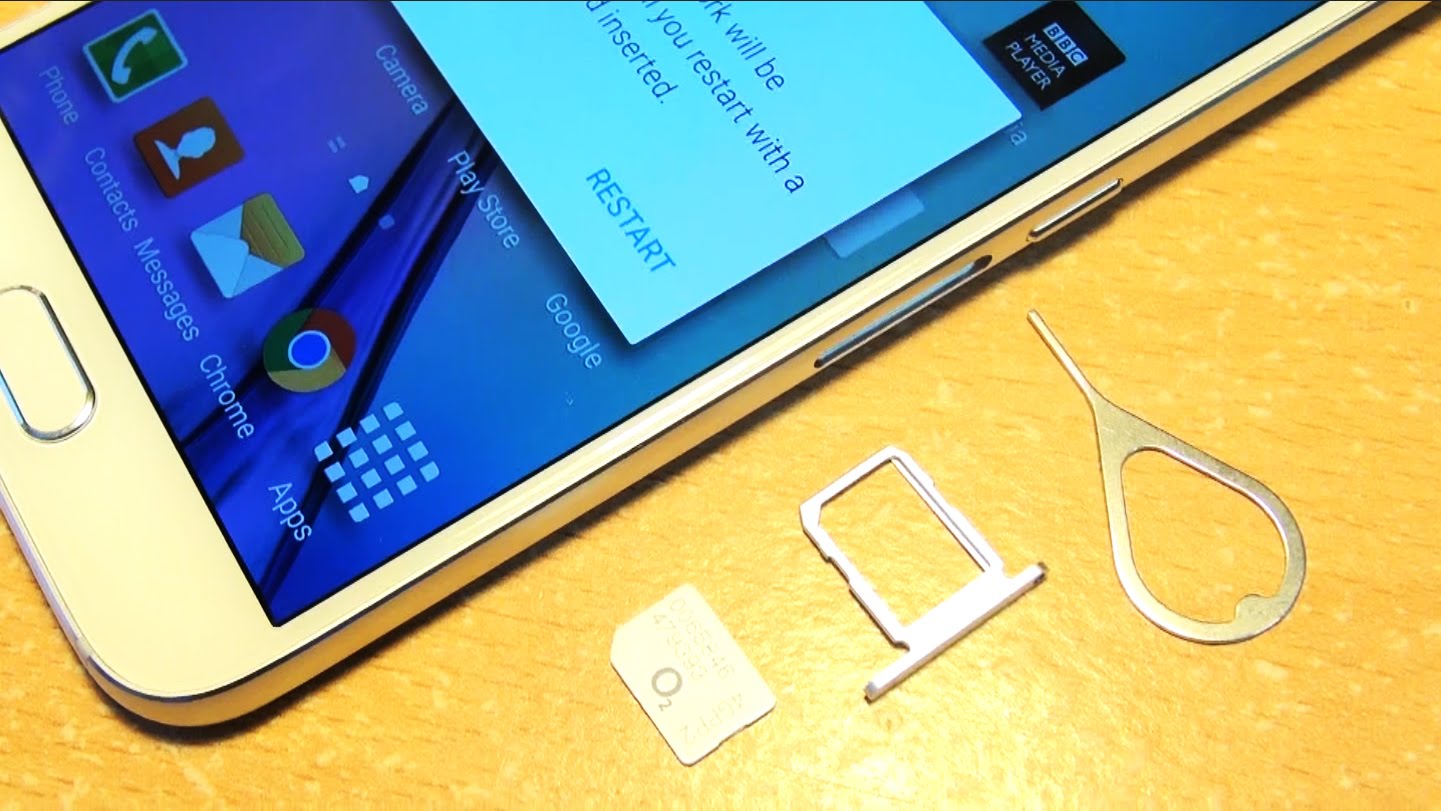
SIM cards were designed decades ago for basic phones and have strict storage constraints. Contact names saved to a SIM card are subject to character limits, typically 20-30 characters, and sometimes as low as 14 characters, with longer names potentially being truncated. This means a contact named “Alexander Benjamin Thompson” might save as “Alexander Ben” or even just “Alex.” Furthermore, each contact can hold only one phone number. Any additional numbers, email addresses, or notes you have saved on your phone will be lost during the export. Because of these limits, transferring contacts to a SIM card is not a reliable backup method; it is best reserved for moving a small set of essential numbers to a basic feature phone. Before you begin, confirm your phone’s SIM tray location by locating the SIM card on Android phones to avoid damaging the wrong slot.
The Modern Method: Sync with Your Google Account
Cloud-based services (like Google Account syncing) are the modern and recommended method for backing up and transferring contacts, offering greater storage and data retention than SIM cards. Syncing your contacts to your Google account happens automatically in the background, preserves every phone number, email, address, and note, and is the standard way to move contacts between Android phones. To enable it, go to your phone’s Settings, tap “Accounts and backup,” select your Google account, and ensure “Contacts” is toggled on. This method is free, requires no manual steps after setup, and your full contact data is available on any device where you sign in.
How to Export Contacts to a SIM Card on a Samsung Galaxy
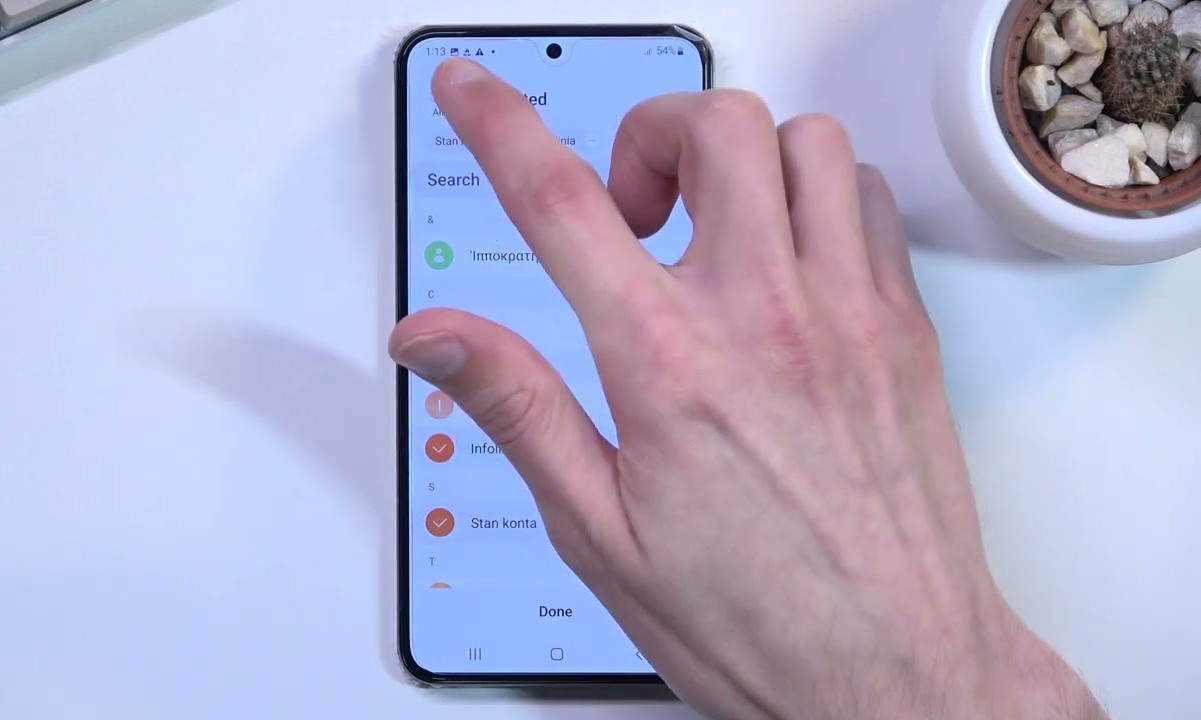
On Samsung Galaxy devices, navigate to the “Contacts” app, then “Manage contacts,” then “Import/export contacts,” and select “Export” to “SIM card.” The steps are:
- Open the Contacts app on your Samsung phone.
- Tap the three-dot menu (or “More” option) in the upper-right corner.
- Select “Manage contacts.”
- Choose “Import/export contacts.”
- Tap “Export” and then select “SIM card” as the destination.
- Choose the contacts you want to transfer, or select all, and confirm the export.
After the process completes, your selected contacts are saved to the SIM card, but remember the name and number limitations described above.
How to Export Contacts to a SIM Card on Other Android Phones
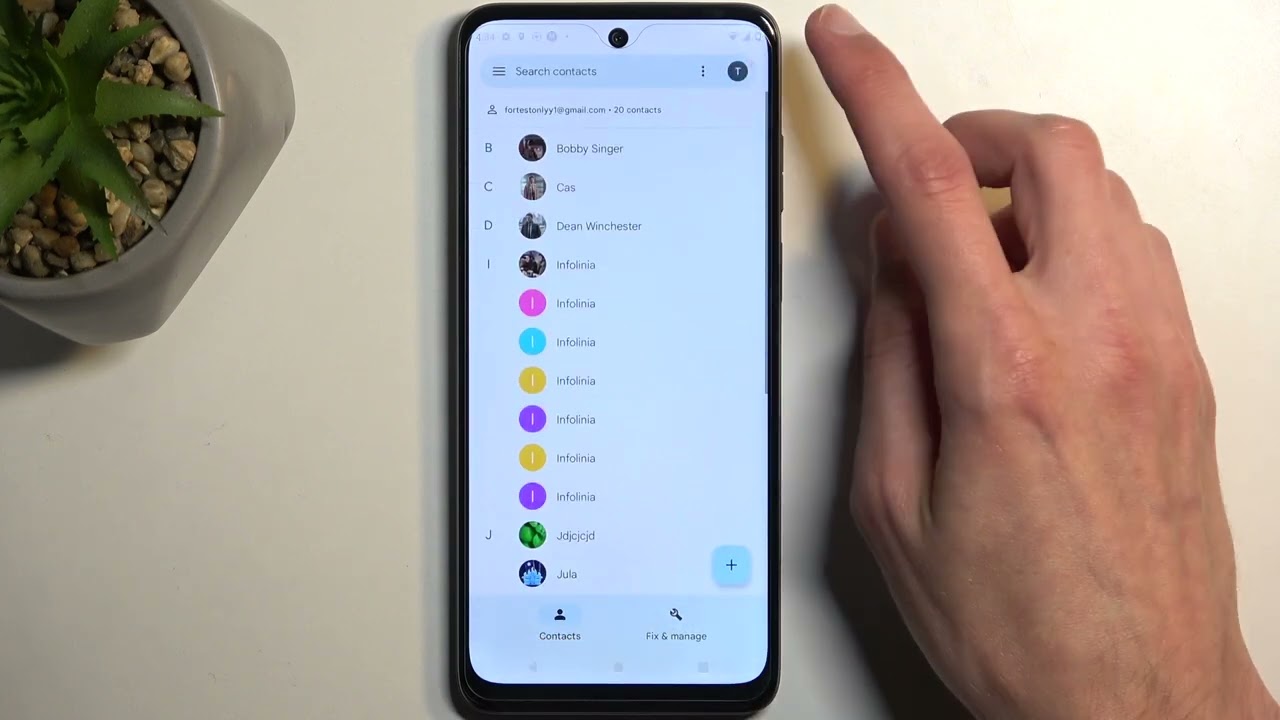
The exact menu names and steps for transferring contacts to a SIM card can vary slightly depending on the Android device brand and operating system version. For most non-Samsung devices (such as Google Pixel, Motorola, or OnePlus), the generic path is:
- Open the Contacts app.
- Tap the three-dot menu or the “More” icon.
- Select “Fix & manage” or “Settings” (the label differs by device).
- Choose “Import/export.”
- Tap “Export to SIM card.”
- Select the contacts to export and confirm.
If you cannot find these exact options, look for “Manage contacts” or “Organize contacts” in the menu. The export function is always under an import/export submenu. Note that on some phones, you may need to insert a SIM card before the export option becomes available.
Confirming the Export and What to Expect
Once you confirm the transfer, the phone will write the selected contacts to the SIM card. After the process finishes, you can verify the result by opening the Contacts app, going to the settings, and choosing “Import from SIM card” to see what was saved. Manage your expectations: only the first phone number per contact is stored, and any name longer than the SIM’s character limit (14-30 characters) will be cut off. Email addresses, work numbers, and other details are not transferred. This export is useful only for moving a handful of essential numbers to a basic phone or for a temporary backup when no other option exists. For full contact preservation, always use Google Account sync instead.