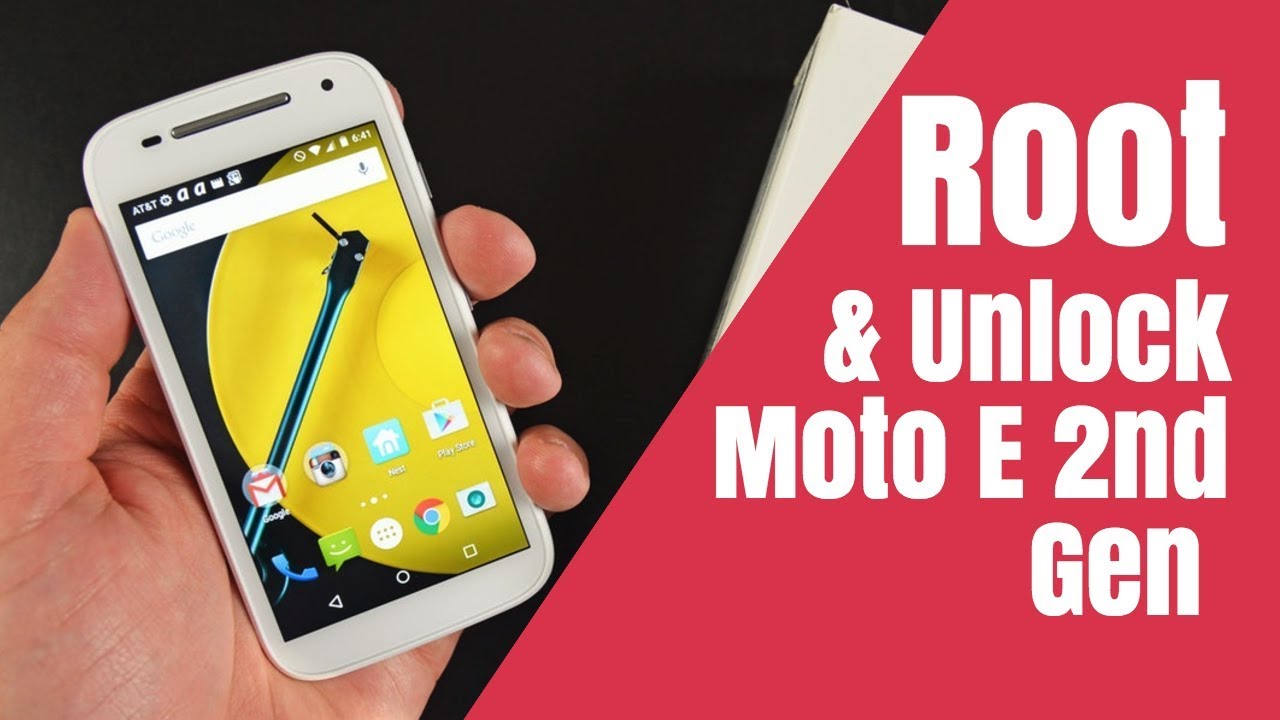
Introduction
Are you ready to unlock the full potential of your Moto G Power? Rooting your device can open up a world of possibilities, allowing you to customize your phone, access advanced features, and optimize performance. However, it's important to approach this process with caution and understanding. Rooting your device involves modifying the operating system, which can void your warranty and potentially lead to security risks if not done correctly.
In this comprehensive guide, we'll walk you through the step-by-step process of rooting your Moto G Power. From enabling Developer Options to installing TWRP Recovery and finally rooting your device, we'll cover each stage in detail, ensuring that you have the knowledge and confidence to proceed safely.
Before we dive into the technical aspects, it's crucial to emphasize the importance of backing up your data. Rooting your device has the potential to erase all existing data, so taking the time to back up your photos, videos, contacts, and other important files is essential. Additionally, familiarize yourself with the potential risks and benefits of rooting to make an informed decision about whether it's the right choice for you.
By the end of this guide, you'll have a clear understanding of the steps involved in rooting your Moto G Power and the potential impact it can have on your device. So, let's embark on this journey together and unlock the full potential of your smartphone!
Step 1: Enable Developer Options
Enabling Developer Options is the initial step towards unlocking the full potential of your Moto G Power. This feature provides access to advanced settings and debugging tools, empowering you to customize and optimize your device. Here's a detailed walkthrough of how to enable Developer Options on your Moto G Power:
-
Access Settings: Begin by navigating to the "Settings" app on your Moto G Power. This can typically be found in the app drawer or by swiping down from the top of the screen and tapping the gear icon.
-
About Phone: Scroll down within the Settings menu and select "About Phone." This section contains essential information about your device, including the current software version and hardware details.
-
Build Number: Locate the "Build Number" entry within the "About Phone" section. Tap on "Build Number" repeatedly (usually seven times) in quick succession. As you do this, you'll notice a message indicating that you are approaching Developer status.
-
Enter PIN/Password: Depending on your device's security settings, you may be prompted to enter your PIN, password, or pattern to confirm your action. This is a security measure to prevent unauthorized access to Developer Options.
-
Developer Options Activated: After tapping the "Build Number" multiple times and entering your security credentials, you will see a message confirming that Developer Options have been enabled.
Enabling Developer Options grants you access to a plethora of advanced settings, including USB debugging, OEM unlocking, and various system tweaks. It's important to approach these settings with caution, as making incorrect adjustments can potentially harm your device. With Developer Options now accessible, you're one step closer to harnessing the full potential of your Moto G Power.
By following these steps, you have successfully enabled Developer Options on your Moto G Power, setting the stage for the next phase of the rooting process. With this foundational step complete, you're ready to progress to the next stage of unlocking the true capabilities of your device.
Step 2: Unlock the Bootloader
Unlocking the bootloader is a pivotal step in the process of rooting your Moto G Power. The bootloader serves as a security checkpoint that ensures only verified software is loaded during the device's startup process. By unlocking the bootloader, you gain the ability to install custom firmware and make profound modifications to your device's operating system. Here's a detailed guide on how to unlock the bootloader of your Moto G Power:
-
Backup Your Data: Before proceeding with the bootloader unlocking process, it's crucial to back up all your important data. This includes photos, videos, documents, and any other files stored on your device. Unlocking the bootloader has the potential to erase all data on your device, so taking the time to create a comprehensive backup is essential.
-
Enable OEM Unlocking: Start by enabling the "OEM unlocking" option in the Developer Options. This setting allows the bootloader to be unlocked, granting you the freedom to install custom firmware and make advanced modifications to your device.
-
Power Off Your Device: Once you've enabled OEM unlocking, power off your Moto G Power. This is a necessary step before entering the bootloader unlocking mode.
-
Boot into Fastboot Mode: Press and hold the volume down button and the power button simultaneously. This will initiate the bootloader unlocking process and boot your device into fastboot mode. In this mode, you'll have access to the bootloader unlocking commands.
-
Connect Your Device to Your Computer: Use a USB cable to connect your Moto G Power to your computer. Ensure that the necessary USB drivers are installed on your computer to facilitate communication with your device.
-
Open Command Prompt or Terminal: On your computer, open a command prompt (Windows) or terminal (Mac or Linux) window. This is where you'll enter the commands to unlock the bootloader of your Moto G Power.
-
Unlock the Bootloader: In the command prompt or terminal window, enter the following command:
fastboot oem unlock. This command initiates the bootloader unlocking process. Follow the on-screen instructions on your device to confirm the bootloader unlock. -
Reboot Your Device: Once the bootloader unlocking process is complete, reboot your Moto G Power. Your device's bootloader is now unlocked, paving the way for the next steps in the rooting process.
Unlocking the bootloader of your Moto G Power is a significant milestone in the journey towards customizing and optimizing your device. With this crucial step accomplished, you're now prepared to proceed to the next phase of installing TWRP Recovery, a fundamental component in the rooting process.
Step 3: Install TWRP Recovery
Installing TWRP (Team Win Recovery Project) Recovery is a pivotal stage in the process of rooting your Moto G Power. TWRP Recovery serves as a custom recovery environment that offers advanced functionalities beyond what the stock recovery provided by the manufacturer offers. With TWRP installed, you gain the ability to flash custom ROMs, create and restore backups, and perform system-level modifications with ease. Here's a comprehensive guide on how to install TWRP Recovery on your Moto G Power:
-
Download TWRP Image: Begin by downloading the TWRP image file specifically designed for your Moto G Power model. Ensure that you obtain the correct TWRP image to avoid compatibility issues.
-
Enable USB Debugging: Access the Developer Options on your device and enable USB debugging. This setting allows your device to communicate with your computer during the TWRP installation process.
-
Connect Your Device to Your Computer: Use a USB cable to connect your Moto G Power to your computer. This connection is essential for transferring the TWRP image file to your device.
-
Open Command Prompt or Terminal: On your computer, open a command prompt (Windows) or terminal (Mac or Linux) window. This is where you'll enter the commands to install TWRP Recovery on your Moto G Power.
-
Boot into Fastboot Mode: Power off your device and boot it into fastboot mode by pressing and holding the volume down button and the power button simultaneously.
-
Transfer TWRP Image: In the command prompt or terminal window, navigate to the directory where the TWRP image file is located. Use the following command to transfer the TWRP image to your device:
fastboot flash recovery <twrp_filename.img>
Replace
<twrp_filename.img>with the actual name of the TWRP image file you downloaded. -
Install TWRP Recovery: Once the TWRP image has been successfully transferred, enter the following command in the command prompt or terminal window to install TWRP Recovery on your Moto G Power:
fastboot boot <twrp_filename.img>
Again, replace
<twrp_filename.img>with the actual name of the TWRP image file. -
Boot into TWRP Recovery: After the installation process is complete, use the hardware buttons to boot your Moto G Power into TWRP Recovery mode. This is where you can perform a variety of advanced operations to customize and optimize your device.
By following these steps, you have successfully installed TWRP Recovery on your Moto G Power, unlocking a new realm of possibilities for customizing and enhancing your device. With TWRP Recovery in place, you're now prepared to embark on the final phase of rooting your Moto G Power and unleashing its full potential.
Step 4: Root Your Moto G Power
Rooting your Moto G Power is the final step in unlocking the full potential of your device. By gaining root access, you attain elevated privileges that allow you to delve into the inner workings of the Android operating system, enabling advanced customization and optimization. Here's a comprehensive guide on how to root your Moto G Power:
-
Download Rooting Package: Begin by downloading the appropriate rooting package for your Moto G Power. Ensure that you obtain the correct package compatible with your device model and software version to avoid any potential issues.
-
Transfer Rooting Package: Connect your Moto G Power to your computer using a USB cable. Transfer the downloaded rooting package to your device's internal storage or SD card, making it easily accessible for the rooting process.
-
Boot into TWRP Recovery: Power off your device and boot it into TWRP Recovery mode. This can typically be achieved by pressing and holding the volume down button and the power button simultaneously. In TWRP Recovery, you'll have access to advanced functionalities for modifying your device.
-
Flash Rooting Package: Within TWRP Recovery, navigate to the location where you transferred the rooting package. Select the package and initiate the flashing process. This will install the necessary files and binaries to root your Moto G Power.
-
Reboot Your Device: Once the rooting package has been successfully flashed, reboot your Moto G Power. Your device is now rooted, granting you elevated privileges and access to advanced customization options.
Rooting your Moto G Power empowers you to explore a wide range of possibilities, including installing custom ROMs, optimizing system performance, and accessing features that were previously restricted. However, it's important to approach root access with caution, as improper modifications can potentially lead to adverse effects on your device's stability and security.
With your Moto G Power successfully rooted, you've unlocked a new realm of customization and optimization possibilities. Whether you're looking to fine-tune system settings, install powerful root-only apps, or explore the world of custom ROMs, root access opens the door to a wealth of opportunities for maximizing the potential of your device.
Conclusion
Congratulations on successfully completing the comprehensive process of rooting your Moto G Power! By following the step-by-step guide outlined in this article, you've embarked on a journey to unlock the full potential of your device, gaining access to advanced customization options and elevated privileges. As you reflect on the journey you've undertaken, it's essential to recognize the significance of the steps you've taken and the impact they have on your device.
Rooting your Moto G Power represents a significant milestone in your smartphone ownership experience. It's a decision that empowers you to delve into the intricacies of the Android operating system, allowing you to tailor your device to your unique preferences and requirements. With root access, you have the freedom to explore a myriad of possibilities, from optimizing system performance to installing custom ROMs and unleashing the full potential of your device's hardware.
However, it's important to approach root access with a sense of responsibility and awareness. Rooting your device introduces a level of risk, as it can potentially void your warranty and expose your device to security vulnerabilities if not managed carefully. Therefore, it's crucial to stay informed about the implications of rooting and exercise caution when making system-level modifications.
As you continue to explore the capabilities of your rooted Moto G Power, consider the wealth of resources available within the Android community. From powerful root-only apps to custom kernels and mods, the world of rooted Android devices is brimming with innovation and creativity. Embrace the opportunity to engage with like-minded enthusiasts, share experiences, and discover new ways to elevate your device's performance and functionality.
Ultimately, the decision to root your Moto G Power represents a commitment to personalization and optimization. It's a testament to your desire to harness the full potential of your device and tailor it to your unique preferences. As you navigate the realm of rooted Android devices, remember to stay informed, exercise caution, and embrace the endless possibilities that await you.
With your Moto G Power now rooted, you're poised to embark on a journey of exploration and innovation, leveraging the power of root access to transform your device into a personalized, optimized powerhouse. Embrace this newfound freedom with a sense of responsibility and curiosity, and let your rooted Moto G Power become a reflection of your individuality and creativity in the world of Android customization.