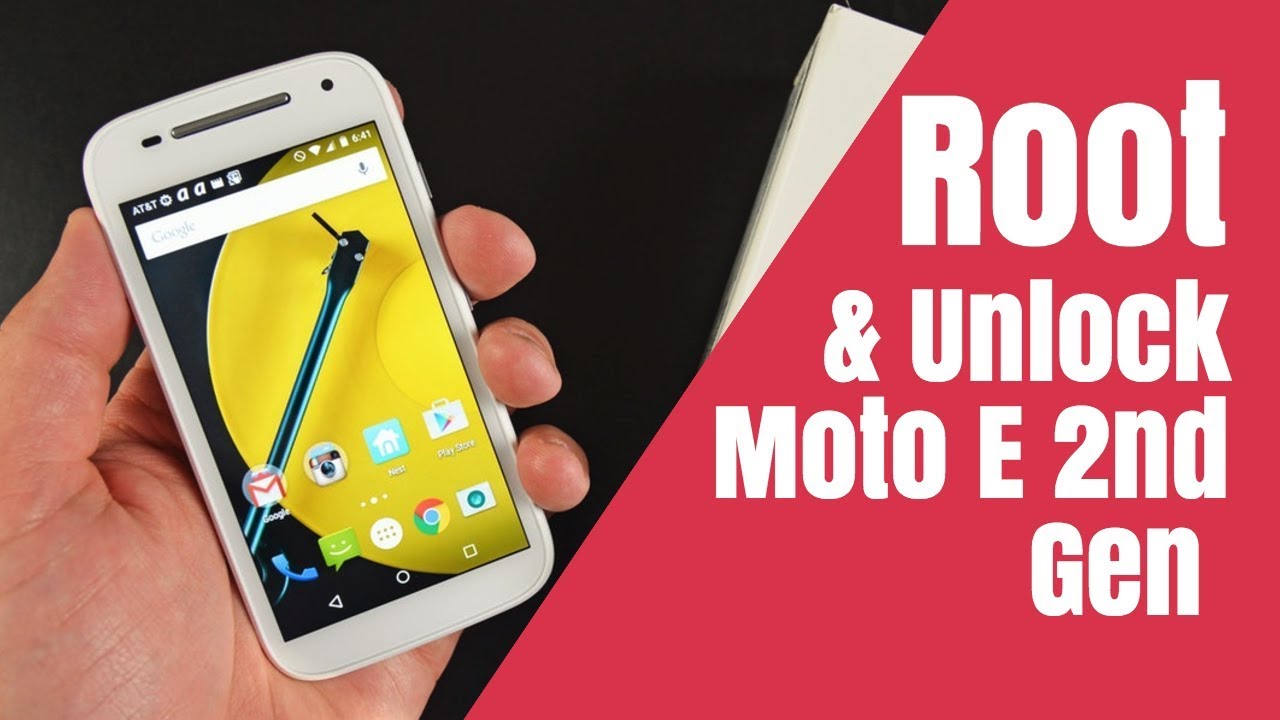
Introduction
Welcome to our guide on how to root the Moto E 2nd Gen 4G. If you’re looking to unlock the full potential of your device, rooting can provide you with a wide range of benefits, from customization options to improved performance. Whether you’re a tech enthusiast or simply want to make the most out of your smartphone, this article will walk you through the process step by step.
The Moto E 2nd Gen 4G is a budget-friendly smartphone that offers impressive features and functionality. However, by rooting your device, you can gain access to additional features and customization options that are not available on the stock firmware. Rooting allows you to remove bloatware, install custom ROMs, and use root-only apps that can enhance your overall Android experience.
It’s important to note that rooting your device will void the warranty and can potentially lead to unforeseen complications if not done correctly. Therefore, it’s essential to follow the instructions carefully and take the necessary precautions. Additionally, make sure to back up all your important data before proceeding with the rooting process.
In this guide, we will cover two popular methods to root the Moto E 2nd Gen 4G: using SuperSU and using Magisk. Both methods have their advantages, and we will discuss each one in detail, allowing you to choose the method that best suits your needs and preferences.
Before we dive into the rooting process, let’s take a look at the prerequisites you need to fulfill in order to successfully root your Moto E 2nd Gen 4G.
Benefits of Rooting Moto E 2nd Gen 4G
Rooting your Moto E 2nd Gen 4G can unlock a host of benefits that can elevate your Android experience. Here are some of the key advantages of rooting your device:
1. Customization: Rooting allows you to customize your device to your heart’s content. You can install custom ROMs, which are modified versions of Android that offer additional features and customization options. With a rooted Moto E 2nd Gen 4G, you can personalize your device’s look and feel, change the theme, and even customize system fonts.
2. Remove Bloatware: Manufacturers often pre-install unnecessary apps, commonly known as bloatware, on smartphones. These apps can consume storage space, drain battery life, and slow down your device. By rooting your Moto E 2nd Gen 4G, you can uninstall bloatware and free up valuable resources, resulting in improved performance and increased storage capacity.
3. Boost Performance: Rooting your device opens up opportunities to optimize its performance. You can use apps like SetCPU to tweak the processor’s clock speed or install custom kernels that offer enhanced performance and battery efficiency. Additionally, you can use root-only apps that help manage system performance and boost overall speed and responsiveness.
4. Backup and Restore: Rooting provides you with more control over your device’s backup and restore capabilities. You can use apps like Titanium Backup to create complete backups of your apps, data, and system settings. This ensures that you can easily restore your device to a previous state if something goes wrong during future modifications or updates.
5. Access to Root-only Apps: Some apps require root access to unlock certain features or functionalities. By rooting your Moto E 2nd Gen 4G, you can enjoy a wide range of root-only apps that offer advanced functionality. Whether it’s a powerful file manager, a system-level ad blocker, or an app that allows you to control individual app permissions, root access expands your options and provides a more versatile Android experience.
6. Overclocking and Underclocking: As a rooted user, you have the ability to overclock or underclock your device’s CPU, granting you control over its performance and power consumption. Overclocking can provide a performance boost for resource-intensive tasks, while underclocking can conserve battery life by reducing CPU speed during less demanding usage.
7. Install Xposed Framework: The Xposed Framework is a powerful tool that enhances your device’s capabilities by allowing you to install modules that modify system settings and add new functionalities. With root access, you can unlock the full potential of the Xposed Framework and customize your Moto E 2nd Gen 4G in ways you never thought possible.
These are just a few of the many benefits that come with rooting your Moto E 2nd Gen 4G. As with any modification, it’s essential to research and proceed with caution, ensuring that you understand the risks involved. By weighing the advantages against the potential drawbacks, you can make an informed decision on whether rooting is right for you.
Prerequisites for Rooting Moto E 2nd Gen 4G
Before you can begin the rooting process for your Moto E 2nd Gen 4G, there are a few prerequisites that you must fulfill. These prerequisites ensure a smooth and successful rooting experience. Here’s what you’ll need:
1. Unlock Bootloader: To root your Moto E 2nd Gen 4G, you need to unlock the bootloader. Unlocking the bootloader allows you to install custom recoveries and flash custom ROMs. Keep in mind that unlocking the bootloader will erase all the data on your device, so make sure to back up important files before proceeding.
2. Charge Your Device: Ensure that your Moto E 2nd Gen 4G has a sufficient amount of battery charge before starting the rooting process. This will prevent any issues that may arise from an unexpected power loss during the procedure.
3. Backup Your Data: Rooting your device involves making system-level changes, which can potentially cause data loss. It is strongly recommended to create a backup of all your important files, photos, and contacts. You can use built-in backup options or third-party apps like Google Backup or Samsung Smart Switch for a seamless backup process.
4. Install Device Drivers: Before connecting your Moto E 2nd Gen 4G to your computer, make sure to install the necessary device drivers. This will ensure that your computer can detect and communicate with your device during the rooting process. You can typically find the drivers on the official manufacturer’s website or use a universal driver tool like “ADB and Fastboot.”
5. Enable USB Debugging: USB debugging allows your device to communicate with your computer for rooting purposes. To enable USB debugging, go to “Settings” on your Moto E 2nd Gen 4G, select “Developer Options,” and toggle on the “USB Debugging” option.
6. Download Required Files: Depending on the rooting method you choose, you will need specific files, such as the rooting software (SuperSU or Magisk) and the appropriate custom recovery (TWRP or CWM). Make sure to download these files from trusted sources.
7. Read and Understand Instructions: It’s crucial to read and understand the rooting instructions carefully before proceeding. Each rooting method has specific steps and requirements, so following the instructions accurately is essential to avoid any issues or complications.
By fulfilling these prerequisites, you’ll be well-prepared to begin the rooting process for your Moto E 2nd Gen 4G. It’s important to note that rooting your device carries certain risks and may void your warranty. However, if done correctly, rooting can unlock a wide range of customization options and advanced features, allowing you to personalize and optimize your smartphone experience.
Step-by-Step Guide to Root Moto E 2nd Gen 4G
In this section, we will provide you with a detailed step-by-step guide to root your Moto E 2nd Gen 4G. We will cover two popular methods: using SuperSU and using Magisk. Follow the instructions below to safely and effectively root your device.
Method 1: Using SuperSU
1. Unlock Bootloader: Before proceeding with the rooting process, unlock the bootloader of your Moto E 2nd Gen 4G. Refer to the official instructions provided by Motorola for detailed steps on how to unlock the bootloader.
2. Download Required Files: Download the latest version of SuperSU on your computer and transfer it to your device’s internal storage.
3. Boot into Recovery Mode: Power off your device and then press and hold the Volume Down and Power buttons simultaneously until the device boots into Recovery Mode.
4. Install SuperSU: In recovery mode, use the volume buttons to navigate and select “Install” or “Install from SD Card.” Locate the SuperSU ZIP file you transferred earlier and select it to install. Swipe to confirm the installation.
5. Reboot Your Device: After the installation is complete, select “Reboot System” or “Reboot Device” to restart your Moto E 2nd Gen 4G.
6. Verify Root Access: Once your device has booted up, download a root checker app from the Google Play Store to verify that your Moto E 2nd Gen 4G has been successfully rooted.
Method 2: Using Magisk
1. Unlock Bootloader: Just like in Method 1, start by unlocking the bootloader of your Moto E 2nd Gen 4G using the official instructions provided by Motorola.
2. Download Required Files: Download the latest version of Magisk on your computer and transfer it to your device’s internal storage.
3. Boot into Recovery Mode: Power off your device and then press and hold the Volume Down and Power buttons simultaneously until the device boots into Recovery Mode.
4. Install Magisk: In recovery mode, select “Install” or “Install from SD Card.” Locate the Magisk ZIP file you transferred earlier and select it to install. Swipe to confirm the installation.
5. Reboot Your Device: After the installation is complete, select “Reboot System” or “Reboot Device” to restart your Moto E 2nd Gen 4G.
6. Verify Root Access: Once your device has restarted, install the Magisk Manager app from the Google Play Store. Open the app and check if it shows “Magisk is installed” or “Root access is enabled.”
By following these step-by-step instructions, you can successfully root your Moto E 2nd Gen 4G using either SuperSU or Magisk. Remember to proceed with caution, follow each step carefully, and make sure to understand the risks involved in rooting your device. If at any point you encounter issues or have questions, refer to online forums or consult expert resources for assistance.
Method 1: Using SuperSU
SuperSU is a popular rooting tool that provides system-level access on your Moto E 2nd Gen 4G. Follow the steps below to root your device using SuperSU:
1. Unlock Bootloader: To start, unlock the bootloader of your Moto E 2nd Gen 4G by following the official instructions provided by Motorola. This step is essential for gaining root access.
2. Download SuperSU: On your computer, download the latest version of SuperSU from a trusted source. Make sure to save it in a location that you can easily access later.
3. Transfer SuperSU to Your Device: Connect your Moto E 2nd Gen 4G to your computer using a USB cable. Transfer the SuperSU file you downloaded in the previous step to the root directory of your device’s internal storage.
4. Boot into Recovery Mode: Power off your Moto E 2nd Gen 4G. Press and hold the Volume Down and Power buttons simultaneously until the device boots into Recovery Mode.
5. Install SuperSU: Once in Recovery Mode, navigate through the menu using the Volume Up and Down buttons. Look for an option that says “Install” or “Install from SD Card.” Select this option and browse for the SuperSU file you transferred in Step 3. Select it to start the installation process.
6. Confirm Installation: After selecting the SuperSU file, you will be prompted to confirm the installation by swiping a slider. Slide it to the right to start the installation process.
7. Reboot Your Device: Once the installation is complete, go back to the main menu of the custom recovery and select the option that says “Reboot System” or “Reboot Device.” Your Moto E 2nd Gen 4G will now reboot.
8. Verify Root Access: After your device has restarted, download a root checker app from the Google Play Store. Open the app and follow the on-screen instructions to verify that your Moto E 2nd Gen 4G has been successfully rooted.
By following these steps carefully, you can successfully root your Moto E 2nd Gen 4G using SuperSU. Rooting your device gives you greater control and access to the Android system, allowing for customization and the installation of root-only apps.
Method 2: Using Magisk
Magisk is an advanced rooting solution that provides systemless root access on your Moto E 2nd Gen 4G. Follow the steps below to root your device using Magisk:
1. Unlock Bootloader: Begin by unlocking the bootloader of your Moto E 2nd Gen 4G. Refer to the official instructions provided by Motorola to complete this step. Unlocking the bootloader is necessary to gain root access.
2. Download Magisk: On your computer, download the latest version of Magisk from a trusted source. Save the file in a location that is easily accessible.
3. Transfer Magisk to Your Device: Connect your Moto E 2nd Gen 4G to your computer using a USB cable. Transfer the Magisk file you downloaded in the previous step to the root directory of your device’s internal storage.
4. Boot into Recovery Mode: Power off your Moto E 2nd Gen 4G. Press and hold the Volume Down and Power buttons simultaneously until the device enters Recovery Mode.
5. Install Magisk: In the custom recovery menu, navigate using the Volume Up and Down buttons. Look for an option that says “Install” or “Install from SD Card”. Select this option and locate the Magisk file you transferred in Step 3. Select it to initiate the installation process.
6. Confirm Installation: After selecting the Magisk file, you will be prompted to confirm the installation. Swipe the slider to the right to proceed with the installation.
7. Reboot Your Device: Once the installation is complete, go back to the main menu of the custom recovery and select the option that says “Reboot System” or “Reboot Device”. Your Moto E 2nd Gen 4G will now reboot.
8. Install Magisk Manager: After your device has restarted, download the Magisk Manager app from the official Magisk website. Install the app and open it to verify that Magisk has been successfully installed on your Moto E 2nd Gen 4G.
9. Verify Root Access: In the Magisk Manager app, you can use the various options and modules available to further customize your rooted device. Additionally, you can download a root checker app from the Google Play Store to confirm that your Moto E 2nd Gen 4G has been successfully rooted.
By following these steps, you can effectively root your Moto E 2nd Gen 4G using Magisk, providing you with systemless root access and the ability to customize your device to your liking. Rooting your device opens up a world of possibilities, from customization options to the installation of powerful root-only apps. Enjoy exploring the newfound capabilities of your rooted Moto E 2nd Gen 4G!
Troubleshooting Common Issues
While rooting your Moto E 2nd Gen 4G can bring numerous benefits, it may occasionally present some challenges. Here are some common issues that you may encounter during the rooting process and their potential solutions:
1. Device Stuck in Bootloop: If your device gets stuck in a continuous boot loop after rooting, it usually indicates an issue with the installation. Try booting into recovery mode and wiping the cache partition. If that doesn’t resolve the issue, you may need to re-flash the stock firmware or restore a previous backup.
2. Loss of Data: Rooting your device involves making system-level changes, which can sometimes result in data loss. It is crucial to back up your data before proceeding with the rooting process. If you experience data loss during rooting, you may be able to restore your data from the backup you created earlier.
3. Rooting Doesn’t Succeed: If the rooting process doesn’t work as expected, double-check that you have followed the instructions accurately. Ensure that you have unlocked the bootloader, downloaded the correct files, and installed them properly. You may need to repeat the process or try an alternative rooting method.
4. Apps or Features Not Working: After rooting your Moto E 2nd Gen 4G, some apps or features may no longer work properly. This can be due to compatibility issues or security restrictions that come with root access. You can try using root management apps like Magisk Manager to temporarily disable root access for specific apps, solving compatibility problems in some cases.
5. Security Risks: Rooting your device involves bypassing certain security measures put in place by the manufacturer and Google. This can potentially expose your device to security risks if not handled carefully. It is important to only download apps and files from trusted sources and to keep your device’s software up to date to mitigate security vulnerabilities.
6. Warranty Void: It’s essential to be aware that rooting your Moto E 2nd Gen 4G will void its warranty. Once you root your device, you typically won’t be able to take advantage of the manufacturer’s warranty for future repairs or replacements. Consider the potential consequences before proceeding with the rooting process.
If you encounter any issues or challenges while rooting your Moto E 2nd Gen 4G, it is recommended to seek assistance from online forums or communities dedicated to Android rooting. These platforms provide valuable resources and knowledge from experienced users who can help troubleshoot specific problems and guide you through the resolution process.
Conclusion
Rooting your Moto E 2nd Gen 4G opens up a world of possibilities to customize and enhance your Android experience. Whether you choose to use SuperSU or Magisk, gaining root access provides benefits such as customization options, improved performance, and access to root-only apps. However, it’s important to approach the rooting process with caution and understand the risks involved.
In this guide, we provided step-by-step instructions for rooting your Moto E 2nd Gen 4G using both SuperSU and Magisk. We also discussed the prerequisites, troubleshooting common issues, and highlighted the benefits of rooting your device. By following the instructions accurately, you can successfully root your Moto E 2nd Gen 4G while mitigating the potential challenges that can arise.
Remember, rooting your device will void its warranty and may expose your device to certain security risks. It’s crucial to weigh the advantages against the potential drawbacks and proceed with caution. Make sure to research and understand the rooting process fully before proceeding.
Lastly, always make backups of your data and keep your device’s software up to date to maintain security and protect your information. By taking these precautions and following the guidelines provided, you can safely and effectively unlock the full potential of your Moto E 2nd Gen 4G through rooting.