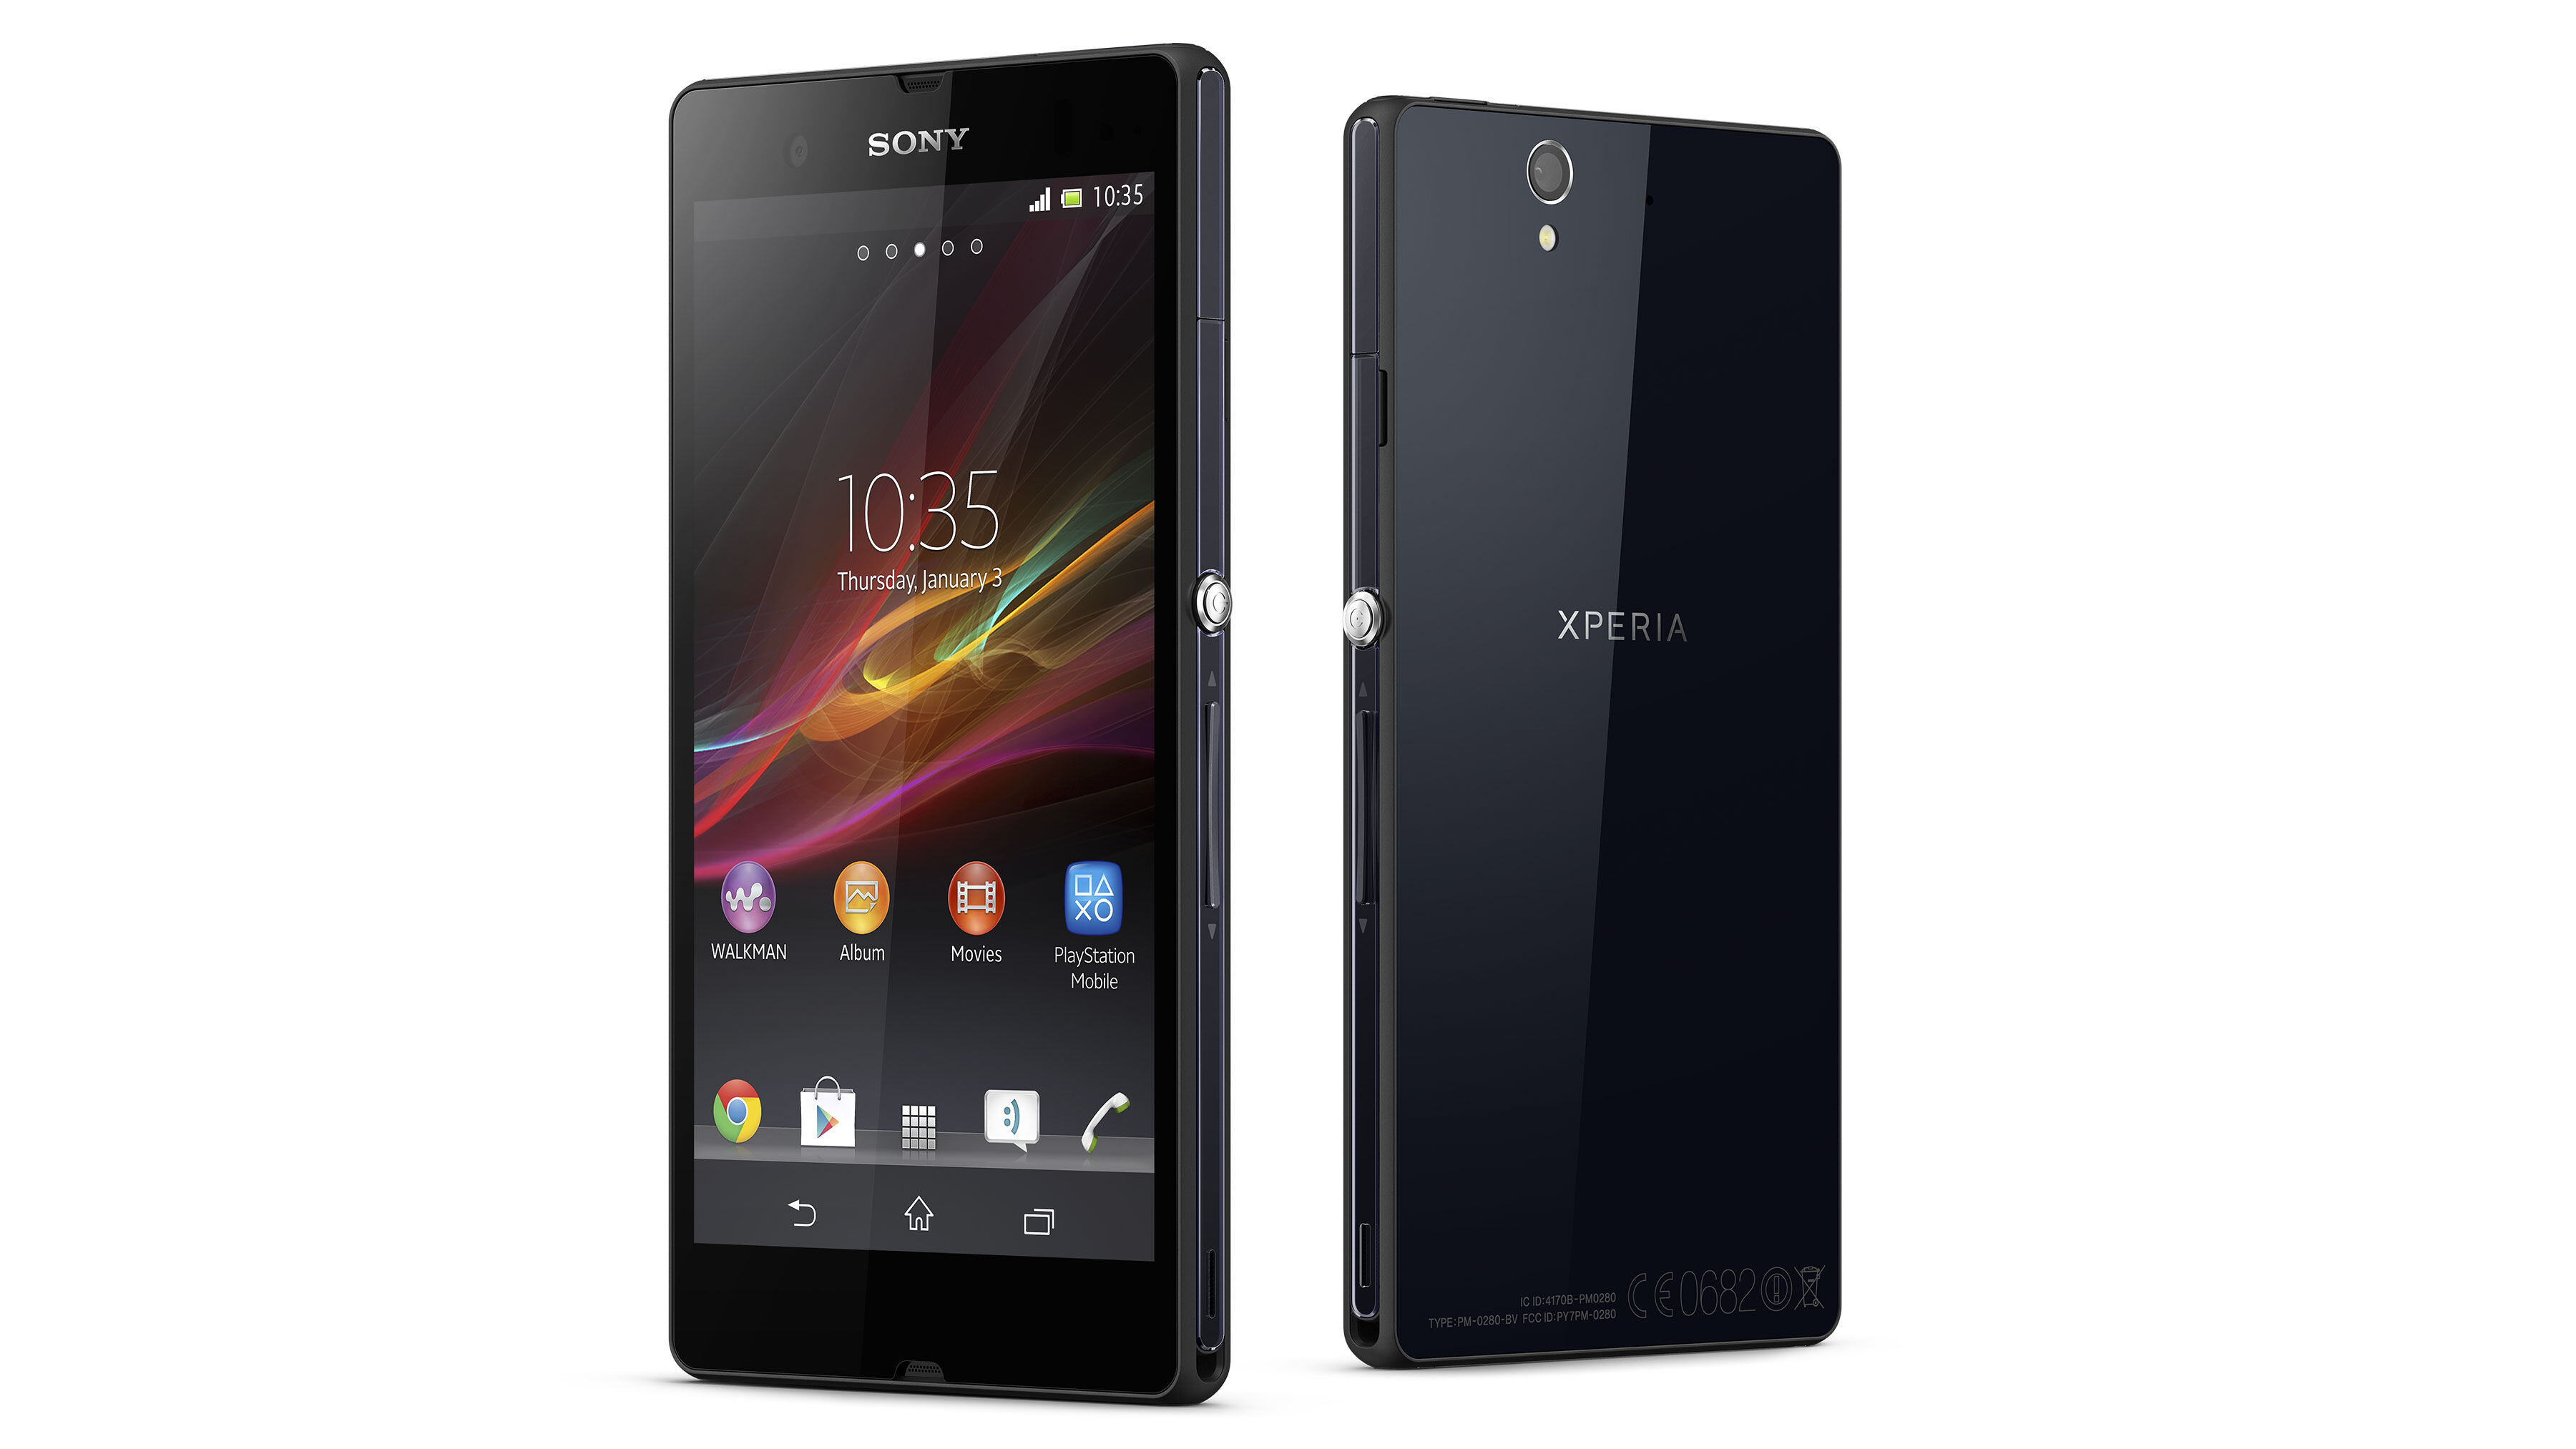
Introduction
Rooting your Sony Xperia C6606 can unlock a world of possibilities, allowing you to customize your device, access advanced features, and optimize its performance. By gaining root access, you can take full control of your smartphone, enabling you to install custom ROMs, remove bloatware, and enhance the overall user experience. However, it's essential to approach rooting with caution and thorough understanding, as it involves modifying system files and carries certain risks.
In this comprehensive guide, we will delve into the intricacies of rooting the Sony Xperia C6606, providing step-by-step instructions and advanced tips to help you make the most of your rooted device. Whether you're a seasoned tech enthusiast or a novice looking to explore the world of Android customization, this article will equip you with the knowledge and insights needed to embark on this exciting journey.
Rooting your device is not a decision to be taken lightly, as it can void your warranty and potentially lead to security vulnerabilities if not done correctly. However, with the right approach and a clear understanding of the process, you can unleash the full potential of your Sony Xperia C6606, opening up a realm of customization options and performance enhancements.
Throughout this guide, we will walk you through the essential steps of preparing your device, unlocking the bootloader, installing custom recovery, and ultimately rooting your Xperia C6606. Additionally, we will explore advanced tips and best practices for managing a rooted device, ensuring that you can maximize its capabilities while minimizing potential risks.
By the end of this article, you will have a comprehensive understanding of the rooting process, empowering you to make informed decisions and confidently navigate the world of Android customization. So, without further ado, let's embark on this exciting journey to unlock the full potential of your Sony Xperia C6606.
Understanding Rooting
Rooting an Android device involves gaining privileged access to the operating system, allowing users to modify system files, install custom software, and exert greater control over the device's functionality. In essence, it grants users elevated permissions, akin to administrative privileges on a computer, enabling them to make changes that are typically restricted on unrooted devices.
By rooting your Sony Xperia C6606, you can unlock a host of advanced capabilities, such as removing pre-installed bloatware, optimizing system performance, and customizing the user interface to suit your preferences. Additionally, rooting opens the door to installing custom ROMs, which are modified versions of the Android operating system, offering unique features, improved performance, and the latest Android updates for devices that may no longer receive official support.
It's important to note that rooting is not without its risks. Modifying system files and unlocking the device's full potential can potentially lead to security vulnerabilities, void the manufacturer's warranty, and even cause irreparable damage if not approached with caution and expertise. Therefore, it's crucial to weigh the benefits against the potential drawbacks and proceed with a clear understanding of the implications.
Furthermore, rooting requires a certain level of technical proficiency and a willingness to accept the responsibility that comes with elevated privileges. Users must be prepared to troubleshoot potential issues, stay informed about security best practices, and exercise caution when making system-level changes.
In summary, understanding rooting is essential before embarking on the process. It offers unparalleled customization and control over your Sony Xperia C6606, but it also demands careful consideration of the associated risks and responsibilities. With the right knowledge and approach, rooting can unlock the full potential of your device, empowering you to tailor your smartphone experience to your unique preferences and needs.
Preparing Your Device
Before diving into the rooting process, it's crucial to prepare your Sony Xperia C6606 to ensure a smooth and secure experience. Proper preparation can help mitigate potential risks and streamline the overall rooting procedure. Here's a detailed breakdown of the essential steps to prepare your device:
-
Backup Your Data: Begin by backing up all important data, including contacts, photos, videos, and any other files stored on your device. This ensures that your personal information is safeguarded in case of unexpected data loss during the rooting process.
-
Enable Developer Options: To enable advanced developer settings on your Xperia C6606, navigate to the "Settings" menu, select "About phone," and tap on the "Build number" multiple times until you see a message confirming that developer options have been enabled.
-
USB Debugging: Within the developer options, locate and enable USB debugging. This setting allows your device to communicate with a computer via USB while performing advanced operations, such as unlocking the bootloader and rooting.
-
Charge Your Device: Ensure that your Xperia C6606 has an adequate battery charge before initiating the rooting process. A fully charged battery reduces the risk of interruptions during the procedure, which could potentially lead to complications.
-
Research and Gather Resources: Take the time to research reputable rooting methods and resources specific to the Sony Xperia C6606. Identify trusted sources, forums, and guides that provide detailed instructions and support for rooting your device.
-
Understand the Risks: Familiarize yourself with the potential risks associated with rooting, including voiding the warranty, security vulnerabilities, and the possibility of bricking your device. Being aware of these risks will help you approach the process with caution and preparedness.
By diligently preparing your Sony Xperia C6606 for the rooting process, you can lay a solid foundation for a successful and secure experience. These preliminary steps set the stage for unlocking the full potential of your device while minimizing potential pitfalls. With your device properly prepared, you're ready to move on to the next crucial steps in the rooting journey.
Unlocking Bootloader
Unlocking the bootloader is a pivotal step in the rooting process, as it grants you the ability to install custom recovery and gain root access to your Sony Xperia C6606. The bootloader acts as a security checkpoint that verifies and loads the operating system when the device is powered on. By unlocking the bootloader, you effectively remove this restriction, allowing for the installation of custom firmware and system modifications.
Before proceeding, it's essential to understand that unlocking the bootloader will reset your device to its factory settings, erasing all data in the process. Therefore, it's imperative to back up your data as mentioned in the previous section to prevent any loss of important information.
To initiate the bootloader unlocking process, you will need to enable Developer Options and USB debugging on your Xperia C6606, as outlined in the preparation phase. Once these settings are enabled, you can proceed with the following steps:
-
Obtain the Necessary Tools: Before unlocking the bootloader, ensure that you have the required tools, including the Android SDK platform-tools and the specific bootloader unlock tool for the Sony Xperia C6606. These tools are essential for communicating with your device and initiating the unlocking process.
-
Connect Your Device to the Computer: Using a USB cable, connect your Xperia C6606 to your computer. This establishes a connection that allows the bootloader unlock tool to communicate with your device.
-
Boot into Fastboot Mode: Power off your device, then boot it into fastboot mode by holding the volume down button while connecting the USB cable. This action will initiate fastboot mode, allowing your computer to recognize the device in its bootloader state.
-
Run the Bootloader Unlock Tool: Open the command prompt or terminal on your computer and navigate to the directory where the Android SDK platform-tools and the bootloader unlock tool are located. Execute the necessary commands to unlock the bootloader, following the specific instructions provided by the manufacturer or the developer community.
-
Follow On-Screen Instructions: Once the bootloader unlock tool is running, carefully follow any on-screen instructions that appear on your device. This may involve confirming the bootloader unlock process and acknowledging any warnings or disclaimers presented by the device.
-
Reboot Your Device: After the bootloader unlocking process is complete, reboot your Sony Xperia C6606. This will finalize the bootloader unlock and prepare the device for the next steps in the rooting process.
Unlocking the bootloader is a critical precursor to rooting your Sony Xperia C6606, as it lays the groundwork for installing custom recovery and gaining root access. By following the manufacturer's guidelines and best practices, you can successfully unlock the bootloader, paving the way for advanced customization and system modifications on your device. With the bootloader unlocked, you're now ready to proceed to the next stage of the rooting process: installing custom recovery.
Installing Custom Recovery
Installing a custom recovery on your Sony Xperia C6606 is a crucial step in the rooting process, as it empowers you to create full device backups, flash custom ROMs, and perform system-level modifications with enhanced flexibility and control. Custom recoveries, such as TWRP (Team Win Recovery Project) or CWM (ClockworkMod Recovery), offer advanced features that surpass the capabilities of the stock recovery provided by the manufacturer.
To begin the process of installing a custom recovery, you will need to ensure that your device's bootloader is unlocked, as discussed in the previous section. Once the bootloader is unlocked, you can proceed with the following steps to install a custom recovery on your Xperia C6606:
-
Download the Custom Recovery Image: Start by obtaining the appropriate custom recovery image for your Sony Xperia C6606. Visit reputable sources or developer forums to find the compatible recovery image for your specific device model.
-
Enable Developer Options and USB Debugging: Ensure that Developer Options and USB debugging are enabled on your device, as these settings are essential for communicating with your Xperia C6606 from your computer.
-
Connect Your Device to the Computer: Using a USB cable, establish a connection between your Xperia C6606 and your computer. This connection will facilitate the transfer of the custom recovery image to your device.
-
Transfer the Recovery Image: Copy the downloaded custom recovery image to the directory where the Android SDK platform-tools are located on your computer. This will allow you to execute commands to install the custom recovery.
-
Boot into Fastboot Mode: Power off your device, then boot it into fastboot mode by holding the volume down button while connecting the USB cable. This action will enable your computer to recognize the device in its bootloader state.
-
Flash the Custom Recovery Image: Open the command prompt or terminal on your computer and navigate to the directory where the custom recovery image is located. Execute the necessary commands to flash the custom recovery onto your Xperia C6606, following the specific instructions provided by the recovery's developers.
-
Verify the Installation: Once the custom recovery image is successfully flashed, reboot your device into recovery mode to ensure that the custom recovery has been installed correctly. You can do this by using the hardware key combination specific to your device model.
By following these steps, you can install a custom recovery on your Sony Xperia C6606, unlocking a new realm of possibilities for customizing and optimizing your device. With a custom recovery in place, you are poised to explore advanced customization options, create full backups, and unleash the full potential of your rooted Xperia C6606.
Rooting Your Sony Xperia C6606
Rooting your Sony Xperia C6606 is a transformative process that unlocks the full potential of your device, granting you elevated privileges and the ability to customize and optimize its performance. Before proceeding with the rooting process, it's crucial to ensure that your device is adequately prepared, the bootloader is unlocked, and a custom recovery is installed. Once these prerequisites are in place, you can embark on the final steps to gain root access to your Xperia C6606.
To initiate the rooting process, you will need to obtain the appropriate rooting tool or package designed for the Sony Xperia C6606. It's essential to source this tool from reputable and trusted developers or communities to ensure the integrity and safety of the rooting procedure. Once you have the rooting tool at your disposal, follow these general steps to root your Xperia C6606:
-
Enable Developer Options and USB Debugging: Ensure that Developer Options and USB debugging are enabled on your device, allowing for advanced communication and control between your Xperia C6606 and your computer.
-
Connect Your Device to the Computer: Using a USB cable, establish a connection between your Xperia C6606 and your computer. This connection is vital for transferring the rooting tool and executing commands during the rooting process.
-
Transfer the Rooting Tool: Copy the downloaded rooting tool or package to the directory where the Android SDK platform-tools are located on your computer. This will facilitate the execution of commands to root your device.
-
Boot into Fastboot Mode: Power off your device, then boot it into fastboot mode by holding the volume down button while connecting the USB cable. This action prepares your Xperia C6606 for the rooting process.
-
Execute the Rooting Tool: Open the command prompt or terminal on your computer and navigate to the directory where the rooting tool is located. Execute the necessary commands to initiate the rooting process, following the specific instructions provided by the tool's developers.
-
Follow On-Screen Instructions: Once the rooting tool is running, carefully follow any on-screen instructions that appear on your device. This may involve confirming the rooting process and acknowledging any warnings or disclaimers presented by the tool.
-
Reboot Your Device: After the rooting process is complete, reboot your Sony Xperia C6606. This will finalize the rooting procedure and grant you root access to your device.
By following these steps, you can successfully root your Sony Xperia C6606, unlocking a wealth of customization options and advanced features. With root access, you gain the ability to remove bloatware, optimize system performance, and explore a myriad of root-specific apps and modifications to tailor your device to your preferences.
Rooting your Sony Xperia C6606 is a significant decision that comes with both benefits and responsibilities. It's essential to stay informed about best practices for managing a rooted device, including security considerations and potential risks. With root access, you have the power to harness the full capabilities of your Xperia C6606, creating a personalized and optimized smartphone experience that aligns with your unique needs and preferences.
Advanced Tips for Rooted Devices
Once you have successfully rooted your Sony Xperia C6606, you enter a realm of advanced customization and optimization. However, it's essential to navigate this newfound freedom with caution and awareness of best practices for managing a rooted device. Here are some advanced tips to help you make the most of your rooted Xperia C6606:
1. Regular Backups:
Take advantage of your custom recovery to create regular backups of your device. This ensures that you can restore your device to a stable state in case of any issues or failed modifications. Regular backups provide peace of mind and serve as a safety net when experimenting with custom ROMs or system-level modifications.
2. System Monitoring Apps:
Explore root-specific system monitoring apps that allow you to track resource usage, manage system processes, and optimize performance. These apps provide insights into your device's behavior and enable you to fine-tune its performance for a smoother and more efficient user experience.
3. Privacy and Security:
Be mindful of the security implications of rooting and installing root-specific apps. Exercise caution when granting root access to apps and prioritize security by installing reputable security and privacy-focused apps designed for rooted devices. Stay informed about potential security vulnerabilities and take proactive measures to safeguard your rooted Xperia C6606.
4. Custom ROMs and Mods:
Delve into the world of custom ROMs and mods to explore unique features, performance enhancements, and the latest Android updates for your Xperia C6606. Research reputable custom ROMs tailored to your device model and preferences, and consider experimenting with different mods to personalize your device's appearance and functionality.
5. Kernel Tweaks and Overclocking:
If you're comfortable with advanced system modifications, consider exploring kernel tweaks and overclocking to optimize your device's performance. However, approach these modifications with caution, as they can impact battery life and device stability if not implemented judiciously.
6. Community Support and Forums:
Engage with the vibrant community of rooted Android users to seek advice, share experiences, and stay updated on the latest developments in the rooting and customization scene. Participating in forums and community discussions can provide valuable insights and troubleshooting assistance for managing your rooted Xperia C6606.
7. Unrooting When Necessary:
In certain scenarios, such as seeking official software updates or addressing warranty-related concerns, you may need to unroot your device. Familiarize yourself with the unrooting process specific to your Xperia C6606, ensuring that you can revert to a non-rooted state when required.
By embracing these advanced tips, you can navigate the world of rooted devices with confidence and maximize the potential of your Sony Xperia C6606. Rooting opens the door to unparalleled customization and optimization, and with a mindful approach, you can create a tailored smartphone experience that aligns with your unique preferences and usage patterns.
Conclusion
In conclusion, the process of rooting your Sony Xperia C6606 represents a significant journey into the realm of advanced customization and optimization. By gaining root access, you unlock the full potential of your device, enabling you to tailor its performance, appearance, and functionality to align with your unique preferences and usage patterns.
Throughout this comprehensive guide, we have explored the essential steps involved in preparing your device, unlocking the bootloader, installing custom recovery, and ultimately rooting your Xperia C6606. Each stage of the rooting process demands careful consideration, technical proficiency, and an understanding of the associated risks and responsibilities.
Rooting your device is not a decision to be taken lightly, as it carries implications such as voiding the manufacturer's warranty and potential security vulnerabilities. However, with the right approach and a clear understanding of the process, rooting empowers you to take control of your device, remove limitations imposed by the stock firmware, and explore a wealth of advanced customization options.
With root access, you can remove bloatware, optimize system performance, explore custom ROMs, and delve into advanced system modifications. However, it's crucial to approach the management of a rooted device with mindfulness and awareness of best practices. Regular backups, security considerations, community engagement, and a cautious approach to advanced modifications are essential elements of managing a rooted Xperia C6606 effectively.
As you embark on the journey of rooting and managing a rooted device, it's important to stay informed, engage with the vibrant community of rooted Android users, and prioritize security and stability. Rooting offers unparalleled customization and control, but it also demands a responsible and informed approach to ensure a seamless and secure user experience.
In essence, rooting your Sony Xperia C6606 represents a transformative endeavor that empowers you to create a personalized and optimized smartphone experience. By embracing the advanced tips and best practices outlined in this guide, you can navigate the world of rooted devices with confidence, maximizing the potential of your Xperia C6606 while safeguarding its security and stability.