Introduction
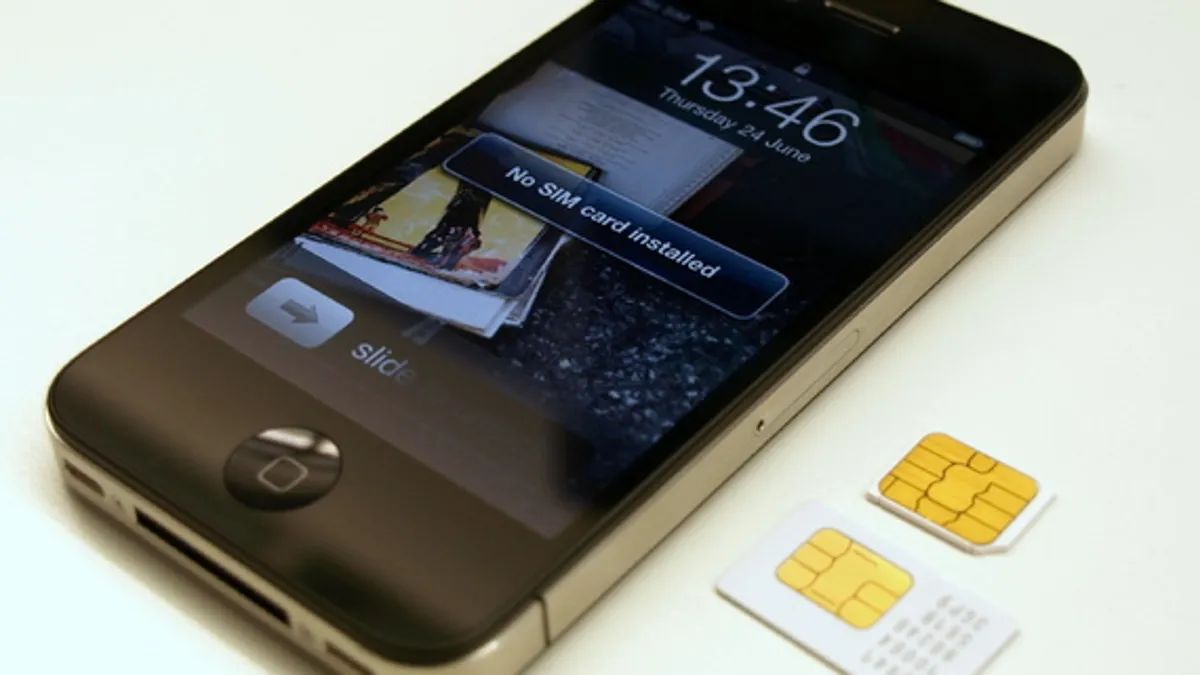
The iPhone 4S, a timeless classic in the realm of smartphones, features a sleek design and a user-friendly interface. One of the essential components of this iconic device is the SIM card, which facilitates cellular connectivity and enables users to access various mobile services. Whether you're looking to upgrade your SIM card or troubleshoot connectivity issues, understanding how to remove the SIM card from your iPhone 4S is a crucial skill for any user.
In this comprehensive guide, we'll delve into the step-by-step process of removing the SIM card from your iPhone 4S. Whether you're a tech-savvy individual or a novice in the world of mobile devices, this tutorial will equip you with the knowledge and confidence to handle this task with ease. By following these instructions, you'll be able to seamlessly remove and reinsert the SIM card, ensuring that your iPhone 4S remains fully functional and ready to keep you connected.
The process of removing the SIM card from your iPhone 4S may seem daunting at first, but fear not – with the right guidance, you'll be able to navigate this task effortlessly. By familiarizing yourself with the location of the SIM card tray and understanding the proper technique for removal, you'll gain a deeper understanding of your device and be better prepared to address any future maintenance needs.
Whether you're preparing to switch to a new SIM card, troubleshoot network issues, or simply gain a better understanding of your device, mastering the art of removing the SIM card from your iPhone 4S is a valuable skill. So, without further ado, let's embark on this journey and uncover the steps to remove and reinsert the SIM card in your iPhone 4S.
Step 1: Locate the SIM card tray
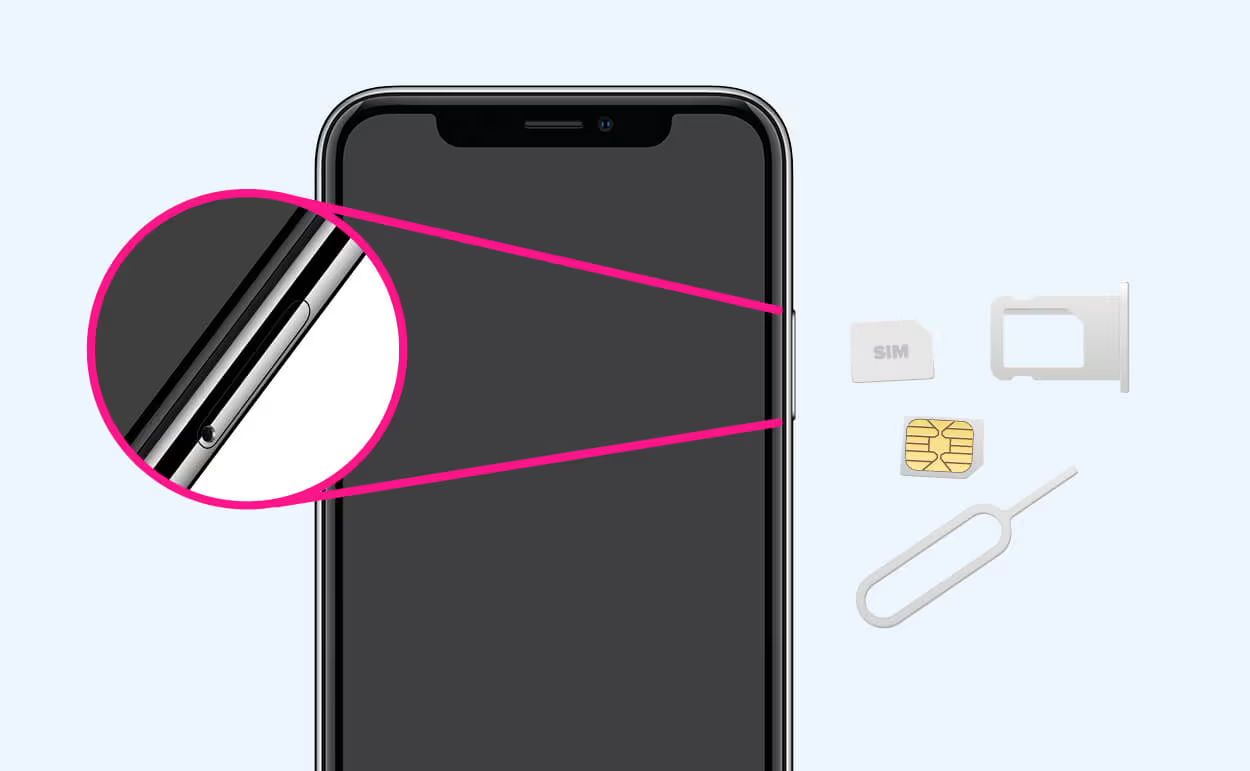
The initial step in removing the SIM card from your iPhone 4S is to locate the SIM card tray. This small, yet vital component is situated on the right-hand side of the device. To access the SIM card tray, you will need to utilize the SIM card removal tool, which is typically included with your iPhone 4S.
Upon picking up your iPhone 4S, take note of the right-hand side, where you will find a small pinhole. This pinhole serves as the entry point for the SIM card removal tool. It's essential to handle your device with care and precision during this process, as the SIM card tray is a delicate component that requires gentle handling.
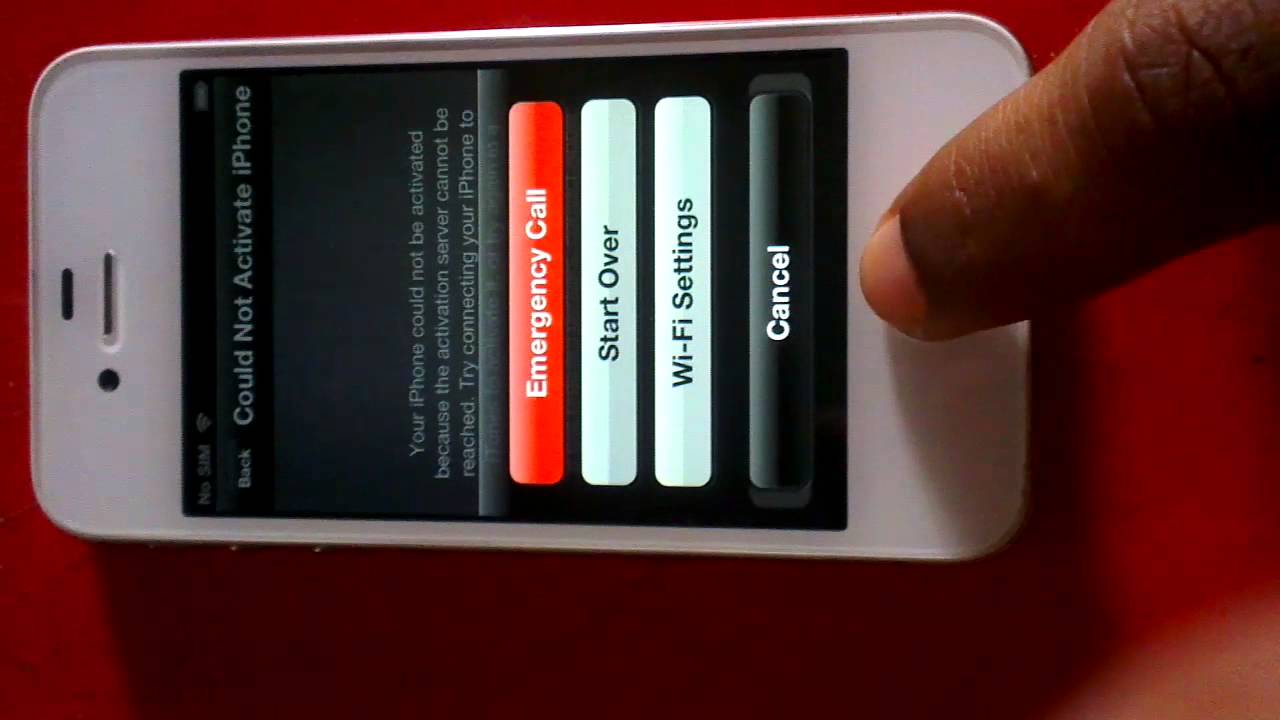
As you prepare to locate the SIM card tray, ensure that your iPhone 4S is powered off. This precautionary measure not only minimizes the risk of any technical mishaps but also provides a safe environment for handling the SIM card tray. Once your device is powered off, you can proceed with the next steps, knowing that you've taken the necessary precautions to safeguard your iPhone 4S.
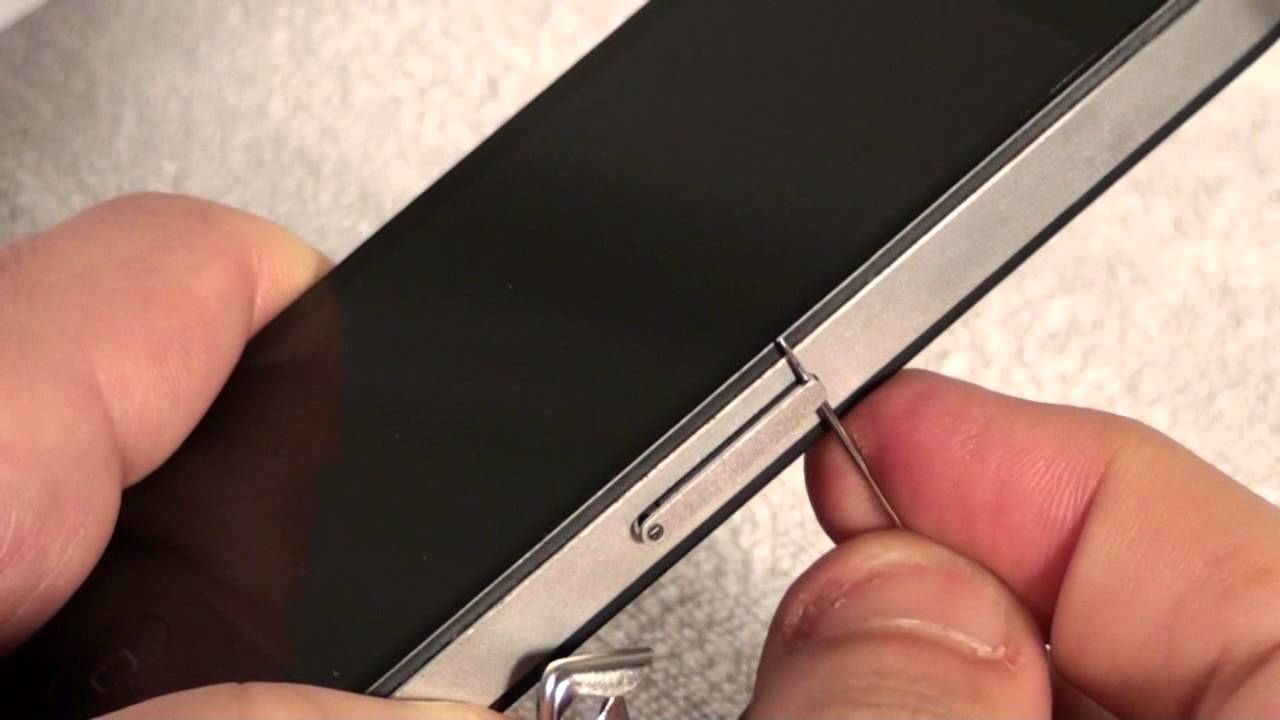
With the SIM card removal tool in hand and your iPhone 4S powered off, gently insert the pointed end of the tool into the pinhole on the right-hand side of the device. Applying steady, yet gentle pressure, you will feel a slight resistance as the tool makes contact with the SIM card tray. This resistance indicates that the tool is in position to facilitate the next steps in the SIM card removal process.
As you navigate this step, it's essential to remain patient and composed, ensuring that you handle the SIM card removal tool with precision. By taking your time and approaching this task methodically, you'll be better equipped to successfully locate the SIM card tray and proceed with the subsequent steps in the SIM card removal process.
In summary, the first step in removing the SIM card from your iPhone 4S involves locating the SIM card tray, situated on the right-hand side of the device. By exercising caution, powering off your device, and using the SIM card removal tool with precision, you'll be well on your way to uncovering the SIM card tray and embarking on the next steps in this essential process.
Step 2: Insert the SIM card removal tool
With the SIM card tray located, the next crucial step in the process of removing the SIM card from your iPhone 4S is to insert the SIM card removal tool. This small, specialized tool, provided by Apple, is designed to facilitate the safe and effortless removal of the SIM card tray. Its precise dimensions and shape align perfectly with the pinhole on the device, allowing for seamless engagement with the SIM card tray.
As you prepare to insert the SIM card removal tool, it's important to maintain a steady hand and approach this task with focus and precision. Holding the tool between your thumb and index finger, position the pointed end of the tool into the pinhole on the right-hand side of your iPhone 4S. As the tool makes contact with the pinhole, you will feel a subtle resistance, indicating that it is engaging with the SIM card tray.
Applying gentle pressure, push the SIM card removal tool further into the pinhole until you feel a slight click. This click signifies that the tool has successfully engaged with the internal mechanism of the SIM card tray, preparing it for removal. It's important to exercise patience and avoid applying excessive force during this step, as the delicate nature of the SIM card tray requires careful handling.
Upon hearing the click and feeling the tool securely in place, you can proceed with confidence, knowing that the SIM card tray is primed for removal. The precision and finesse with which you insert the SIM card removal tool are crucial in ensuring that the subsequent steps in the SIM card removal process unfold seamlessly.
In summary, the insertion of the SIM card removal tool is a pivotal step that sets the stage for the safe and effective removal of the SIM card tray from your iPhone 4S. By approaching this task with care and precision, you'll be well-prepared to navigate the upcoming steps in the process, ultimately gaining the knowledge and confidence to handle this essential maintenance procedure with ease.
Step 3: Remove the SIM card tray
With the SIM card removal tool securely engaged with the SIM card tray, the next pivotal step in the process of removing the SIM card from your iPhone 4S is to delicately extract the SIM card tray from its housing. This step requires a gentle yet firm approach to ensure the safe removal of the tray without causing any damage to the device or the SIM card itself.
As you prepare to remove the SIM card tray, maintain a steady grip on the iPhone 4S, ensuring that the device is held securely to provide stability during the extraction process. With the SIM card removal tool in place and the device held firmly, apply gentle pressure to the tool, using a smooth and controlled motion to initiate the release of the SIM card tray.
As the SIM card tray begins to disengage from the iPhone 4S, you may feel a subtle give, indicating that the tray is loosening from its housing. It's crucial to proceed with caution and avoid abrupt movements during this step, as a gradual and controlled approach is essential to safeguard the integrity of the SIM card tray and the device itself.
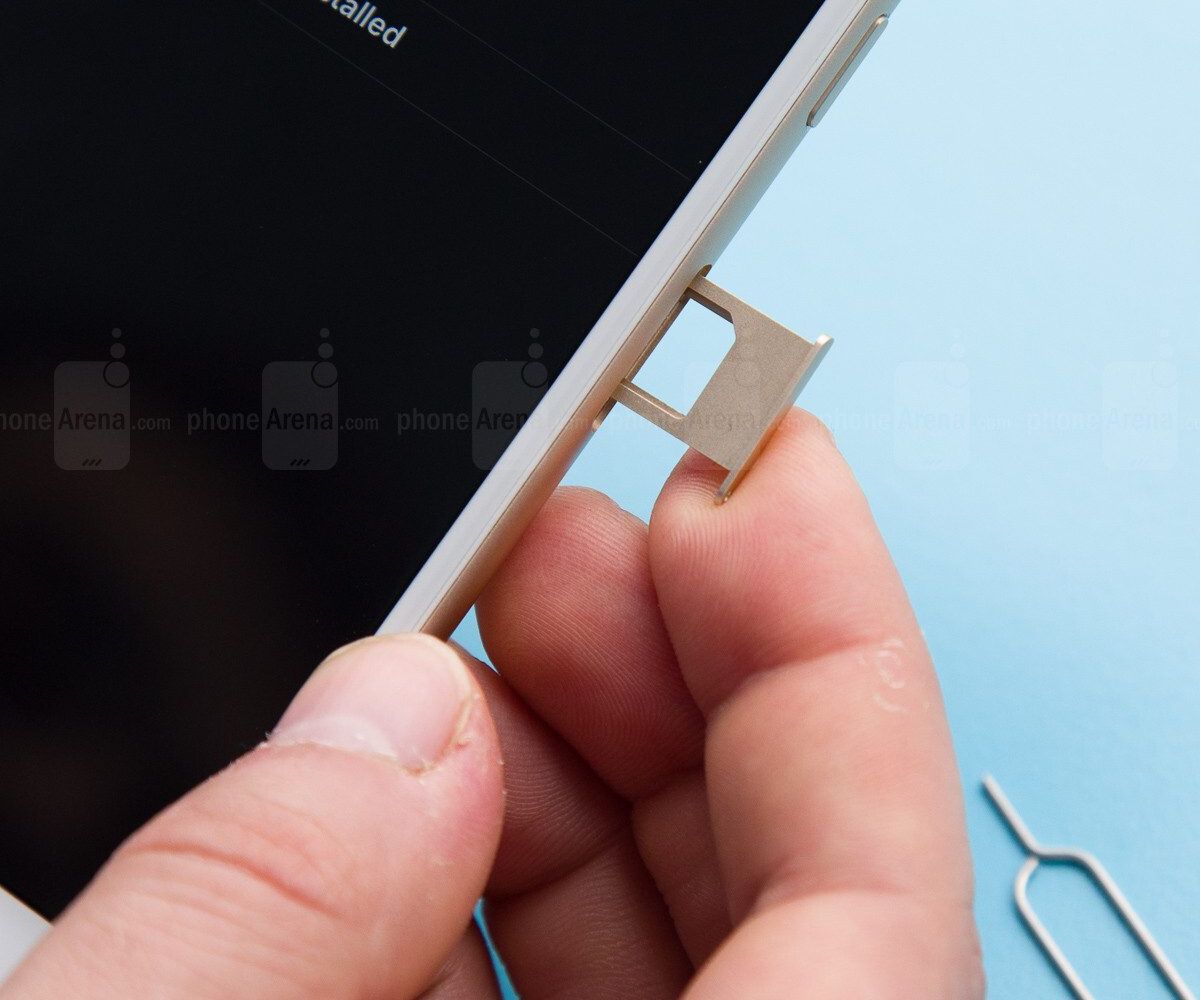
Upon successfully releasing the SIM card tray, carefully withdraw it from the iPhone 4S, ensuring that the SIM card remains seated within the tray. The tray should slide out smoothly, guided by the gentle pressure exerted by the SIM card removal tool. As the tray is extracted, take note of the SIM card nestled within it, ensuring that it remains undisturbed and securely in place.
Throughout this process, it's important to handle the SIM card tray with care, maintaining a steady and deliberate approach to prevent any jarring movements that could dislodge the SIM card. By exercising patience and precision, you'll be able to remove the SIM card tray smoothly, setting the stage for the subsequent step of extracting the SIM card itself from the tray.
In summary, the removal of the SIM card tray from your iPhone 4S is a delicate yet straightforward process that requires a gentle touch and a methodical approach. By navigating this step with care and precision, you'll be well-prepared to proceed to the next phase of removing the SIM card from the tray, ultimately ensuring the safe and seamless completion of this essential maintenance task.
Step 4: Remove the SIM card
As the SIM card tray sits in your palm, delicately cradling the SIM card within its confines, the next crucial step in the process of removing the SIM card from your iPhone 4S unfolds. With the SIM card tray now extracted from the device, your focus shifts to the gentle extraction of the SIM card itself from the tray. This step requires a steady hand and a meticulous approach to ensure the safe removal of the SIM card without causing any damage.
Upon inspecting the SIM card tray, you'll notice a small cutout or notch that aligns with the position of the SIM card. This design feature serves as a guide, indicating the precise location of the SIM card within the tray. To remove the SIM card, gently tilt the tray to an angle that allows for a clear view of the SIM card's position within the cutout. With the SIM card now visible, carefully slide it out of the tray, ensuring that your movements are smooth and controlled.
As you navigate this step, it's crucial to handle the SIM card with care, avoiding any abrupt or jerky movements that could potentially damage the delicate circuitry. The SIM card, a miniature marvel of technology, features intricate components that enable seamless communication with your mobile network. As such, it's essential to treat the SIM card with the utmost respect and precision as you guide it out of the tray.
As the SIM card slides out of the tray, take a moment to appreciate its compact design and the vital role it plays in enabling cellular connectivity for your iPhone 4S. This small yet powerful component is a testament to the remarkable advancements in mobile technology, encapsulating the ability to connect and communicate in a sleek, palm-sized form.
With the SIM card now removed from the tray, set it aside in a secure location, ensuring that it remains free from any potential damage or interference. Whether you're preparing to insert a new SIM card or simply storing the current one, safeguarding the SIM card is paramount to preserving its functionality and ensuring a seamless transition in your mobile connectivity.
In summary, the removal of the SIM card from the tray is a pivotal step in the process of maintaining your iPhone 4S. By approaching this task with precision and care, you'll be well-equipped to handle the SIM card with the delicacy it deserves, ultimately setting the stage for the subsequent steps in this essential maintenance process.
Step 5: Reinsert the SIM card tray into the iPhone 4S
With the SIM card safely removed from the tray, the final step in the process of maintaining your iPhone 4S involves reinserting the SIM card tray into the device. This pivotal step requires a steady hand and a methodical approach to ensure that the SIM card tray is securely and seamlessly integrated back into the iPhone 4S.
As you prepare to reinsert the SIM card tray, take a moment to inspect the tray and the internal housing within the iPhone 4S. Ensure that both the tray and the device are free from any dust, debris, or obstructions that could impede the smooth reintegration of the SIM card tray. This careful inspection sets the stage for a seamless and secure reinsertion process.
With the SIM card tray in hand and the iPhone 4S positioned securely, align the tray with the corresponding slot on the device. The tray should slide into place with ease, guided by a gentle and controlled motion. It's essential to approach this step with precision, ensuring that the tray aligns perfectly with the slot and sits flush against the device.
As the SIM card tray glides back into its housing, you may feel a subtle click, indicating that it has securely reengaged with the internal mechanism of the iPhone 4S. This reassuring click signifies that the tray is positioned correctly and is ready to resume its role in facilitating cellular connectivity for your device.
Upon successfully reinserting the SIM card tray, take a moment to ensure that it sits flush and level with the device, maintaining a seamless exterior profile. This visual inspection provides confirmation that the tray is securely in place, ready to support the SIM card and enable uninterrupted mobile connectivity for your iPhone 4S.
In summary, the reinsertion of the SIM card tray into the iPhone 4S marks the culmination of the SIM card removal and maintenance process. By approaching this final step with care and precision, you ensure that the SIM card tray is seamlessly integrated back into the device, ready to support the SIM card and uphold the essential function of cellular connectivity for your iPhone 4S.