Introduction
Removing the SIM card from an iPhone X is a simple yet essential task that may be necessary when switching to a new device, changing service providers, or troubleshooting connectivity issues. The SIM card, which stands for Subscriber Identity Module, is a small, removable card that stores crucial information for connecting to a cellular network. Whether you're a seasoned iPhone user or a newcomer to the world of mobile devices, understanding how to remove the SIM card from your iPhone X can prove to be a valuable skill.
In this guide, we will walk you through the step-by-step process of removing the SIM card from your iPhone X. By following these instructions, you can ensure that the SIM card removal process is smooth and hassle-free. Whether you're preparing to upgrade to a new iPhone model or simply need to access the SIM card for any reason, this guide will equip you with the knowledge and confidence to complete the task with ease.
Now, let's dive into the essential steps for removing the SIM card from your iPhone X. Whether you're a tech enthusiast or someone who simply wants to learn more about their device, this guide will provide you with the knowledge and skills to perform this task effortlessly.
Step 1: Gather necessary tools
Before embarking on the process of removing the SIM card from your iPhone X, it's crucial to gather the necessary tools to ensure a smooth and efficient experience. While the task itself is relatively straightforward, having the right tools at your disposal will streamline the process and minimize the risk of any accidental damage to your device.
Here's a list of essential tools you'll need:
-
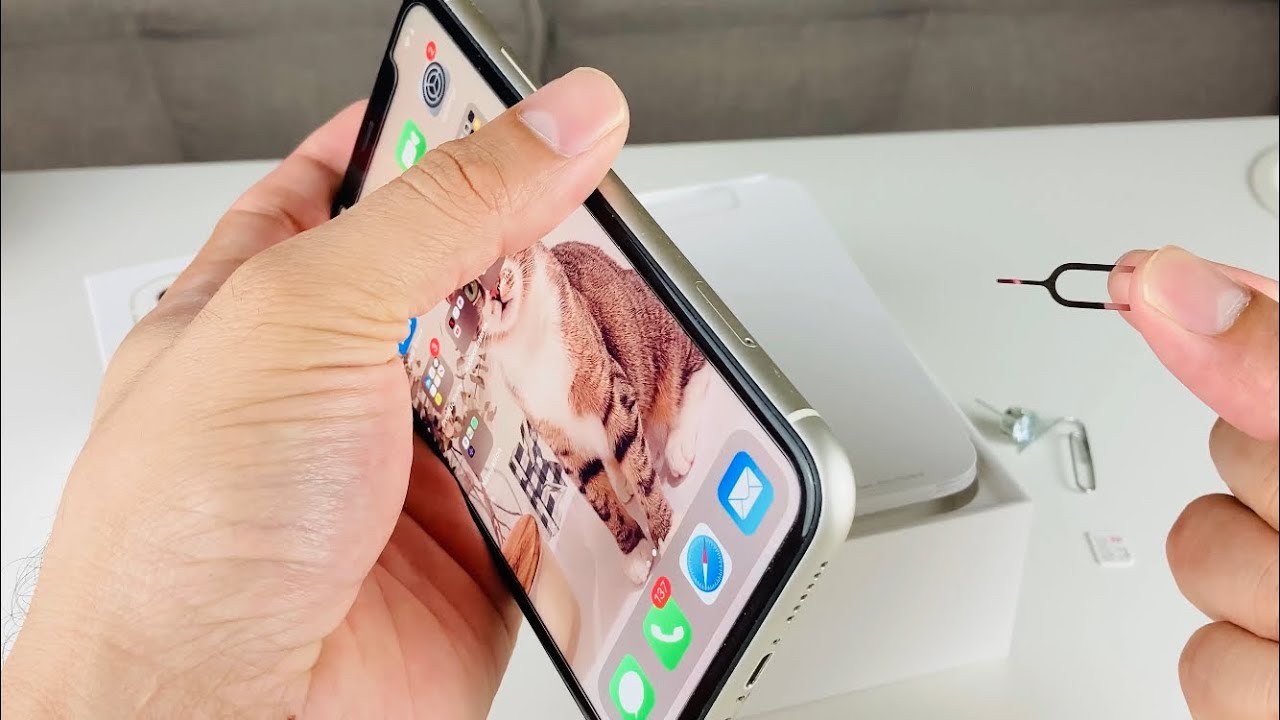
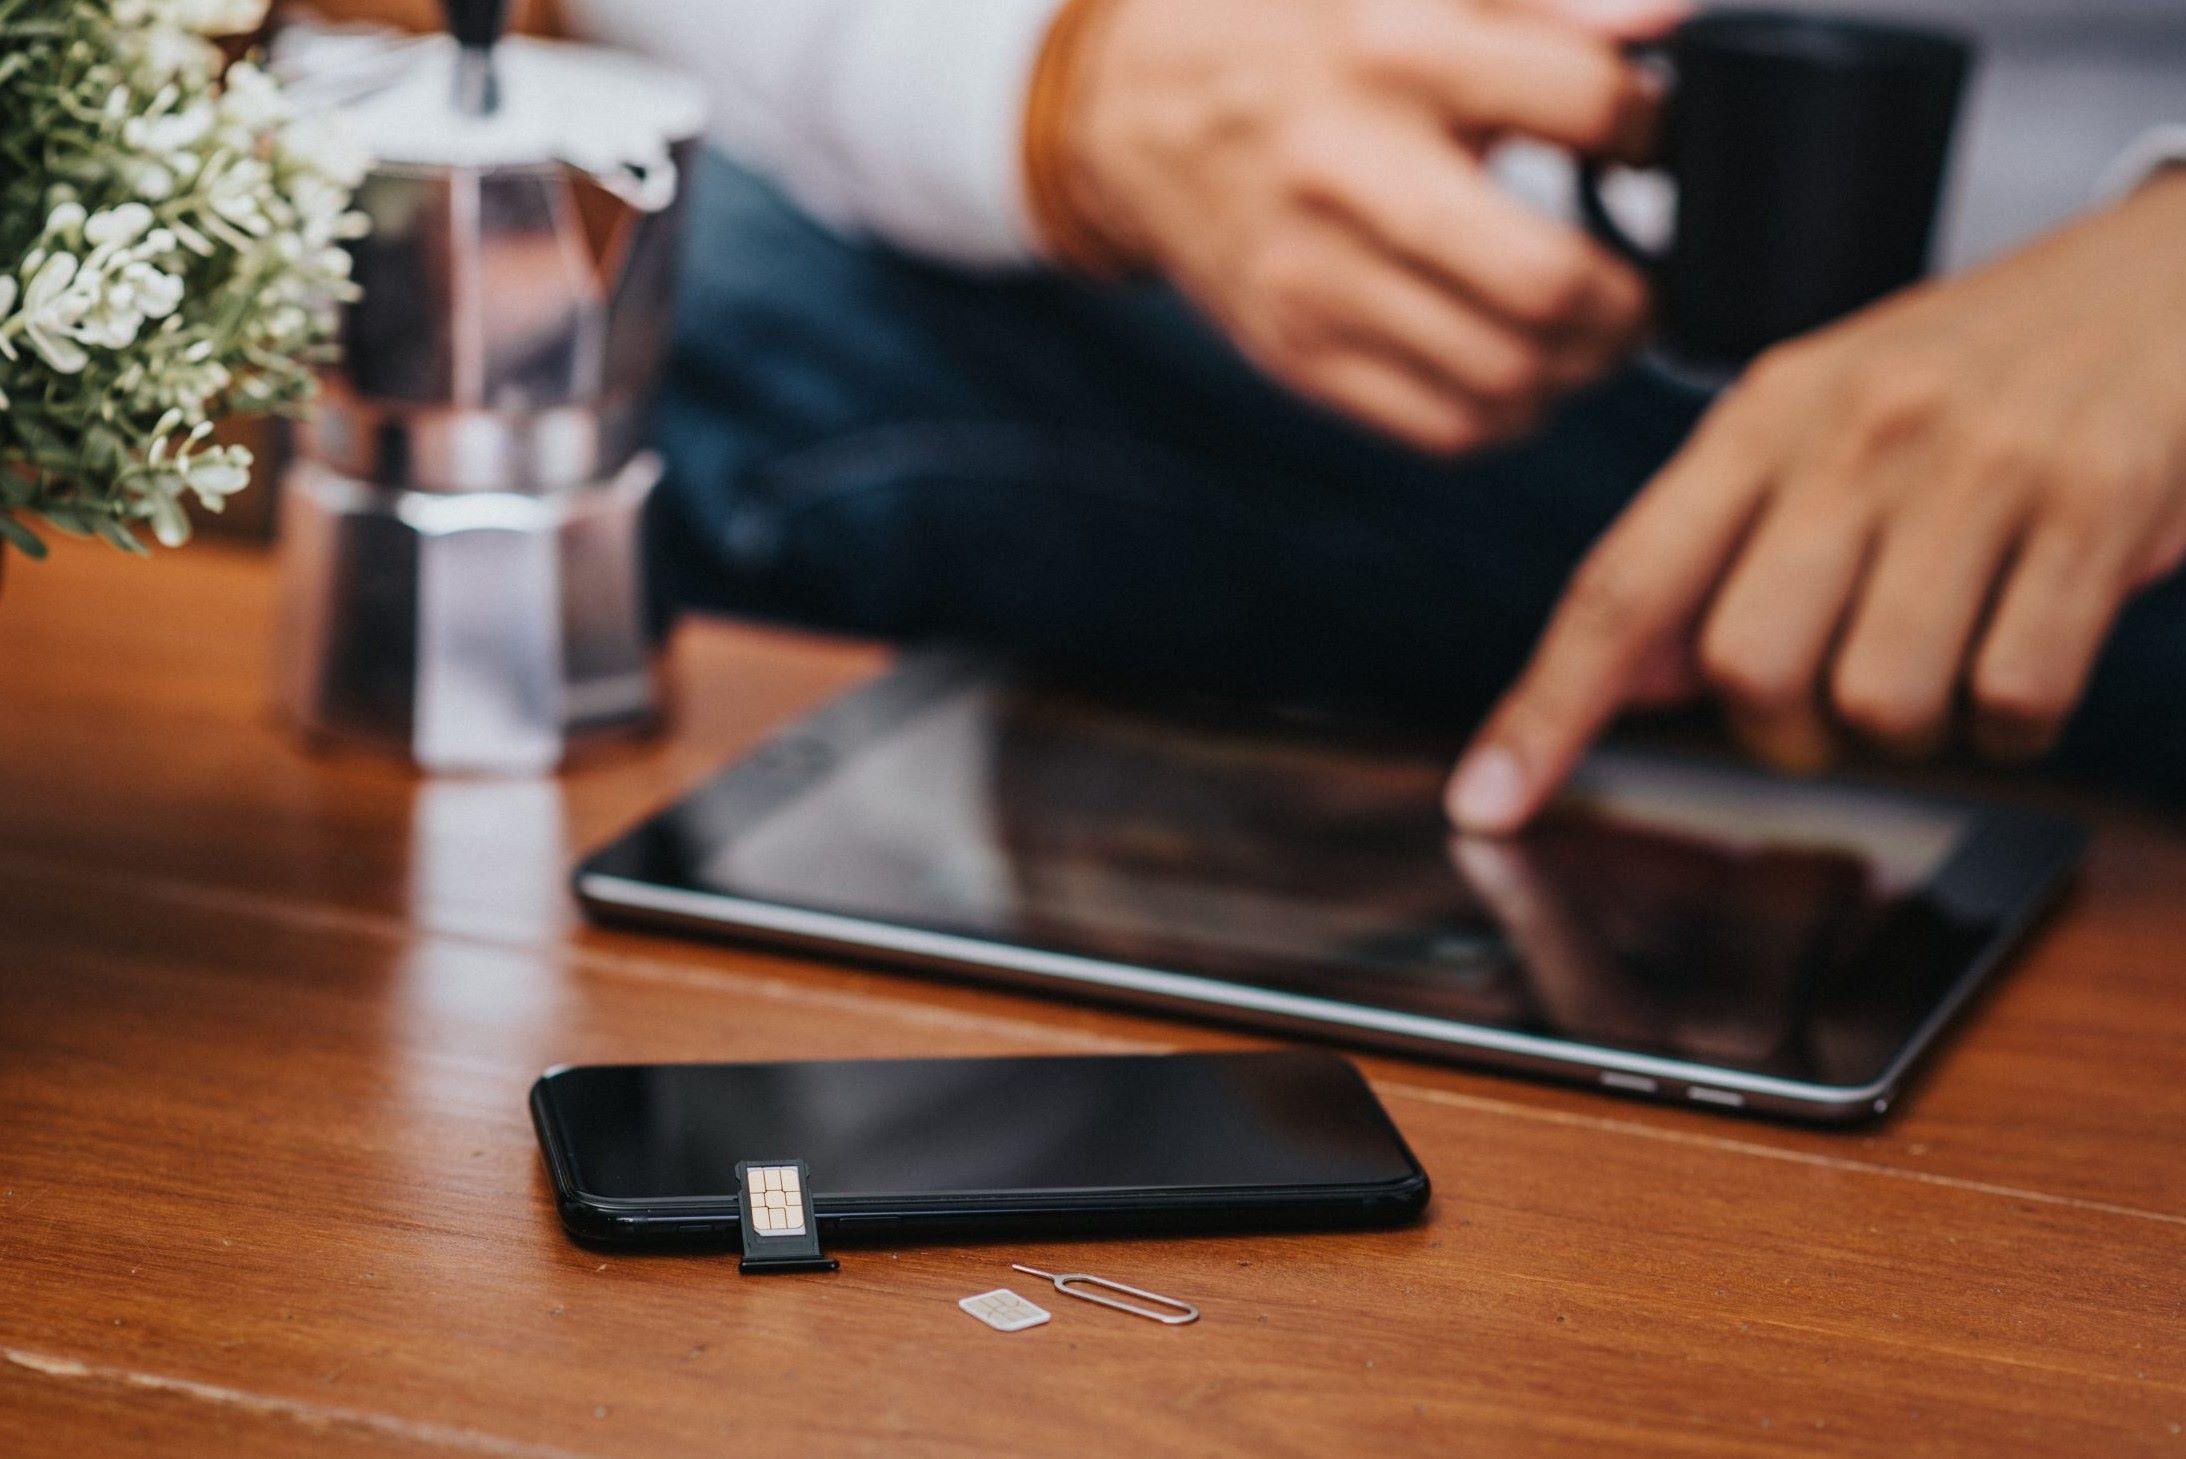
SIM card ejector tool: This small, metal tool is designed specifically for ejecting the SIM card tray from your iPhone X. It typically comes with the original packaging of your device. If you no longer have the original ejector tool, fret not, as a paperclip or a similar small, pointed object can serve as an alternative.
-
Good lighting: Adequate lighting is crucial for effectively locating the SIM card tray on your iPhone X. Whether you're indoors or outdoors, ensure that you have sufficient illumination to clearly see the device's exterior and identify the SIM card tray.
-
Stable surface: It's advisable to work on a stable and flat surface to prevent any accidental drops or slips while handling the SIM card and the iPhone X. A desk or a table with ample space will provide a secure and organized environment for the SIM card removal process.
By ensuring that you have the SIM card ejector tool, proper lighting, and a stable surface, you'll be well-prepared to proceed with the subsequent steps of removing the SIM card from your iPhone X. These tools are essential for both the safety of your device and the ease of completing the task, allowing you to carry out the process with confidence and precision.
With the necessary tools in hand, you're now ready to move on to the next step of locating the SIM card tray on your iPhone X.
Step 2: Locate the SIM card tray
Locating the SIM card tray on your iPhone X is the pivotal first step in the process of removing the SIM card. The SIM card tray houses the SIM card and is designed to be easily accessible for removal and insertion. To ensure a seamless SIM card removal process, it's crucial to accurately pinpoint the location of the SIM card tray on your iPhone X.
Here's how to locate the SIM card tray on your iPhone X:
-
Examine the Exterior: Begin by examining the exterior of your iPhone X. The SIM card tray is typically located on the right-hand side of the device, although the exact placement may vary slightly depending on the model.
-
Identify the SIM Card Tray Slot: Look for a small, recessed slot along the edge of the device. This slot is where the SIM card tray is housed. On the iPhone X, the SIM card tray slot is usually positioned just below the side button.
-
Use Proper Lighting: Adequate lighting is essential for this step, as it can help you clearly discern the outline of the SIM card tray slot. Whether you're indoors or outdoors, ensure that you have sufficient illumination to accurately locate the slot.
-
Refer to the User Manual: If you're having difficulty locating the SIM card tray, consider referring to the user manual or online resources provided by Apple. These resources often contain detailed illustrations and explanations to assist users in identifying the various components of their devices.
-
Avoid Applying Excessive Force: As you search for the SIM card tray, it's important to exercise caution and refrain from applying excessive force to any part of the device. The SIM card tray is designed to be gently ejected using the appropriate tool, and forcing it open without the proper technique may result in damage to the device.
By following these steps, you can effectively locate the SIM card tray on your iPhone X, setting the stage for the subsequent steps of ejecting and removing the SIM card. Accurately identifying the position of the SIM card tray is instrumental in ensuring a smooth and successful SIM card removal process. With the SIM card tray located, you're now ready to proceed to the next step of ejecting the tray to access the SIM card.
Step 3: Eject the SIM card tray
Ejecting the SIM card tray from your iPhone X is a crucial step in the process of removing the SIM card. The SIM card tray houses the SIM card securely within your device and is designed to be easily accessible for removal and insertion. Ejecting the tray allows you to gain access to the SIM card, enabling its safe removal from the device.
To eject the SIM card tray from your iPhone X, follow these detailed steps:
-
Prepare the SIM Card Ejector Tool: Ensure that you have the SIM card ejector tool readily available. This small, metal tool is specifically designed for ejecting the SIM card tray from your iPhone X. If you don't have the original ejector tool, a paperclip or a similar small, pointed object can serve as an alternative.
-
Locate the SIM Card Tray Slot: As discussed in the previous step, the SIM card tray slot is typically located on the right-hand side of your iPhone X, just below the side button. Once you have identified the slot, position the device in a way that allows easy access to the slot.
-
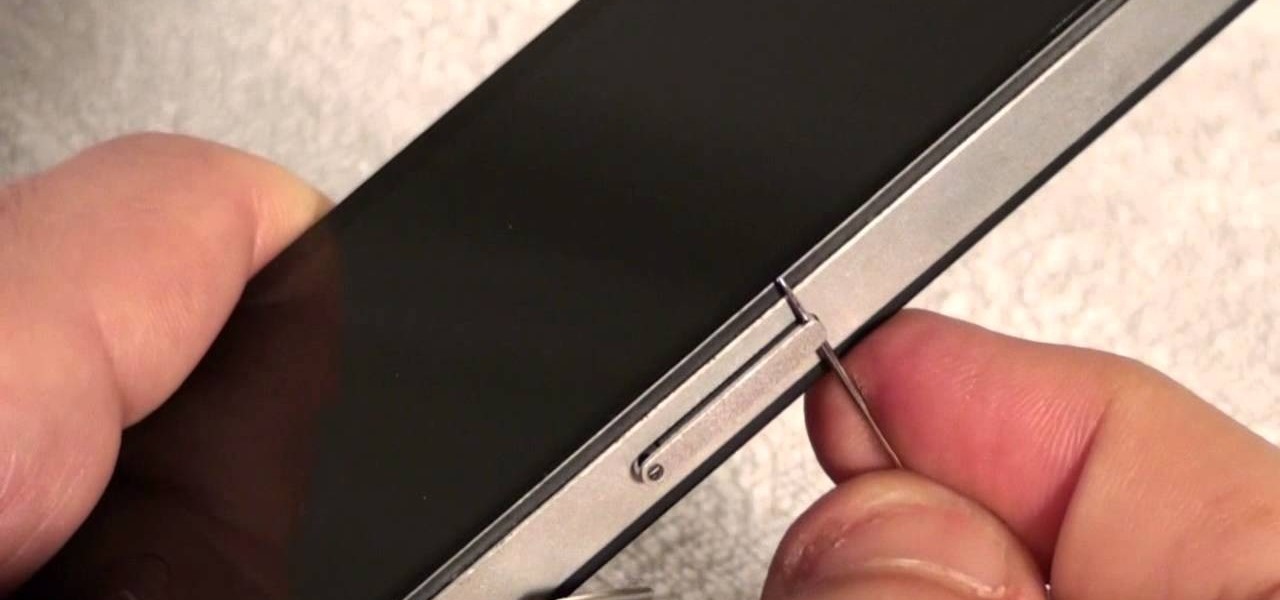
Insert the Ejector Tool: Take the SIM card ejector tool or the alternative object and insert the tip into the small pinhole located next to the SIM card tray slot. Apply gentle pressure to ensure that the tool is securely inserted into the pinhole.
-
Apply Even Pressure: With the ejector tool in place, exert steady and even pressure in the direction of the pinhole. This pressure will trigger the internal mechanism, causing the SIM card tray to protrude slightly from the device.
-
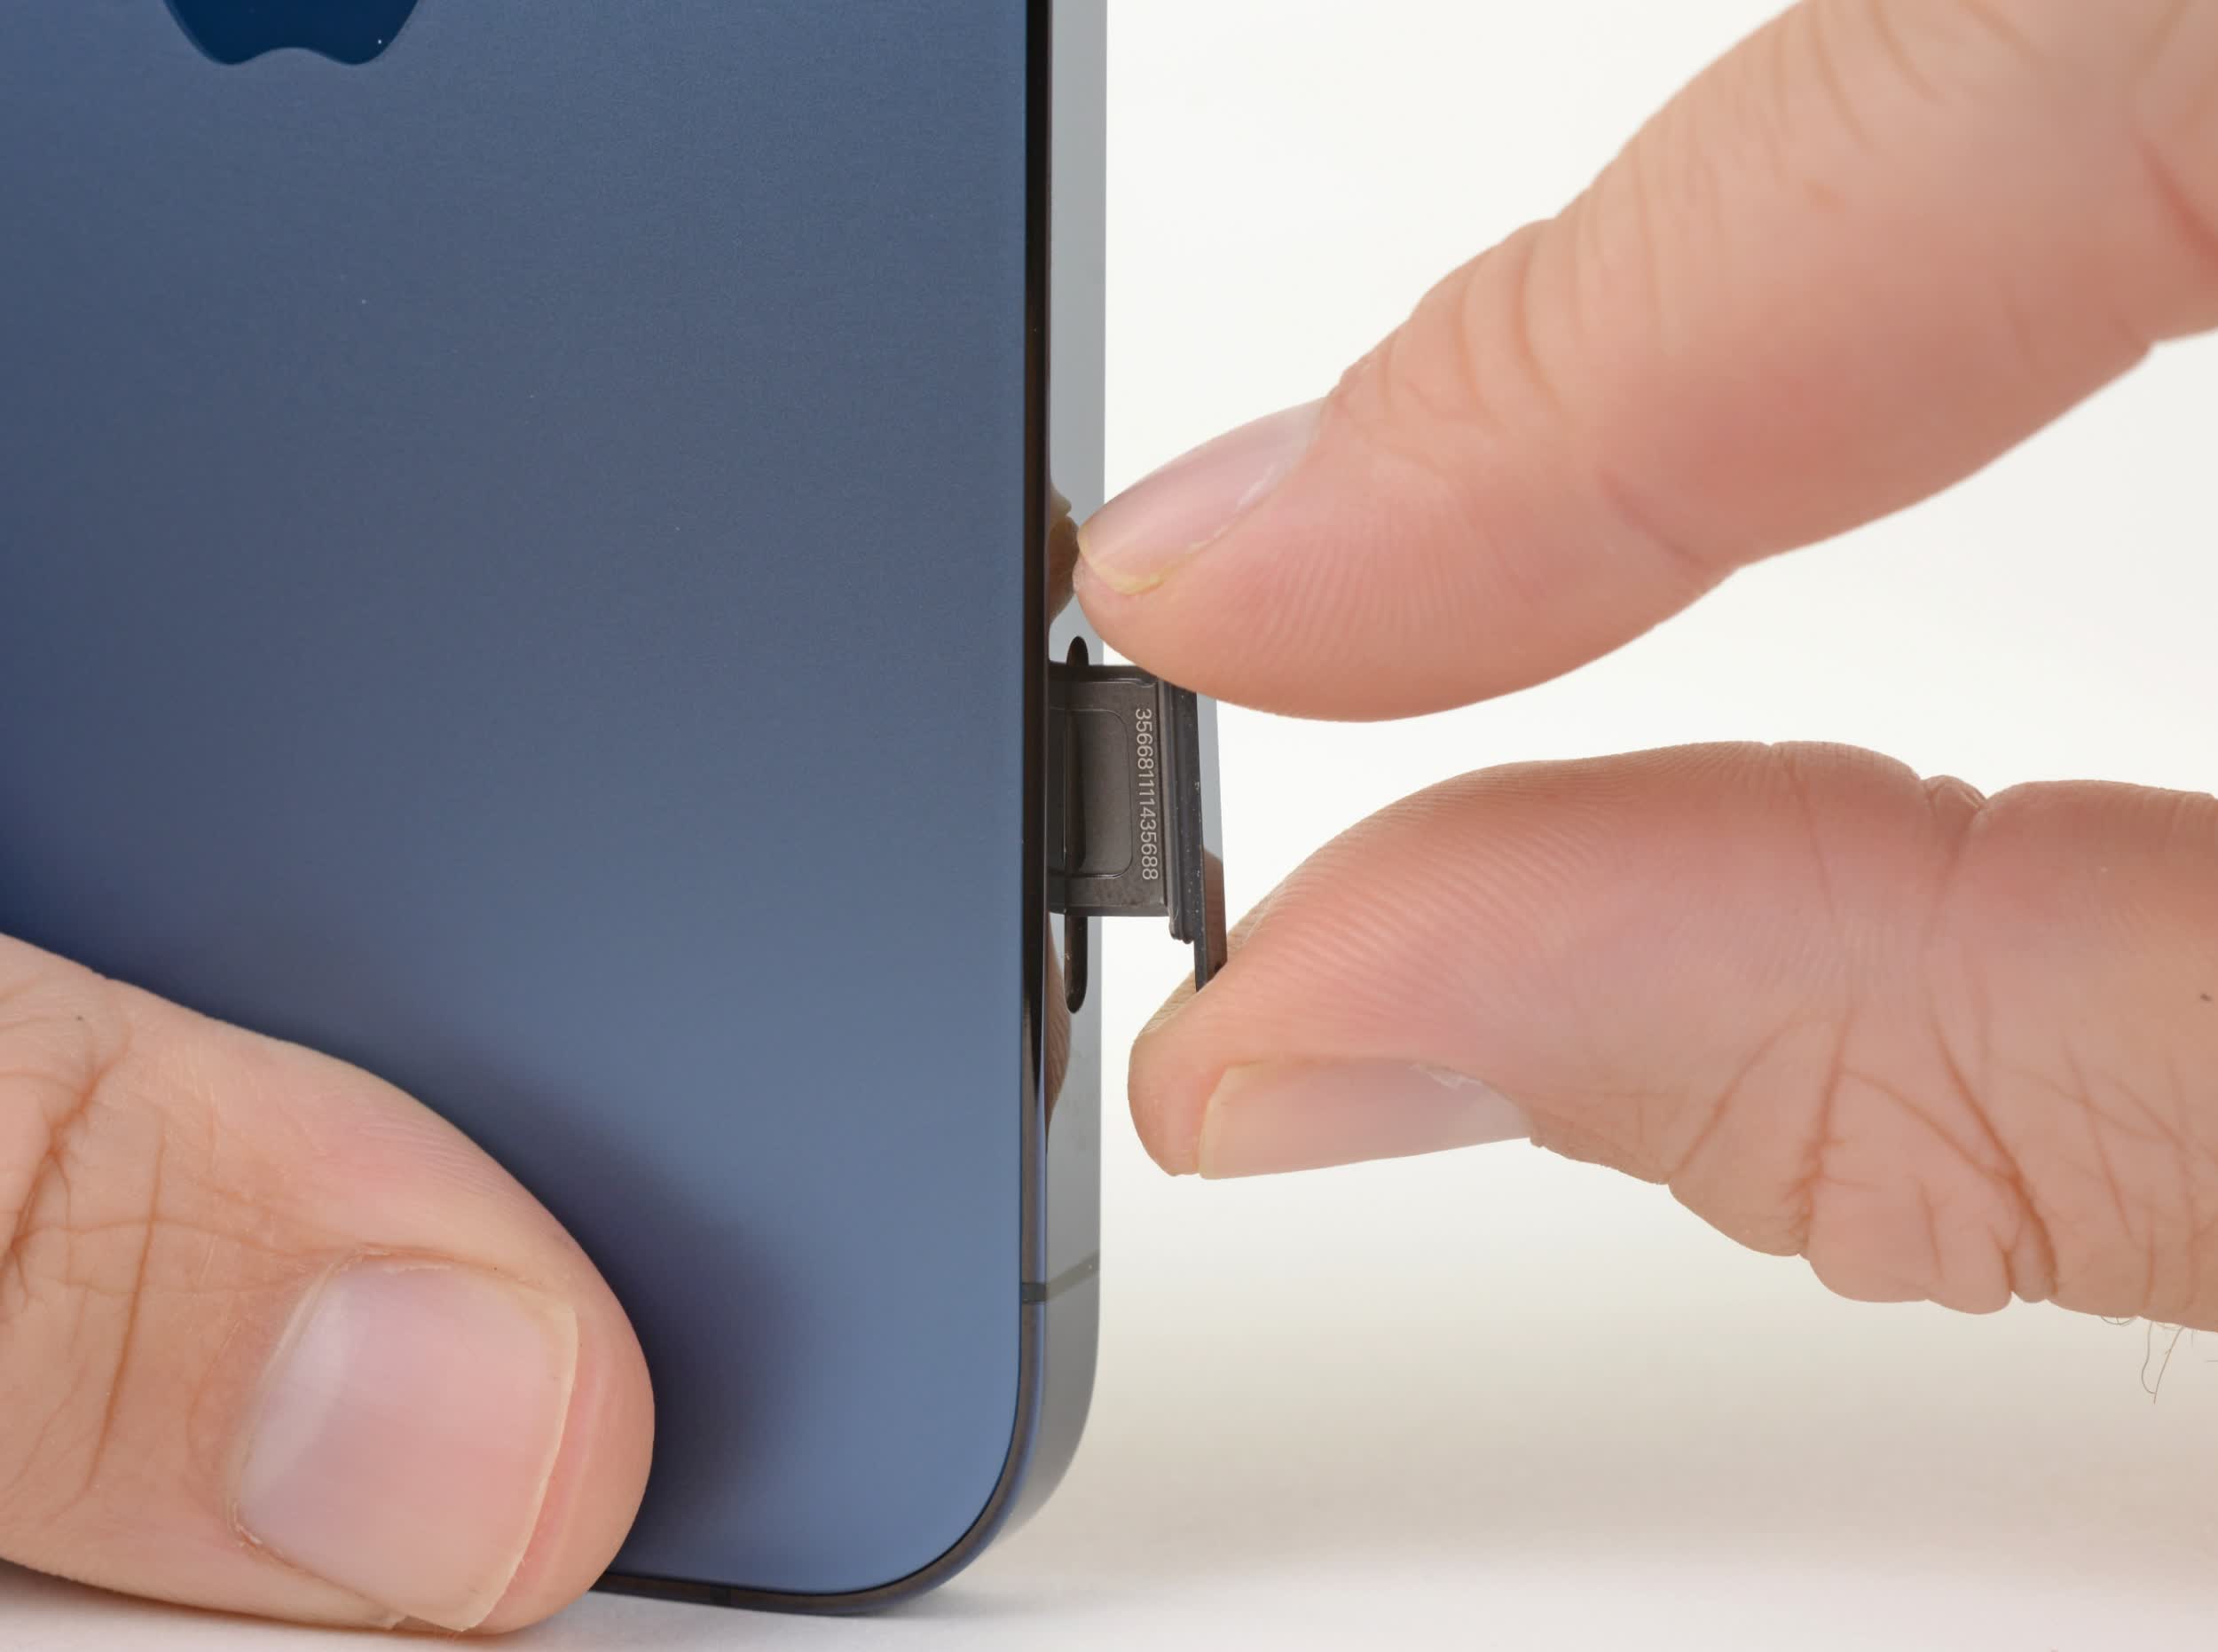
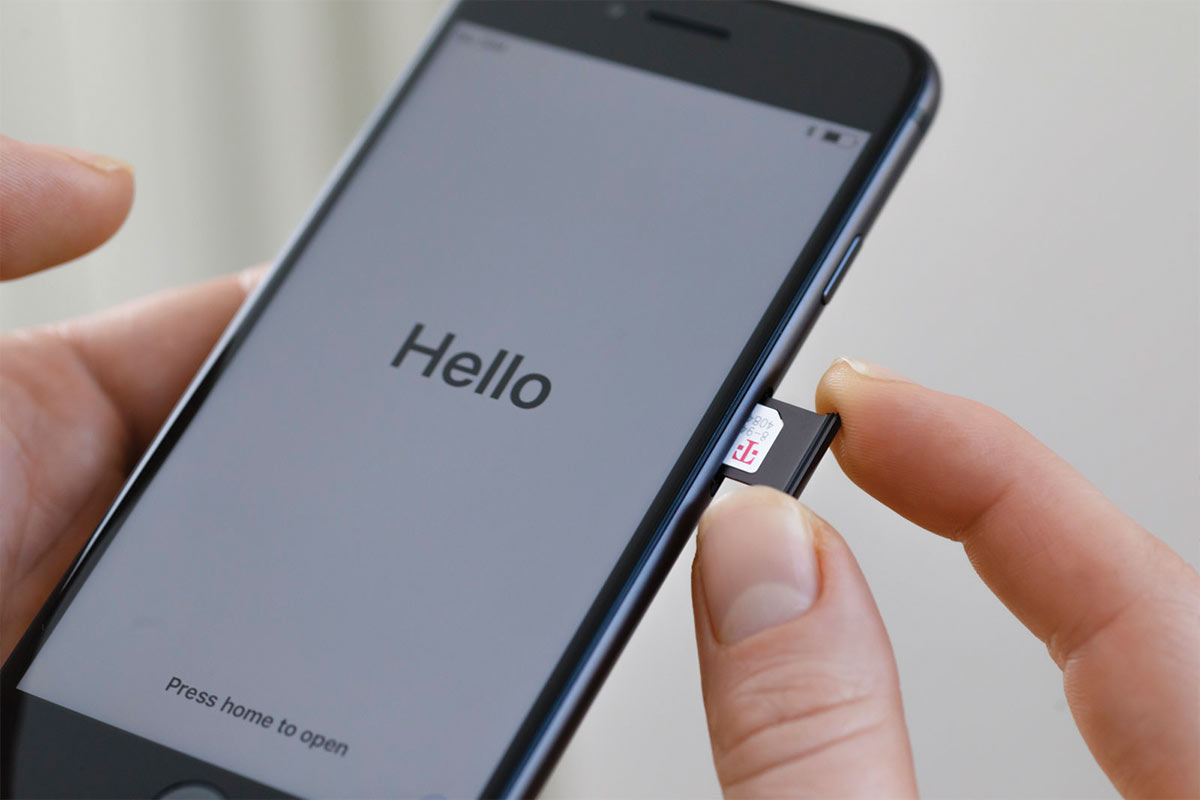
Remove the SIM Card Tray: Once the SIM card tray is partially ejected, carefully pull it out from the device using your fingers. Exercise caution to avoid applying excessive force, as the tray should slide out smoothly once the internal mechanism is triggered.
By following these detailed steps, you can successfully eject the SIM card tray from your iPhone X, gaining access to the SIM card housed within. Ejecting the tray in a controlled and precise manner is essential for ensuring that the SIM card removal process proceeds smoothly and without any risk of damage to the device. With the SIM card tray now accessible, you are ready to proceed to the next step of removing the SIM card from your iPhone X.
Step 4: Remove the SIM card
With the SIM card tray successfully ejected from your iPhone X, the next crucial step is to carefully remove the SIM card from the tray. The SIM card is a small, rectangular card that contains vital information for connecting to a cellular network. When handling the SIM card, it's important to exercise caution and precision to prevent any damage to the card or the device.
Here's a detailed guide on how to remove the SIM card from the tray:
-
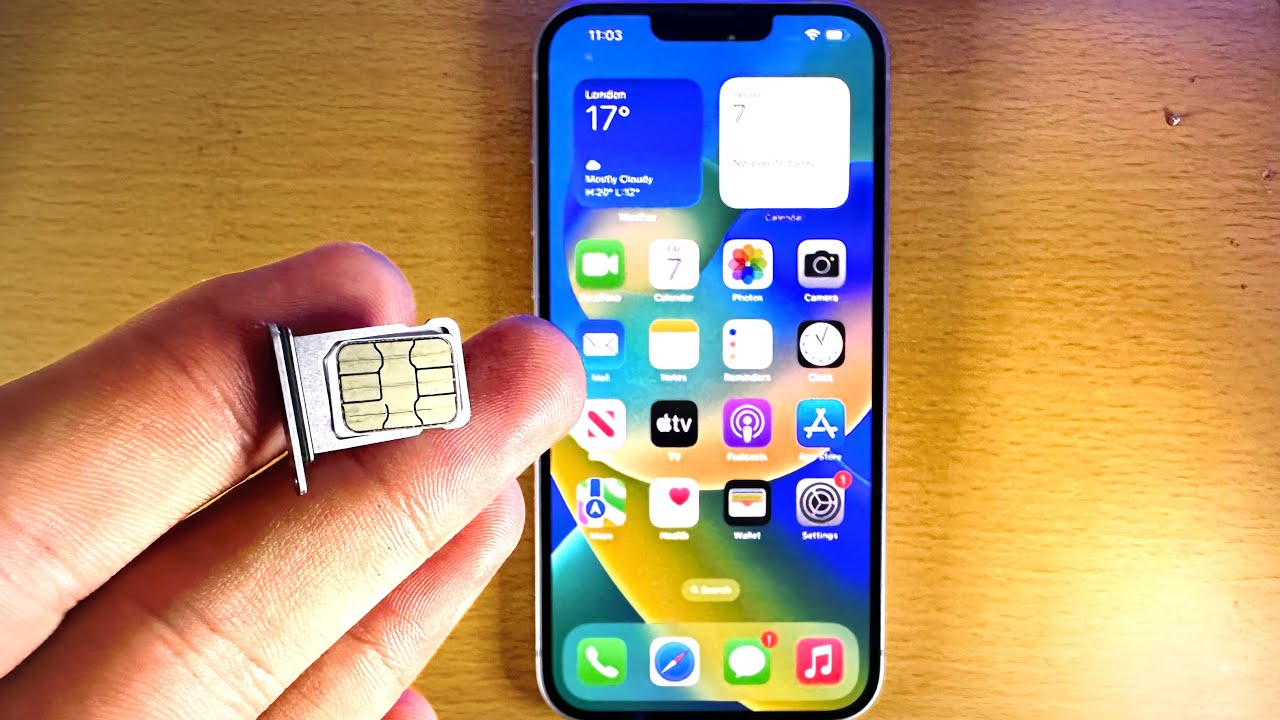
Inspect the SIM Card: Before proceeding, take a moment to inspect the SIM card. Note the orientation of the card and identify the notched corner, which aligns with the corresponding notch within the SIM card tray. This notched corner ensures that the SIM card is inserted in the correct position within the tray.
-
Gently Remove the SIM Card: Using your fingers, carefully lift the SIM card from the tray. Apply gentle pressure to slide the SIM card out of its slot within the tray. It's essential to handle the SIM card delicately to avoid bending or damaging it during the removal process.
-
Avoid Touching the Contacts: When removing the SIM card, refrain from touching the metallic contacts or the exposed circuitry on the card. The contacts are critical for establishing a connection with the device and the cellular network. Any smudges or damage to these contacts may hinder the functionality of the SIM card.
-
Place the SIM Card Securely: Once the SIM card has been removed from the tray, place it in a safe and easily accessible location. It's advisable to store the SIM card in a designated holder or container to prevent misplacement or damage. Additionally, ensure that the SIM card is kept away from any magnetic sources or extreme temperatures.
By following these steps, you can safely and effectively remove the SIM card from the tray of your iPhone X. Handling the SIM card with care during the removal process is crucial for maintaining its integrity and functionality. With the SIM card successfully removed, you are now prepared to proceed to the final step of reinserting the SIM card tray into your iPhone X.
Now that the SIM card has been removed, the final step involves reinserting the SIM card tray into your iPhone X. This step will ensure that the SIM card is securely placed back into the device, allowing you to resume connectivity and usage without any interruptions.
Step 5: Reinsert the SIM card tray
After successfully removing the SIM card from your iPhone X, the final step involves reinserting the SIM card tray back into the device. This crucial step ensures that the SIM card is securely placed within the tray, allowing for seamless connectivity and functionality. Properly reinserting the SIM card tray is essential for maintaining the integrity of the SIM card and ensuring that it is correctly positioned within the device.
Here's a detailed guide on how to reinsert the SIM card tray into your iPhone X:
-
Inspect the SIM Card Tray: Before reinserting the tray, take a moment to inspect it for any dust or debris that may have accumulated. Gently wipe the tray with a clean, dry cloth to ensure that it is free from any particles that could interfere with the reinsertion process.
-
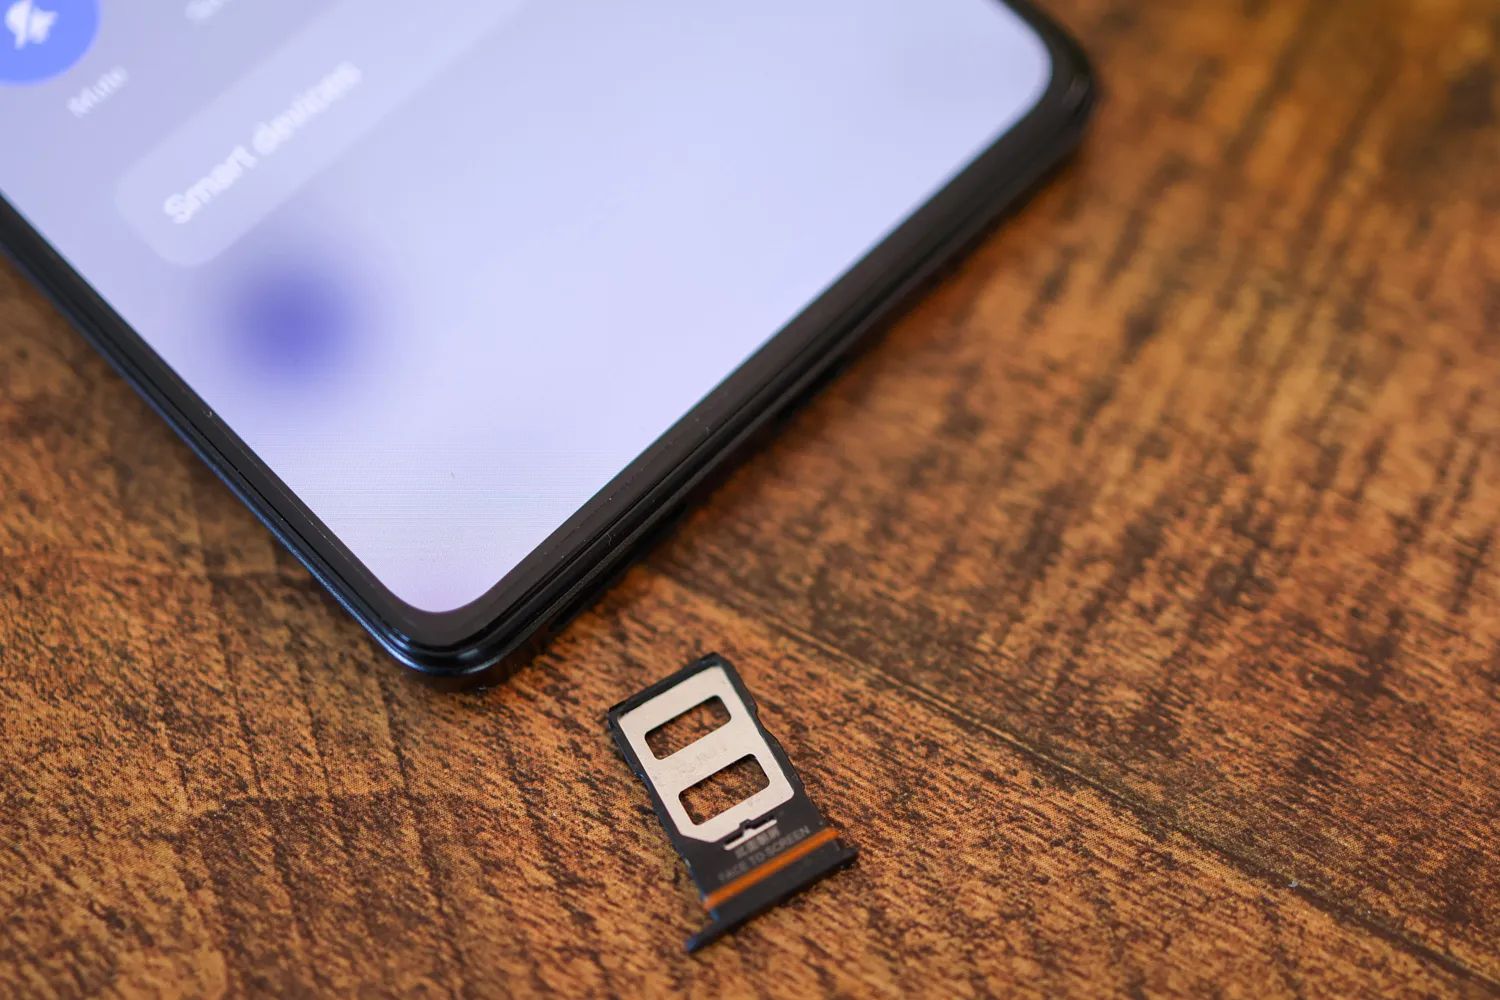
Position the SIM Card: Place the SIM card securely back into the SIM card tray, ensuring that it aligns with the notched corner and fits snugly within the designated slot. The orientation of the SIM card is crucial, and aligning it correctly within the tray is essential for proper functionality.
-
Align the SIM Card Tray: Carefully align the SIM card tray with the corresponding slot on the side of your iPhone X. Ensure that the tray is positioned correctly and that there is no resistance during the insertion process.
-
Gently Insert the Tray: With the SIM card in place, gently slide the SIM card tray back into the device, applying even pressure to ensure that it glides smoothly into position. Avoid forcing the tray, as it should fit seamlessly into the device when properly aligned.
-
Verify Secure Placement: Once the tray is reinserted, verify that it sits flush with the exterior of the device and that there are no gaps or protrusions. A secure and flush placement indicates that the SIM card tray is correctly positioned within the device.
By following these steps, you can effectively reinsert the SIM card tray into your iPhone X, ensuring that the SIM card is securely placed within the device. This final step completes the process of removing and reinserting the SIM card, allowing you to resume seamless connectivity and usage of your device without any interruptions.
With the SIM card tray securely reinserted, you have successfully completed the process of removing and reinserting the SIM card from your iPhone X. Whether you've undertaken this task for maintenance, troubleshooting, or upgrading purposes, mastering this essential skill empowers you to confidently manage the SIM card in your device.
Conclusion
Congratulations! By following the comprehensive step-by-step guide, you have successfully learned how to remove and reinsert the SIM card from your iPhone X. This essential skill equips you with the knowledge and confidence to manage the SIM card in your device effectively. Whether you're preparing for an upgrade, troubleshooting connectivity issues, or simply exploring the functionalities of your iPhone X, understanding the process of SIM card removal is invaluable.
Mastering the art of SIM card removal empowers you to seamlessly transition between devices, change service providers, and troubleshoot network-related issues with ease. The ability to confidently handle the SIM card tray and the SIM card itself ensures that you can maintain the connectivity and functionality of your iPhone X without any interruptions.
As you've navigated through the steps, you've gained insights into the importance of gathering the necessary tools, locating the SIM card tray, ejecting the tray, removing the SIM card, and reinserting the tray with precision. These skills not only enhance your technical proficiency but also contribute to the overall maintenance and care of your device.
It's important to remember that while the process of SIM card removal is relatively straightforward, exercising caution and precision is crucial at every step. Handling the SIM card, the tray, and the device itself with care ensures that the removal and reinsertion process is smooth and free from any potential damage.
By understanding the intricacies of SIM card management, you've taken a significant step towards becoming a proficient and knowledgeable iPhone X user. Whether you're a tech enthusiast, a casual user, or someone seeking to expand their device management skills, the ability to handle the SIM card with confidence is a valuable asset.
With the completion of this guide, you are now equipped to manage the SIM card in your iPhone X with confidence and precision. Whether you're exploring the functionalities of your device or preparing for a device upgrade, the knowledge gained from this guide will serve you well in your mobile device journey.


