Introduction
In the fast-paced world of mobile technology, smartphones have become an indispensable part of our daily lives. With the advancement of mobile devices, manufacturers are constantly innovating to provide users with enhanced features and functionalities. One such feature that has gained popularity is the navigation button, which offers an alternative method of navigating through the device's interface.
Redmi, a prominent player in the smartphone industry, has integrated the navigation button feature into its devices, allowing users to customize their navigation experience. By enabling the navigation button, users can streamline their interactions with the device, making it more convenient and efficient to access various functions and applications.
In this comprehensive guide, we will walk you through the step-by-step process of activating the navigation button on your Redmi device. Whether you're a tech-savvy individual looking to optimize your device's functionality or a newcomer eager to explore the features of your Redmi smartphone, this guide will equip you with the knowledge to enable and customize the navigation button according to your preferences.
By following the instructions provided in this guide, you will gain a deeper understanding of how to access the settings menu, navigate to additional settings, enable the navigation button, and customize its functions. With these insights, you can tailor the navigation button to suit your specific usage patterns, ultimately enhancing your overall mobile experience.
So, without further ado, let's delve into the step-by-step process of activating and customizing the navigation button on your Redmi device. Whether you're seeking a more efficient way to navigate your smartphone or simply curious about the capabilities of the navigation button, this guide is designed to empower you with the knowledge and skills to make the most of this feature.
Step 1: Accessing the Settings Menu
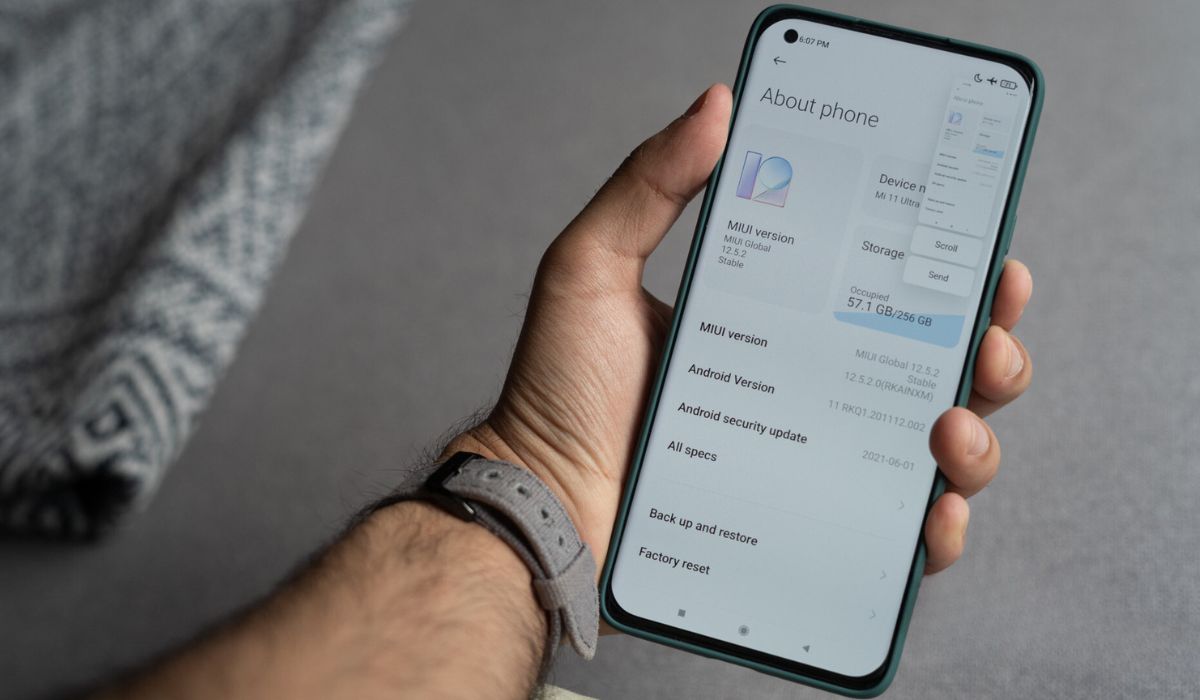
Accessing the settings menu on your Redmi device is the first step towards enabling and customizing the navigation button. The settings menu serves as the control center for various features and configurations, allowing users to personalize their device according to their preferences.
To access the settings menu, start by unlocking your Redmi device and locating the "Settings" app. Typically, the "Settings" app is represented by a gear icon and can be found on the home screen or in the app drawer. Once you have located the "Settings" app, tap on it to open the menu.
Upon opening the "Settings" menu, you will be presented with a range of options and configurations that govern the behavior and functionality of your Redmi device. These settings encompass a wide array of features, including display, sound, connectivity, security, and more.
As you navigate through the settings menu, you will encounter various sub-menus and options, each offering specific controls and adjustments. It's important to familiarize yourself with the layout of the settings menu, as it will serve as the gateway to enabling the navigation button and customizing its functions.
In some Redmi devices, the settings menu may be organized into categorized sections, making it easier to locate specific features. Common categories include "Wireless & networks," "Device," "Personal," "System," and more. Depending on the model and software version of your Redmi device, the settings menu may vary slightly in its organization and appearance.
Once you have successfully accessed the settings menu, you are now ready to proceed to the next step in the process of activating the navigation button on your Redmi device. By navigating through the settings menu, you are taking the crucial first step towards unlocking the full potential of your device's navigation capabilities.
With the settings menu at your fingertips, you are poised to delve deeper into the customization options and features that will enhance your overall mobile experience. The journey to enabling the navigation button has just begun, and the settings menu is your gateway to a more personalized and efficient interaction with your Redmi device.
Step 2: Navigating to Additional Settings
After successfully accessing the main settings menu on your Redmi device, the next step involves navigating to the additional settings where you can find the option to enable the navigation button. The additional settings section provides access to advanced configurations and features that allow users to fine-tune their device according to their preferences.
To navigate to the additional settings, scroll through the main settings menu and look for the option labeled "Additional Settings." Depending on the organization of the settings menu in your Redmi device, the "Additional Settings" option may be located towards the bottom of the list or within a specific category such as "System" or "Device."
Once you have located the "Additional Settings" option, tap on it to access the submenu. Within the additional settings, you may encounter a range of advanced configurations related to system functionality, accessibility, developer options, and more. It is within this section that you will find the option to enable the navigation button and customize its behavior.
As you navigate through the additional settings, take note of the various options available to you. While the navigation button feature may be the primary focus of this guide, exploring other settings within this section can provide valuable insights into the diverse capabilities of your Redmi device.
In some Redmi devices, the additional settings section may be organized into tabs or categorized submenus, making it easier to locate specific features and configurations. This organized layout enhances the user experience by presenting options in a clear and intuitive manner.
By successfully navigating to the additional settings, you are one step closer to unlocking the full potential of the navigation button on your Redmi device. The additional settings section serves as the gateway to advanced configurations, offering users the opportunity to customize their device to align with their unique preferences and usage patterns.
With the additional settings at your disposal, you are poised to delve into the customization options that will elevate your navigation experience. The journey to enabling and customizing the navigation button continues as you explore the advanced configurations within the additional settings section of your Redmi device.
Step 3: Enabling Navigation Button
Enabling the navigation button on your Redmi device marks a pivotal moment in customizing your mobile experience. The navigation button offers an alternative method of interacting with your device, providing convenience and efficiency in navigating through the interface. By following the steps outlined in this section, you will gain the ability to activate the navigation button and seamlessly integrate it into your daily usage.
To enable the navigation button, navigate to the "Additional Settings" section within the main settings menu of your Redmi device. Once in the "Additional Settings" submenu, look for the option related to navigation or buttons. This option may be labeled as "Navigation," "Button and Gesture Shortcuts," or something similar, depending on the specific model and software version of your Redmi device.
Upon locating the navigation or button-related option, tap on it to access the corresponding settings. Within this section, you will find the toggle or checkbox to enable the navigation button. By activating this option, you are initiating the integration of the navigation button into your device's interface.
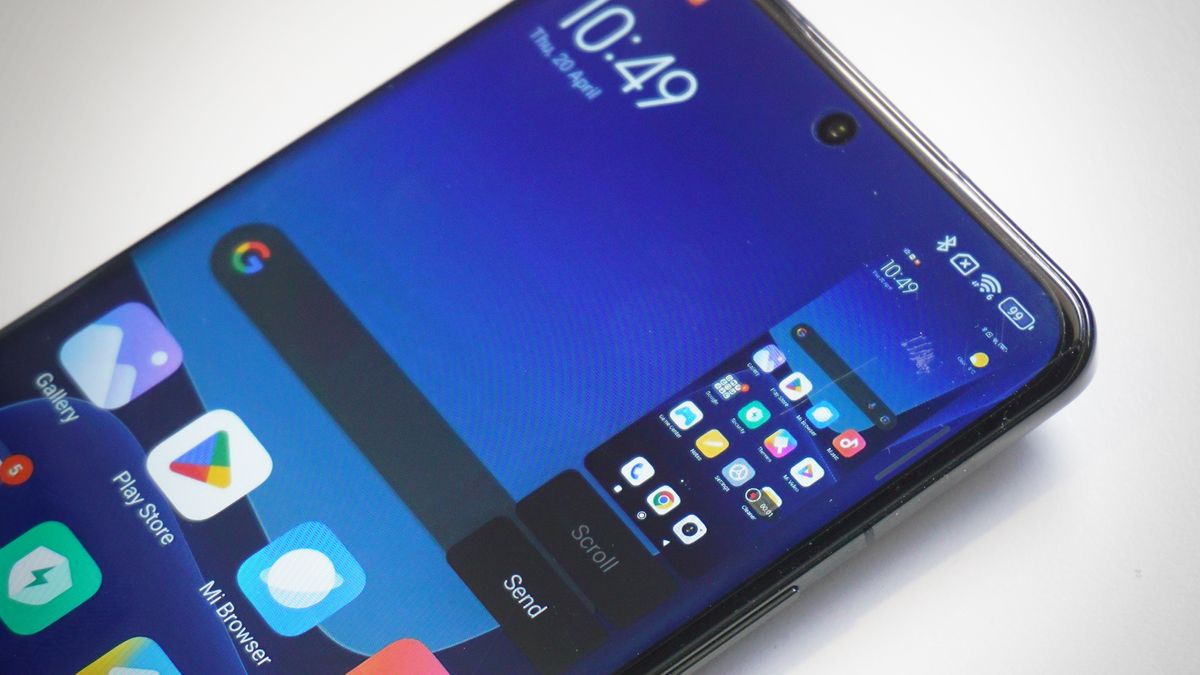
After enabling the navigation button, you will notice its presence on the screen, typically in the form of a small, translucent icon located at the bottom of the display. This icon serves as the navigation button, allowing you to perform various actions such as returning to the home screen, accessing recent apps, and navigating back within applications.
With the navigation button now enabled, take a moment to familiarize yourself with its functionality. Experiment with tapping the button to return to the home screen, swiping up to access recent apps, and utilizing other gestures associated with the navigation button. This hands-on exploration will deepen your understanding of how the navigation button enhances your interaction with the device.
Enabling the navigation button on your Redmi device represents a significant customization that empowers you to navigate your smartphone with ease and efficiency. As you proceed to the next section, you will have successfully activated the navigation button, setting the stage for further customization and optimization of its functions.
The activation of the navigation button is a foundational step in harnessing the full potential of this feature, and it paves the way for the subsequent customization of its functions to align with your specific preferences and usage habits.
Step 4: Customizing Navigation Button Functions
Customizing the navigation button functions on your Redmi device allows you to tailor its behavior to align with your unique usage patterns and preferences. By personalizing the navigation button functions, you can optimize your interaction with the device, making it more intuitive and efficient. In this section, we will explore the process of customizing the navigation button functions, empowering you to fine-tune its capabilities according to your specific needs.
Upon enabling the navigation button, navigate back to the settings menu and locate the option related to the navigation button or gesture controls. This option may be found within the "Additional Settings" section or directly accessible from the main settings menu, depending on the organization of the settings in your Redmi device.
Once you have accessed the navigation button or gesture controls settings, you will encounter a range of customization options that govern the behavior of the navigation button. These options may include gesture shortcuts, button layout, navigation bar settings, and more. Each option presents a unique opportunity to refine the functionality of the navigation button to suit your preferences.
One of the key customization options is the ability to assign specific actions to different gestures or button presses associated with the navigation button. For example, you can configure a single tap to return to the home screen, a swipe up gesture to access recent apps, and a long press to launch a specific application or function. This level of customization empowers you to streamline your navigation experience, allowing for quick and seamless interactions with your Redmi device.
Furthermore, some Redmi devices offer the flexibility to adjust the layout and appearance of the navigation bar, including the ability to hide or show the navigation bar, change its color, or rearrange the order of the navigation buttons. These visual and layout customizations provide a personalized touch to your device's interface, allowing you to create a navigation setup that resonates with your aesthetic preferences.
As you delve into the customization options, take the time to experiment with different configurations and gestures to determine the setup that best complements your usage habits. By fine-tuning the navigation button functions, you are enhancing the overall usability of your Redmi device, creating a tailored experience that aligns with your individual preferences.
With the navigation button functions customized to your liking, you have unlocked the full potential of this feature, transforming it into a seamless and intuitive navigation tool that enhances your daily interaction with your Redmi device. The ability to personalize the navigation button functions underscores the user-centric approach of Redmi devices, allowing users to shape their mobile experience according to their unique preferences and habits.
Conclusion
In conclusion, the activation and customization of the navigation button on your Redmi device represent a significant step towards personalizing and optimizing your mobile experience. By following the step-by-step guide outlined in this comprehensive walkthrough, you have gained valuable insights into accessing the settings menu, navigating to additional settings, enabling the navigation button, and customizing its functions.
The navigation button, once activated, serves as a versatile tool that streamlines your interactions with the device's interface. Its presence at the bottom of the screen provides quick access to essential functions such as returning to the home screen, accessing recent apps, and navigating back within applications. This intuitive and efficient navigation tool enhances your overall usability, allowing for seamless transitions between different tasks and applications.
Furthermore, the ability to customize the navigation button functions empowers you to tailor its behavior to align with your unique usage patterns and preferences. Whether it's assigning specific actions to different gestures or adjusting the layout and appearance of the navigation bar, the customization options offer a personalized touch to your device's interface. This level of flexibility ensures that your navigation experience is not only efficient but also visually and functionally tailored to your liking.
As you continue to explore the capabilities of the navigation button and other features of your Redmi device, remember that the customization options are designed to adapt to your needs. Whether you're a multitasking enthusiast who values quick access to recent apps or someone who prefers a minimalist navigation setup, the navigation button can be configured to accommodate your specific preferences.
In essence, the navigation button on your Redmi device represents a convergence of convenience, efficiency, and personalization. By integrating this feature into your daily usage, you are embracing a more intuitive and tailored approach to navigating your smartphone. As the mobile landscape continues to evolve, the navigation button stands as a testament to Redmi's commitment to empowering users with customizable and user-centric features.
With the knowledge and skills gained from this guide, you are well-equipped to harness the full potential of the navigation button on your Redmi device, enhancing your mobile experience and embracing a more personalized approach to device interaction. As you embark on this journey of customization and optimization, may your navigation button become a seamless extension of your digital lifestyle, offering unparalleled convenience and efficiency at your fingertips.