Introduction
In today's fast-paced digital world, staying connected is a necessity. With the constant evolution of mobile devices, the need for adaptable SIM cards has become increasingly prevalent. As technology progresses, older devices often require a smaller SIM card size to function optimally. This is where the process of cutting a SIM card to a micro SIM size comes into play.
Whether you've upgraded to a new smartphone or acquired a device that utilizes a micro SIM, the prospect of altering your SIM card may seem daunting at first. However, with the right tools, a steady hand, and a clear understanding of the process, transforming a standard SIM card into a micro SIM can be a straightforward and cost-effective solution.
By following the steps outlined in this guide, you'll gain the confidence to undertake this task with precision. Not only does this process offer a practical solution for adapting your SIM card to fit a variety of devices, but it also provides a sense of empowerment in managing your own mobile connectivity.
The ability to cut a SIM card to a micro SIM size can prove invaluable, especially when considering the convenience of using a single SIM card across multiple devices. Additionally, it eliminates the need to acquire a new SIM card or visit a mobile service provider, saving both time and money in the long run.
Understanding the significance of this process and equipping yourself with the necessary knowledge will undoubtedly enhance your mobile device experience. With this in mind, let's delve into the tools and materials required for this endeavor, followed by a detailed walkthrough of the step-by-step process to achieve a perfectly tailored micro SIM card.
Tools and Materials Needed
To embark on the journey of transforming a standard SIM card into a micro SIM, you will need the following tools and materials:
1. Standard SIM Card:
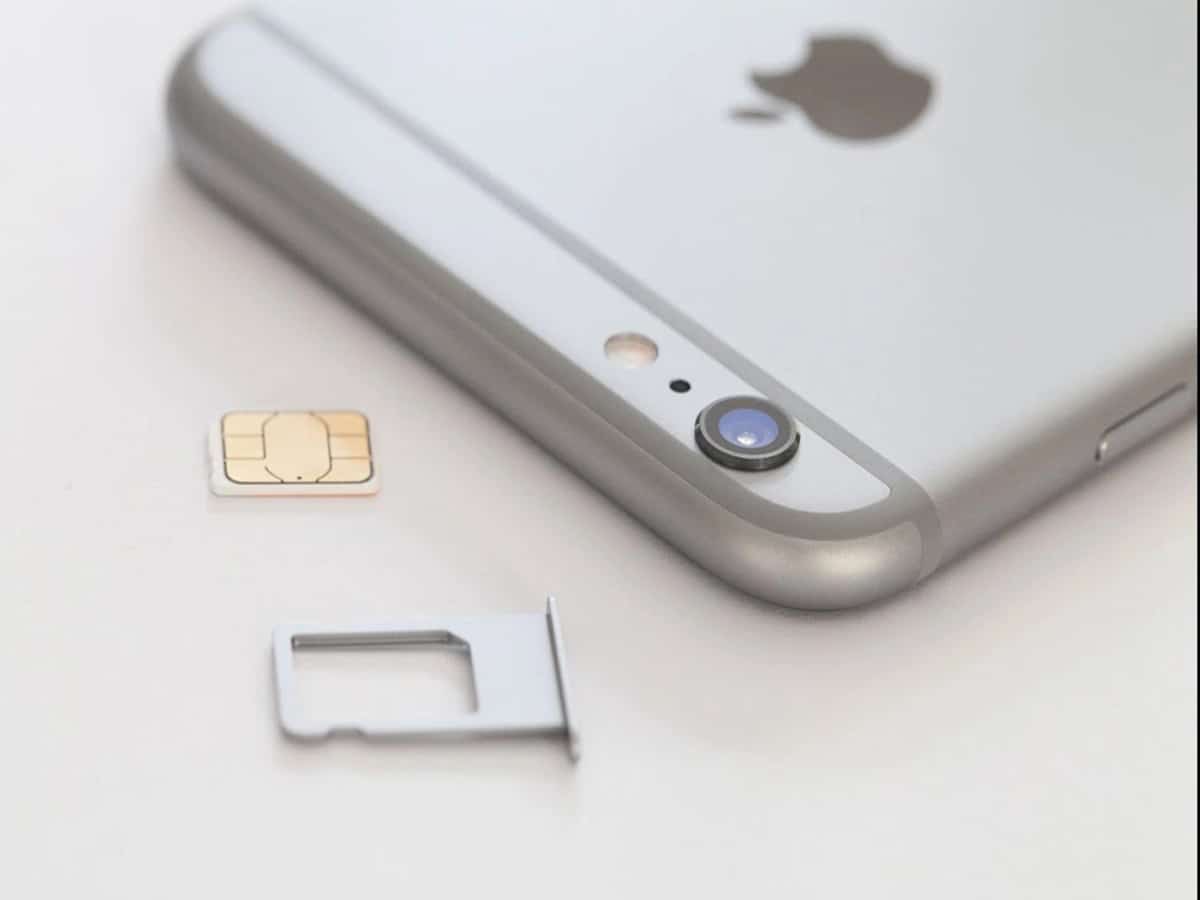
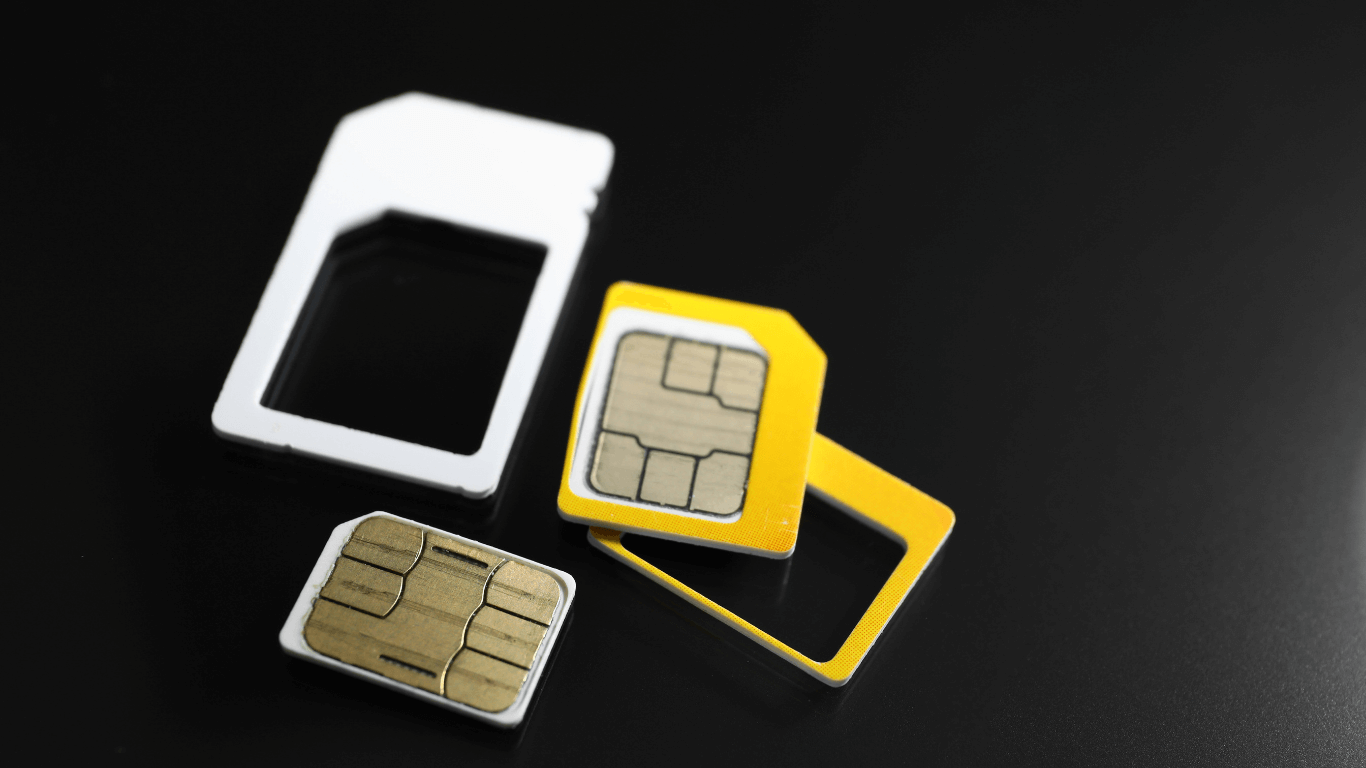
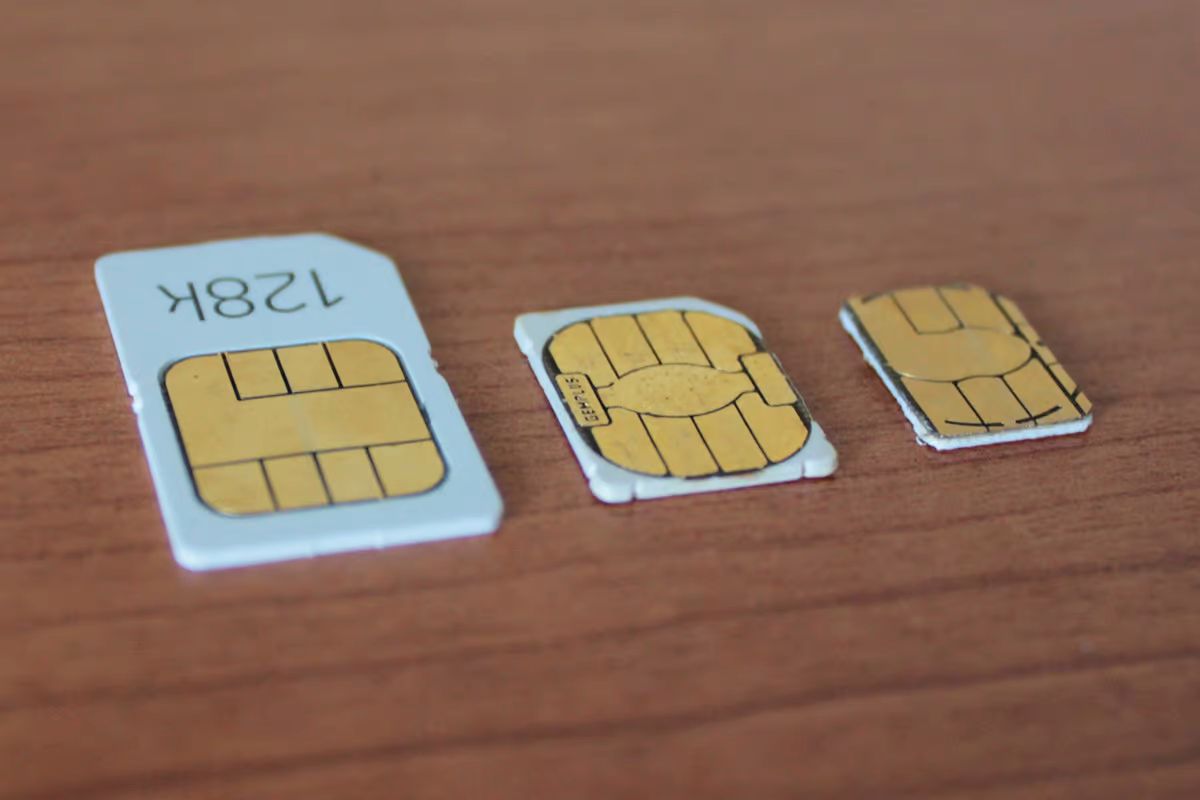
The primary component of this endeavor is a standard SIM card, also known as a mini SIM. This is the larger-sized SIM card that is prevalent in older mobile devices. Ensure that the SIM card is no longer in use and has been deactivated to avoid any potential issues during the cutting process.
2. Micro SIM Card Template:
A micro SIM card template serves as a guide to accurately mark the areas that need to be trimmed from the standard SIM card. This template is readily available online and can be printed on a standard sheet of paper. It provides precise measurements and outlines the specific areas to be cut, ensuring a seamless conversion to a micro SIM.
3. Fine Sandpaper or Emery Board:
After cutting the SIM card, the edges may require smoothing to ensure a proper fit in the device's SIM card slot. Fine sandpaper or an emery board can be used to gently sand down any rough edges, resulting in a clean and polished finish.
4. Permanent Marker or Pen:
A permanent marker or pen will be used to mark the cutting lines on the SIM card, following the guidelines provided by the micro SIM card template. This step is crucial in ensuring accurate and precise cuts, ultimately leading to a well-fitted micro SIM card.
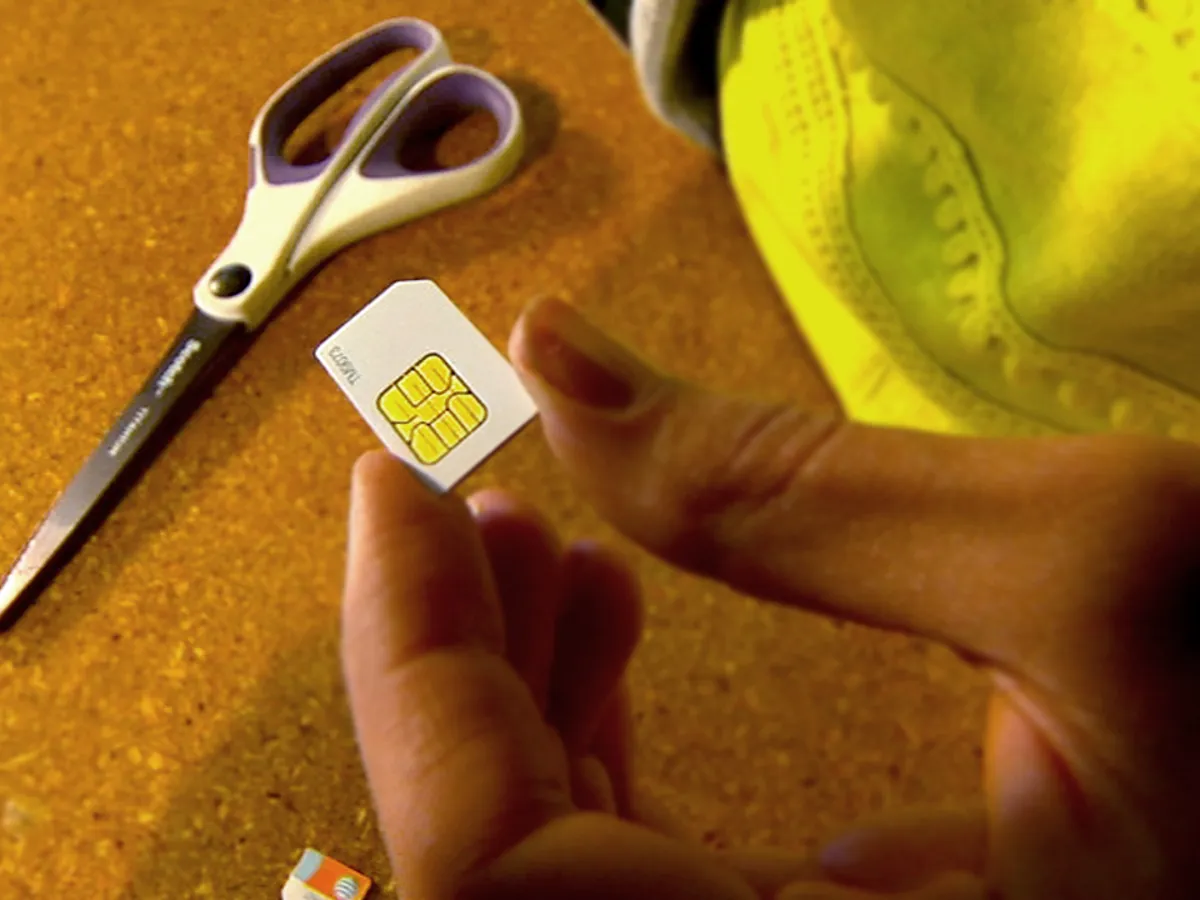
5. Sharp Scissors or Cutting Tool:
A sharp pair of scissors or a cutting tool with a fine blade is essential for the actual cutting of the SIM card. It is imperative to use a tool that provides precision and control to achieve clean and accurate cuts along the marked lines.
6. Patience and Precision:
While not tangible materials, patience and precision are equally crucial in this process. Taking the time to carefully measure, mark, and cut the SIM card, coupled with a steady hand and attention to detail, will contribute to the successful transformation of the standard SIM card into a perfectly sized micro SIM.
Gathering these tools and materials sets the stage for a smooth and efficient transition from a standard SIM card to a micro SIM. With these resources at your disposal, you are well-equipped to proceed with confidence to the next step of measuring and marking the SIM card for precise cutting.
Step 1: Measure and Mark the SIM Card
Before embarking on the process of physically altering the SIM card, it is crucial to begin with precision and accuracy. This initial step involves measuring and marking the standard SIM card to indicate the specific areas that need to be trimmed to achieve the desired micro SIM size.
To commence this step, place the standard SIM card on a flat and stable surface, ensuring that it is positioned securely to prevent any movement during the measuring and marking process. Next, retrieve the micro SIM card template, which serves as a guide for the precise measurements required for the conversion.
Carefully align the edges of the standard SIM card with the outlines provided on the micro SIM card template. The template clearly indicates the areas that need to be trimmed to transform the standard SIM card into a micro SIM. Using a permanent marker or pen, diligently mark the cutting lines on the SIM card, following the guidelines provided by the template.
Accuracy is paramount during this stage, as the markings will dictate the success of the subsequent cutting process. Take the time to ensure that the lines are clearly defined and align perfectly with the designated cutting areas on the template. This meticulous approach will contribute to a seamless transition from a standard SIM card to a precisely tailored micro SIM.
During the marking process, it is important to exercise caution and maintain a steady hand to avoid any errors. Double-check the markings to confirm their alignment with the template guidelines before proceeding to the next phase. Once the SIM card has been accurately measured and marked, you are ready to proceed to the next step of physically cutting the SIM card to achieve the micro SIM size.
By diligently measuring and marking the standard SIM card with precision, you have laid the foundation for a successful transformation. This meticulous approach sets the stage for the subsequent cutting process, ensuring that the resulting micro SIM card fits seamlessly into your desired device, ultimately enhancing your mobile connectivity experience.
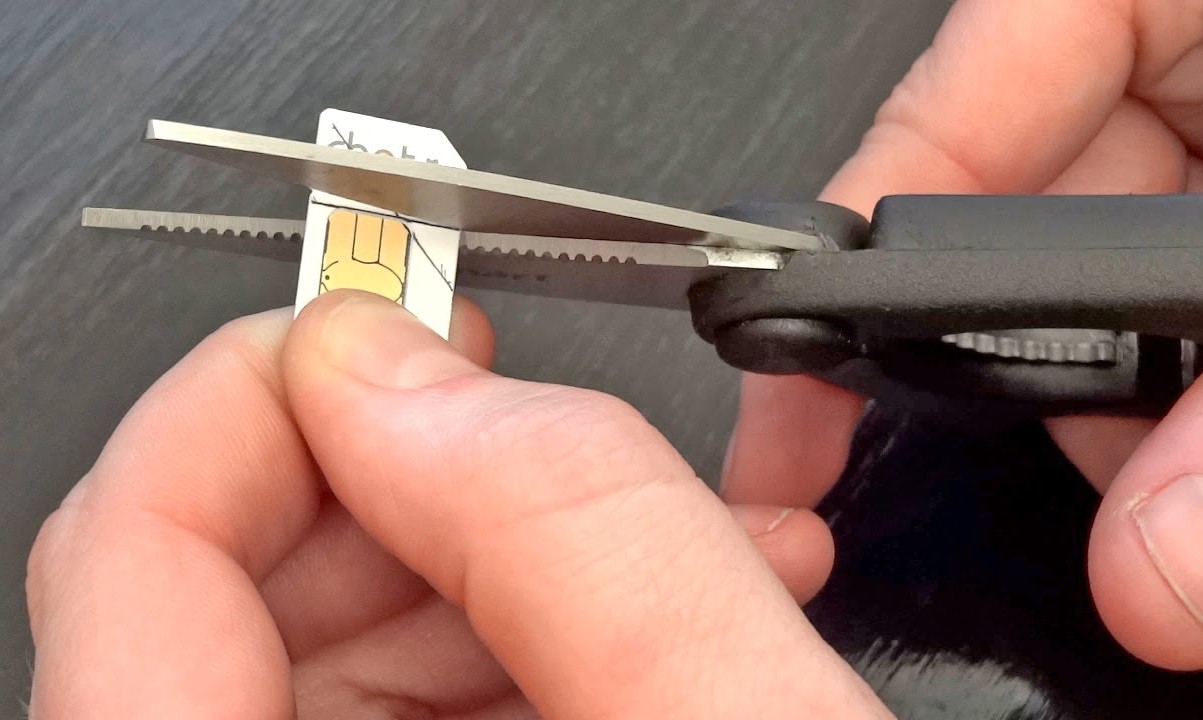
Step 2: Cut the SIM Card
With the standard SIM card accurately marked and aligned with the cutting lines as per the micro SIM card template, the next crucial step involves the precise cutting of the SIM card. This step requires a steady hand, attention to detail, and the use of a sharp pair of scissors or a cutting tool with a fine blade.
Position the marked SIM card on a stable surface, ensuring that it remains securely in place to prevent any movement during the cutting process. Take a moment to reconfirm the accuracy of the markings, ensuring that the designated cutting lines align perfectly with the guidelines provided by the micro SIM card template.
Carefully grasp the sharp scissors or cutting tool, maintaining a firm grip and a controlled posture. Begin the cutting process by following the marked lines with precision, applying even pressure to ensure clean and accurate cuts. It is essential to exercise caution and patience during this phase, as the accuracy of the cuts will directly impact the final fit of the micro SIM card in your device.
As you navigate along the marked lines, maintain a steady hand and a deliberate cutting motion to achieve smooth and uniform edges. It is advisable to proceed gradually, periodically checking the alignment of the cuts with the template guidelines to ensure that the dimensions remain accurate.
Upon completing the cutting process, carefully inspect the edges of the newly trimmed micro SIM card. Any rough or uneven edges can be gently smoothed using fine sandpaper or an emery board. This step contributes to refining the edges, ensuring a polished finish that facilitates a seamless fit within the SIM card slot of your device.
By meticulously cutting the SIM card with precision and attention to detail, you have successfully transformed the standard SIM card into a micro SIM, tailored to the specific measurements outlined by the template. This meticulous approach sets the stage for the subsequent step of refining the edges to achieve a perfectly fitted micro SIM card, ready for testing and utilization in your desired device.
With the cutting process completed, you are now prepared to proceed to the next step of sanding down the edges to ensure a flawless fit and optimal functionality of the micro SIM card.
Step 3: Sand Down the Edges
After successfully cutting the standard SIM card to the precise dimensions of a micro SIM, the next critical step involves refining the edges to ensure a seamless fit within the SIM card slot of your device. This process requires the use of fine sandpaper or an emery board to gently smooth and polish the edges of the newly trimmed micro SIM card.
Begin by securing the micro SIM card on a flat and stable surface, ensuring that it remains steady and immobile during the sanding process. Take a moment to inspect the edges, identifying any rough or uneven areas resulting from the cutting process. These imperfections may hinder the smooth insertion of the micro SIM card into the device's SIM card slot, emphasizing the importance of refining the edges.
Retrieve the fine sandpaper or emery board, holding it firmly yet gently against the edges of the micro SIM card. With a controlled motion, begin the sanding process, applying light pressure to gradually smooth out any roughness or irregularities along the edges. It is essential to maintain a consistent and even sanding motion to achieve uniformity and a polished finish.
Throughout the sanding process, periodically assess the edges to ensure that the rough areas are gradually diminishing, resulting in a refined and smooth surface. Exercise patience and precision during this phase, as the goal is to create seamlessly contoured edges that facilitate effortless insertion and removal of the micro SIM card from the device.
As you approach the completion of the sanding process, take a moment to run your fingertips along the edges, ensuring that they exhibit a smooth and polished texture. Any remaining roughness or inconsistencies can be gently addressed through continued sanding, guaranteeing a refined finish that aligns with the standards of a factory-made micro SIM card.
By meticulously sanding down the edges of the micro SIM card, you have elevated the precision and quality of the transformation, ensuring that the card seamlessly integrates with your device. This meticulous approach sets the stage for the final step of testing the micro SIM card, validating its functionality and fit within your desired device.
With the edges refined and polished, you are now prepared to proceed to the concluding step of testing the micro SIM card to ascertain its compatibility and functionality within your chosen mobile device.
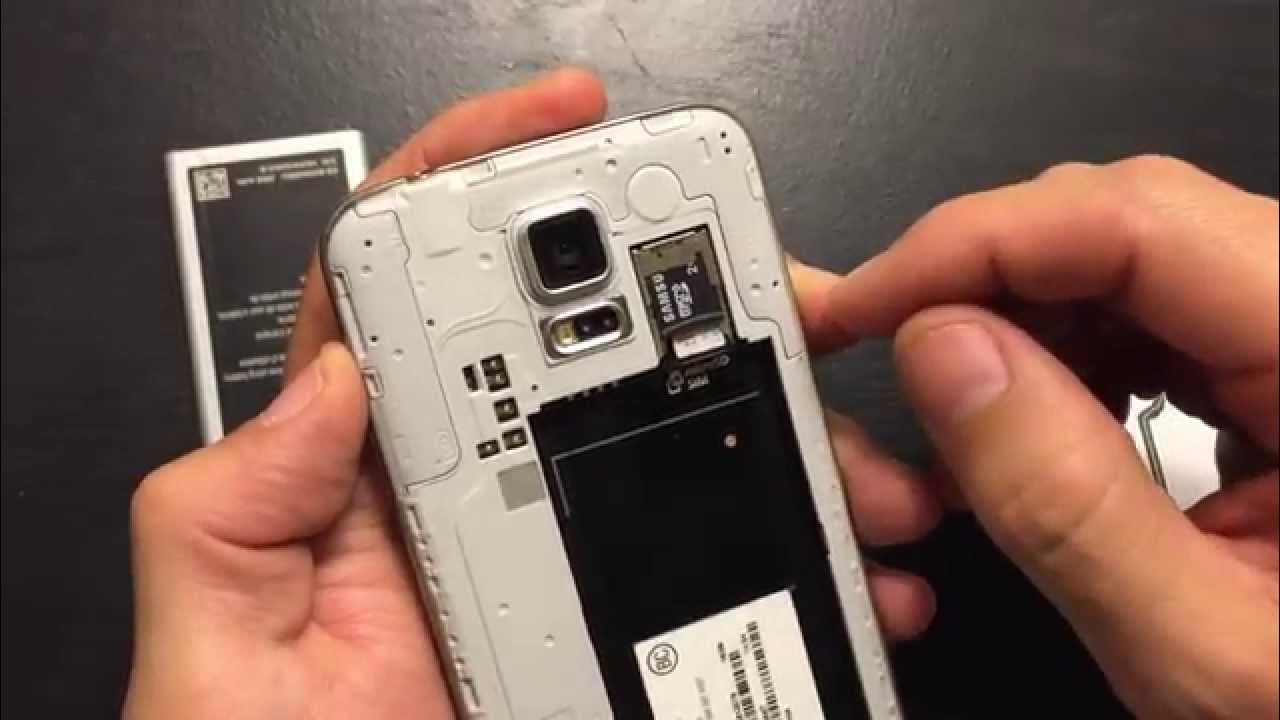
Step 4: Test the Micro SIM Card
With the meticulous process of transforming a standard SIM card into a micro SIM nearing completion, the final and pivotal step involves testing the newly tailored micro SIM card to validate its compatibility and functionality within your chosen mobile device.
Begin by carefully inserting the micro SIM card into the designated SIM card slot of your device, ensuring a gentle yet secure fit. Exercise caution during this process, aligning the card with the slot's contours to prevent any potential damage. Once inserted, proceed to power on the device, allowing it to recognize and register the micro SIM card.
As the device initializes, monitor the screen for indications of SIM card recognition and network connectivity. If the micro SIM card has been successfully recognized, the device should display the network signal strength and relevant carrier information, affirming its seamless integration. Additionally, navigate through the device's settings to confirm the detection of the micro SIM card and its associated network connectivity.
It is essential to conduct a comprehensive test of the micro SIM card's functionality by initiating both inbound and outbound calls. Place a test call to verify the device's capability to send and receive calls using the micro SIM card. Additionally, send a test message to confirm the functionality of SMS services, ensuring that the micro SIM card facilitates seamless communication.
Proceed to test the device's data connectivity by accessing the internet or utilizing data-dependent applications. Verify that the micro SIM card enables smooth data transmission, allowing you to browse the web and engage with online content without any hindrances.
Throughout the testing process, observe the device's response and performance with the micro SIM card, ensuring that it operates seamlessly across various communication and connectivity functions. By thoroughly evaluating the micro SIM card's compatibility and functionality, you can ascertain its readiness for regular usage and integration with your mobile device.
Upon successful completion of the testing phase, you have validated the efficacy of the transformed micro SIM card, affirming its seamless compatibility and functionality within your chosen device. This marks the culmination of the comprehensive process of cutting and adapting a standard SIM card to a perfectly tailored micro SIM, enhancing your mobile connectivity experience with versatility and efficiency.
Conclusion
In conclusion, the process of cutting a standard SIM card to a micro SIM size represents a transformative journey that empowers individuals to adapt and optimize their mobile connectivity with precision and resourcefulness. By meticulously following the steps outlined in this guide and leveraging the necessary tools and materials, individuals can confidently undertake the task of converting a standard SIM card into a perfectly tailored micro SIM.
The journey begins with the meticulous measurement and marking of the standard SIM card, aligning it with the designated cutting lines as per the micro SIM card template. This foundational step sets the stage for the subsequent precision cutting, where a steady hand and a sharp cutting tool are employed to achieve accurate and uniform dimensions. The refinement of the edges through gentle sanding ensures a polished finish, facilitating seamless insertion and removal of the micro SIM card from the device's SIM card slot.
The culmination of this process is marked by the critical phase of testing the micro SIM card, where its compatibility and functionality within the chosen mobile device are thoroughly evaluated. This comprehensive assessment encompasses network recognition, call and messaging capabilities, as well as data connectivity, affirming the seamless integration and operational efficiency of the transformed micro SIM card.
Beyond the technical aspects, the ability to cut a SIM card to a micro SIM size embodies adaptability, cost-effectiveness, and convenience. It eliminates the need to acquire a new SIM card or visit a mobile service provider, offering a sustainable and efficient solution for optimizing mobile connectivity across various devices. This process not only fosters a sense of self-sufficiency but also contributes to reducing electronic waste by repurposing existing SIM cards to meet evolving technological requirements.
Furthermore, the journey of transforming a standard SIM card into a micro SIM encapsulates the spirit of innovation and adaptability in the realm of mobile technology. It empowers individuals to embrace the dynamic landscape of mobile devices, enabling seamless transitions between different devices while maintaining consistent connectivity.
In essence, the process of cutting a SIM card to a micro SIM size transcends the physical act of altering a piece of technology. It embodies resourcefulness, precision, and adaptability, ultimately enhancing the mobile connectivity experience and fostering a sense of empowerment in managing one's technological resources. As individuals embark on this transformative journey, they not only optimize their mobile connectivity but also embrace a mindset of innovation and sustainability in the ever-evolving digital world.