Introduction
The iPhone 7 is a sleek and powerful device that has revolutionized the way we communicate, work, and stay connected. One of the essential components of the iPhone 7 is the SIM card, which enables users to access cellular networks and enjoy the full range of features offered by their mobile service provider. Whether you're upgrading to a new iPhone 7 or simply need to replace or remove your SIM card, understanding how to locate the SIM card slot is crucial.
In this comprehensive guide, we will walk you through the step-by-step process of locating the SIM card slot on your iPhone 7. By following these instructions, you will gain the confidence to manage your SIM card with ease, ensuring that your iPhone 7 remains fully functional and ready to keep you connected to the digital world.
Now, let's dive into the details and discover the precise steps to locate and access the SIM card slot on your iPhone 7. Whether you're a tech-savvy enthusiast or a first-time iPhone user, this guide will equip you with the knowledge and skills to handle your iPhone 7's SIM card like a pro. Let's get started!
Step 1: Turn off the iPhone 7
Before embarking on the process of locating the SIM card slot on your iPhone 7, it is essential to ensure that the device is powered off. Turning off your iPhone 7 not only safeguards the device during the SIM card management process but also prevents any potential disruptions while handling the SIM card slot.
To power off your iPhone 7, simply follow these straightforward steps:
-
Hold down the power button: Located on the right side of the device, the power button is easily accessible. Press and hold this button until the "slide to power off" prompt appears on the screen.
-
Slide to power off: Once the "slide to power off" prompt is displayed, use your finger to slide the power icon from left to right. This action initiates the shutdown process, ensuring that your iPhone 7 is powered down safely.
-
Wait for the device to turn off: After sliding the power icon, your iPhone 7 will begin the shutdown sequence. You will notice the screen dimming, followed by the display turning off completely. This indicates that your iPhone 7 is successfully powered off and ready for the next steps in managing the SIM card.
By following these simple steps to power off your iPhone 7, you create a secure and stable environment for accessing the SIM card slot. This precautionary measure minimizes the risk of any technical issues and allows you to proceed with confidence as you locate, insert, or remove the SIM card from your iPhone 7.
Now that your iPhone 7 is powered off, you're ready to move on to the next step in the process: locating the SIM card slot. With the device safely turned off, you can proceed with the assurance that your SIM card management experience will be seamless and hassle-free. Let's continue to the next step and uncover the location of the SIM card slot on your iPhone 7.
Step 2: Locate the SIM card slot
The next crucial step in managing your iPhone 7's SIM card is to locate the SIM card slot. The SIM card slot is an integral part of the iPhone 7, providing access to the SIM card and facilitating seamless connectivity to cellular networks. To begin this process, you will need to identify the precise location of the SIM card slot on your iPhone 7.
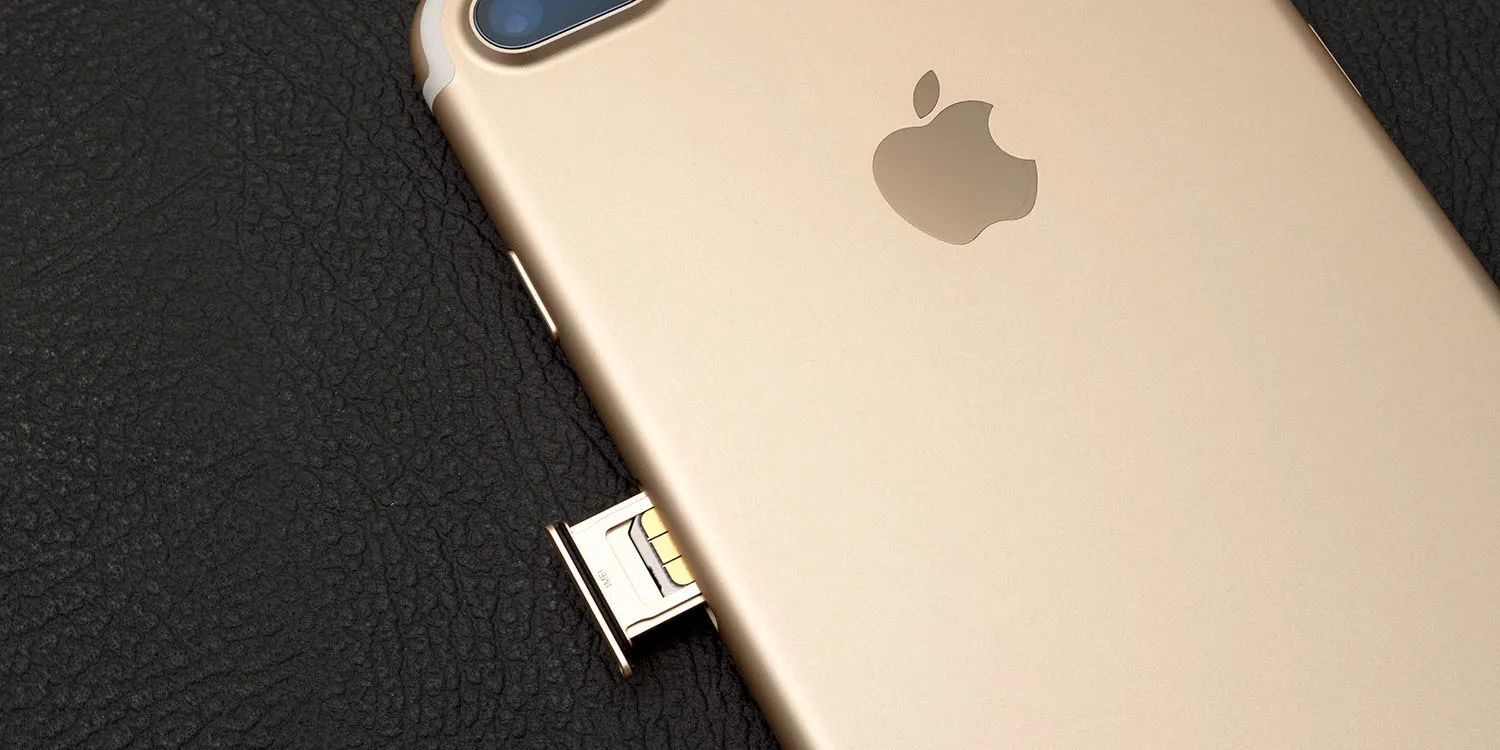
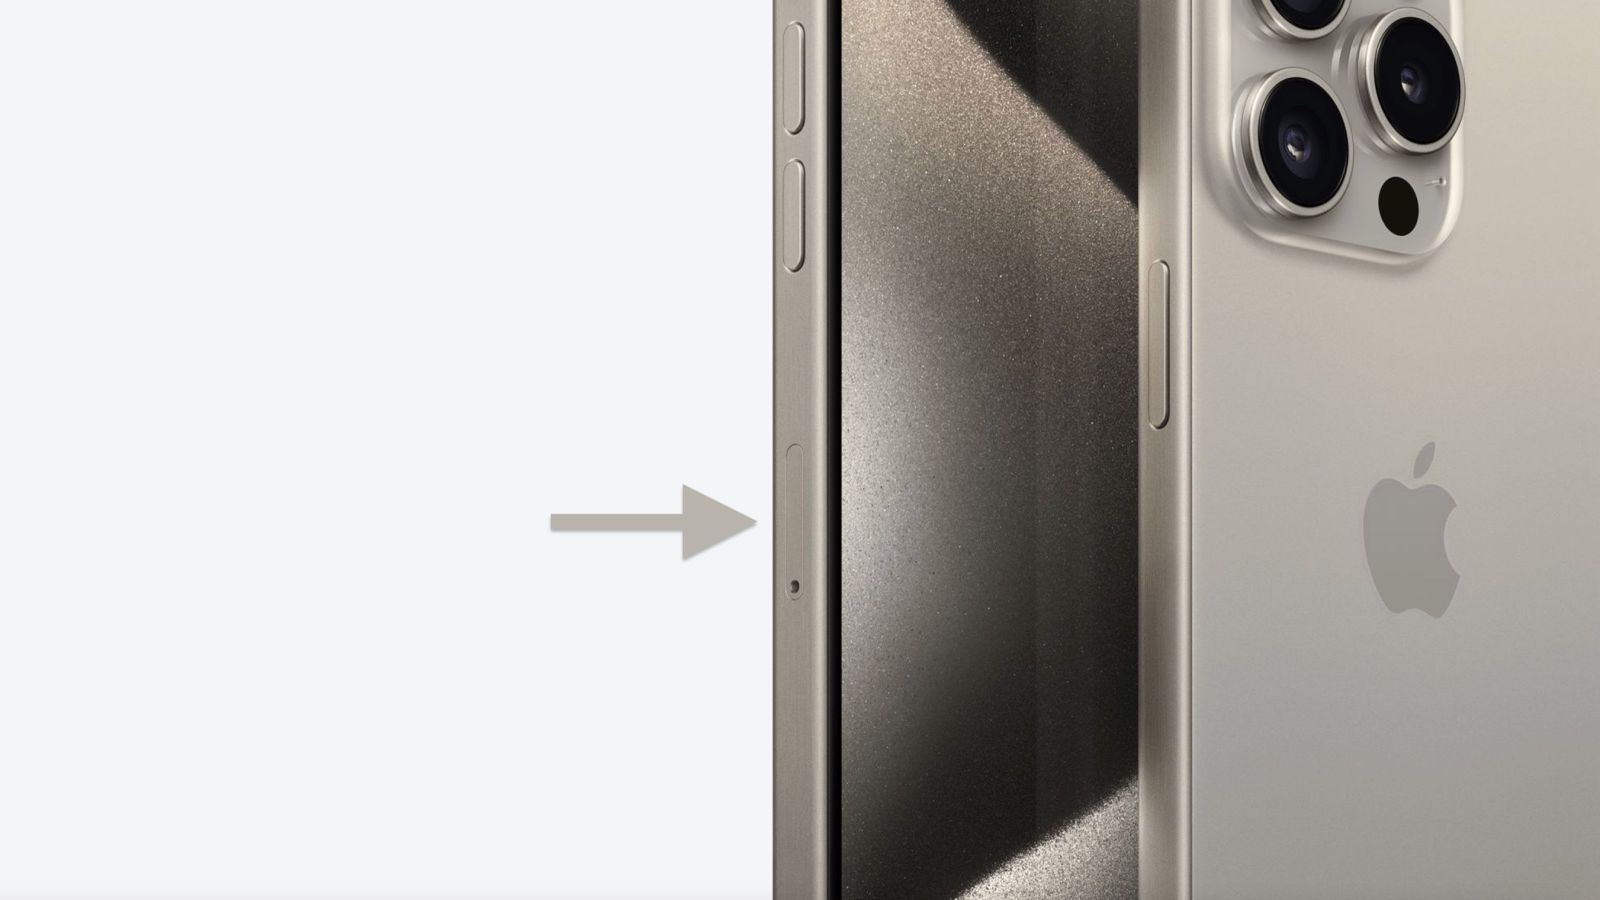
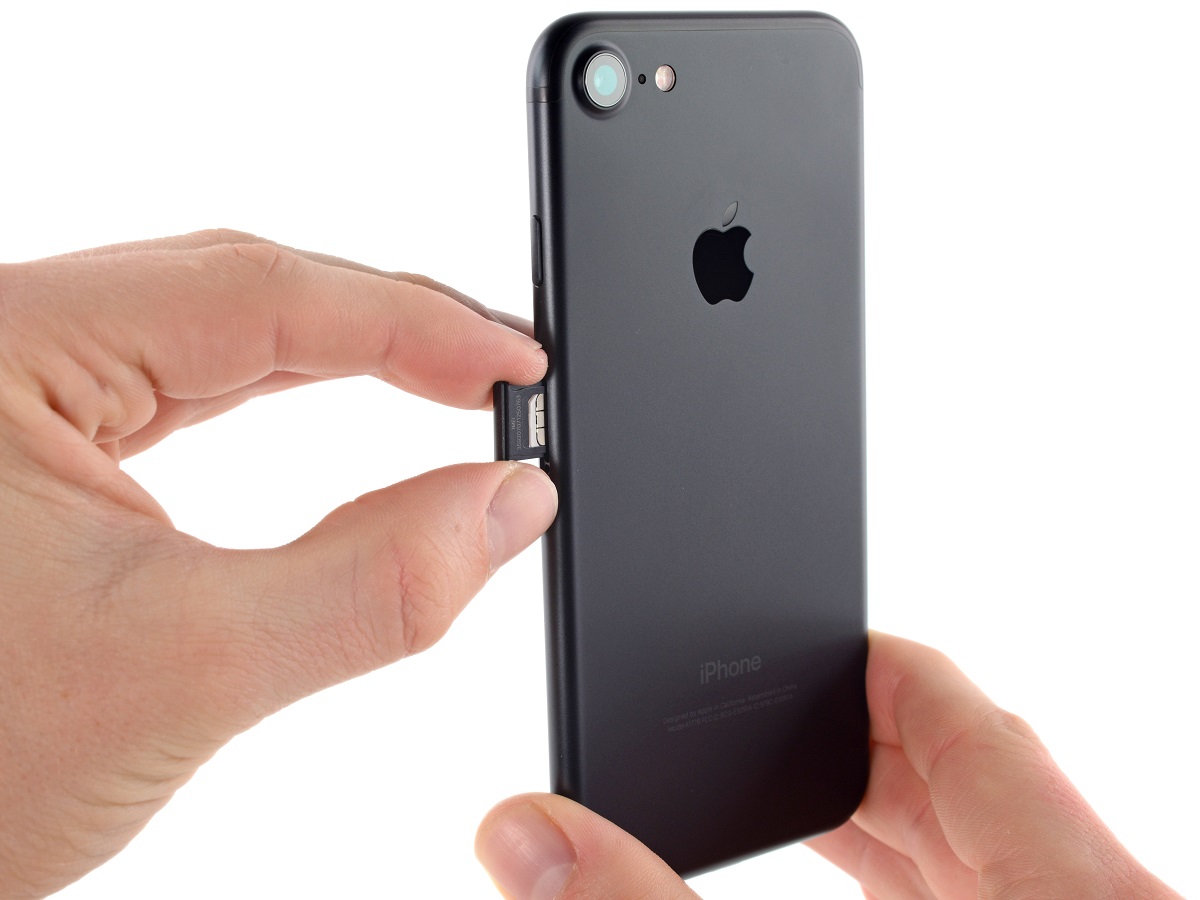
The SIM card slot on the iPhone 7 is strategically positioned on the right-hand side of the device. It is important to note that the location of the SIM card slot may vary depending on the specific model of the iPhone 7, but for the majority of users, the following steps will guide you to the SIM card slot:
-
Identify the SIM card slot: On the right-hand side of your iPhone 7, you will find a small, recessed tray. This tray is designed to hold the SIM card securely in place and is the access point to the SIM card slot.
-
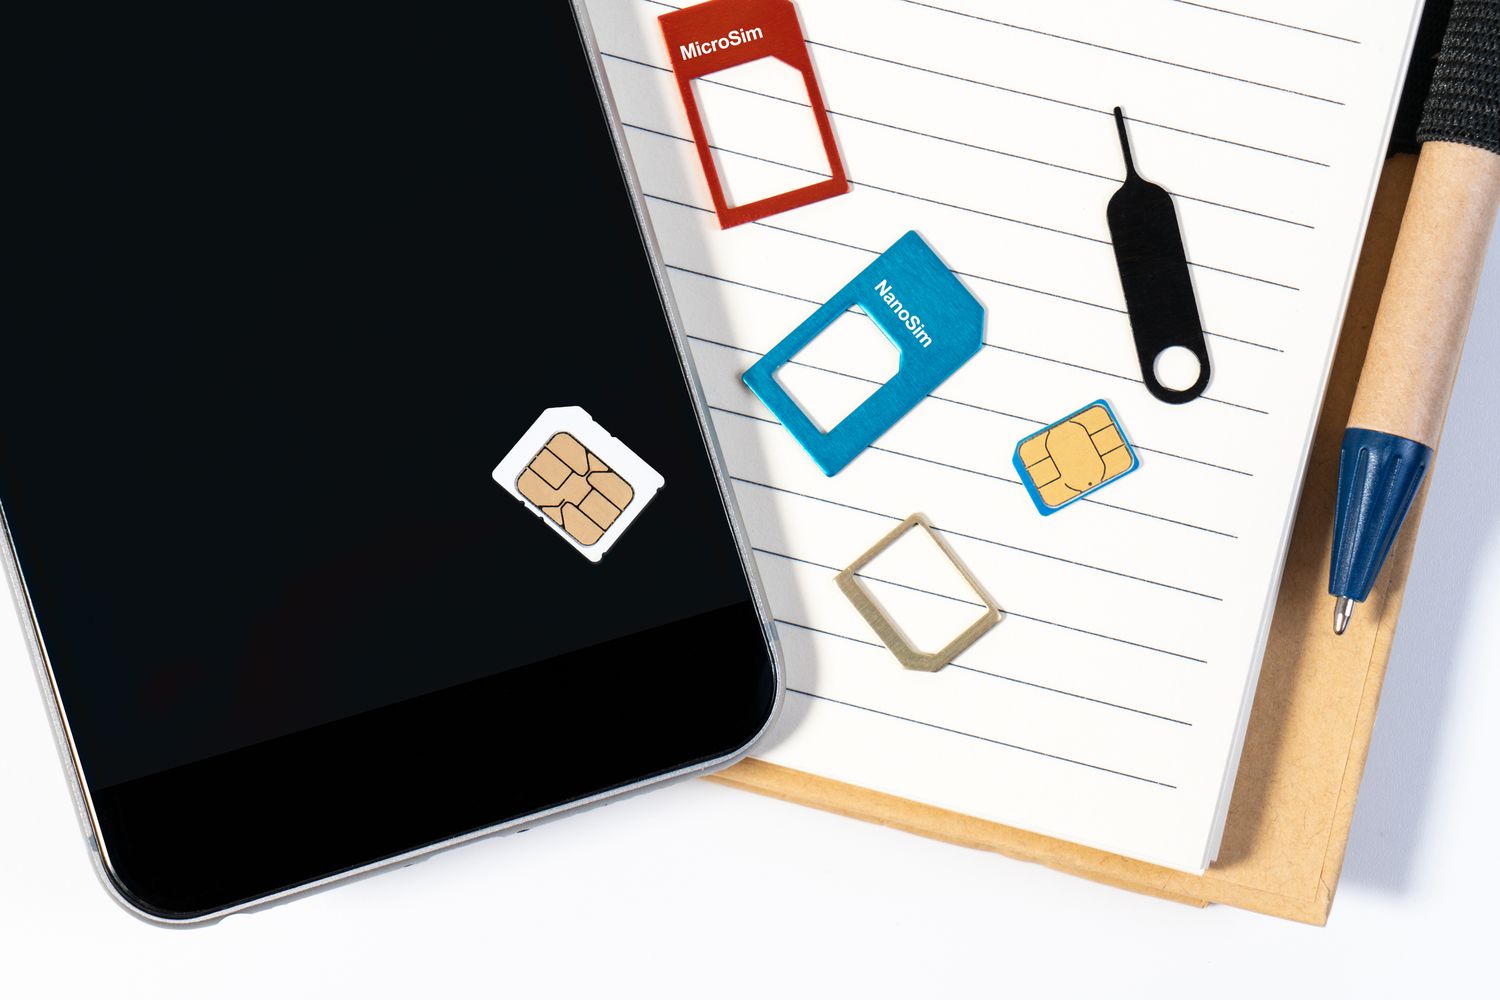
Examine the SIM card tray: The SIM card tray is typically accompanied by a tiny pinhole, which indicates the entry point for the SIM eject tool. This tool is essential for accessing the SIM card slot and managing the SIM card within your iPhone 7.
-
Familiarize yourself with the device: Take a moment to familiarize yourself with the physical layout of your iPhone 7. By understanding the specific location of the SIM card slot, you can proceed with confidence and precision as you prepare to access and manage the SIM card.
Locating the SIM card slot is a foundational step in the process of managing your iPhone 7's SIM card. By identifying the position of the SIM card slot with clarity and understanding, you pave the way for seamless access to the SIM card tray and ensure that you can proceed confidently to the next steps in the SIM card management process.
With the SIM card slot successfully located, you are now poised to move on to the next critical step: using the SIM eject tool to access the SIM card slot and manage your iPhone 7's SIM card effectively. Let's delve into the intricacies of using the SIM eject tool and continue the journey toward mastering your iPhone 7's SIM card management.
Step 3: Use the SIM eject tool
The SIM eject tool is a small, specialized instrument provided by Apple for the specific purpose of accessing the SIM card slot on your iPhone 7. This tool is designed to effortlessly eject the SIM card tray, allowing you to insert or remove the SIM card with precision and ease.
To use the SIM eject tool effectively, follow these straightforward steps:
-
Retrieve the SIM eject tool: The SIM eject tool is typically included in the original packaging of your iPhone 7. If you cannot locate the tool, a small paperclip can serve as an alternative, provided it is straightened out to mimic the shape and size of the SIM eject tool.
-
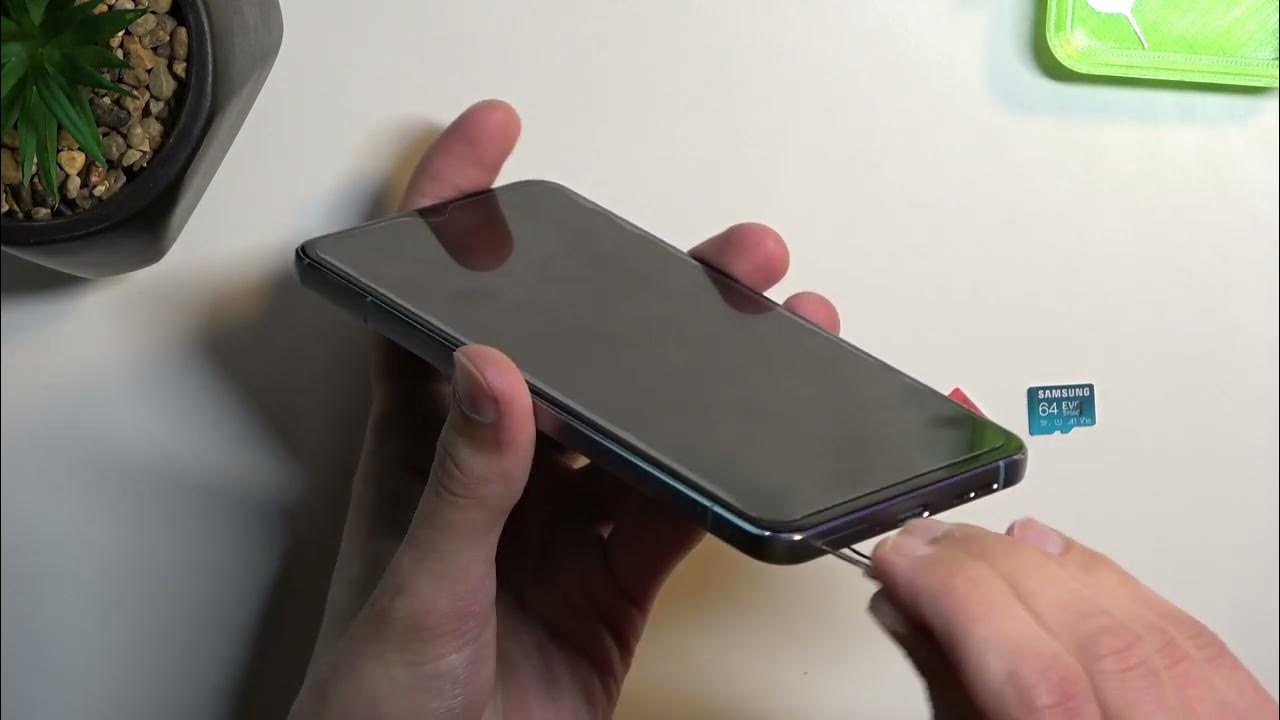
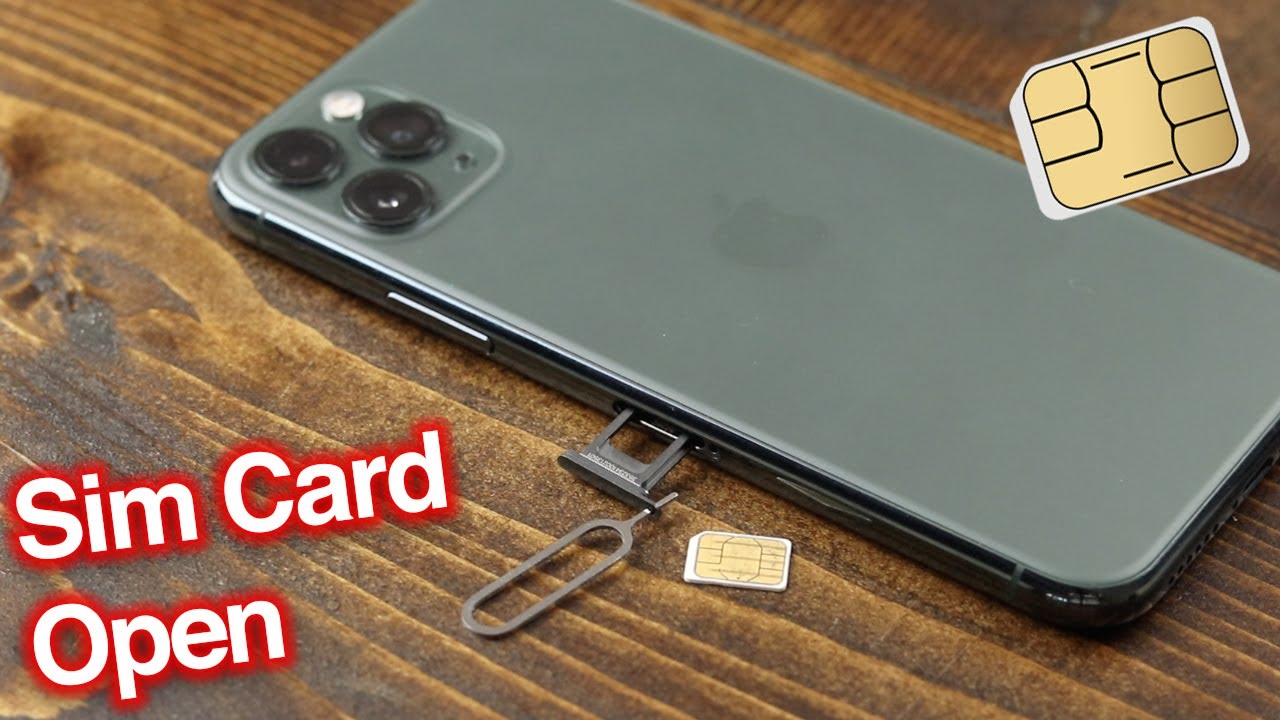
Insert the SIM eject tool: Position the tip of the SIM eject tool or the straightened paperclip into the tiny pinhole located adjacent to the SIM card tray on the right-hand side of your iPhone 7. Apply gentle pressure to ensure that the tool is securely inserted into the pinhole.
-
Apply consistent pressure: Once the SIM eject tool is in place, exert consistent pressure in a straight line. This action triggers the release mechanism within the SIM card slot, causing the SIM card tray to protrude slightly from the device.
-
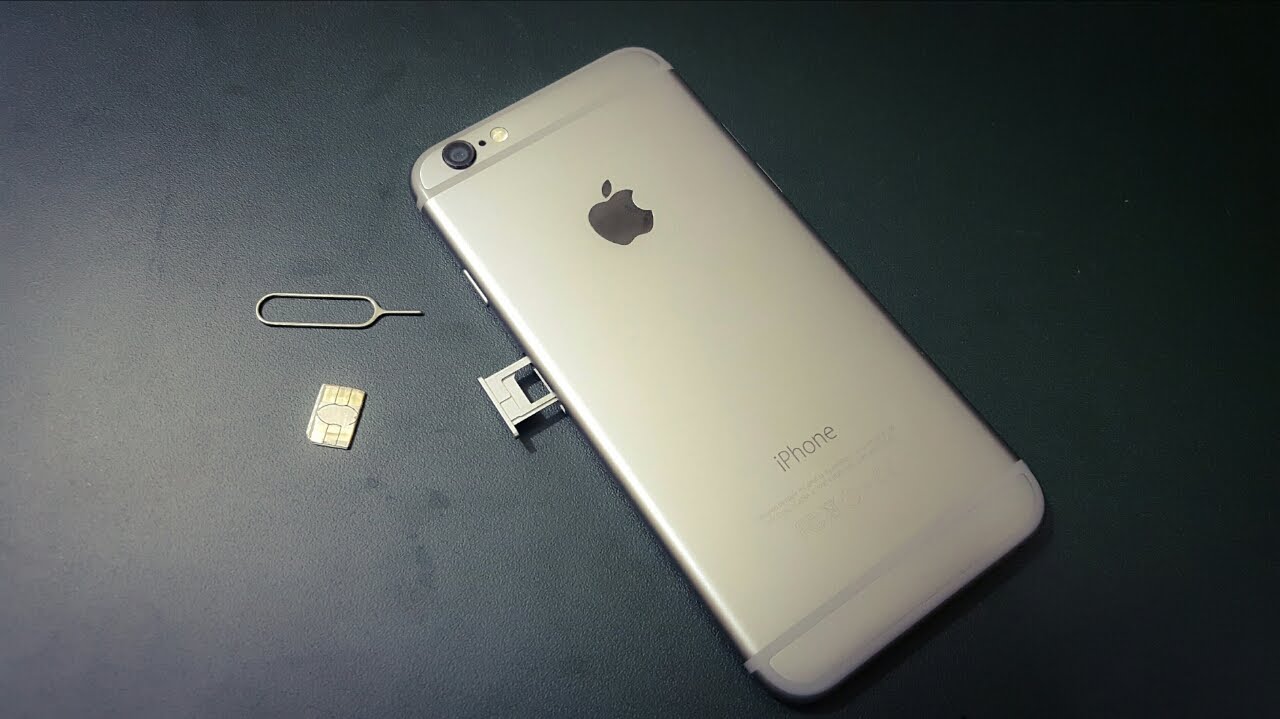
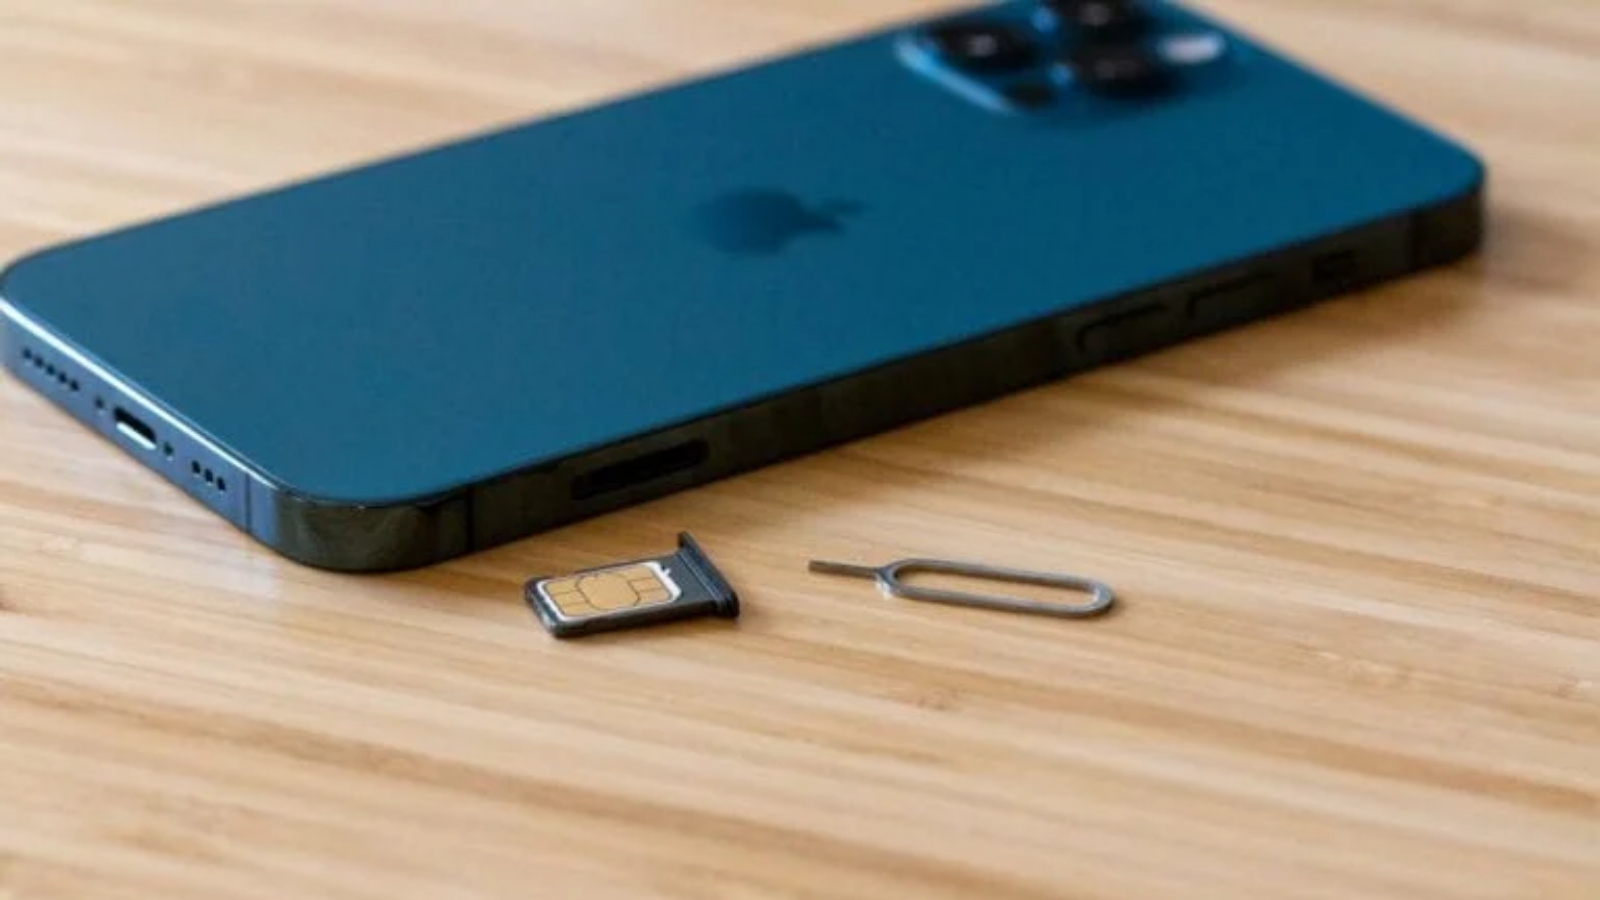
Remove the SIM card tray: Carefully pull the SIM card tray out of the iPhone 7 using the exposed edge provided. Exercise caution to prevent any damage to the SIM card or the device itself.
By following these steps, you can effectively utilize the SIM eject tool to access the SIM card slot on your iPhone 7. This process empowers you to manage your SIM card with precision, whether you need to insert a new SIM card, replace an existing one, or remove the SIM card for any reason.
With the SIM card tray successfully ejected, you are now ready to proceed to the next step: inserting or removing the SIM card from the tray and ensuring that it is securely positioned within your iPhone 7. Let's continue the journey toward mastering your iPhone 7's SIM card management.
Step 4: Insert or remove the SIM card
With the SIM card tray successfully ejected from your iPhone 7, you are now poised to manage the SIM card with precision and care. Whether you need to insert a new SIM card, replace an existing one, or remove the SIM card for any reason, the following steps will guide you through the process of handling the SIM card effectively.
Inserting a SIM card:
-
Prepare the SIM card: If you are inserting a new SIM card or replacing an existing one, ensure that the SIM card is compatible with your iPhone 7 and is free from any damage. Align the SIM card with the cut corner positioned as indicated on the SIM card tray.
-
Position the SIM card: Carefully place the SIM card onto the SIM card tray, ensuring that it fits securely within the designated space. Take note of the orientation of the SIM card to avoid any errors during insertion.
-
Reinsert the SIM card tray: Once the SIM card is positioned correctly on the tray, carefully slide the tray back into the SIM card slot on your iPhone 7. Apply gentle pressure to ensure that the tray is fully inserted and flush with the device.
Removing a SIM card:
-
Locate the SIM card: If you need to remove the existing SIM card, gently lift the SIM card from the tray using your fingers. Exercise caution to avoid any damage to the SIM card or the tray.
-
Inspect the SIM card: Take a moment to inspect the SIM card for any signs of damage or wear. If the SIM card is in good condition and you intend to reinsert it, ensure that it is stored securely until it is ready to be used again.
-
Secure the SIM card tray: If you are not replacing the SIM card immediately, store the SIM card securely in a safe location to prevent any loss or damage.
By following these steps, you can effectively manage the insertion or removal of the SIM card from your iPhone 7. Whether you are activating a new SIM card, switching to a different carrier, or simply need to replace a damaged SIM card, these guidelines empower you to handle the SIM card with confidence and precision.
With the SIM card successfully managed, you are now ready to proceed to the final step: turning on your iPhone 7 and ensuring that the device recognizes the SIM card. Let's move forward and complete the process of accessing and managing the SIM card on your iPhone 7.
Step 5: Turn on the iPhone 7
After successfully managing the SIM card on your iPhone 7, the final step involves turning on the device to ensure that it recognizes the SIM card and establishes connectivity with the cellular network. This pivotal step marks the culmination of the SIM card management process and sets the stage for you to enjoy seamless communication, internet access, and the full range of features offered by your mobile service provider.
To turn on your iPhone 7, follow these straightforward steps:
-
Press and hold the power button: Located on the right side of the device, the power button is easily accessible. Press and hold this button until the Apple logo appears on the screen.
-
Wait for the device to boot up: Once the Apple logo is displayed, your iPhone 7 will initiate the startup sequence. You will notice the screen lighting up, accompanied by the familiar Apple startup sound. This indicates that your iPhone 7 is powering on and preparing to establish connectivity with the cellular network.
-
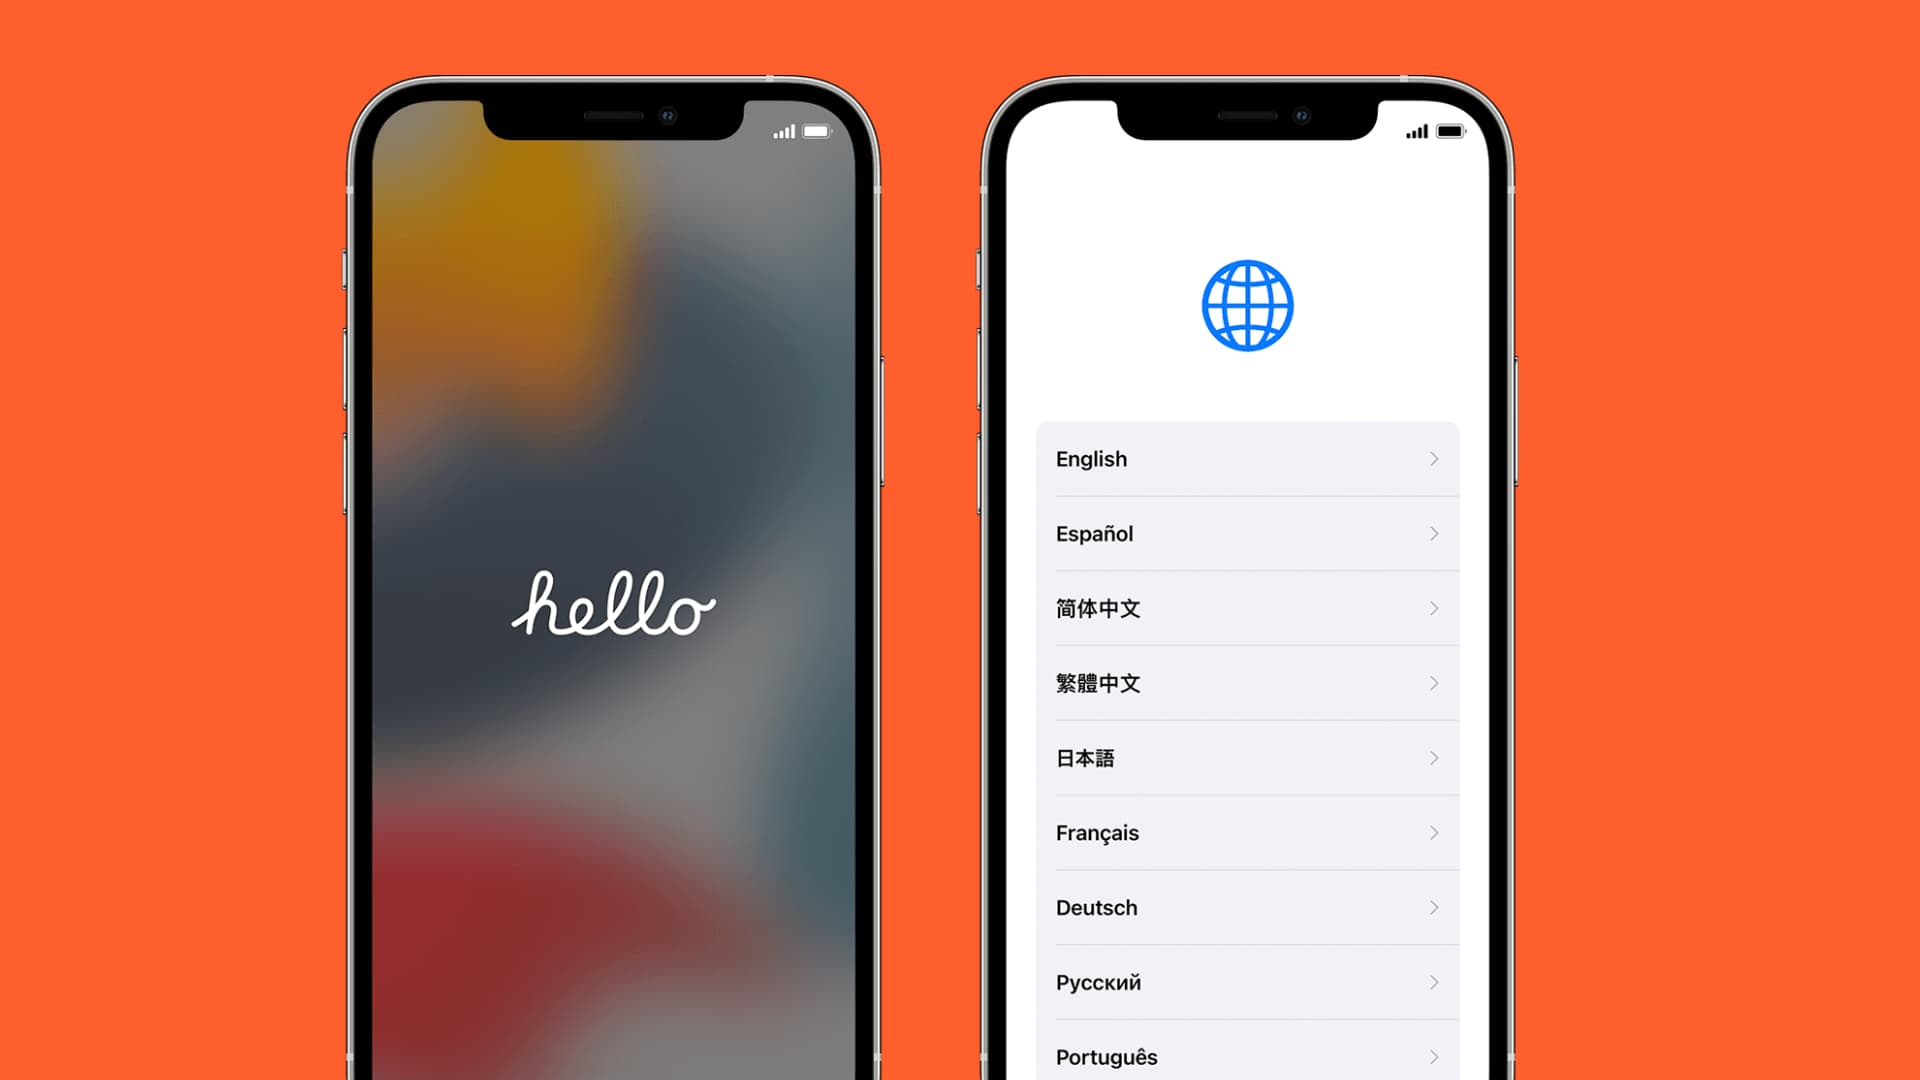
Unlock the device: Upon booting up, your iPhone 7 will prompt you to unlock the device using your passcode or biometric authentication, such as Touch ID or Face ID. Enter your passcode or use the biometric authentication method to access the home screen.
-
Check for network connectivity: After unlocking your iPhone 7, check the signal strength indicator to ensure that the device has successfully recognized the SIM card and established connectivity with the cellular network. You should see the network provider's name or logo displayed on the status bar, indicating that your iPhone 7 is ready to keep you connected.
By following these steps to power on your iPhone 7, you complete the SIM card management process and ensure that your device is fully operational with the newly inserted or replaced SIM card. With the iPhone 7 powered on and connected to the cellular network, you can now enjoy the seamless communication, internet access, and mobile services that enhance your digital experience.
With the SIM card successfully managed and your iPhone 7 powered on, you have mastered the process of accessing and managing the SIM card with confidence and precision. Whether you're activating a new SIM card, switching to a different carrier, or simply replacing a damaged SIM card, these comprehensive steps empower you to handle your iPhone 7's SIM card like a pro, ensuring that your device remains fully functional and ready to keep you connected to the digital world.
Conclusion
In conclusion, mastering the process of locating the SIM card slot on your iPhone 7 is a fundamental skill that empowers you to manage your device's connectivity with confidence and precision. By following the comprehensive guide outlined in this article, you have gained valuable insights into the step-by-step process of accessing and managing the SIM card on your iPhone 7. From powering off the device to locating the SIM card slot, using the SIM eject tool, inserting or removing the SIM card, and finally powering on the iPhone 7, you have acquired the knowledge and skills to handle your device's SIM card like a seasoned pro.
Understanding the significance of turning off the iPhone 7 before accessing the SIM card slot ensures a secure and stable environment for managing the SIM card, minimizing the risk of technical issues and disruptions. Additionally, locating the SIM card slot on the right-hand side of the device and familiarizing yourself with its physical layout sets the stage for a seamless SIM card management experience.
The process of using the SIM eject tool to access the SIM card slot empowers you to handle the SIM card with precision, whether you need to insert a new SIM card, replace an existing one, or remove the SIM card for any reason. This crucial step ensures that you can manage the SIM card effectively, maintaining the seamless connectivity and functionality of your iPhone 7.
Furthermore, the detailed guidelines for inserting or removing the SIM card from the tray provide you with the confidence to manage the SIM card with ease, whether you are activating a new SIM card, switching to a different carrier, or simply replacing a damaged SIM card. These steps equip you to handle the SIM card with care and precision, ensuring that your iPhone 7 remains fully functional and ready to keep you connected to the digital world.
Finally, the process of turning on the iPhone 7 and ensuring that the device recognizes the SIM card marks the culmination of the SIM card management process. By following the outlined steps to power on your iPhone 7, you have completed the journey of accessing and managing the SIM card with confidence, setting the stage for seamless communication, internet access, and the full range of features offered by your mobile service provider.
In essence, mastering the process of locating the SIM card slot on your iPhone 7 empowers you to handle your device's SIM card like a pro, ensuring that your device remains fully operational and ready to keep you connected. Whether you are activating a new SIM card, switching to a different carrier, or simply replacing a damaged SIM card, the knowledge and skills gained from this guide position you as a proficient manager of your iPhone 7's connectivity, enhancing your digital experience and connectivity with the world around you.