Introduction
Inserting a SIM card into an iPhone is a fundamental step in setting up your device for cellular connectivity. Whether you’ve just purchased a new iPhone or need to replace your SIM card, understanding the process of inserting a SIM card is essential. This guide will walk you through the step-by-step process, ensuring that you can seamlessly incorporate your SIM card into your iPhone.
A SIM (Subscriber Identity Module) card serves as the key to accessing your cellular network, enabling you to make calls, send texts, and connect to the internet. The SIM card contains crucial information, including your phone number, carrier details, and security credentials. Without a properly inserted SIM card, your iPhone is unable to connect to your carrier’s network, limiting its functionality to Wi-Fi only.
By following the instructions provided in this guide, you can ensure that your SIM card is correctly installed, allowing you to harness the full potential of your iPhone’s cellular capabilities. Whether you’re a first-time iPhone user or simply need a refresher on the process, this guide will equip you with the knowledge to successfully insert a SIM card into your iPhone.
Now, let’s dive into the step-by-step process of inserting a SIM card into your iPhone to ensure that you can seamlessly connect to your cellular network.
Step 1: Locate the SIM Card Tray
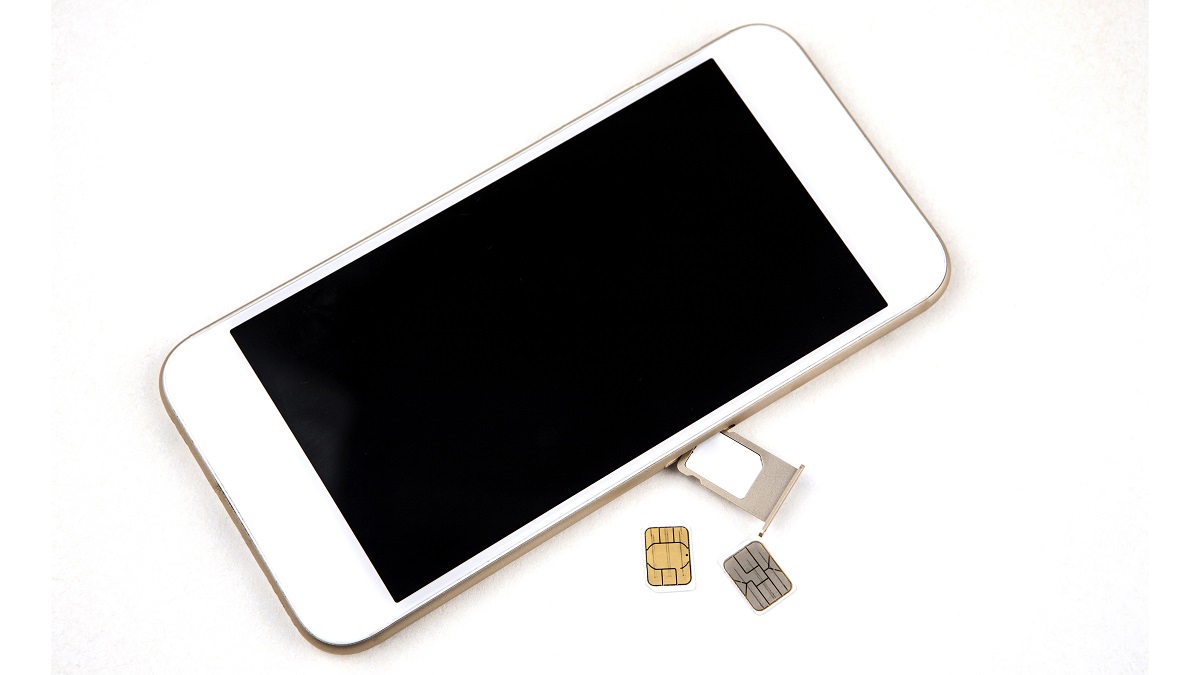
Before you can insert a SIM card into your iPhone, you need to locate the SIM card tray. The SIM card tray is a small, recessed slot typically found on the side of the iPhone. The exact location of the SIM card tray varies depending on the iPhone model. For most recent models, such as the iPhone 11, iPhone 12, and iPhone 13, the SIM card tray is located on the right-hand side of the device. On older models, such as the iPhone 7 and iPhone 8, the SIM card tray is located on the right-hand side as well.
To locate the SIM card tray, look for a small pinhole or slot along the edge of your iPhone. This pinhole is the access point to the SIM card tray. Once you have identified the location of the SIM card tray, you can proceed to the next step of the process, which involves ejecting the SIM card tray from your iPhone.
Locating the SIM card tray is the first crucial step in the process of inserting a SIM card into your iPhone. By familiarizing yourself with the location of the SIM card tray, you can confidently move on to the subsequent steps, ensuring a smooth and successful SIM card installation process.
Understanding the precise location of the SIM card tray is essential, as attempting to insert a SIM card without following the correct procedure can potentially damage your iPhone. Therefore, take a moment to identify the SIM card tray before proceeding to the next step, which involves ejecting the tray from your iPhone.
Now that you have successfully located the SIM card tray, you are ready to move on to the next step of the process: ejecting the SIM card tray from your iPhone.
Step 2: Eject the SIM Card Tray
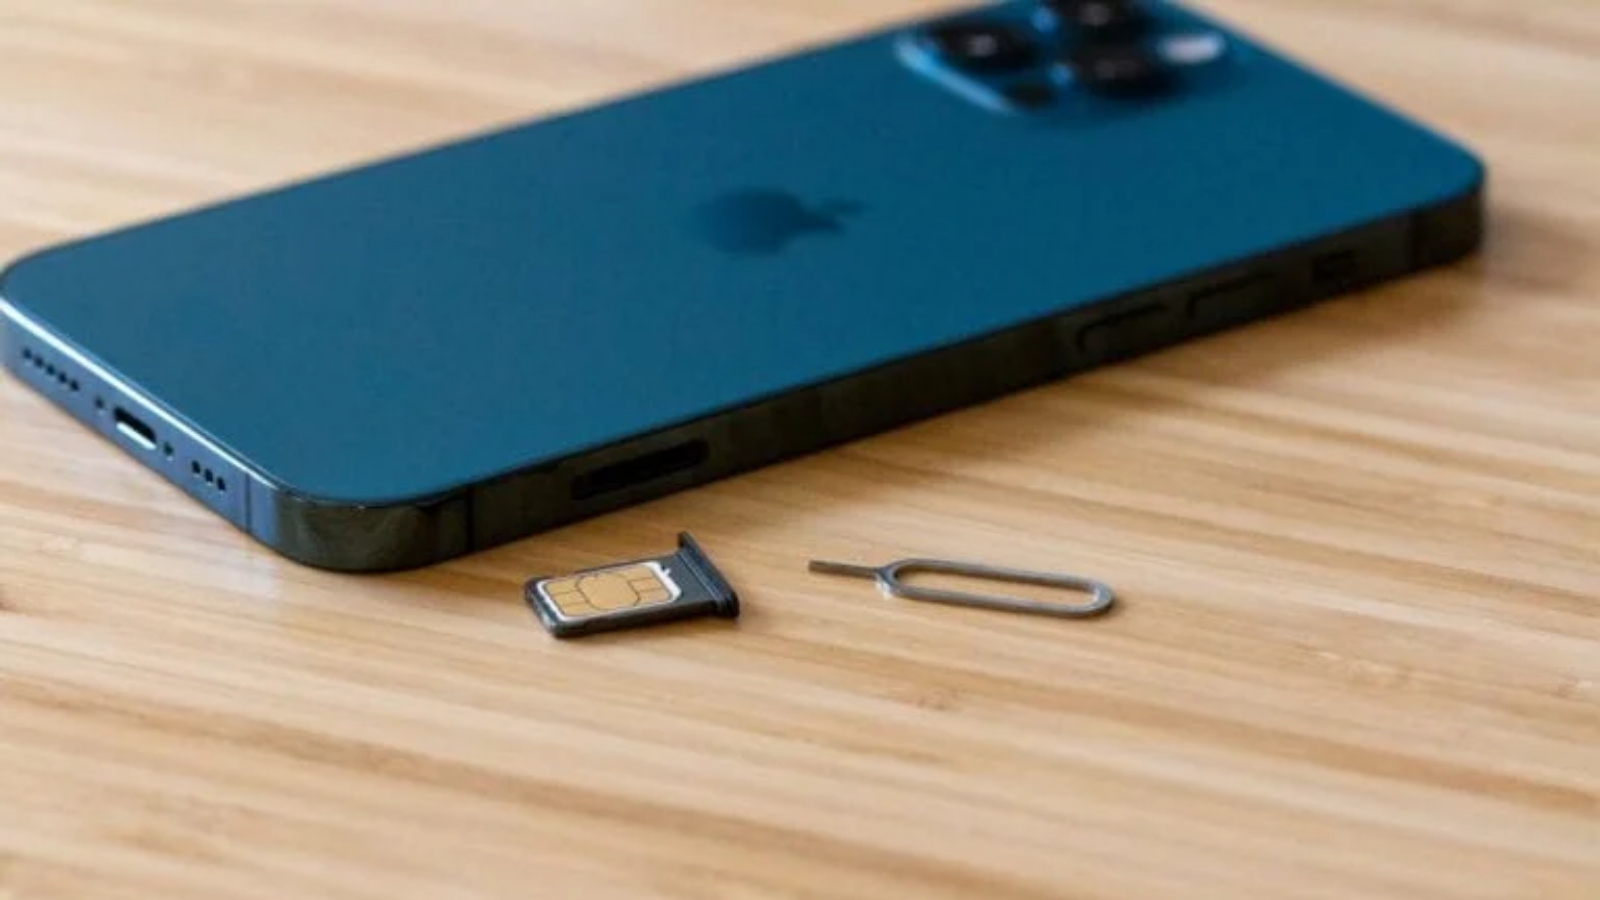
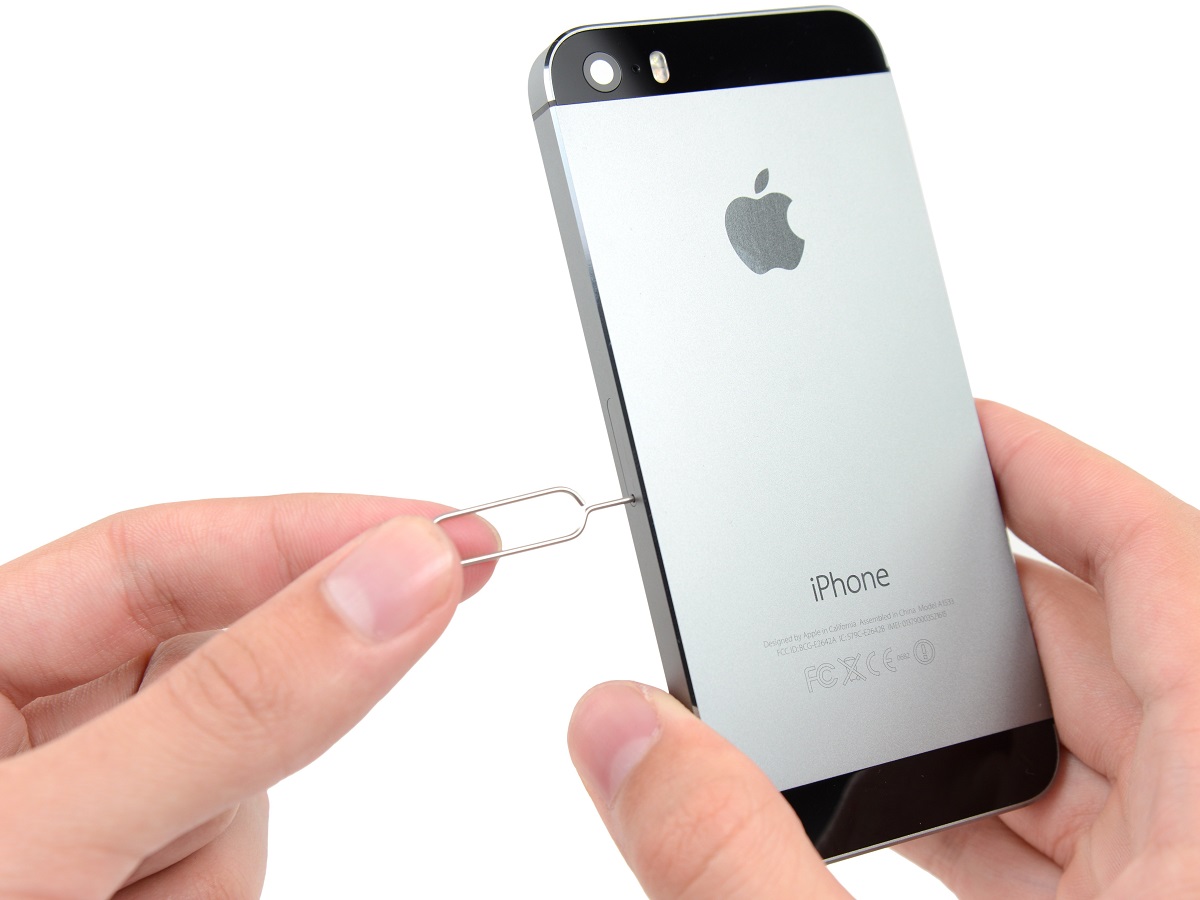
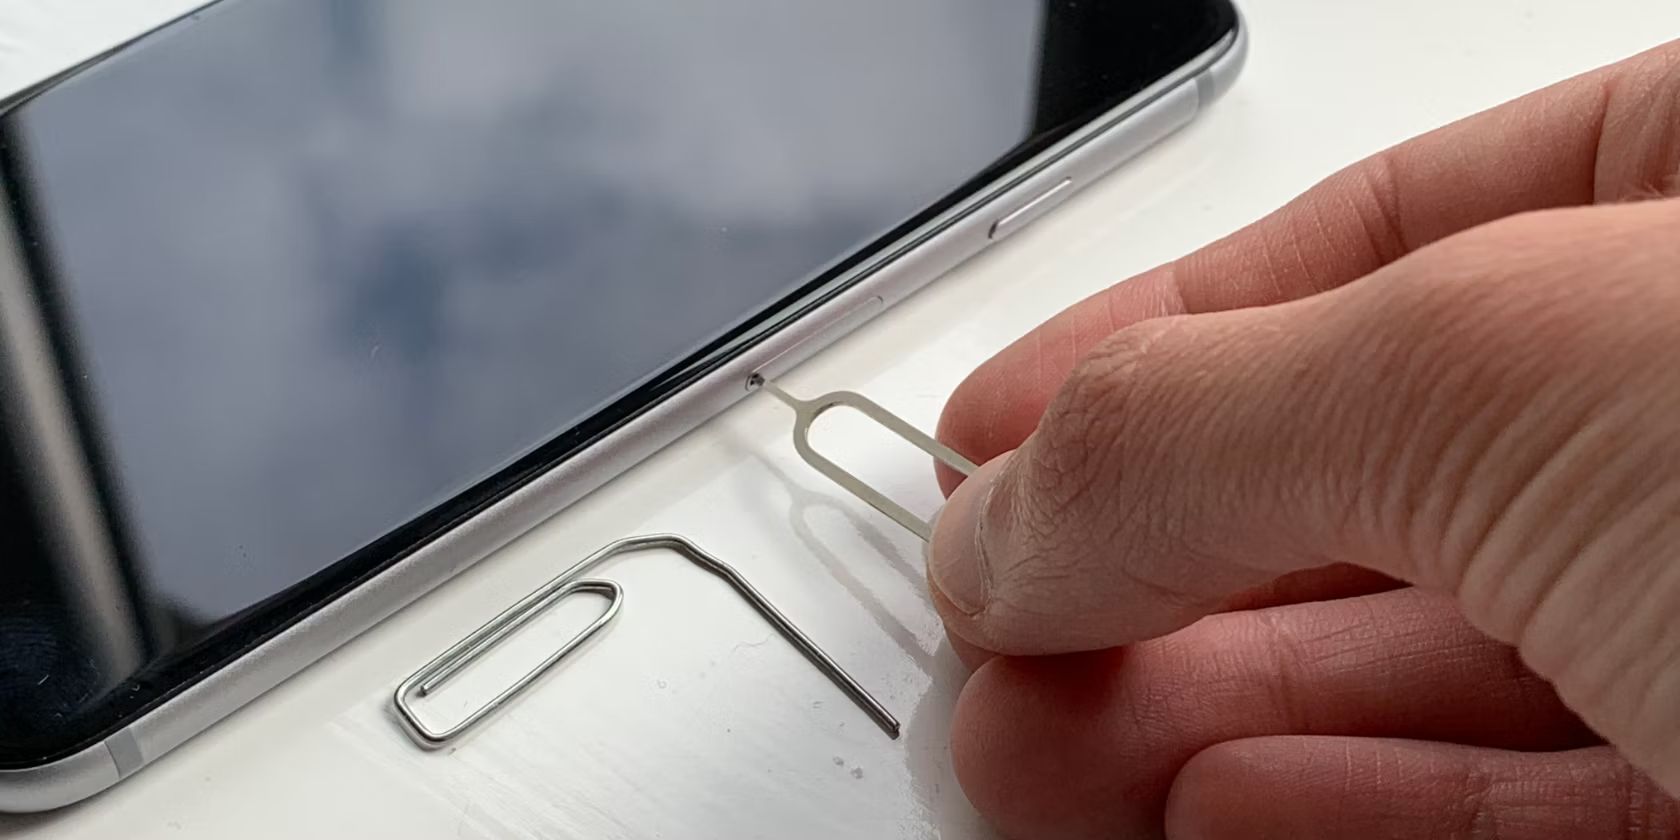
Ejecting the SIM card tray from your iPhone is a crucial step in the process of inserting or replacing a SIM card. To begin, locate the small pinhole or slot on the side of your iPhone that corresponds to the SIM card tray. Once you’ve identified this access point, it’s time to retrieve the SIM card tray using the provided SIM eject tool or a suitable alternative, such as a paperclip.
Insert the SIM eject tool or unfolded paperclip into the pinhole with gentle pressure. You should feel a slight resistance as the tool makes contact with the internal mechanism of the SIM card tray. Apply steady pressure until the tray begins to protrude from the iPhone. Once the tray is partially ejected, carefully pull it out using your fingers, ensuring that you do so gently to avoid any damage to the tray or the iPhone.
As the SIM card tray slides out, take note of its orientation and the position of the existing SIM card, if applicable. The tray is designed to accommodate the SIM card in a specific configuration, and it’s essential to align the new or existing SIM card accordingly when reinserting it.
Upon successfully ejecting the SIM card tray, take a moment to inspect the tray and the SIM card slot within your iPhone. Ensure that there is no debris or obstructions that could interfere with the insertion of the SIM card. This visual check can help prevent potential issues when inserting the SIM card and ensure a seamless installation process.
Ejecting the SIM card tray from your iPhone is a straightforward yet critical step that sets the stage for inserting or replacing the SIM card. By following this step with care and attention to detail, you can proceed confidently to the next phase of the process: inserting the SIM card into your iPhone.
Now that you have successfully ejected the SIM card tray from your iPhone, you are ready to move on to the next step: inserting the SIM card.
Step 3: Insert the SIM Card
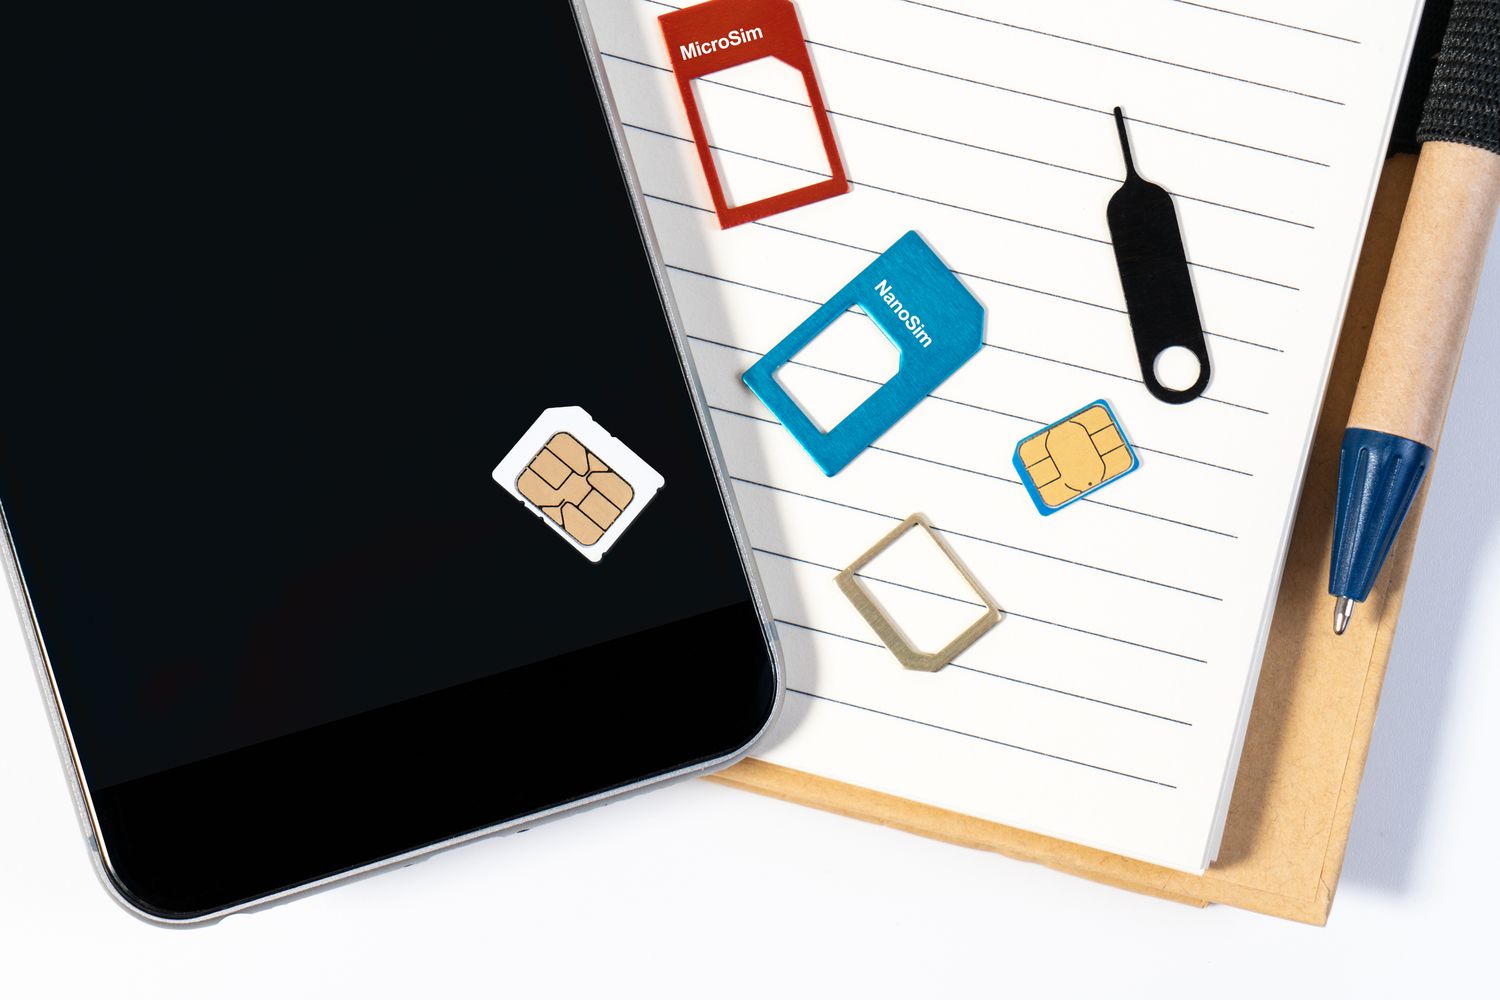
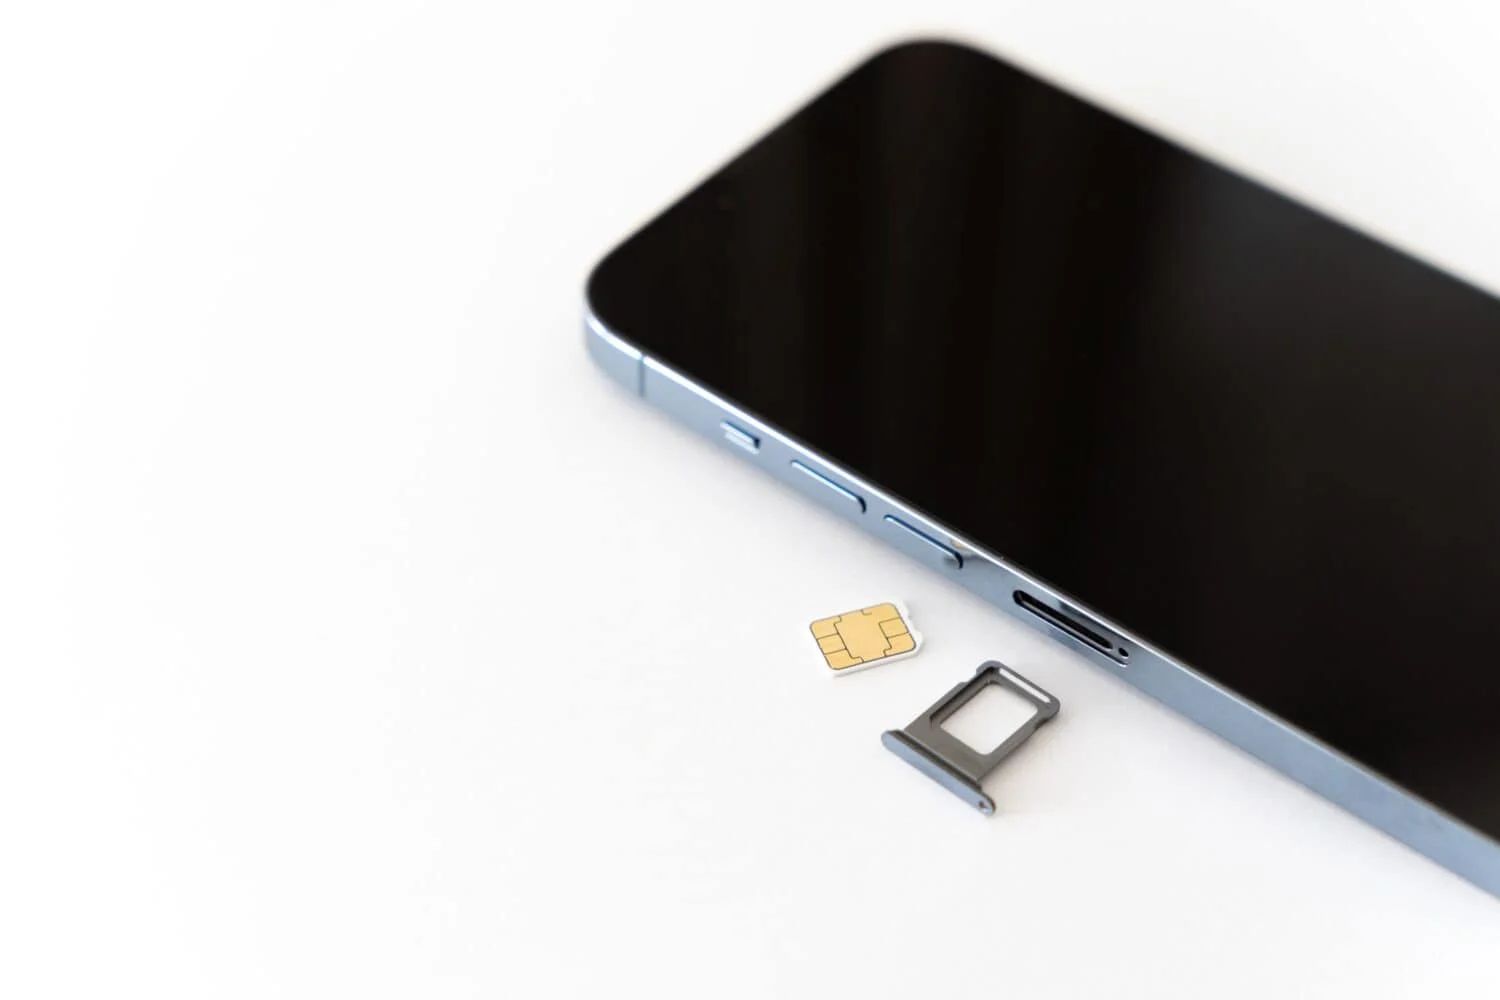
With the SIM card tray successfully ejected from your iPhone, the next step is to insert the SIM card into the designated slot. Before proceeding, it’s essential to ensure that the SIM card is compatible with your iPhone model and your cellular carrier. SIM cards come in different sizes, including standard, micro, and nano, and it’s crucial to use the correct size that fits your iPhone’s SIM card tray.
Carefully remove the SIM card from its packaging, handling it by the edges to avoid any contact with the metal contacts or circuitry. Examine the SIM card to identify the notched corner, which corresponds to the orientation of the SIM card tray. Align the notched corner of the SIM card with the corresponding corner of the SIM card tray, ensuring a proper fit.
Gently place the SIM card into the designated slot within the SIM card tray, taking care not to apply excessive force. The SIM card should fit snugly into the tray without any protrusions. Verify that the SIM card is securely positioned within the tray, as any misalignment could hinder the proper functioning of your iPhone’s cellular connectivity.
Once the SIM card is correctly seated within the tray, it’s time to reinsert the tray back into your iPhone. Align the tray with the slot from which it was ejected, ensuring that the tray slides in smoothly without resistance. Be mindful of the orientation of the tray, as forcing it in the wrong direction could cause damage to the SIM card or the iPhone’s internal components.
As the SIM card tray is fully reinserted into your iPhone, you should feel a slight click, indicating that the tray is securely in place. Take a moment to visually inspect the seam between the tray and the iPhone, ensuring that it sits flush with the device’s exterior. This visual confirmation confirms that the SIM card tray is securely installed, finalizing the process of inserting the SIM card into your iPhone.
By following these detailed steps to insert the SIM card, you can ensure that your iPhone is ready to connect to your cellular network, enabling you to make calls, send texts, and access mobile data. With the SIM card securely installed, your iPhone is fully equipped to harness the capabilities of your chosen cellular carrier, providing seamless connectivity wherever you go.
With the SIM card successfully inserted into your iPhone, you have completed the essential process of preparing your device for cellular connectivity. Now, your iPhone is ready to connect to your carrier’s network, allowing you to stay connected and engaged with the world around you.
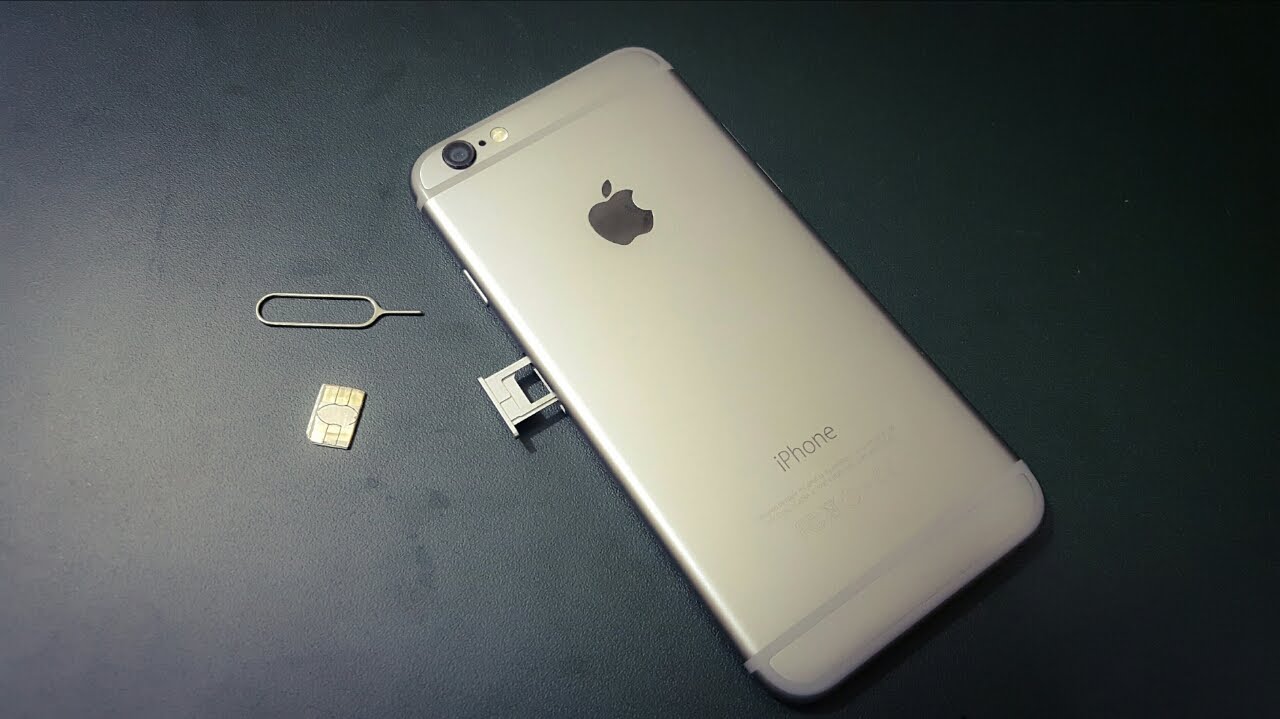
Step 4: Reinsert the SIM Card Tray
With the SIM card securely inserted into the designated slot, the final step in the process involves reinserting the SIM card tray back into your iPhone. This step is crucial to ensure that the SIM card remains firmly in place and that the iPhone's internal components are protected.
Align the SIM card tray with the slot from which it was ejected, taking care to position it correctly before gently sliding it back into the iPhone. It's essential to maintain the proper orientation of the tray to prevent any potential damage to the SIM card or the iPhone itself. As you guide the tray back into the device, ensure that it glides in smoothly without any resistance.
Once the SIM card tray is fully inserted, you should feel a slight click, indicating that it is securely in place. This tactile confirmation signifies that the tray has been reinstalled correctly and that the SIM card is positioned within the iPhone as intended. It's important to verify that the tray sits flush with the iPhone's exterior, indicating a secure and proper fit.
Upon reinserting the SIM card tray, take a moment to visually inspect the seam between the tray and the iPhone, ensuring that it aligns seamlessly with the device's design. This visual confirmation provides assurance that the tray is securely installed, finalizing the process of inserting the SIM card into your iPhone.
By following this step with attention to detail, you can ensure that the SIM card remains firmly in place, allowing your iPhone to establish a reliable connection to your cellular network. With the SIM card tray securely reinstalled, your iPhone is fully equipped to harness the capabilities of your chosen cellular carrier, providing seamless connectivity wherever you go.
With the SIM card tray successfully reinserted into your iPhone, you have completed the essential process of preparing your device for cellular connectivity. Your iPhone is now ready to connect to your carrier's network, enabling you to stay connected and engaged with the world around you.
Conclusion
Successfully inserting a SIM card into your iPhone is a pivotal step in unleashing the full potential of your device's cellular capabilities. By following the step-by-step guide outlined in this article, you have gained the knowledge and confidence to seamlessly incorporate a SIM card into your iPhone, ensuring that you can stay connected and engaged with the world around you.
The process of inserting a SIM card into your iPhone begins with locating the SIM card tray, a small yet crucial component that houses the SIM card. By identifying the precise location of the SIM card tray on your iPhone, you have set the stage for a smooth and successful installation process. Ejecting the SIM card tray with care and attention to detail is the next critical step, allowing you to access the slot where the SIM card will be inserted.
With the SIM card tray ejected, you proceeded to insert the SIM card into the designated slot, ensuring that it is compatible with your iPhone model and carrier. By aligning the SIM card correctly and reinserting the tray into your iPhone, you have completed the essential steps to prepare your device for seamless cellular connectivity.
As you finalize the process by reinserting the SIM card tray and ensuring a secure fit, your iPhone is now fully equipped to connect to your carrier's network, enabling you to make calls, send texts, and access mobile data wherever you go. The successful insertion of the SIM card into your iPhone empowers you to stay connected and engaged, whether you're communicating with loved ones, conducting business, or accessing essential information on the go.
By understanding the intricacies of inserting a SIM card into your iPhone, you have taken a significant step toward maximizing the functionality of your device. Whether you're a first-time iPhone user or seeking to replace your SIM card, the knowledge gained from this guide ensures that you can navigate the process with confidence and precision.
Now that your iPhone is equipped with a securely inserted SIM card, you can embark on your mobile journey with the assurance of reliable connectivity and seamless access to your cellular network. With this essential task accomplished, your iPhone is ready to serve as a reliable communication and connectivity tool, empowering you to stay connected and engaged in today's fast-paced world.