Introduction
Inserting a SIM card into your Samsung Galaxy Note 10 Plus is a simple process that allows you to connect to your mobile network and enjoy seamless communication. Whether you're setting up your device for the first time or switching to a new SIM card, this guide will walk you through the easy steps to successfully insert a SIM card into your Note 10 Plus.
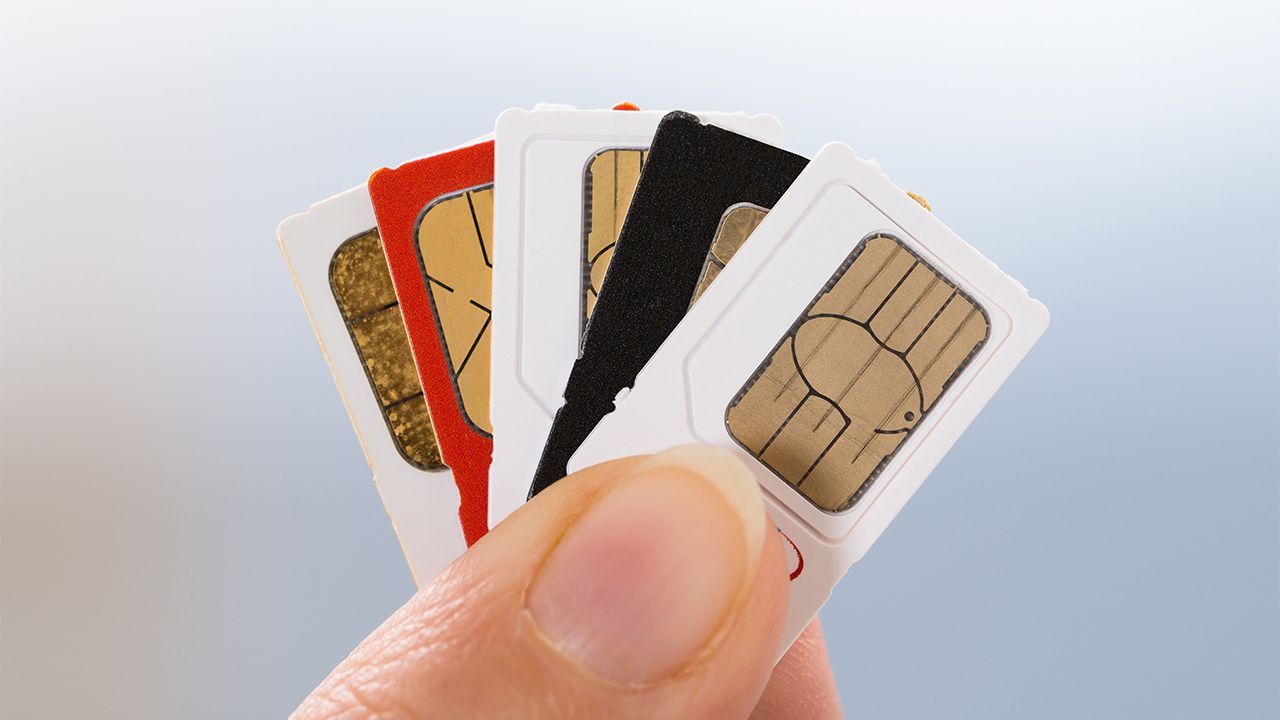
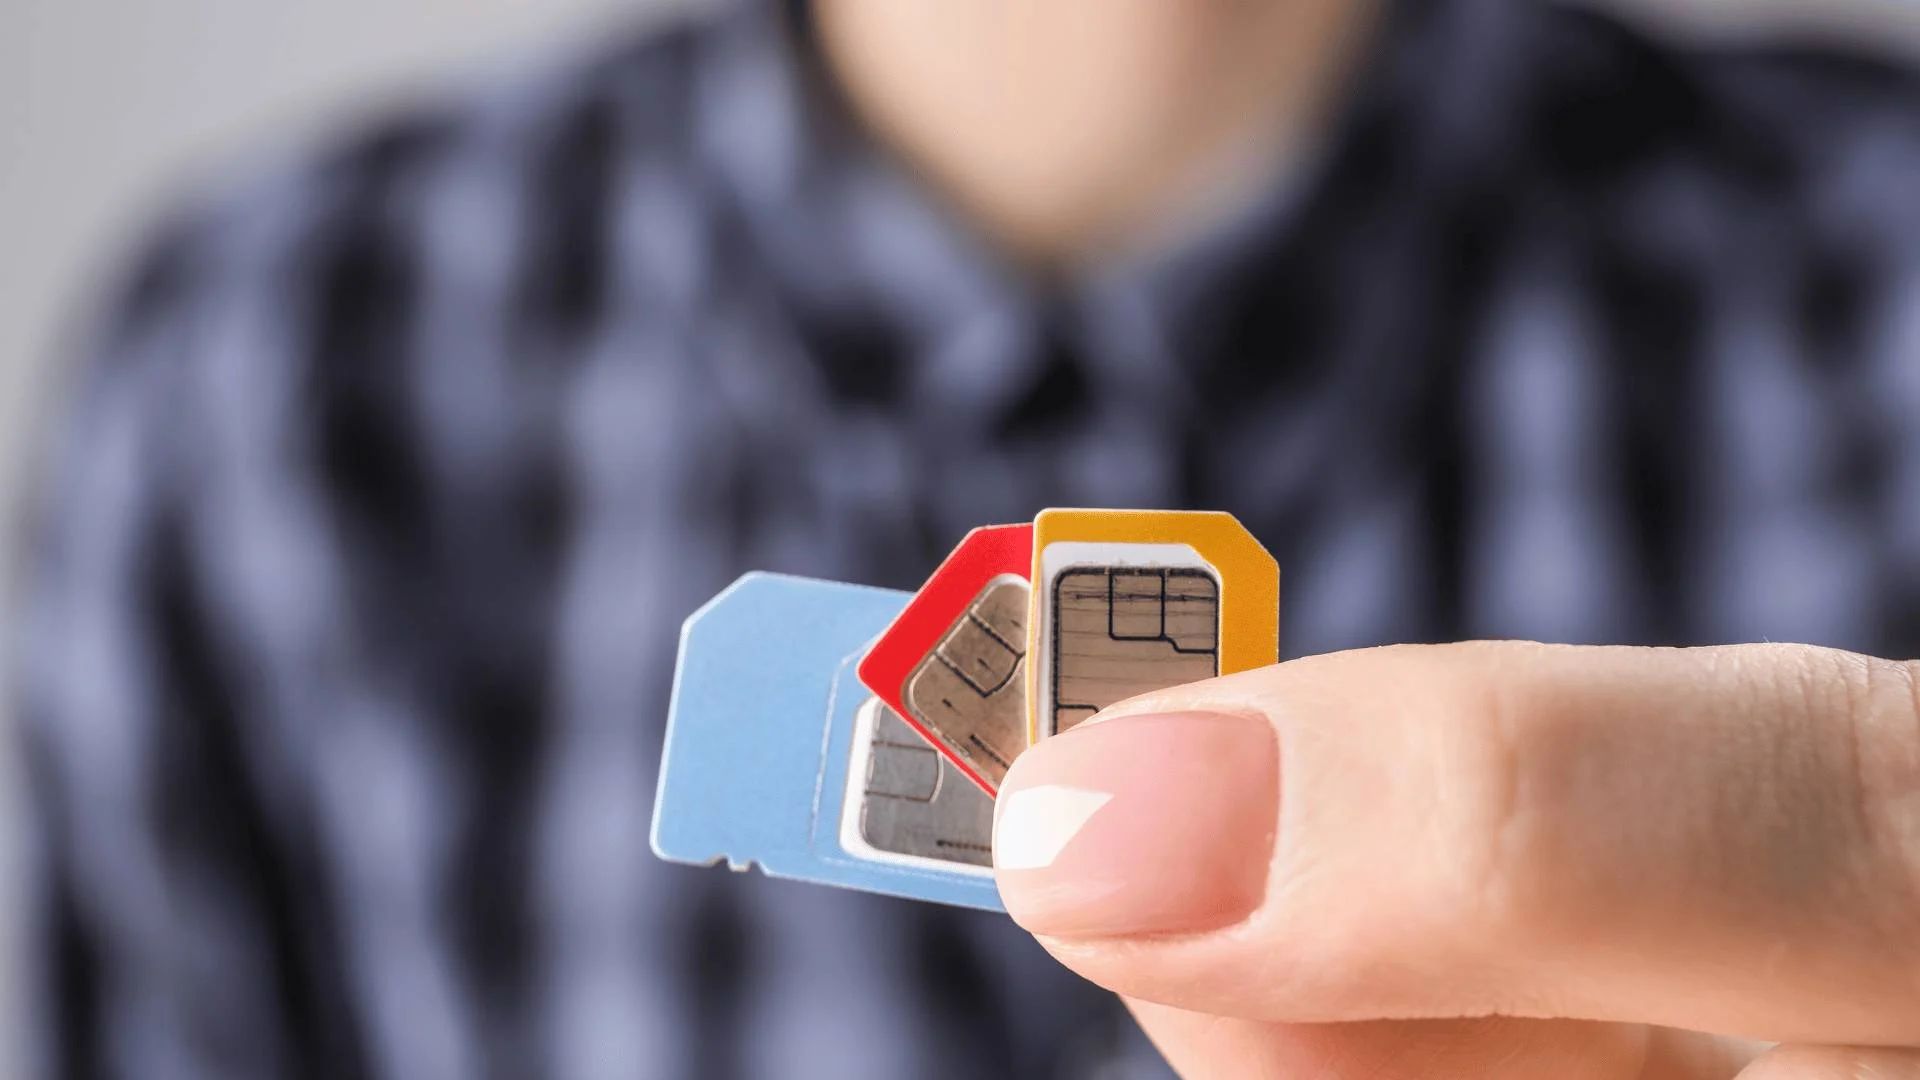
The SIM card, which stands for Subscriber Identity Module, is a small, portable memory chip that holds crucial information about your mobile account, including your phone number, network authorization data, and personal contacts. This tiny yet powerful component is essential for connecting to your mobile network and making voice calls, sending text messages, and accessing mobile data services.
By inserting a SIM card into your Note 10 Plus, you gain the ability to make and receive calls, send and receive text messages, and access high-speed mobile data, enabling you to stay connected with your friends, family, and colleagues while on the go. Whether you're a frequent traveler, a busy professional, or a social butterfly, having a SIM card in your device is the key to unlocking its full potential and staying connected wherever you are.
In the following steps, we will guide you through the process of locating the SIM card tray, ejecting the tray, inserting the SIM card, and reinserting the tray into your Note 10 Plus. With these simple instructions, you'll be able to complete the SIM card installation with ease, ensuring that your device is ready to keep you connected and productive.
Now, let's dive into the straightforward process of inserting a SIM card into your Samsung Galaxy Note 10 Plus and get you one step closer to enjoying the full range of features and connectivity that your device has to offer.
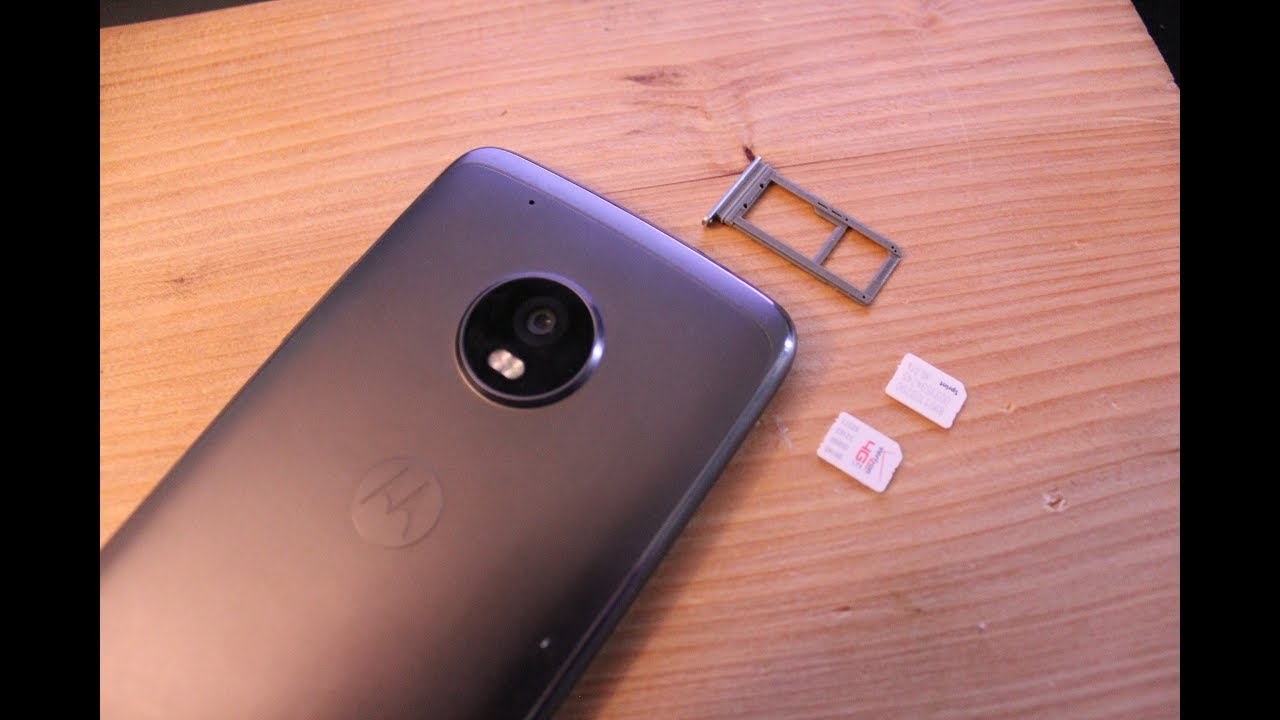
Step 1: Locate the SIM card tray
The first step in inserting a SIM card into your Samsung Galaxy Note 10 Plus is to locate the SIM card tray. The SIM card tray is a small, rectangular slot that holds the SIM card and is typically located on the side of the device. On the Note 10 Plus, the SIM card tray is positioned on the top edge of the phone, adjacent to the secondary microphone.
To access the SIM card tray, you will need the SIM eject tool that was included in the box with your Note 10 Plus. This tool is a small, metal pin with a narrow, pointed end that is designed to fit into the tiny hole on the SIM card tray. If you don't have the SIM eject tool handy, you can also use a small paperclip or a similarly sized pin to eject the SIM card tray.
Once you have the SIM eject tool in hand, look for the small hole near the top edge of your Note 10 Plus. This hole is the access point for the SIM card tray. Gently insert the pointed end of the SIM eject tool into the hole and apply slight pressure. You will feel a subtle resistance as the tool engages with the internal mechanism of the SIM card tray.
As you continue to exert gentle pressure, the SIM card tray will begin to emerge from the slot. Once the tray is partially ejected, you can carefully remove it from the device using your fingers. Be mindful of the tray's position and avoid applying excessive force to prevent any damage to the tray or the device.
With the SIM card tray now in hand, you have successfully completed the first step in the process of inserting a SIM card into your Note 10 Plus. The next step will involve ejecting the SIM card tray to prepare for the insertion of the SIM card.
By following these simple instructions, you are well on your way to successfully installing a SIM card in your Samsung Galaxy Note 10 Plus, ensuring that your device is ready to connect you to your mobile network and keep you connected wherever you go.
Step 2: Eject the SIM card tray
Ejecting the SIM card tray is a crucial step in the process of inserting a SIM card into your Samsung Galaxy Note 10 Plus. Once you have located the SIM card tray and removed it from the device, the next step is to carefully eject the tray to prepare for the insertion of the SIM card.
With the SIM card tray in hand, take a moment to examine its design and orientation. The tray features a small, rectangular shape with a notch on one of its sides, allowing you to easily identify the correct position for reinserting it into the device. Additionally, the tray has a slot that accommodates the SIM card, ensuring a secure and snug fit once the card is inserted.
To eject the SIM card tray, gently place it on a flat surface with the notch facing upwards. Positioning the tray in this manner will allow you to access the SIM card slot and prepare it for the insertion of the SIM card.
Next, take the SIM eject tool that you used to partially remove the SIM card tray from the device. With the pointed end of the tool facing downwards, carefully align it with the small hole located on the side of the SIM card tray. The hole is designed to accommodate the SIM eject tool and facilitate the smooth ejection of the tray from the device.
Once the SIM eject tool is properly aligned with the hole, apply gentle and even pressure to the tool, pushing it into the hole. As you exert pressure, you will feel the internal mechanism of the SIM card tray disengage, allowing the tray to slide out smoothly from its slot.
Continue to push the SIM eject tool until the SIM card tray is fully ejected from the device. At this point, you can remove the tool from the tray and set it aside. Take care to handle the tray with caution, ensuring that it remains level and stable to prevent any accidental damage or misalignment.
With the SIM card tray successfully ejected from your Note 10 Plus, you have completed this essential step in the process of inserting a SIM card into your device. The next step will involve carefully inserting the SIM card into the designated slot on the tray, ensuring a secure and proper fit.
By following these detailed instructions, you are well-equipped to navigate the process of ejecting the SIM card tray from your Samsung Galaxy Note 10 Plus, setting the stage for the seamless insertion of your SIM card and the subsequent reinstallation of the tray into your device.
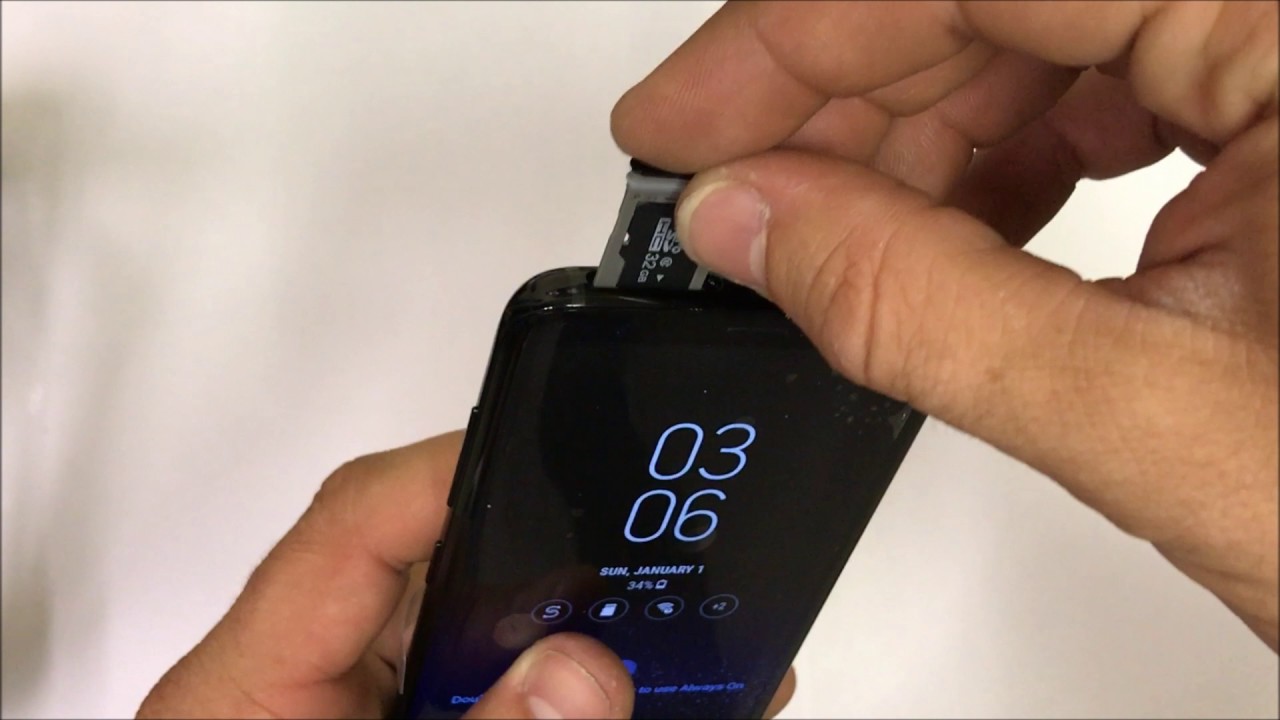
Step 3: Insert the SIM card
With the SIM card tray successfully ejected from your Samsung Galaxy Note 10 Plus, you are now ready to proceed with the next crucial step: inserting the SIM card into the designated slot on the tray. The SIM card, which contains vital information related to your mobile account and network connectivity, is a fundamental component that enables your device to connect to your mobile network and access essential communication services.
Before proceeding, take a moment to inspect the SIM card tray and identify the slot intended for the SIM card. The tray features a small, rectangular slot that aligns with the size and shape of the SIM card, ensuring a secure and proper fit once the card is inserted. Additionally, the tray may have a diagram or label indicating the correct orientation for inserting the SIM card, typically with the gold contacts facing downwards.
Now, retrieve your SIM card from its packaging or remove it from your previous device, if applicable. Hold the SIM card between your fingers, taking care to avoid touching the gold contacts or the exposed circuitry on the card's surface. The gold contacts are essential for establishing a connection between the SIM card and your device, so it is crucial to handle the card with care to prevent any damage or interference with its functionality.
With the SIM card oriented correctly, carefully position it over the designated slot on the SIM card tray. Align the edges of the SIM card with the corresponding edges of the slot, ensuring a precise fit that allows the card to rest securely within the tray. Once aligned, gently lower the SIM card into the slot, applying light and even pressure to ensure that it sits flush with the surface of the tray.
As you insert the SIM card, be mindful of maintaining a steady and controlled approach to prevent any accidental slippage or misalignment. The goal is to achieve a seamless insertion that positions the SIM card securely within the tray, allowing it to establish a reliable connection with your device's internal components.
Upon successfully inserting the SIM card into the designated slot on the tray, take a moment to verify that it is positioned correctly and sits level within the slot. The SIM card should fit snugly without any protrusions or misalignments, ensuring that it remains stable and secure within the tray.
With the SIM card now securely inserted into the SIM card tray, you have completed this pivotal step in the process of setting up your Samsung Galaxy Note 10 Plus for seamless connectivity. The next step will involve reinserting the SIM card tray into your device, finalizing the installation process and preparing your device to connect to your mobile network.
By following these detailed instructions, you have successfully navigated the essential process of inserting the SIM card into your Note 10 Plus, ensuring that your device is equipped with the necessary components to establish a reliable connection to your mobile network and enable seamless communication and data access.
Step 4: Reinsert the SIM card tray
With the SIM card securely inserted into the designated slot on the tray, the final step in the process of setting up your Samsung Galaxy Note 10 Plus for seamless connectivity is to reinsert the SIM card tray into the device. This step is essential for ensuring that the SIM card is properly integrated with the device, allowing it to establish a reliable connection to your mobile network and enable essential communication and data services.
To begin, carefully position the SIM card tray in alignment with the slot on your Note 10 Plus. Take note of the orientation of the tray, ensuring that the notch aligns with the corresponding notch on the device. This alignment is crucial for facilitating a smooth and secure reinsertion of the tray, minimizing the risk of any misalignment or potential damage to the device or the tray itself.
Once the tray is positioned correctly, gently guide it into the slot, applying light and even pressure to facilitate its smooth insertion. Be mindful of maintaining a steady and controlled approach, ensuring that the tray slides seamlessly into the slot without any resistance or obstruction. As you proceed, you will feel the tray fitting snugly into place, signaling that it is securely integrated with the device.
Upon successfully reinserting the SIM card tray into your Note 10 Plus, take a moment to verify that it sits flush with the device's surface and aligns seamlessly with the surrounding edges. This visual confirmation ensures that the tray is properly installed and provides access to the SIM card while maintaining the device's sleek and streamlined design.
With the SIM card tray securely reinserted into your Samsung Galaxy Note 10 Plus, you have completed the final step in the process of inserting a SIM card into your device. The successful reinstallation of the tray signifies that your device is fully equipped and prepared to connect to your mobile network, enabling you to make and receive calls, send and receive text messages, and access high-speed mobile data services.
By following these detailed instructions, you have effectively navigated the process of reinserting the SIM card tray into your Note 10 Plus, ensuring that your device is equipped with the necessary components to establish a reliable connection to your mobile network and enable seamless communication and data access.
Conclusion
Congratulations! You have successfully completed the process of inserting a SIM card into your Samsung Galaxy Note 10 Plus. By following the straightforward steps outlined in this guide, you have equipped your device with the essential components necessary to establish a reliable connection to your mobile network and enable seamless communication and data access.
The successful installation of the SIM card ensures that your Note 10 Plus is ready to keep you connected and productive wherever you go. With the SIM card securely integrated into your device, you now have the ability to make and receive calls, send and receive text messages, and access high-speed mobile data services, empowering you to stay connected with your friends, family, and colleagues while on the move.
Furthermore, the process of inserting a SIM card into your Note 10 Plus has provided you with valuable insights into the essential components that enable your device to connect to your mobile network. The SIM card, a compact and powerful memory chip, holds critical information about your mobile account and network authorization data, allowing you to access a wide range of communication and data services with ease.
As you continue to explore the features and capabilities of your Samsung Galaxy Note 10 Plus, the successful installation of the SIM card serves as a foundational step in unlocking the full potential of your device. Whether you are a frequent traveler, a busy professional, or a social butterfly, having a SIM card in your device is the key to staying connected and productive, enabling you to make the most of your mobile experience.
With your Note 10 Plus now equipped with a SIM card, you are poised to enjoy the full range of features and connectivity that your device has to offer. From seamless communication to high-speed data access, your device is ready to accompany you on your daily adventures and keep you connected with the world around you.
In conclusion, the process of inserting a SIM card into your Samsung Galaxy Note 10 Plus has equipped your device with the fundamental components necessary to establish a reliable connection to your mobile network. By following the simple steps outlined in this guide, you have empowered your device to keep you connected, productive, and engaged, ensuring that you can make the most of your mobile experience with confidence and ease.