Introduction
Inserting a SIM card into a Netgear Nighthawk M1 is a fundamental step in setting up this powerful mobile router. Whether you're a seasoned tech enthusiast or a novice user, understanding how to correctly insert a SIM card into the Netgear Nighthawk M1 is crucial for seamless connectivity and optimal performance. This tutorial will guide you through the process, ensuring that you can successfully complete this essential task without any hassle.
The Netgear Nighthawk M1 is designed to deliver high-speed internet access, making it an invaluable tool for staying connected while on the go. With its advanced capabilities and reliable performance, this mobile router has become a popular choice for individuals and businesses seeking a robust networking solution. By following the steps outlined in this tutorial, you'll be able to harness the full potential of the Netgear Nighthawk M1 and enjoy uninterrupted access to high-speed internet wherever you are.
Whether you're preparing for a business trip, planning a remote work setup, or simply looking to stay connected during your travels, understanding how to insert a SIM card into the Netgear Nighthawk M1 is an essential skill. This tutorial aims to simplify the process, providing clear and concise instructions that will empower you to complete this task with confidence. With the right guidance, you can quickly and effortlessly prepare your Netgear Nighthawk M1 for seamless connectivity, allowing you to stay productive and connected while on the move.
Now, let's delve into the step-by-step process of inserting a SIM card into the Netgear Nighthawk M1, ensuring that you can make the most of this innovative mobile router's capabilities. By following these instructions, you'll be well-equipped to set up your device and enjoy the benefits of reliable and high-speed internet connectivity wherever your adventures take you.
Step 1: Open the SIM card slot
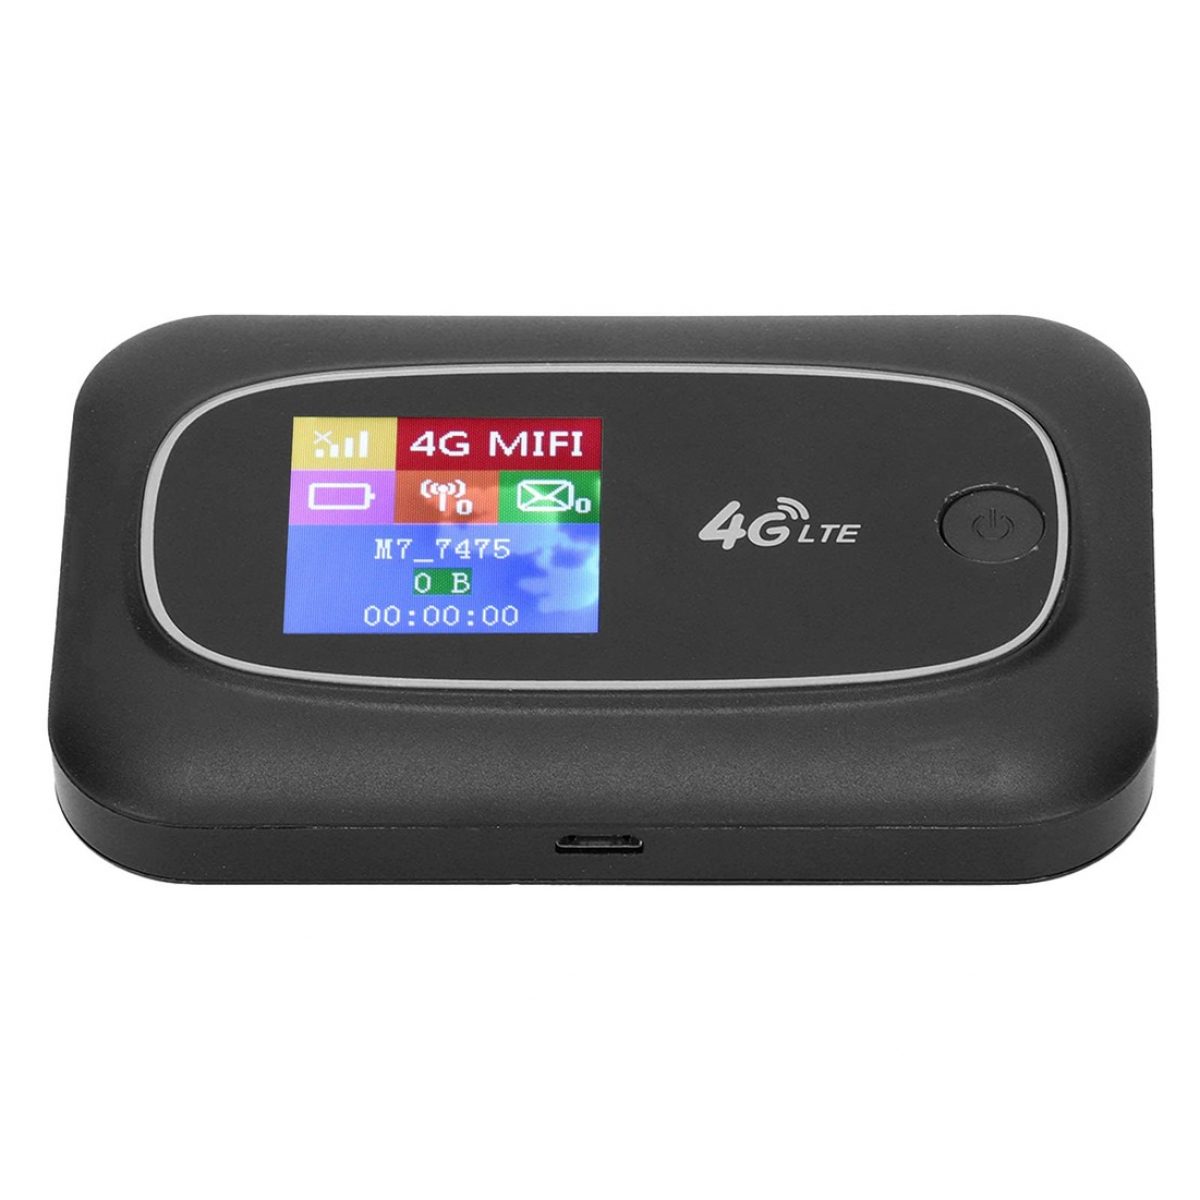
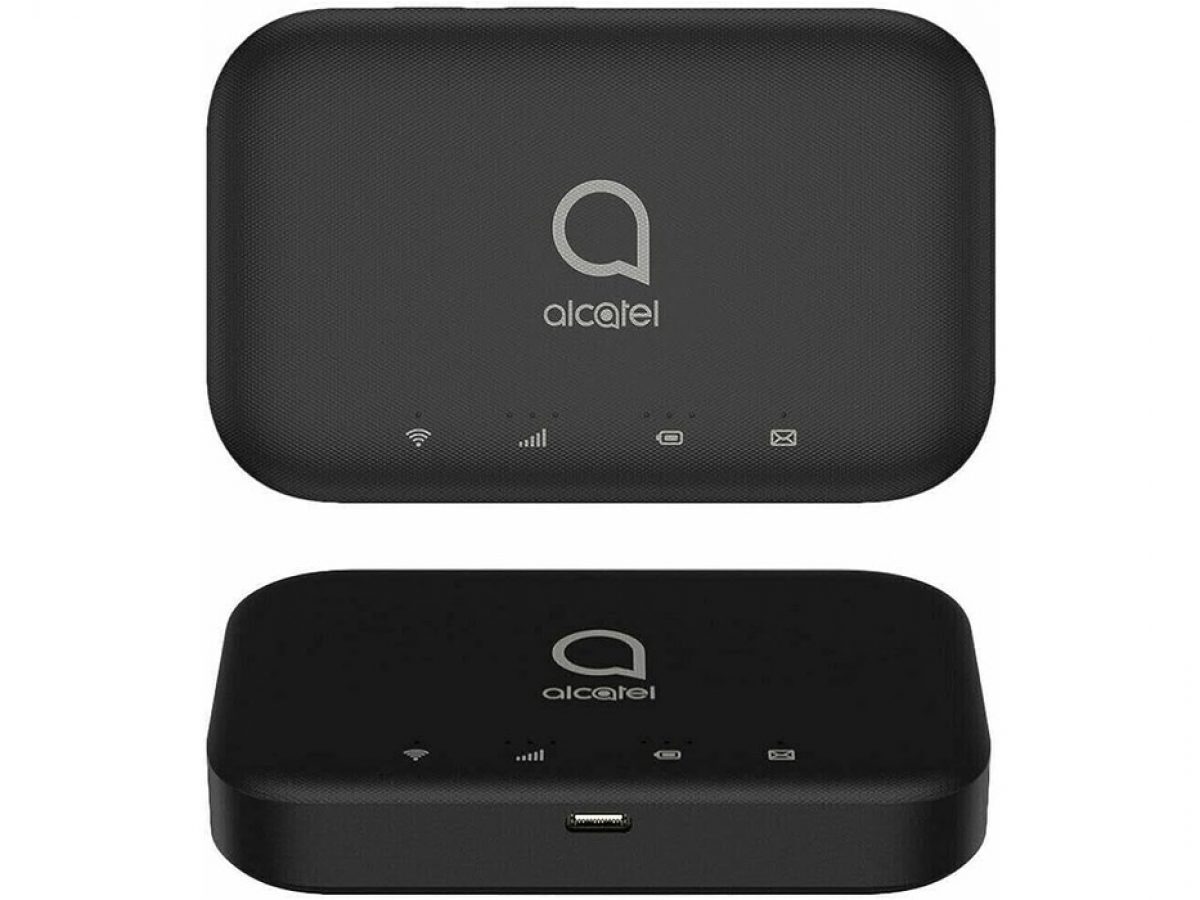
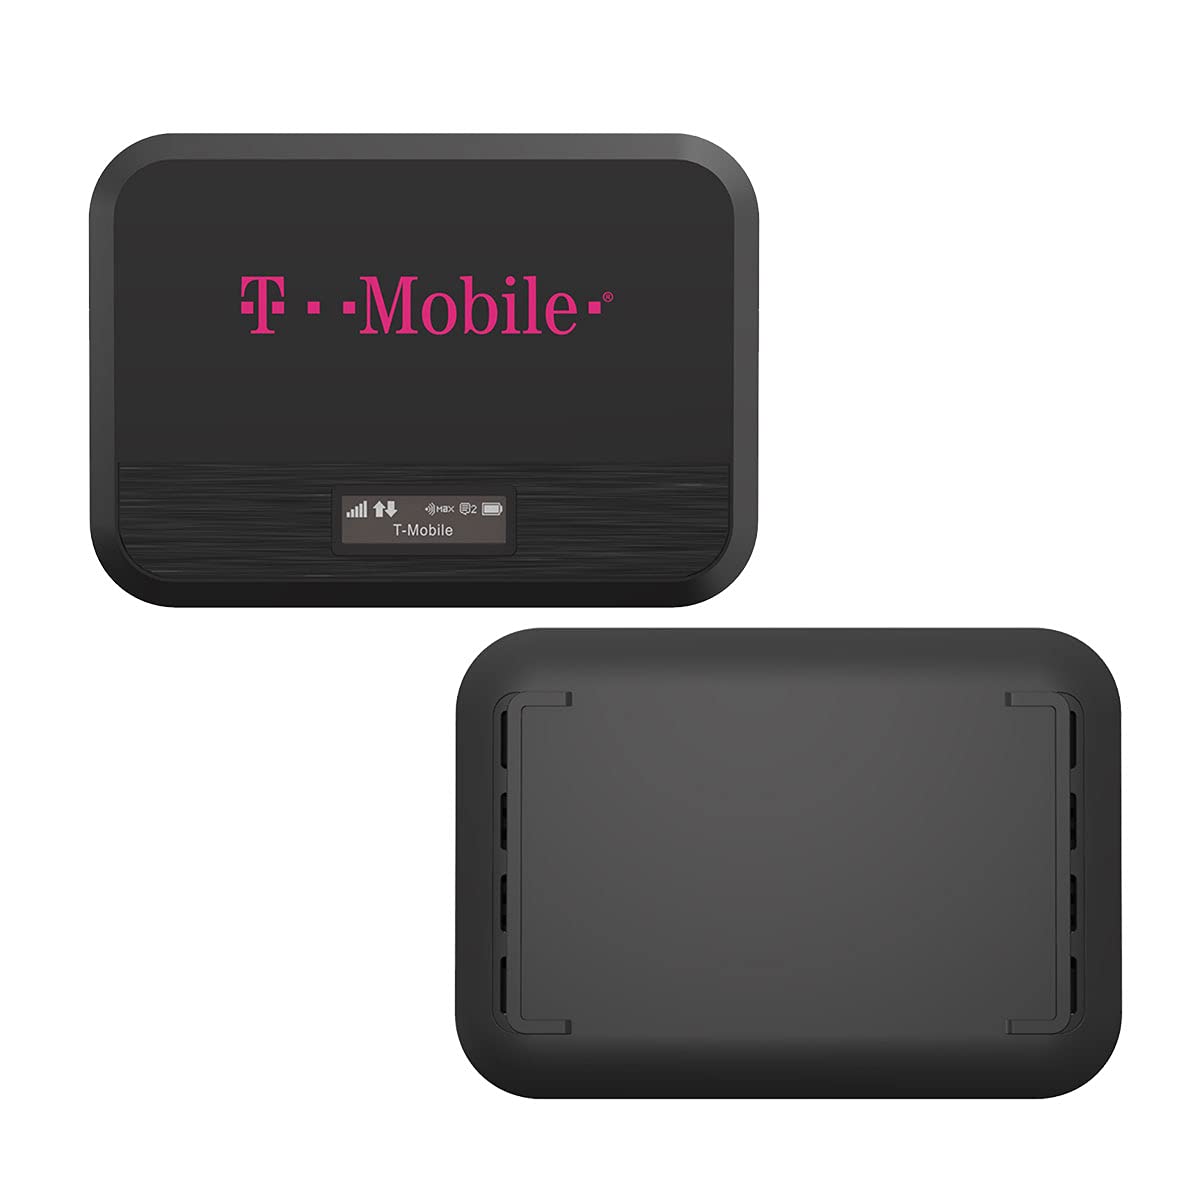
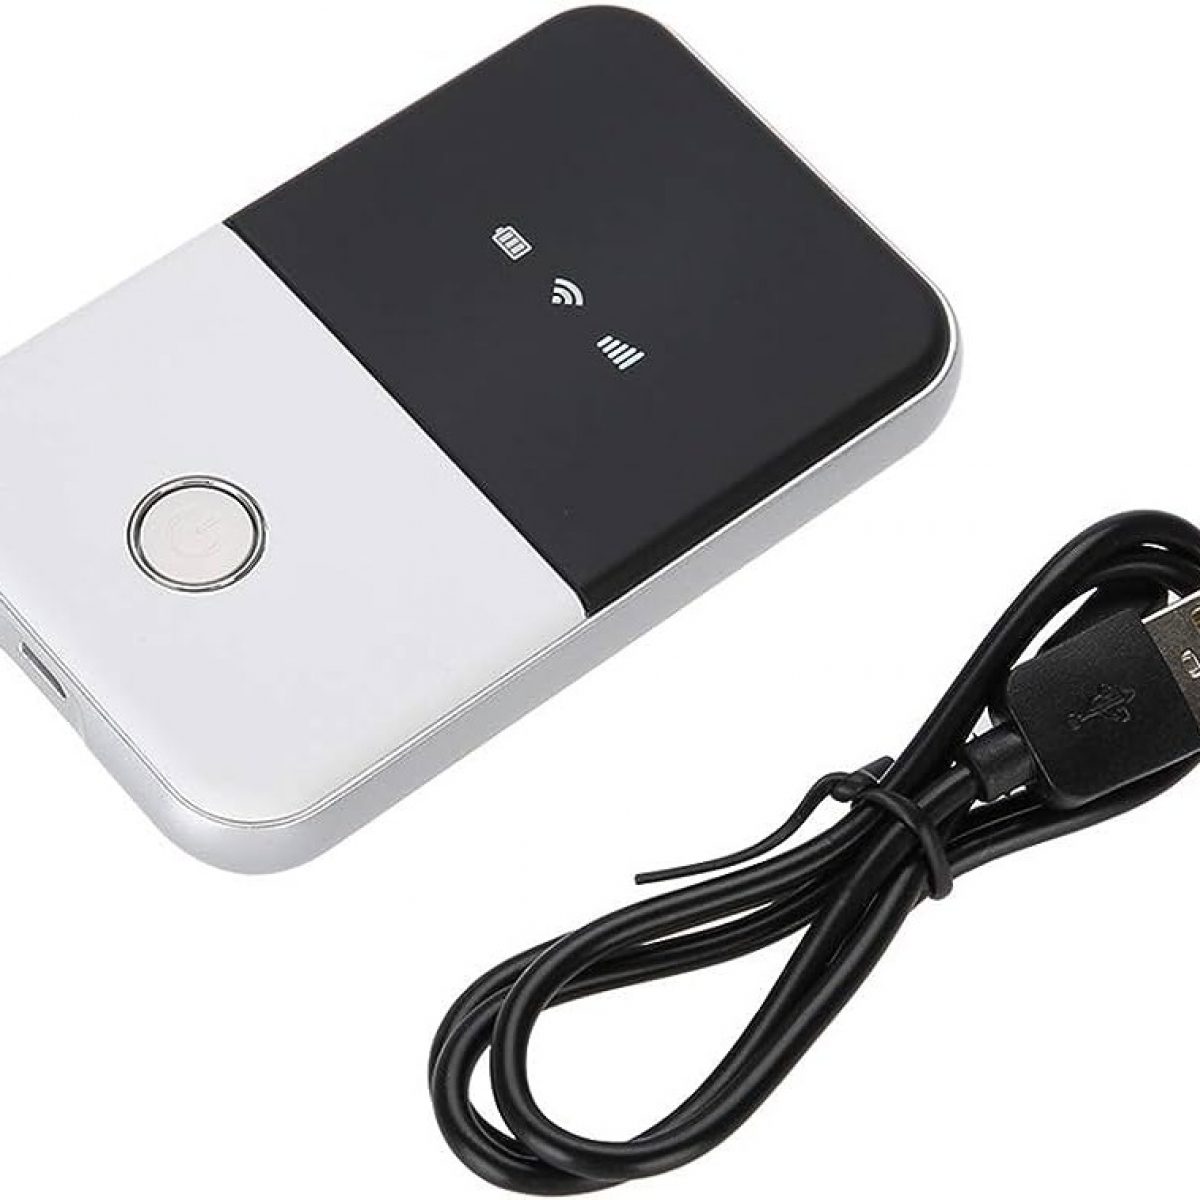
To begin the process of inserting a SIM card into your Netgear Nighthawk M1, you'll first need to locate the SIM card slot. The SIM card slot is typically situated on the side or back of the device, and it's designed to securely hold the SIM card in place. Before proceeding, ensure that the Netgear Nighthawk M1 is powered off to prevent any potential issues during the SIM card insertion process.
Once you've identified the SIM card slot, you'll notice a small tray that houses the SIM card. To access this tray, you'll need a SIM card removal tool or a paperclip. Gently insert the removal tool or unfolded paperclip into the small pinhole located next to the SIM card slot. Apply a slight amount of pressure to release the locking mechanism, allowing the SIM card tray to pop out.
Carefully pull out the SIM card tray from the Netgear Nighthawk M1, taking care not to apply excessive force that may damage the device. The SIM card tray is designed to slide out smoothly, providing easy access to the compartment where the SIM card will be placed.
With the SIM card tray now accessible, you can proceed to the next step of the process, which involves inserting the SIM card into the designated slot. This crucial step sets the stage for establishing a reliable connection and ensuring that your Netgear Nighthawk M1 is ready to deliver high-speed internet access whenever you need it.
By following these instructions and taking the time to open the SIM card slot with care, you'll be well on your way to preparing your Netgear Nighthawk M1 for seamless connectivity. This initial step lays the foundation for a smooth setup process, allowing you to harness the full potential of this advanced mobile router and enjoy uninterrupted access to high-speed internet on the go.
Step 2: Insert the SIM card
With the SIM card tray now accessible, it's time to proceed with inserting the SIM card into your Netgear Nighthawk M1. Before you begin, carefully examine the SIM card and ensure that it is compatible with your device. The Netgear Nighthawk M1 supports a wide range of SIM card types, including standard, micro, and nano SIM cards. It's essential to use the appropriate SIM card size that aligns with the specifications of your device.
Begin by removing the SIM card from its packaging, handling it with care to avoid any damage to the delicate circuitry. Take a moment to inspect the SIM card and locate the notched corner, which aligns with the corresponding notch on the SIM card tray. This orientation ensures that the SIM card is inserted correctly, allowing for a secure and reliable connection.
With the notched corner of the SIM card positioned as indicated, gently place the SIM card into the designated slot on the SIM card tray. Take care to align the SIM card with the tray's contours, ensuring a proper fit that facilitates seamless functionality. Avoid applying excessive pressure when inserting the SIM card, as this may cause damage to the delicate components.
Once the SIM card is securely in place, carefully slide the SIM card tray back into the Netgear Nighthawk M1, ensuring that it fits snugly into the device. Be mindful of the orientation of the tray to prevent any potential issues with its alignment. With the SIM card tray fully inserted, you can proceed to the next step of the process, bringing you closer to completing the setup of your Netgear Nighthawk M1.
By following these precise instructions and taking the time to insert the SIM card with care, you are laying the groundwork for establishing a reliable and efficient connection on your Netgear Nighthawk M1. This critical step ensures that your device is ready to deliver high-speed internet access, empowering you to stay connected and productive wherever your adventures take you.
Step 3: Close the SIM card slot
After successfully inserting the SIM card into the designated slot on the SIM card tray, the next crucial step is to securely close the SIM card slot on your Netgear Nighthawk M1. This step is essential for ensuring that the SIM card remains firmly in place, establishing a stable connection and allowing the device to function optimally.
Begin by carefully aligning the SIM card tray with the slot on the Netgear Nighthawk M1. Take note of the orientation of the tray to ensure that it fits seamlessly into the device. With gentle precision, slide the SIM card tray back into the designated slot, applying even pressure to ensure a secure fit. The tray should slide in smoothly, without any resistance, indicating that it is correctly positioned within the device.
As the SIM card tray is pushed back into place, you may hear a subtle click, signaling that the tray is securely locked into position. This audible confirmation provides assurance that the SIM card is held firmly within the device, ready to facilitate reliable connectivity and high-speed internet access.
It's crucial to handle this step with care, ensuring that the SIM card tray is smoothly and securely closed without any abrupt movements that may dislodge the SIM card. By taking the time to close the SIM card slot attentively, you are safeguarding the integrity of the SIM card and setting the stage for a seamless networking experience on your Netgear Nighthawk M1.
Once the SIM card slot is securely closed, you have completed a fundamental aspect of the setup process, bringing you one step closer to harnessing the full capabilities of your Netgear Nighthawk M1. This pivotal step ensures that the SIM card is firmly in place, ready to facilitate reliable connectivity and high-speed internet access whenever you need it.
By following these precise instructions and taking the time to close the SIM card slot with attention to detail, you are effectively preparing your Netgear Nighthawk M1 for uninterrupted access to high-speed internet, empowering you to stay connected and productive in any environment.
Step 4: Power on the Netgear Nighthawk M1
With the SIM card securely inserted and the SIM card slot closed, the final step in preparing your Netgear Nighthawk M1 for seamless connectivity is to power on the device. This straightforward yet essential step sets the stage for initializing the device and establishing a reliable connection to the mobile network.
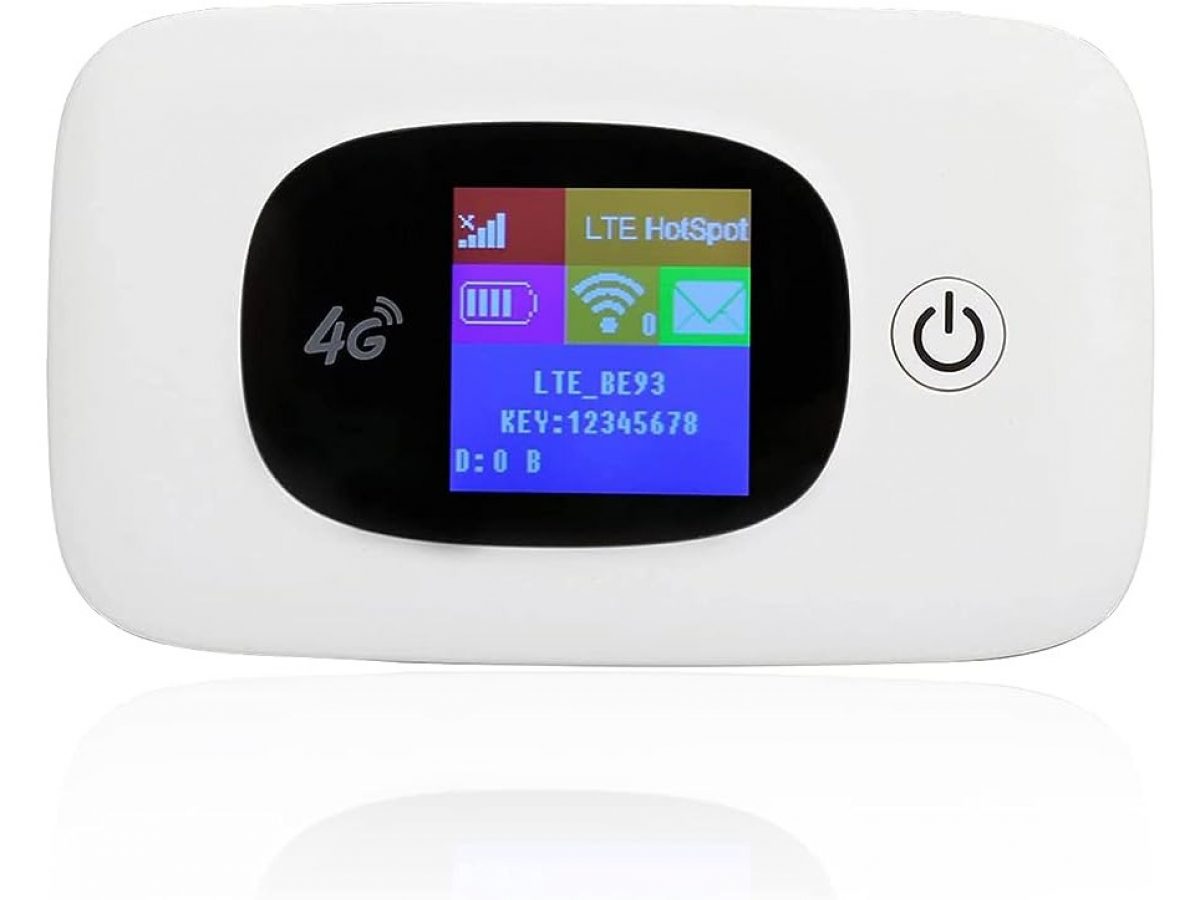
To power on the Netgear Nighthawk M1, locate the power button, typically situated on the front or side of the device. Press and hold the power button for a few seconds until the device's indicator lights illuminate, signaling that it is booting up. As the device powers on, you may notice the display screen activating, providing essential information about the device's status and connectivity.
Once powered on, the Netgear Nighthawk M1 will begin the initialization process, automatically detecting the inserted SIM card and establishing a connection to the mobile network. This pivotal step is crucial for ensuring that the device is ready to deliver high-speed internet access, allowing you to stay connected and productive wherever you are.
As the device completes the startup process, you may observe the indicator lights signaling the successful establishment of a network connection. These visual cues provide reassurance that the Netgear Nighthawk M1 is ready to deliver reliable connectivity, empowering you to access high-speed internet and stay connected with ease.
With the Netgear Nighthawk M1 powered on and the network connection established, you have successfully completed the essential setup process, preparing the device to deliver seamless connectivity and high-speed internet access. Whether you're embarking on a business trip, working remotely, or simply seeking reliable internet access on the go, the Netgear Nighthawk M1 is now primed to meet your connectivity needs.
By following these precise instructions and taking the time to power on the Netgear Nighthawk M1 with care, you have effectively completed the setup process, ensuring that the device is ready to deliver uninterrupted access to high-speed internet. With the device powered on and the network connection established, you are well-equipped to stay connected and productive in any environment, harnessing the full capabilities of the Netgear Nighthawk M1.
Conclusion
Congratulations! You have successfully completed the process of inserting a SIM card into your Netgear Nighthawk M1, setting the stage for seamless connectivity and high-speed internet access. By following the step-by-step instructions outlined in this tutorial, you have empowered your device to deliver reliable networking capabilities, ensuring that you can stay connected and productive wherever your adventures take you.
The meticulous process of opening the SIM card slot, inserting the SIM card with precision, and securely closing the slot has laid the foundation for a seamless networking experience on your Netgear Nighthawk M1. With the device powered on and the network connection established, you can confidently rely on your mobile router to provide uninterrupted access to high-speed internet, whether you're on the move, working remotely, or simply seeking reliable connectivity.
As you embark on your journey with the Netgear Nighthawk M1, it's essential to recognize the significance of this setup process. By taking the time to carefully insert the SIM card and power on the device, you have ensured that your mobile router is primed to meet your connectivity needs, empowering you to stay connected and productive in any environment.
The Netgear Nighthawk M1 stands as a powerful tool for accessing high-speed internet on the go, and your meticulous attention to detail during the setup process has maximized its capabilities. Whether you're a professional seeking reliable connectivity for remote work or a traveler in need of seamless internet access, your Netgear Nighthawk M1 is now equipped to deliver the performance and reliability you require.
By completing the SIM card insertion process with care and precision, you have unlocked the full potential of your Netgear Nighthawk M1, ensuring that it can seamlessly integrate with your mobile lifestyle. With its advanced networking features and robust performance, this mobile router is now ready to accompany you on your endeavors, providing the connectivity you need to thrive in today's dynamic and interconnected world.
As you embark on your journey with the Netgear Nighthawk M1, you can do so with confidence, knowing that your device is prepared to deliver reliable and high-speed internet access whenever you need it. By following this tutorial and mastering the essential setup process, you have positioned yourself to make the most of your Netgear Nighthawk M1, staying connected and productive with ease.
Now that you have successfully completed the SIM card insertion process, it's time to embark on your next adventure, armed with the assurance that your Netgear Nighthawk M1 is ready to keep you connected and productive in any setting. Whether you're navigating the demands of remote work, staying connected during travel, or simply seeking reliable internet access, your Netgear Nighthawk M1 is your steadfast companion, empowering you to embrace your pursuits with confidence and connectivity.