Introduction
Inserting a SIM card into an iPhone 8 is a fundamental step in setting up your device for cellular connectivity. Whether you're activating a new iPhone 8 or replacing an existing SIM card, this process is essential for accessing voice and data services. Understanding how to properly insert a SIM card ensures that you can seamlessly connect with your network provider and enjoy the full functionality of your iPhone 8.
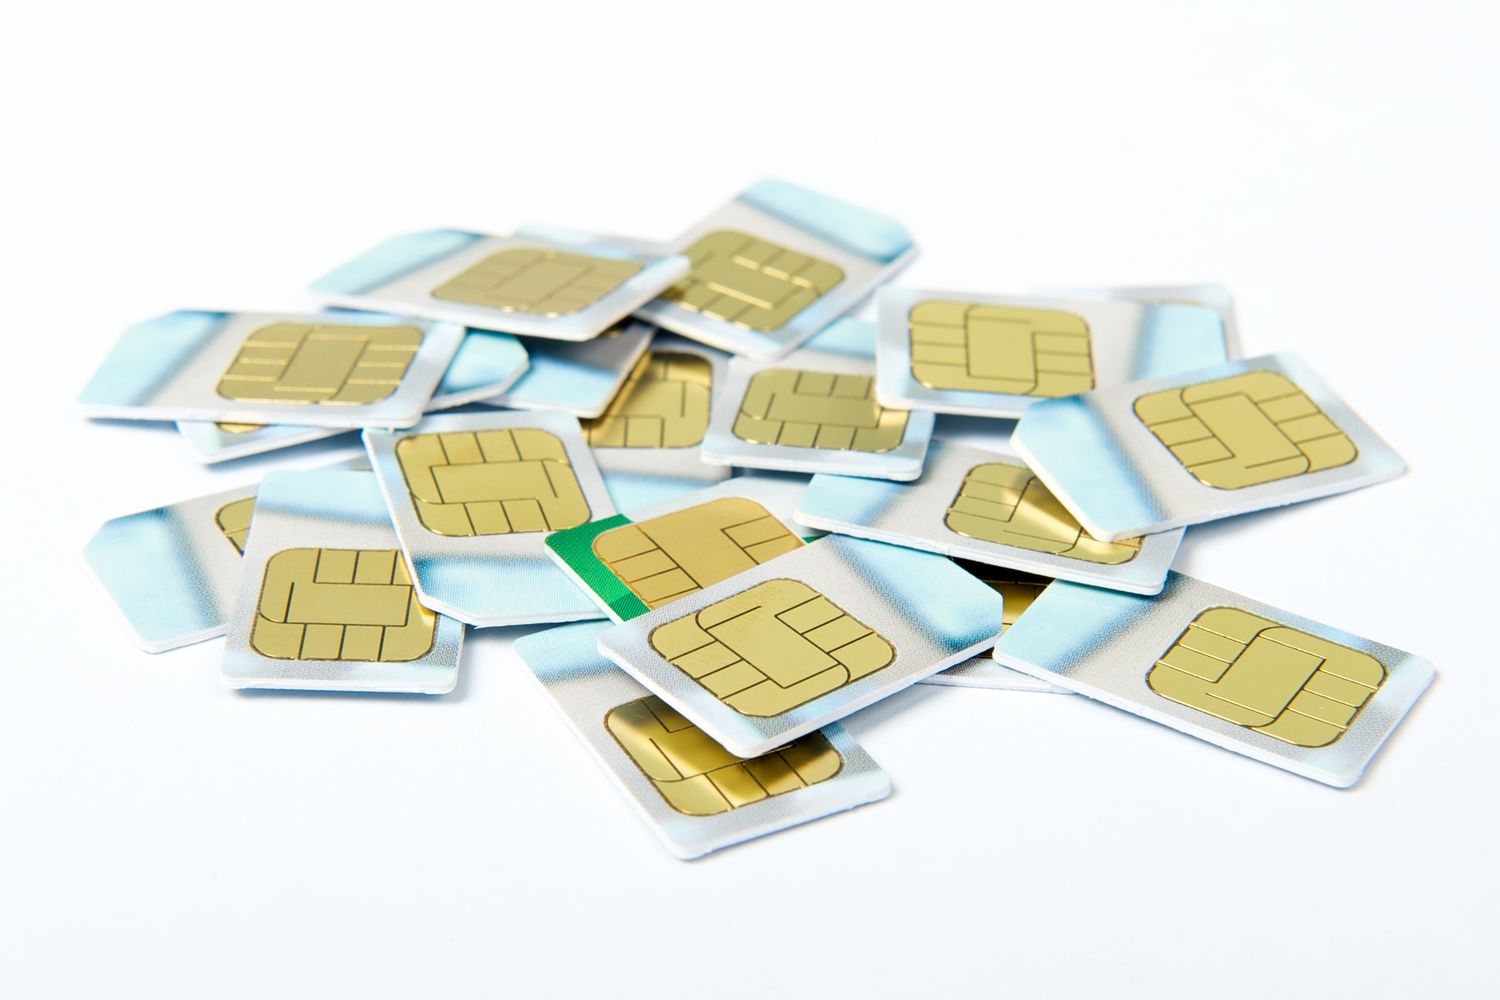
The SIM card, or Subscriber Identity Module, serves as the key to unlocking your device's cellular capabilities. It stores essential information, including your phone number, carrier details, and personal contacts. By inserting a SIM card into your iPhone 8, you establish a vital link between your device and your mobile network, enabling you to make calls, send messages, and access mobile data services.
In this comprehensive guide, we will walk you through the step-by-step process of inserting a SIM card into your iPhone 8. Whether you're a first-time iPhone user or simply need a refresher on this essential task, this guide will provide clear and concise instructions to help you complete the process with ease.
By following the instructions outlined in this guide, you will gain the confidence to manage your device's connectivity features effectively. Let's dive into the details of locating the SIM card tray, ejecting the tray, inserting the SIM card, and reinserting the tray to ensure a seamless and successful setup process for your iPhone 8.
Step 1: Locate the SIM card tray
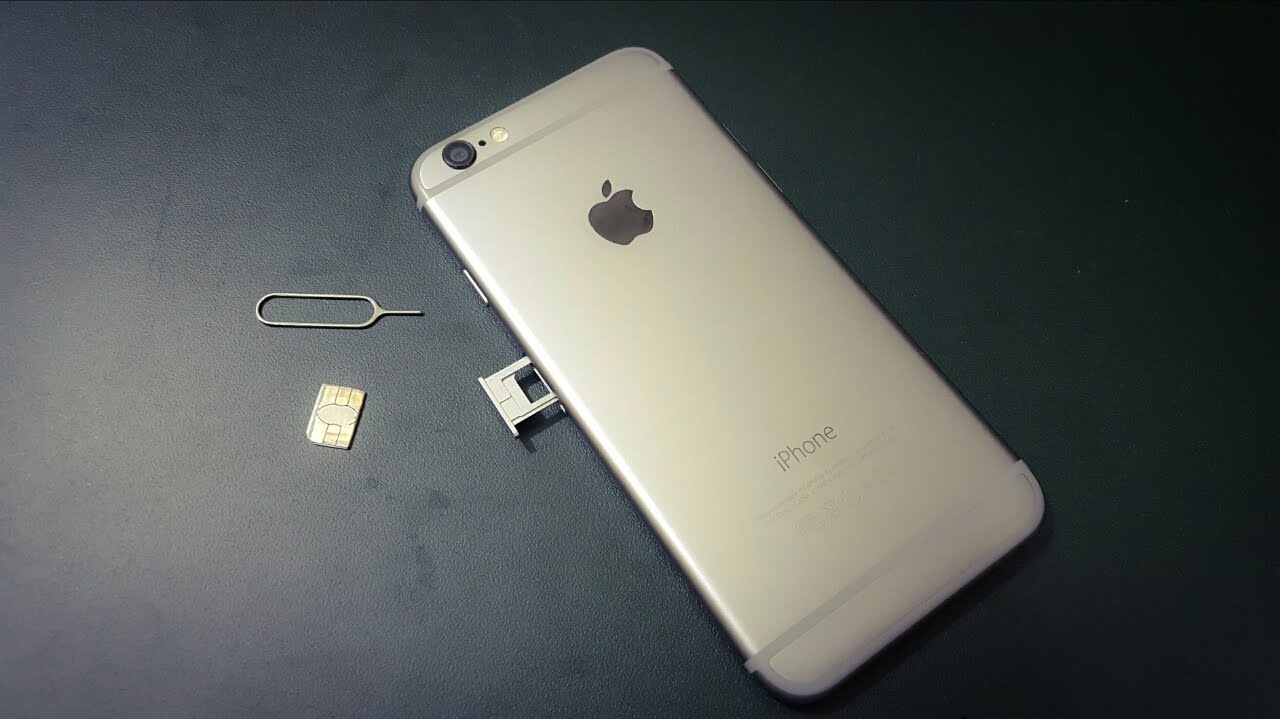
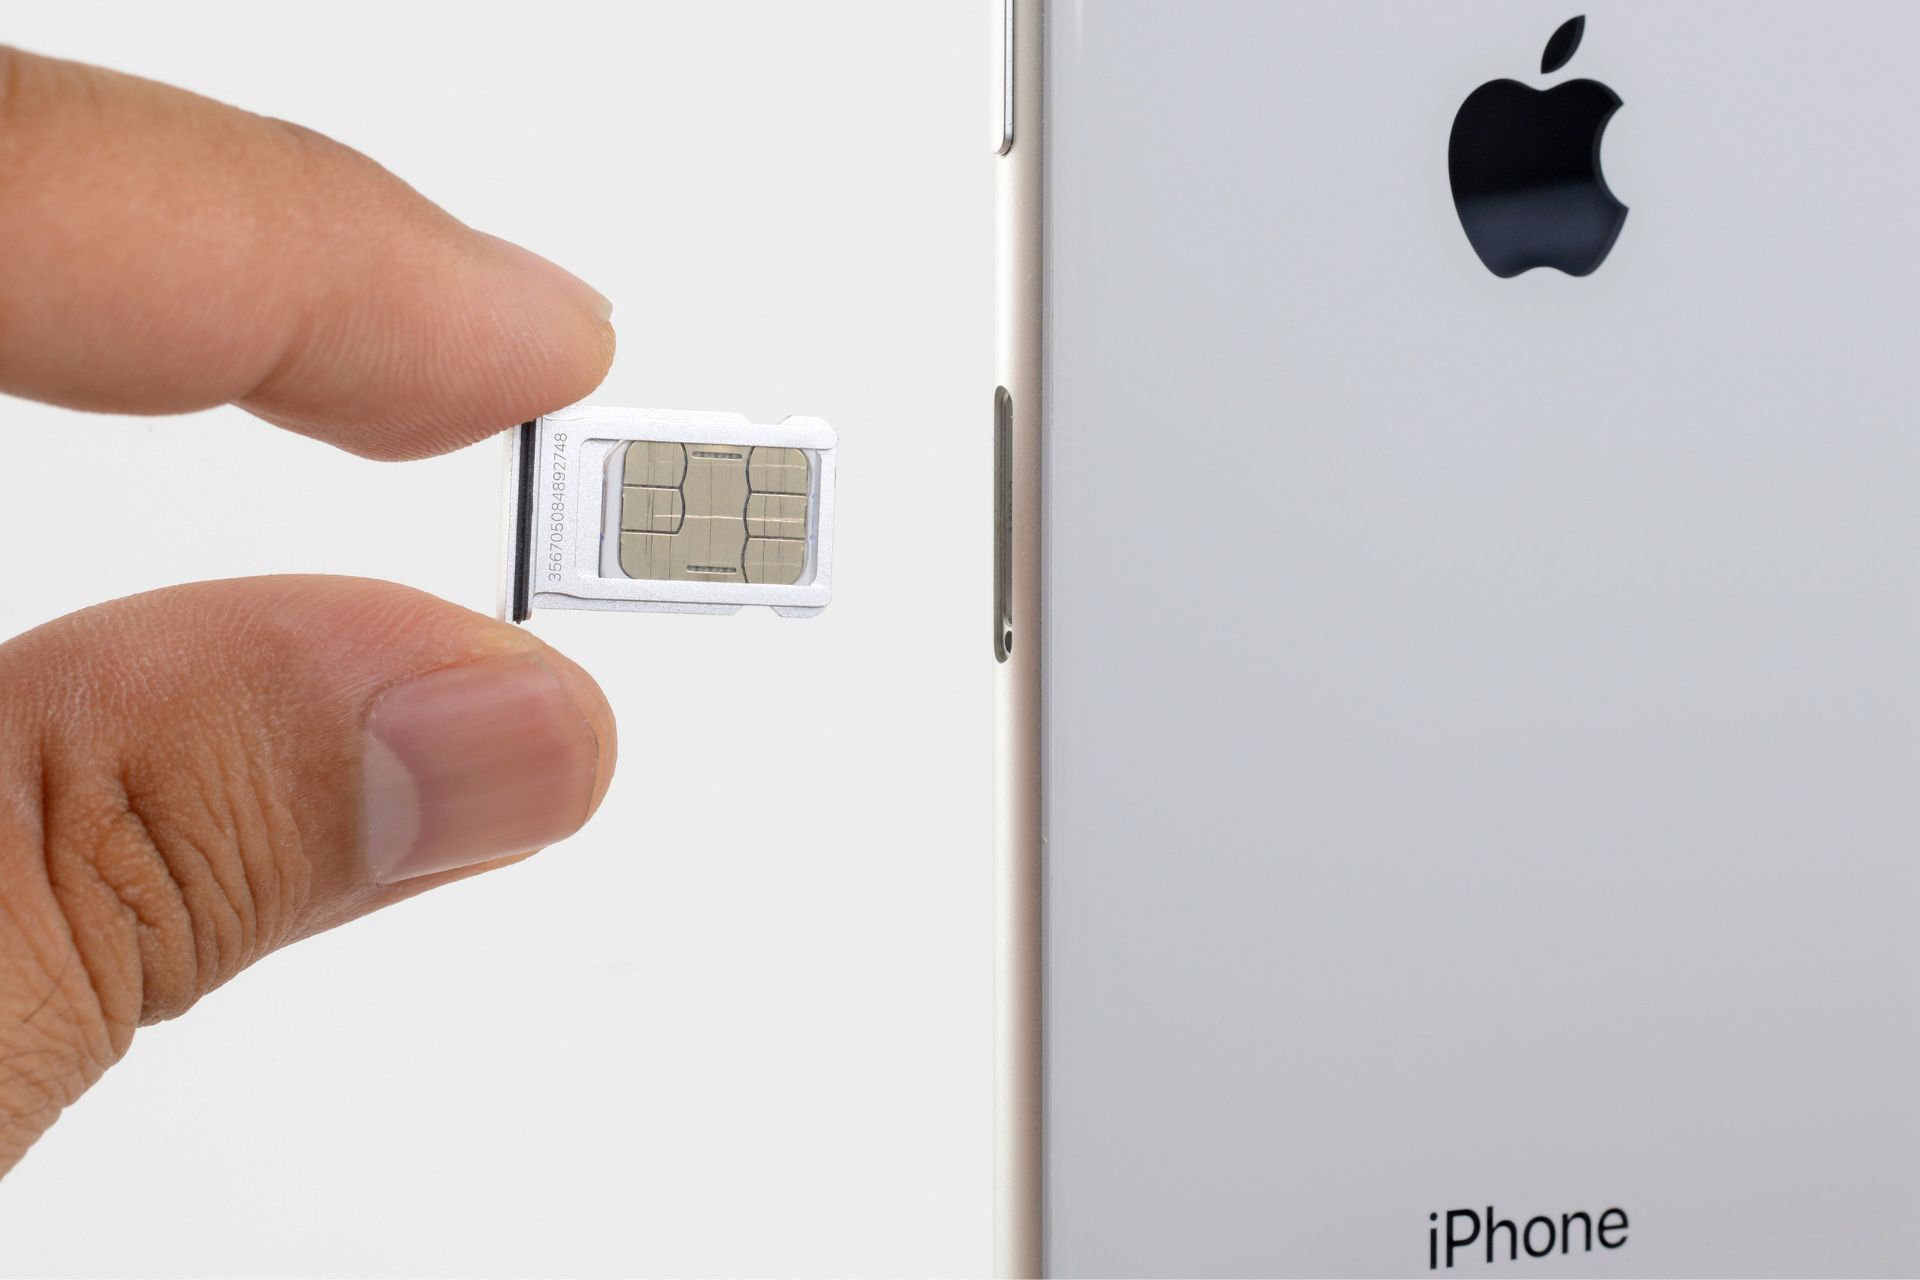
Locating the SIM card tray is the initial step in the process of inserting a SIM card into your iPhone 8. The SIM card tray is a small, rectangular slot that houses the SIM card and is an essential component for establishing cellular connectivity on your device.
To locate the SIM card tray on your iPhone 8, you will need to identify the device's exterior features. The SIM card tray is typically situated on the right-hand side of the device, opposite the volume buttons. It is important to note that the exact location of the SIM card tray may vary depending on the specific model of the iPhone 8.
Upon identifying the location of the SIM card tray, you will notice a small pinhole adjacent to the tray. This pinhole is designed to accommodate the SIM card ejection tool, which is included with your iPhone 8. The ejection tool is a slender, metallic pin that facilitates the removal and insertion of the SIM card tray.
Once you have located the SIM card tray and familiarized yourself with its surroundings, you are ready to proceed to the next step of the process. By effectively identifying the SIM card tray and its corresponding ejection tool, you have laid the groundwork for seamlessly navigating the subsequent steps of inserting the SIM card into your iPhone 8.
Understanding the precise location of the SIM card tray is crucial for a successful SIM card insertion process. It sets the stage for the subsequent steps, ensuring that you can confidently proceed with the task at hand. Now that you have successfully located the SIM card tray, you are ready to move on to the next step of ejecting the tray and preparing to insert the SIM card into your iPhone 8.
By following these clear and concise instructions, you can swiftly progress through the process of inserting a SIM card into your iPhone 8, setting the stage for seamless connectivity and enhanced mobile functionality.
Step 2: Eject the SIM card tray
Ejecting the SIM card tray is a crucial step in preparing your iPhone 8 for the insertion of a SIM card. This process requires precision and care to ensure that the SIM card tray is safely removed from the device, allowing for the seamless insertion of the SIM card.
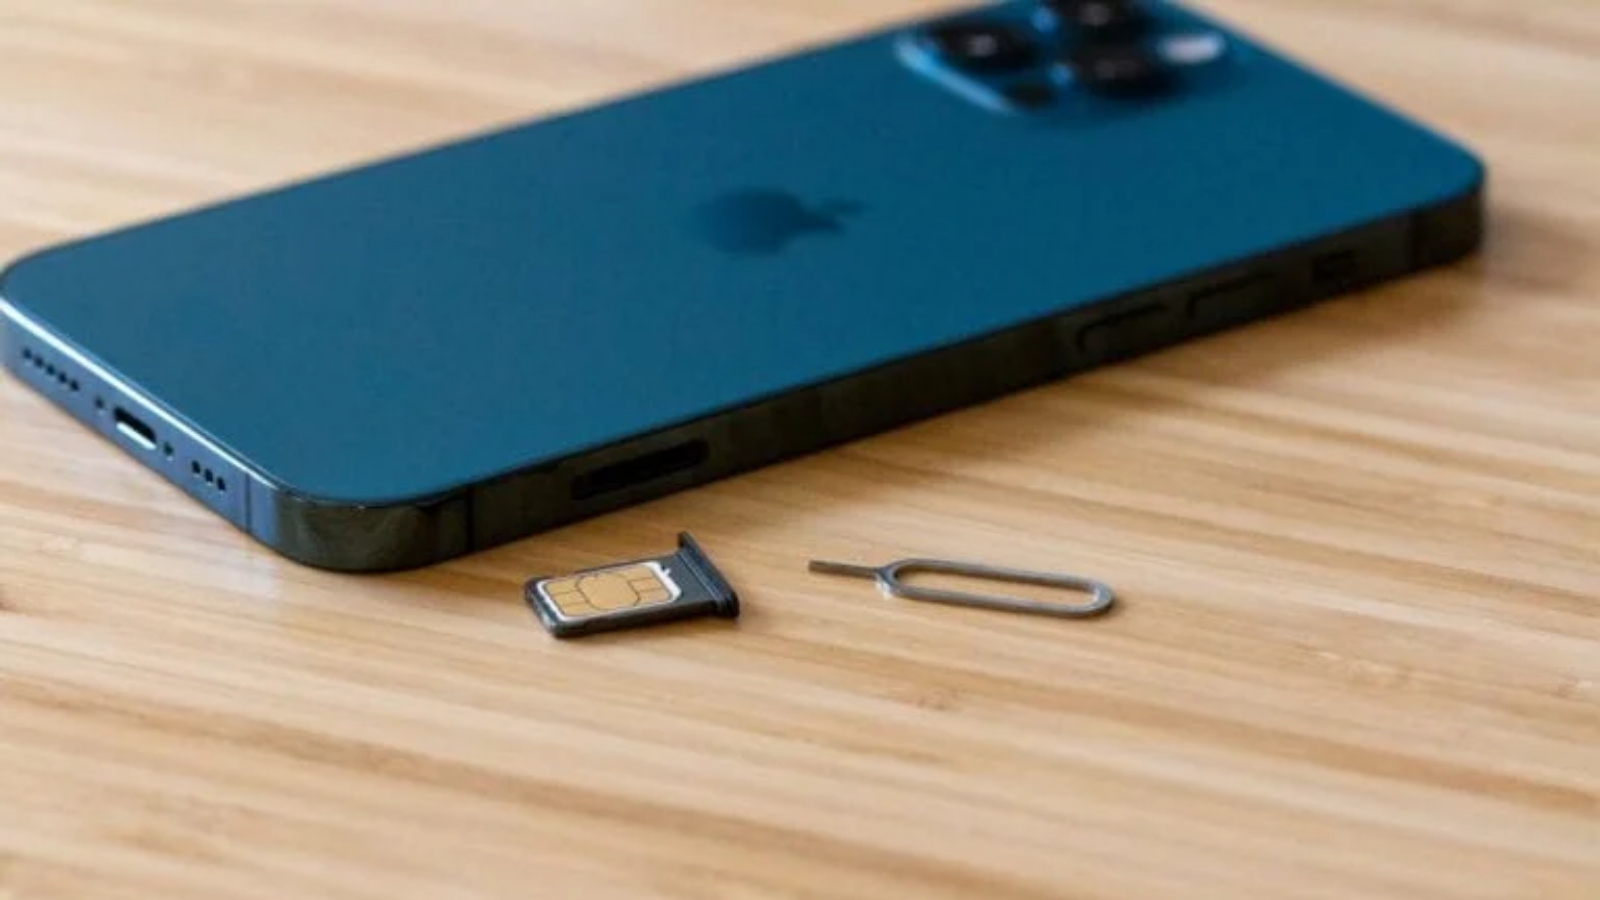
To begin, retrieve the SIM card ejection tool provided with your iPhone 8. This slender, metallic pin is specifically designed to facilitate the ejection of the SIM card tray. If the ejection tool is not readily available, a paperclip can serve as an alternative, provided it is unfolded into a straightened position.
Next, firmly grasp the iPhone 8 in one hand, ensuring a secure grip to maintain control over the device. With the other hand, carefully insert the pointed end of the SIM card ejection tool into the small pinhole adjacent to the SIM card tray. Apply gentle pressure to engage the internal mechanism, initiating the ejection of the SIM card tray from the device.
As the internal mechanism is activated, you will feel a slight resistance before the SIM card tray begins to protrude from the iPhone 8. Exercise caution and precision during this step to avoid applying excessive force, which could potentially damage the device or the SIM card tray.
Once the SIM card tray is partially ejected, gently withdraw it from the device, taking care to avoid any abrupt movements that may cause damage. The SIM card tray will emerge from the iPhone 8, revealing the compartment where the SIM card will be inserted.
Upon successfully ejecting the SIM card tray, carefully set it aside in a secure location, ensuring that it remains free from dust, debris, or any potential damage. This preparatory step sets the stage for the subsequent insertion of the SIM card into the designated slot within the SIM card tray.
By following these detailed instructions, you can confidently navigate the process of ejecting the SIM card tray from your iPhone 8, laying the foundation for the seamless insertion of the SIM card. This essential step paves the way for establishing cellular connectivity and unlocking the full potential of your device's communication capabilities.
Step 3: Insert the SIM card
With the SIM card tray successfully ejected from your iPhone 8, the next step is to proceed with inserting the SIM card into the designated slot within the tray. This process requires precision and attention to detail to ensure that the SIM card is correctly positioned, allowing for seamless connectivity and optimal functionality.
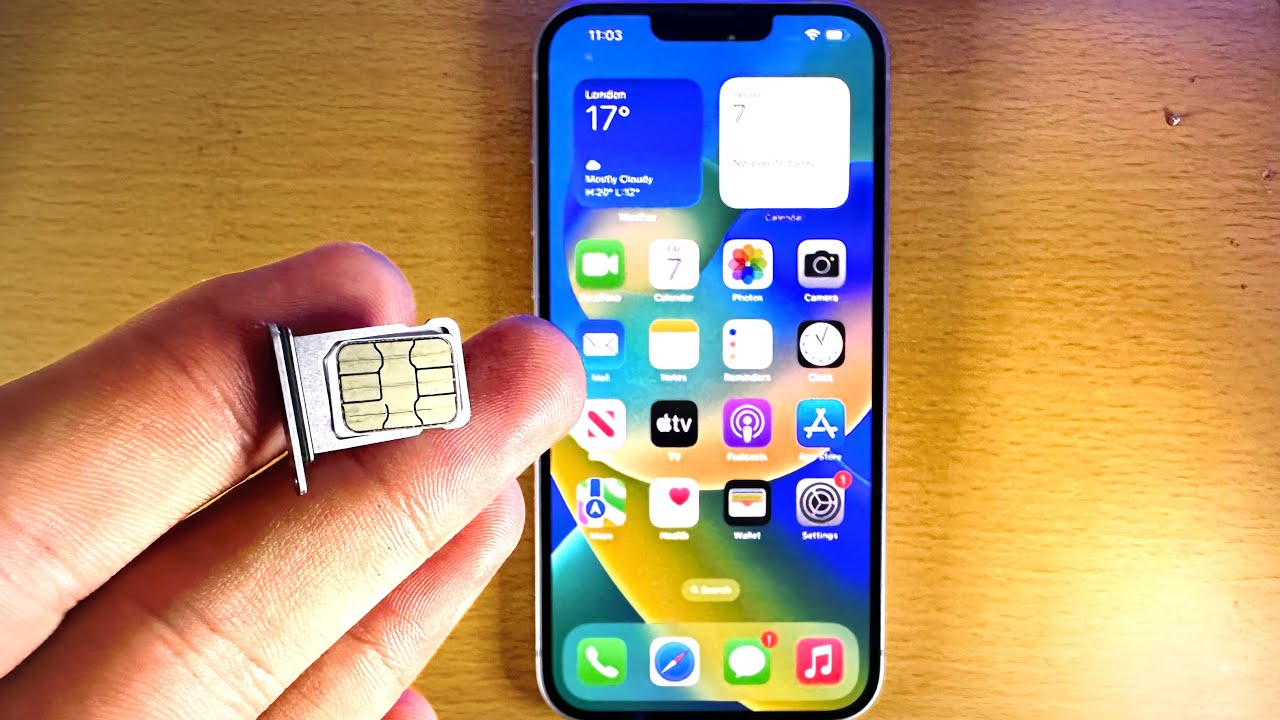
Begin by carefully removing the SIM card from its packaging or the previous device. The SIM card is a small, rectangular card that contains essential information and is vital for establishing your device's connection to the mobile network. Take note of the orientation of the SIM card, as it must be inserted into the SIM card tray in a specific manner to align with the internal components of the device.
Inspect the SIM card tray to identify the designated slot where the SIM card will be placed. The tray typically features a small, outlined area that corresponds to the size and shape of the SIM card. Position the SIM card so that it aligns with the outline on the tray, ensuring that the metal contacts on the SIM card are facing downward, in the direction of the tray.
Gently place the SIM card into the designated slot within the SIM card tray, taking care to align it properly and avoid applying excessive force. The SIM card should fit snugly within the slot, with minimal resistance. Ensure that the card is positioned flat and level within the tray, maintaining a secure and stable placement.
Once the SIM card is securely positioned within the tray, verify that it is aligned correctly and sits flush with the surface of the tray. Any misalignment or protrusion may hinder the reinsertion of the tray into the device, potentially causing damage to the SIM card or the device itself.
By following these detailed instructions, you can confidently proceed with the process of inserting the SIM card into the SIM card tray of your iPhone 8. This critical step sets the stage for establishing a seamless connection to your mobile network, enabling you to harness the full potential of your device's communication capabilities. With the SIM card securely in place, you are now ready to proceed with the final step of reinserting the SIM card tray into your iPhone 8, culminating in the successful setup of your device for cellular connectivity.
Step 4: Reinsert the SIM card tray
After successfully inserting the SIM card into the designated slot within the SIM card tray, the final step in the process involves reinserting the tray back into your iPhone 8. This critical step ensures that the SIM card is securely integrated into the device, paving the way for seamless connectivity and optimal functionality.
Begin by carefully aligning the SIM card tray with the corresponding slot on the side of your iPhone 8. Take note of the orientation of the tray, ensuring that it is positioned correctly to facilitate a smooth and secure reinsertion process. The tray should align with the device's exterior features, sitting flush against the side of the iPhone 8.
With precision and attention to detail, gently guide the SIM card tray back into the device, ensuring that it moves smoothly and without resistance. Exercise caution to avoid any abrupt movements that may disrupt the alignment of the tray or cause damage to the device.
As the SIM card tray is reinserted into the iPhone 8, you will feel a subtle click or resistance, indicating that the tray is securely positioned within the device. This tactile feedback signals the successful integration of the SIM card and tray, setting the stage for the device to recognize and activate the cellular connectivity provided by the inserted SIM card.
Once the SIM card tray is fully reinserted into the iPhone 8, take a moment to verify that it sits securely and evenly within the device. Ensure that the tray is flush with the exterior of the device, with no protrusions or misalignments that may hinder its functionality.
With the SIM card tray securely reinserted into your iPhone 8, the process of inserting a SIM card is now complete. The successful completion of this final step signifies that your device is ready to establish a seamless connection to your mobile network, enabling you to make calls, send messages, and access mobile data services with ease.
By following these detailed instructions and exercising care throughout the process, you have effectively completed the essential task of inserting a SIM card into your iPhone 8. With the SIM card securely integrated into the device, you are now poised to enjoy the full range of communication capabilities offered by your iPhone 8, ensuring a seamless and connected experience.
Conclusion
In conclusion, the process of inserting a SIM card into your iPhone 8 is a fundamental task that paves the way for seamless connectivity and optimal functionality. By following the step-by-step guide outlined in this comprehensive article, you have gained the knowledge and confidence to navigate each stage of the process with precision and ease.
From locating the SIM card tray to successfully reinserting it into your device, you have effectively completed the essential task of preparing your iPhone 8 for cellular connectivity. Understanding the significance of the SIM card and its role in establishing a connection to your mobile network is crucial for harnessing the full potential of your device's communication capabilities.
With the SIM card securely integrated into your iPhone 8, you are now poised to enjoy a range of benefits, including making calls, sending messages, and accessing mobile data services. The successful completion of this process ensures that your device is ready to serve as a reliable communication tool, keeping you connected with the world around you.
Furthermore, mastering the skill of inserting a SIM card into your iPhone 8 empowers you to take control of your device's connectivity features, allowing you to manage your cellular services with confidence and ease. Whether you are activating a new iPhone 8 or replacing an existing SIM card, the knowledge and proficiency gained from this guide equip you to navigate the process seamlessly.
By familiarizing yourself with the intricacies of the SIM card tray, the SIM card ejection tool, and the precise steps involved in inserting the SIM card, you have demonstrated a commitment to optimizing your device's functionality. This foundational knowledge sets the stage for a smooth and efficient setup process, ensuring that your iPhone 8 is ready to deliver a seamless and connected experience.
In essence, the successful insertion of a SIM card into your iPhone 8 marks the beginning of a journey toward enhanced connectivity and communication. With this essential task completed, you are now ready to explore the full range of features and capabilities offered by your device, leveraging its connectivity to stay in touch with the world around you.
Congratulations on mastering the art of inserting a SIM card into your iPhone 8. With this foundational knowledge at your disposal, you are well-equipped to embark on a connected and communicative experience, empowered by the seamless integration of your device with your mobile network.