To reset an iPhone SIM card, you typically need to physically remove and reinsert the SIM card to resolve connectivity problems like "No SIM," "Invalid SIM," or "no service." This step-by-step guide covers everything from checking carrier settings to managing an eSIM, ensuring you can fix your iPhone's network issues quickly and effectively.
Before you reset your iPhone SIM card
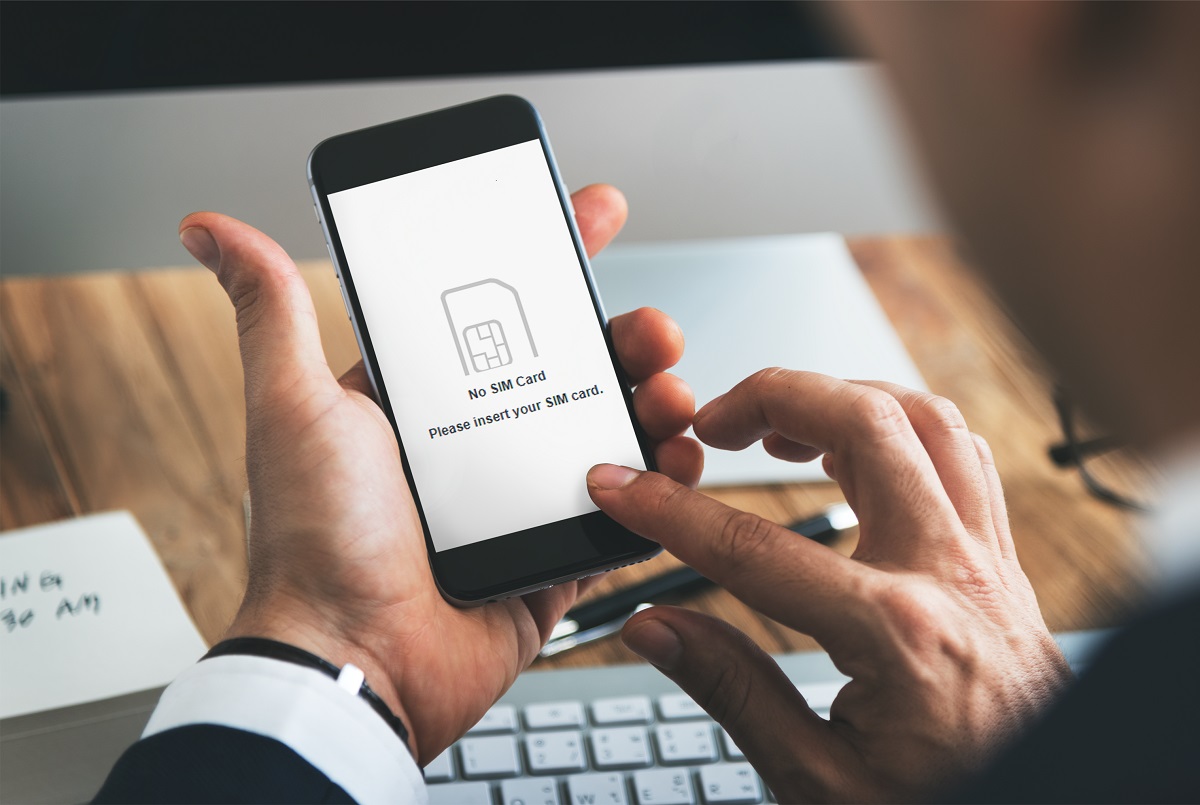
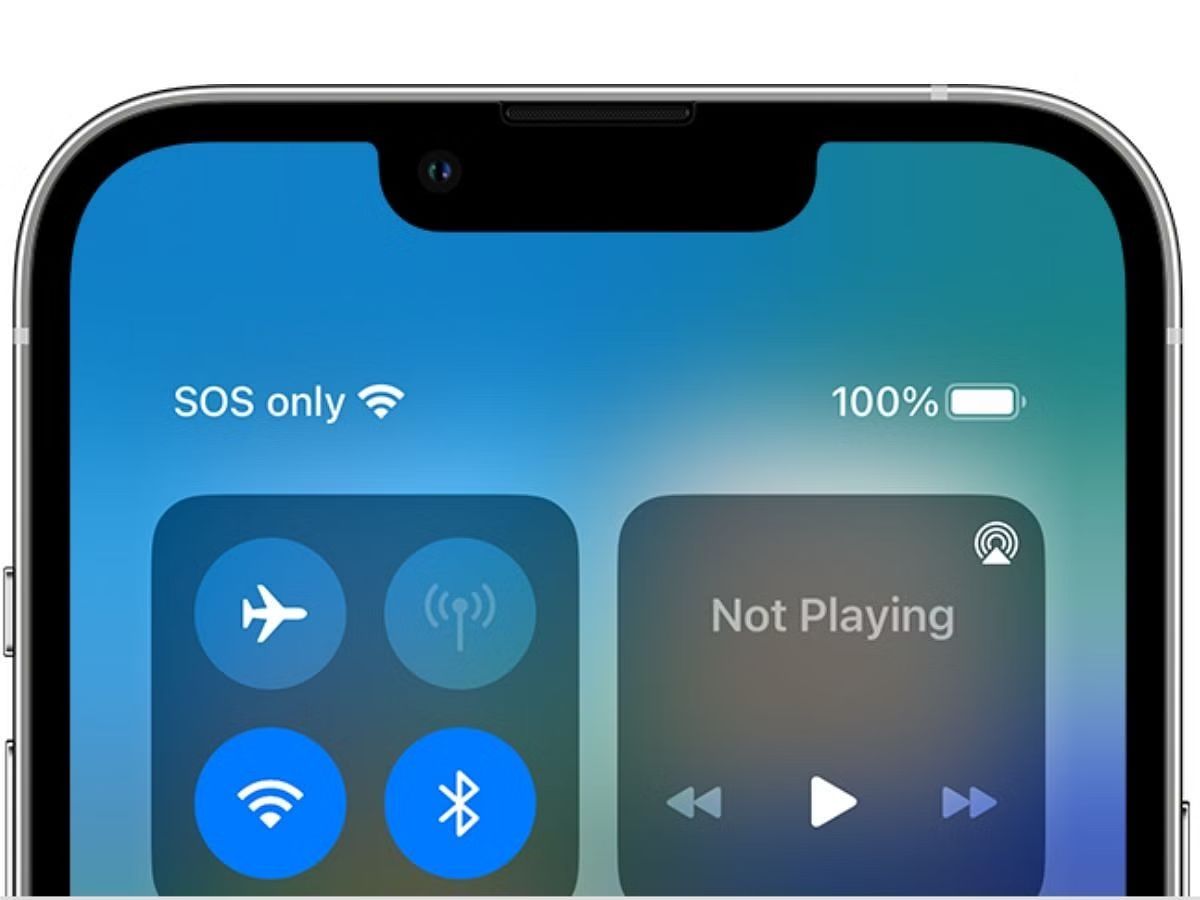
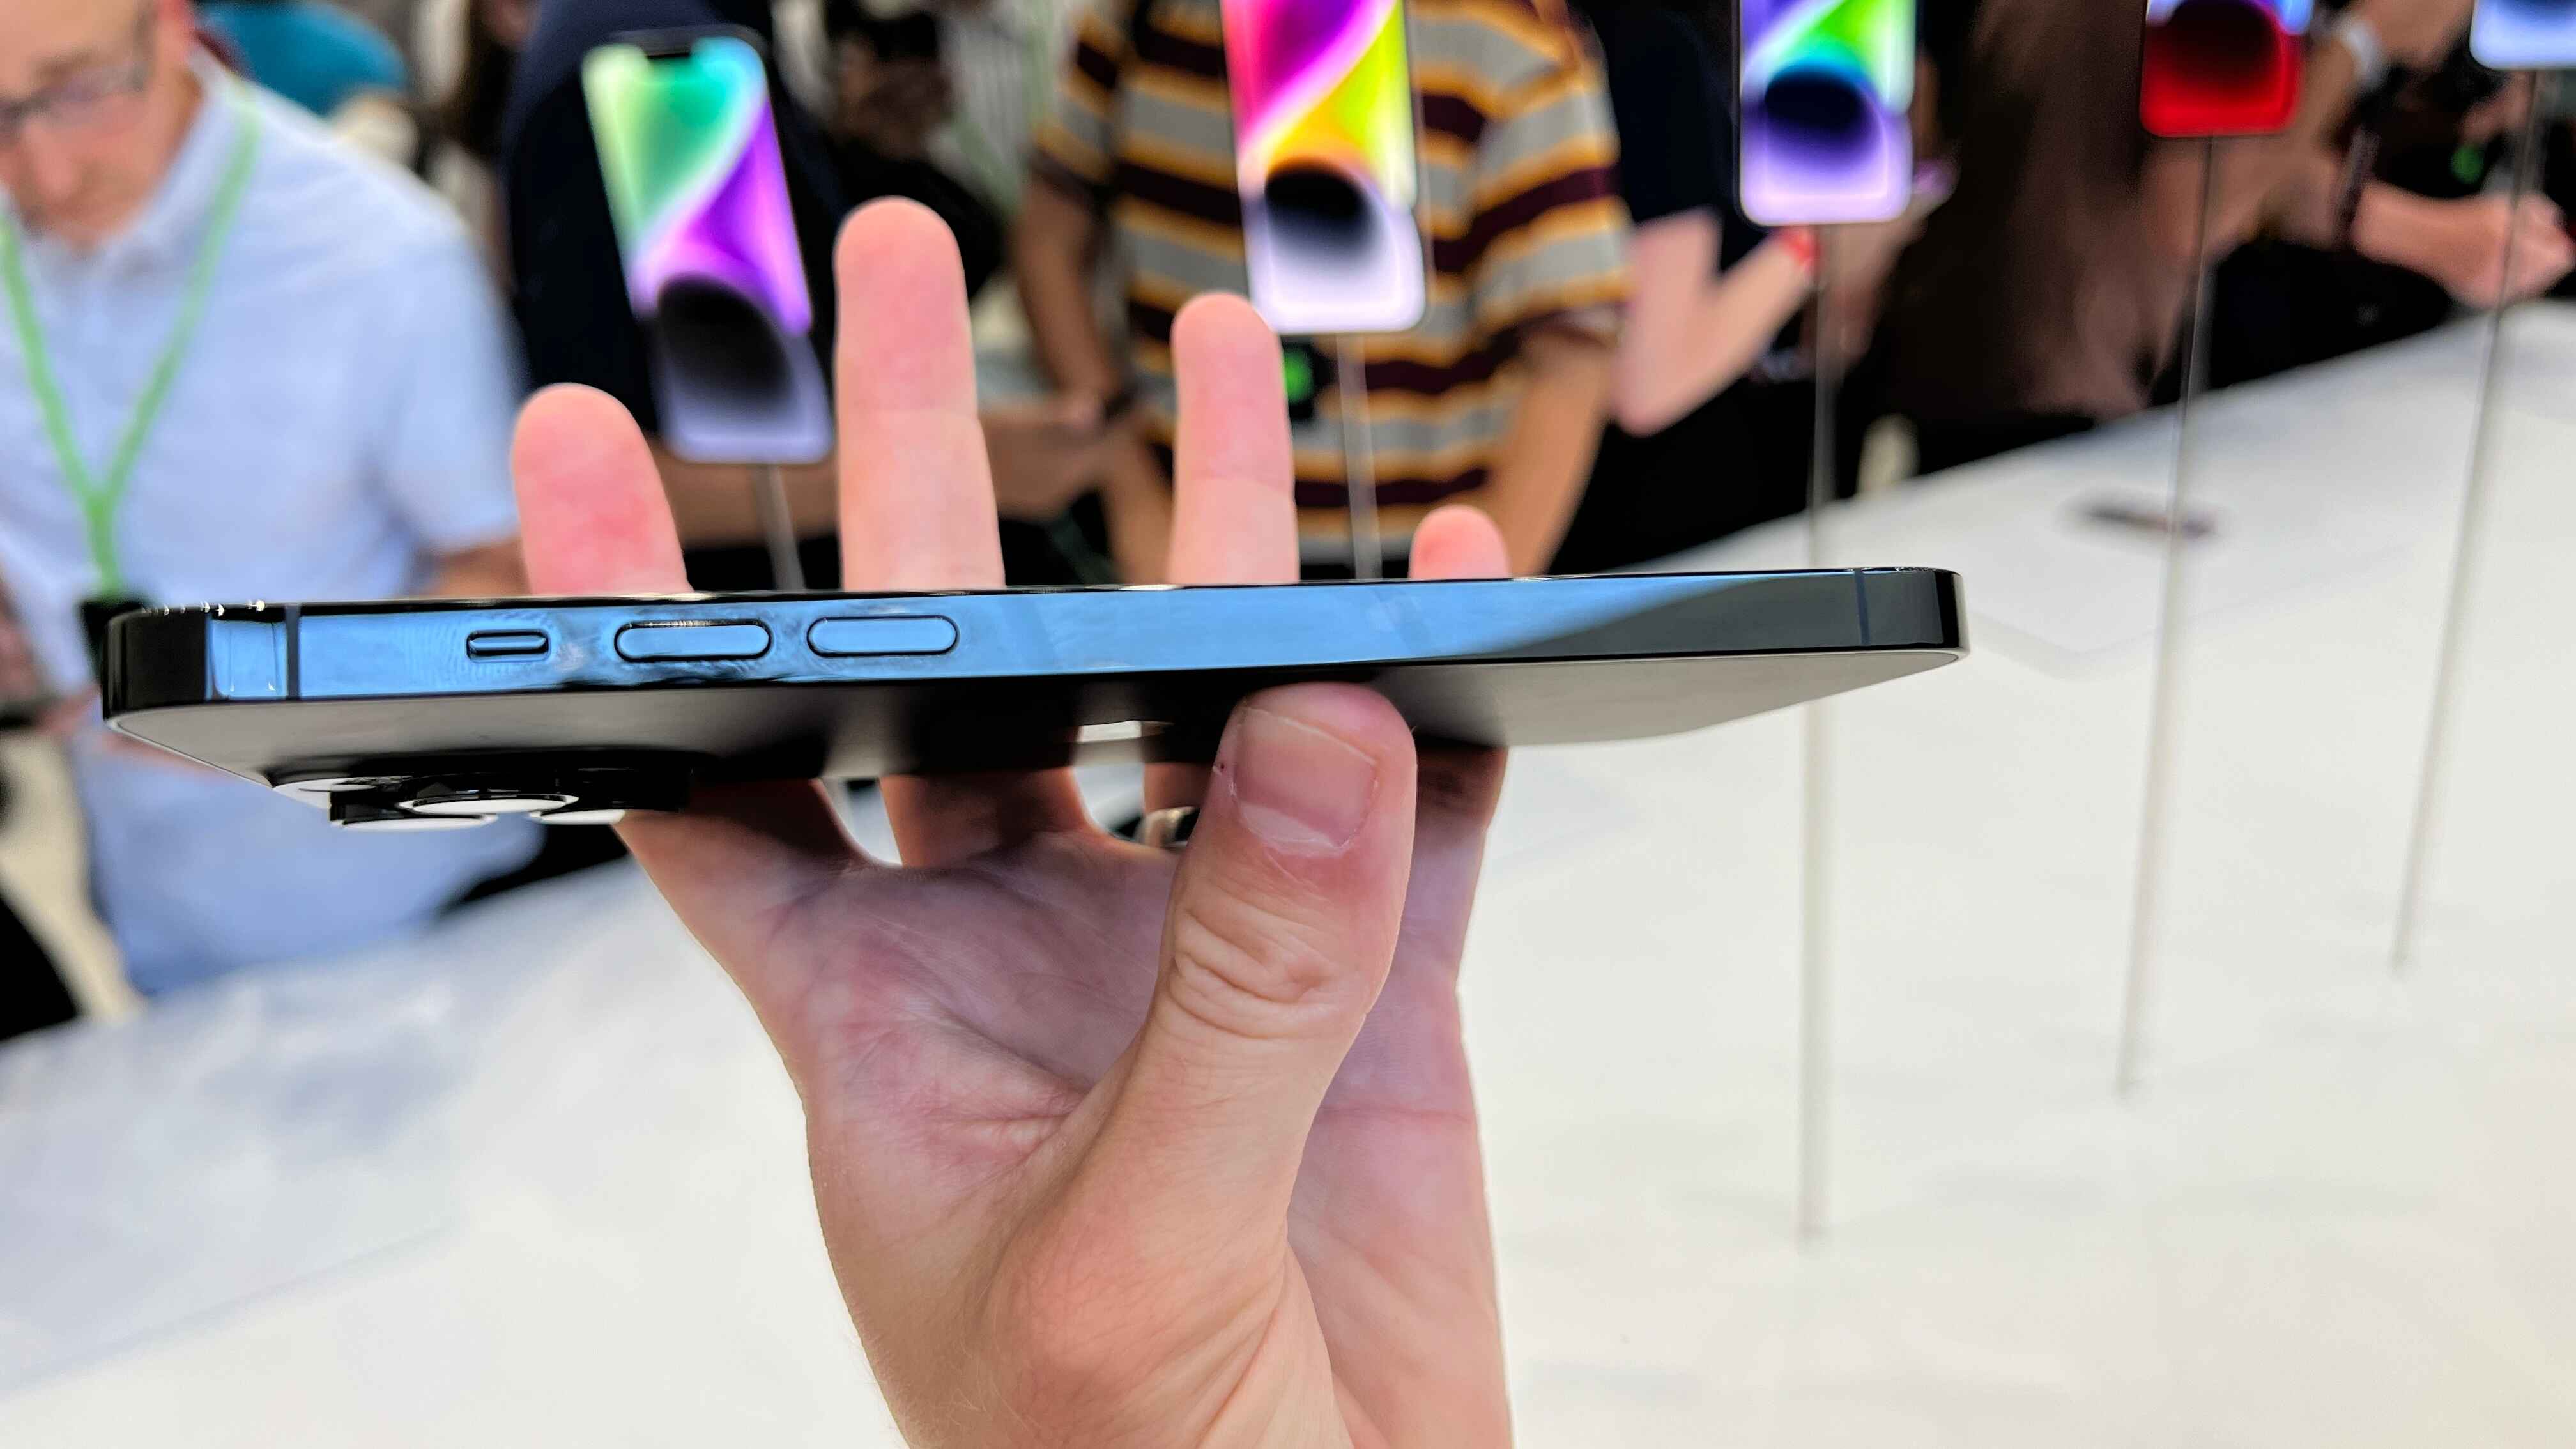
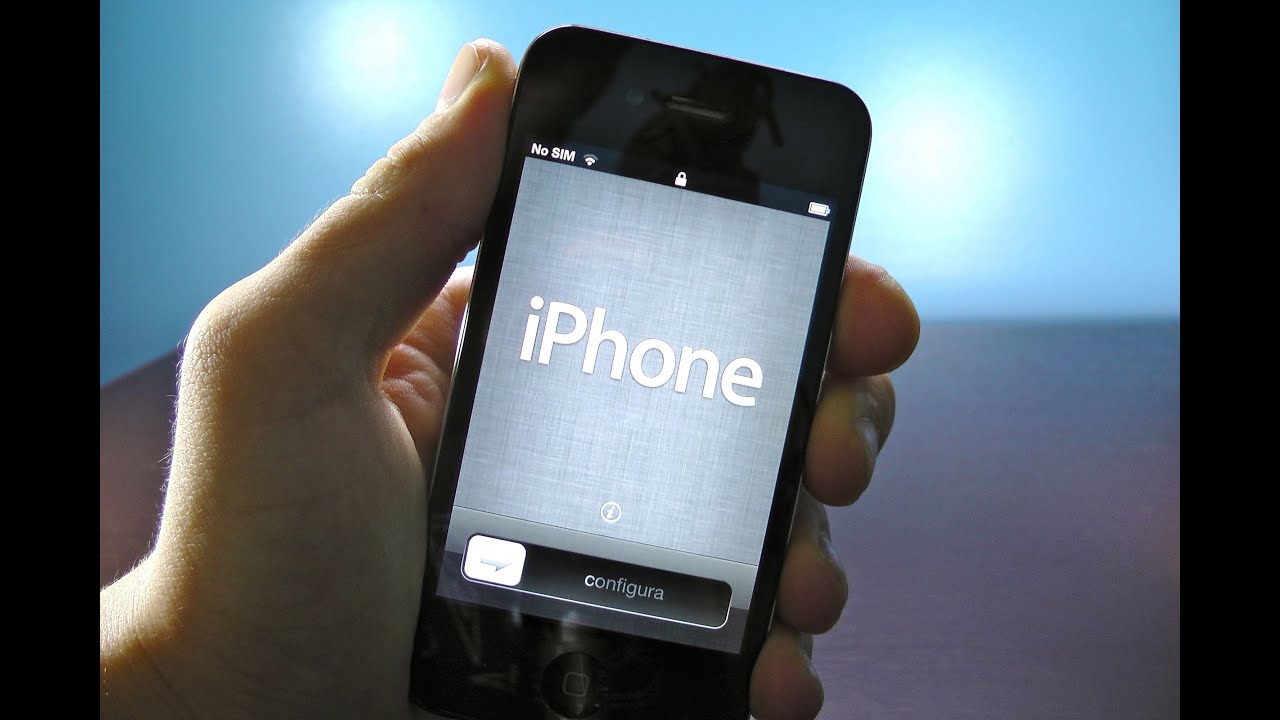
First, identify your iPhone model. International models of iPhone 12 through 16 and later have a physical SIM tray on the left side, while iPhone 7 through 11 and SE models have the tray on the right side. US models of iPhone 14, 15, 16, and later (e.g., iPhone 17 series) do not have a physical SIM tray and exclusively use eSIM technology. This guide fixes symptoms such as "No SIM," "Invalid SIM," or "no service" errors. If your iPhone displays these errors, initial troubleshooting steps include restarting the iPhone, checking for carrier settings updates, and confirming your SIM card is active with your carrier. If the errors persist after a reset, the physical card itself may be damaged and require swapping SIM card on iPhone. Before resetting, you may want to back up any data stored directly on the SIM by saving contacts to iPhone SIM card.
Check for carrier settings and restart your iPhone
Before removing your SIM card, try software-first troubleshooting. Go to Settings > General > About and wait a few seconds. If a carrier settings update is available, a prompt will appear to update. After updating, restart your iPhone to rule out temporary glitches. This simple step often resolves connectivity issues without needing to touch the SIM card.
Power off your iPhone and eject the SIM tray
- Press and hold the power button (right side) until the "slide to power off" slider appears, then swipe to shut down your iPhone.
- Locate the SIM tray: on the left side for iPhone 12-16 International models and later, or the right side for iPhone 7-11/SE models.
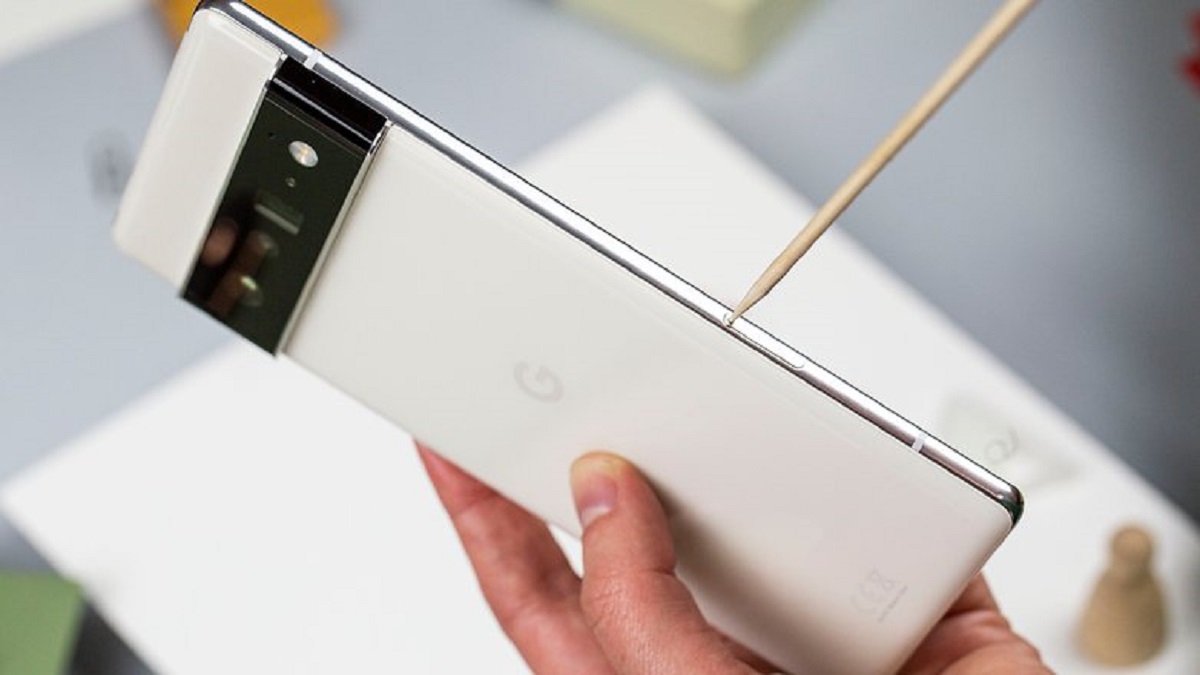
- Insert a SIM eject tool or a straightened paperclip into the small hole on the SIM tray and push firmly until the tray pops out.
- Gently pull out the tray and set it aside.
Remove and inspect the SIM card
- Carefully lift the SIM card from the tray using your fingertips.
- Check the metal contacts for scratches, dents, or discoloration.
- Look for dust, debris, or foreign particles on the card's surface.
- If dirty, gently clean the contacts with a soft, dry cloth.
Inspecting the SIM card helps identify damage that could be causing connectivity problems. This proactive approach ensures you address any visible issues before reinserting the card.
Reinsert the SIM card and power on
- Align the notched corner of the SIM card with the corresponding notch in the tray.
- Place the SIM card back into the tray, ensuring it fits snugly.
- Slide the tray back into the iPhone until it is flush with the device.
- Press and hold the power button to turn on your iPhone.
- Check the signal strength indicator in the upper-left corner of the screen for a strong connection.
For iPhones with a physical SIM card, "resetting" often involves removing and reinserting the SIM card to resolve connectivity problems. This process is essential when troubleshooting issues like "No SIM" or "Invalid SIM" errors.
Reset network settings if problems persist
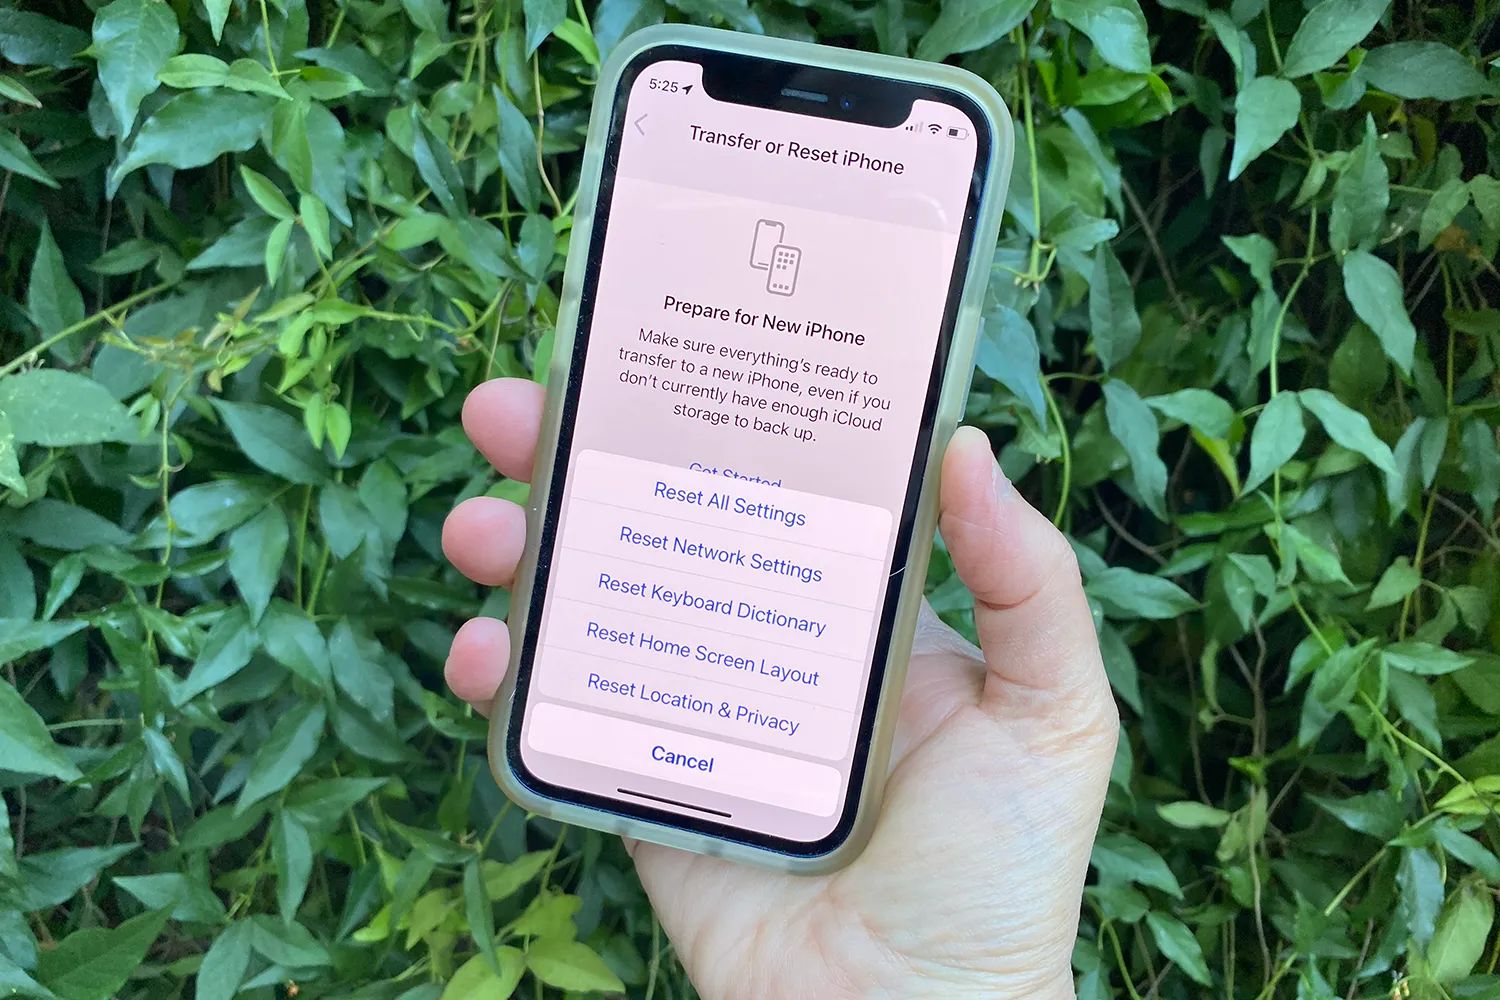
If connectivity issues continue after reinserting the SIM card, resetting network settings can resolve various cellular connectivity problems by returning all network-related configurations to their factory defaults. Navigate to Settings > General > Transfer or Reset iPhone > Reset > Reset Network Settings. Be aware that this action will erase all saved Wi-Fi passwords, cellular settings, VPN and APN settings, and Bluetooth pairings. However, it does not delete any personal data, apps, photos, or other media from your iPhone.
Manage an eSIM on iPhone 14 and later (US models)
For eSIM-only iPhones, resetting involves deleting and re-adding the eSIM. Go to Settings > Cellular (or Mobile Service/Mobile Data), tap the specific eSIM plan, then tap "Delete eSIM" (or "Remove Cellular Plan"). After deletion, contact your carrier to re-add the eSIM. This process is the equivalent of resetting a physical SIM card and can resolve persistent network issues. Understanding how to manage an eSIM is crucial for users of newer US iPhone models, especially when troubleshooting connectivity problems related to inserting a SIM card or activating a new carrier plan.