Introduction
Are you eager to transfer the stunning photos captured on your Xperia XA1 Ultra to your computer effortlessly? Look no further! This comprehensive guide will walk you through the seamless process of transferring your cherished memories from your mobile device to your computer. Whether you're looking to free up storage space on your Xperia XA1 Ultra or simply want to safeguard your precious photos, this step-by-step tutorial will equip you with the knowledge to accomplish this task with ease.
The Xperia XA1 Ultra boasts a remarkable camera that captures vivid and detailed images, making it the perfect companion for preserving life's most cherished moments. However, with limited storage capacity on your device, it's essential to transfer these photos to your computer for safekeeping and easy access. By following the simple instructions outlined in this guide, you'll be able to seamlessly transfer your photos, ensuring that they are securely backed up and readily available for sharing, printing, or further editing.
Stay tuned as we delve into the effortless process of connecting your Xperia XA1 Ultra to your computer, selecting the photo transfer option, and seamlessly transferring your photos to your computer. Get ready to embark on a hassle-free journey to safeguard and enjoy your precious photo collection!
Step 1: Connect your Xperia XA1 Ultra to your computer
To initiate the effortless process of transferring your captivating photos from your Xperia XA1 Ultra to your computer, the first step is to establish a seamless connection between the two devices. This pivotal step sets the stage for the smooth transfer of your cherished memories, ensuring that they are securely backed up and readily accessible on your computer.
Begin by locating the USB cable that was included with your Xperia XA1 Ultra. This cable plays a crucial role in facilitating the connection between your mobile device and your computer. Once you have the USB cable at hand, proceed to connect one end of the cable to the charging port of your Xperia XA1 Ultra. Ensure that the connection is secure to prevent any interruptions during the transfer process.
With your Xperia XA1 Ultra now connected to one end of the USB cable, the next step is to connect the other end of the cable to an available USB port on your computer. Whether you're using a desktop, laptop, or any other compatible computing device, identifying an accessible USB port is essential for establishing a stable connection.
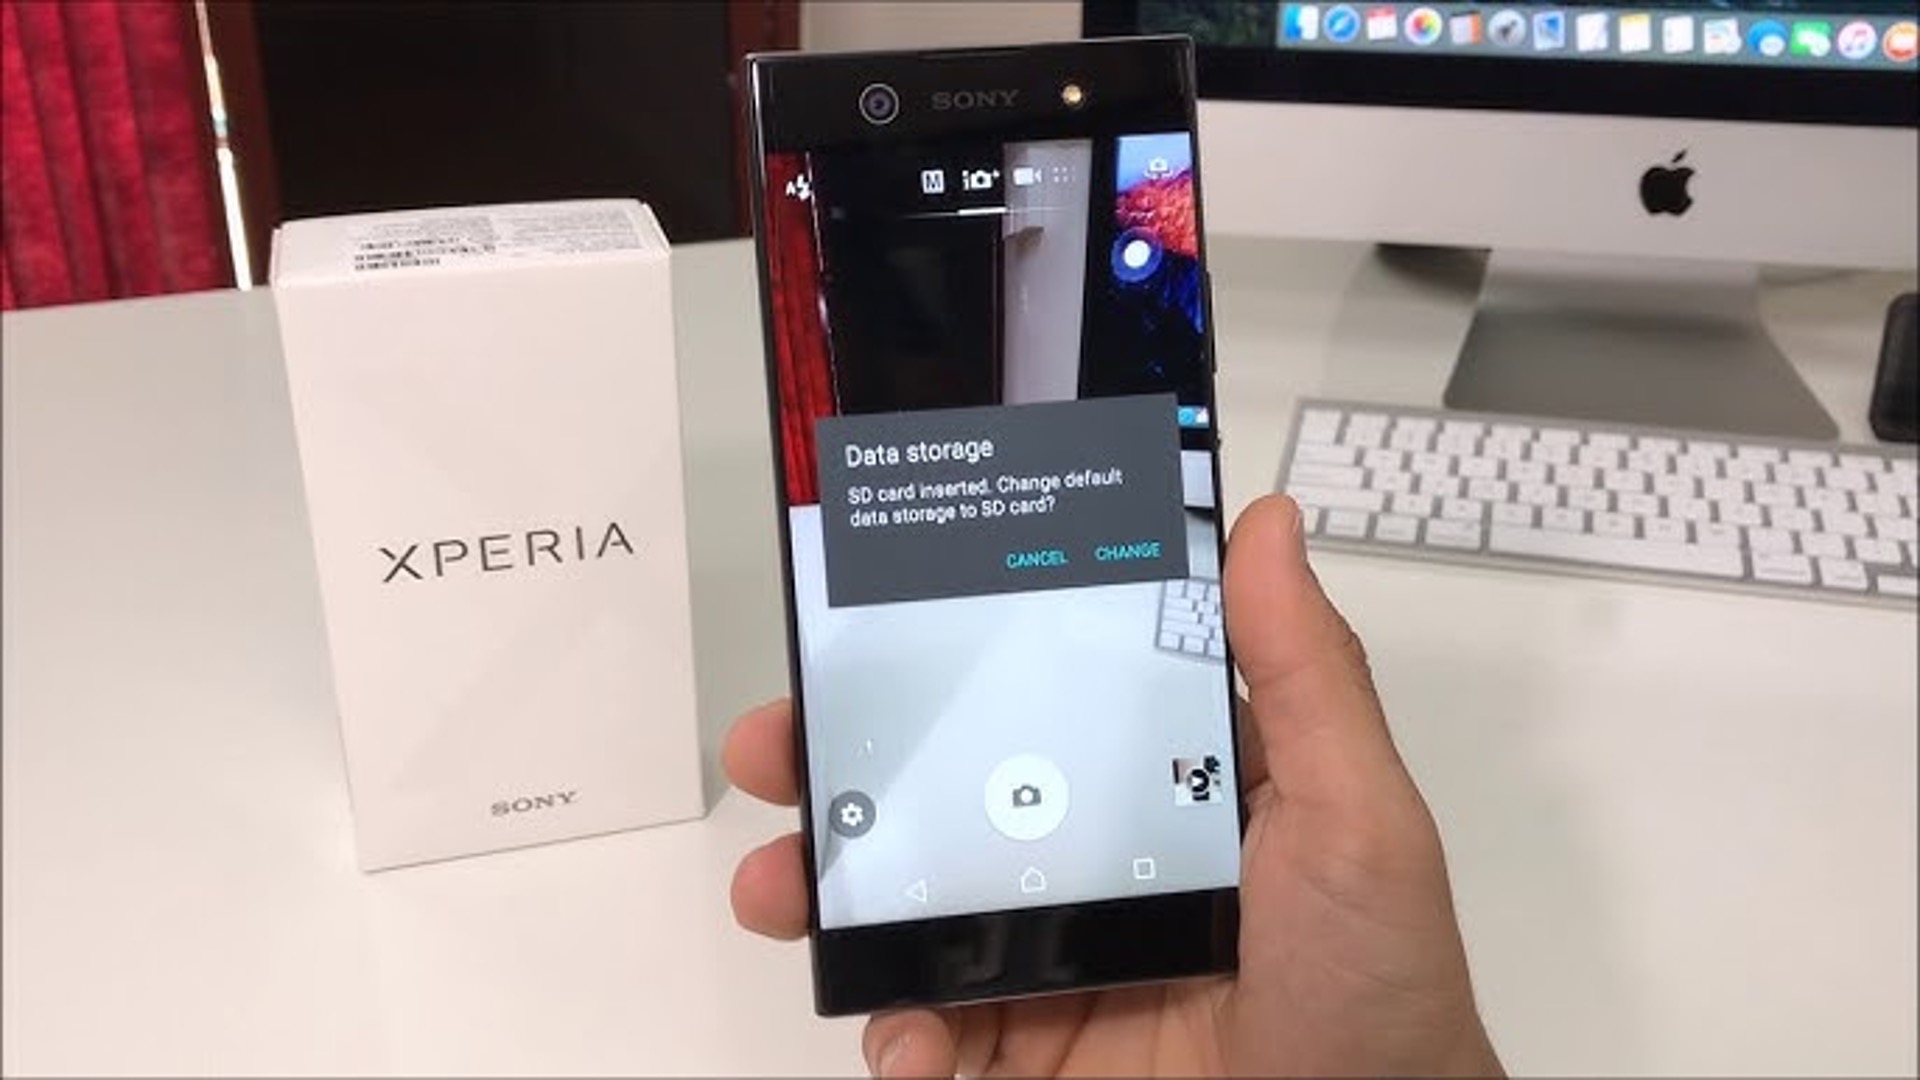
Upon successfully connecting your Xperia XA1 Ultra to your computer via the USB cable, you'll notice a prompt on your mobile device's screen, allowing you to select the desired USB connection mode. This prompt provides you with the option to choose between "File Transfer" or "Photo Transfer" mode, depending on your specific requirement. For the purpose of transferring photos, selecting the "File Transfer" mode is recommended, as it enables seamless access to your device's storage, including the photo gallery.
Once you've selected the appropriate USB connection mode, your Xperia XA1 Ultra will be recognized by your computer, establishing a direct link between the two devices. This pivotal connection sets the stage for the subsequent steps, allowing you to effortlessly navigate through your photo collection and initiate the seamless transfer process.
With your Xperia XA1 Ultra successfully connected to your computer, you've completed the first crucial step towards transferring your captivating photos. This seamless connection paves the way for the subsequent steps, enabling you to effortlessly select and transfer your cherished memories to your computer for safekeeping and easy access.
Stay tuned as we delve into the next step, where we'll guide you through the process of selecting the photo transfer option, setting the stage for the seamless transfer of your precious photos to your computer.
Step 2: Select the photo transfer option
After successfully connecting your Xperia XA1 Ultra to your computer, the next pivotal step in the effortless photo transfer process is selecting the photo transfer option. This crucial step sets the stage for seamlessly accessing your photo gallery and initiating the transfer of your cherished memories to your computer for safekeeping and easy access.
Upon establishing the connection between your Xperia XA1 Ultra and your computer, navigate to the "File Transfer" mode that you previously selected. This mode enables direct access to your device's storage, including the photo gallery, paving the way for a hassle-free photo transfer process.
Once you've accessed the "File Transfer" mode, open the file explorer or file manager on your computer. Navigate to the list of available drives and devices, where you'll find your Xperia XA1 Ultra listed as a connected device. Click on the device to access its contents, including the folders and files stored on your mobile device.
Locate and open the "DCIM" folder within your Xperia XA1 Ultra's directory. This folder houses the captivating photos captured by your device, organizing them into subfolders based on the date or other criteria. By accessing the "DCIM" folder, you gain direct entry to your photo collection, setting the stage for the seamless transfer of your cherished memories to your computer.
Upon accessing the "DCIM" folder, navigate through the subfolders to locate the specific photos you intend to transfer to your computer. Whether it's breathtaking landscapes, heartwarming family moments, or artistic close-ups, your Xperia XA1 Ultra's photo gallery is a treasure trove of captivating memories waiting to be seamlessly transferred to your computer.
Select the desired photos by clicking and dragging to highlight them within the subfolder. Alternatively, you can use the "Copy" and "Paste" commands to transfer entire subfolders or select multiple photos at once. This flexibility allows you to effortlessly curate and transfer your cherished memories, ensuring that they are securely backed up on your computer.
With the desired photos selected, initiate the seamless transfer process by copying them from your Xperia XA1 Ultra and pasting them into a dedicated folder on your computer. Whether you create a new folder specifically for these photos or choose an existing one, this step ensures that your precious memories are securely stored on your computer, ready to be cherished and shared at your convenience.
By selecting the photo transfer option and seamlessly navigating through your Xperia XA1 Ultra's photo gallery, you've successfully set the stage for safeguarding your cherished memories on your computer. With the transfer process initiated, your captivating photos are now securely backed up and readily accessible for sharing, printing, or further editing.
Stay tuned as we delve into the final step, guiding you through the seamless process of transferring your selected photos to your computer, culminating in the secure preservation and easy accessibility of your precious photo collection.
Step 3: Transfer photos to your computer
With the photo transfer option selected and your cherished memories seamlessly accessible, it's time to embark on the final step of transferring your captivating photos from your Xperia XA1 Ultra to your computer. This pivotal stage ensures that your precious memories are securely backed up and readily available for sharing, printing, or further editing, providing peace of mind and easy access to your photo collection.
Once you've selected the desired photos within your Xperia XA1 Ultra's photo gallery, the next step is to initiate the seamless transfer process. Begin by ensuring that the selected photos are ready for transfer, whether you've highlighted specific images or entire subfolders containing your cherished memories.
With the selected photos at hand, navigate to the destination folder on your computer where you intend to store your transferred photos. Whether it's a dedicated folder for these specific photos or an existing one, choosing the appropriate destination ensures that your precious memories are seamlessly integrated into your computer's storage, ready to be cherished and shared at your convenience.
Initiate the seamless transfer process by copying the selected photos from your Xperia XA1 Ultra and pasting them into the designated folder on your computer. Whether you opt for the traditional "Copy" and "Paste" commands or utilize drag-and-drop functionality, this step ensures that your captivating photos are securely transferred, safeguarding them for future enjoyment and easy accessibility.
As the transfer process unfolds, you'll witness your cherished memories seamlessly transitioning from your Xperia XA1 Ultra to your computer, culminating in a secure backup of your precious photo collection. Whether it's the breathtaking landscapes captured during your travels, heartwarming family moments, or artistic close-ups that showcase your creativity, these captivating photos are now seamlessly integrated into your computer's storage, ready to be treasured and shared with ease.
Upon completing the transfer process, take a moment to verify that your photos have been seamlessly transferred to your computer's designated folder. By ensuring the successful completion of the transfer, you can rest assured that your precious memories are securely backed up and readily accessible, empowering you to cherish and share them at your convenience.
With the transfer process concluded, your captivating photos from your Xperia XA1 Ultra are now securely stored on your computer, ensuring that they are safeguarded and easily accessible for future enjoyment and sharing. Whether you're looking to create stunning photo albums, share cherished moments with loved ones, or embark on creative editing endeavors, your precious memories are now seamlessly integrated into your computer's storage, ready to enrich your digital world.
This concludes the seamless process of transferring your captivating photos from your Xperia XA1 Ultra to your computer, ensuring that your cherished memories are securely backed up and readily available for future enjoyment and sharing.
Conclusion
Congratulations on successfully completing the seamless process of transferring your captivating photos from your Xperia XA1 Ultra to your computer! By following the step-by-step guide outlined in this tutorial, you've empowered yourself to safeguard your cherished memories, ensuring that they are securely backed up and readily accessible for future enjoyment and sharing.
The journey began with the essential step of connecting your Xperia XA1 Ultra to your computer, establishing a seamless link that paved the way for the subsequent stages. By selecting the appropriate USB connection mode and navigating through the file transfer process, you gained direct access to your device's photo gallery, setting the stage for the effortless transfer of your precious memories.
With the photo transfer option selected, you seamlessly delved into your Xperia XA1 Ultra's photo gallery, curating and selecting the specific photos you intended to transfer. Whether it was breathtaking landscapes, heartwarming family moments, or artistic close-ups, your cherished memories were meticulously chosen for the seamless transition to your computer.
The final step culminated in the seamless transfer of your selected photos to your computer, ensuring that your captivating memories are securely backed up and readily accessible. Whether it's the breathtaking landscapes captured during your travels, heartwarming family moments, or artistic close-ups that showcase your creativity, these cherished photos are now seamlessly integrated into your computer's storage, ready to be treasured and shared with ease.
By successfully completing the transfer process, you've taken a significant stride towards preserving your precious memories and enhancing your digital world. Your captivating photos are now securely stored on your computer, empowering you to create stunning photo albums, share cherished moments with loved ones, or embark on creative editing endeavors with ease.
As you conclude this seamless photo transfer journey, take a moment to appreciate the peace of mind that comes with knowing your cherished memories are securely backed up and readily accessible. Whether you're looking to relive unforgettable moments, share heartwarming memories with loved ones, or embark on creative endeavors, your precious photos are now seamlessly integrated into your computer's storage, enriching your digital world in countless ways.
With your captivating photos seamlessly transferred to your computer, you've unlocked a world of possibilities, ensuring that your cherished memories are safeguarded and easily accessible for future enjoyment and sharing. Embrace the joy of reliving unforgettable moments, sharing heartwarming memories, and exploring creative endeavors, all made possible by the seamless transfer of your precious photos from your Xperia XA1 Ultra to your computer.