Using the Power and Volume Down Buttons
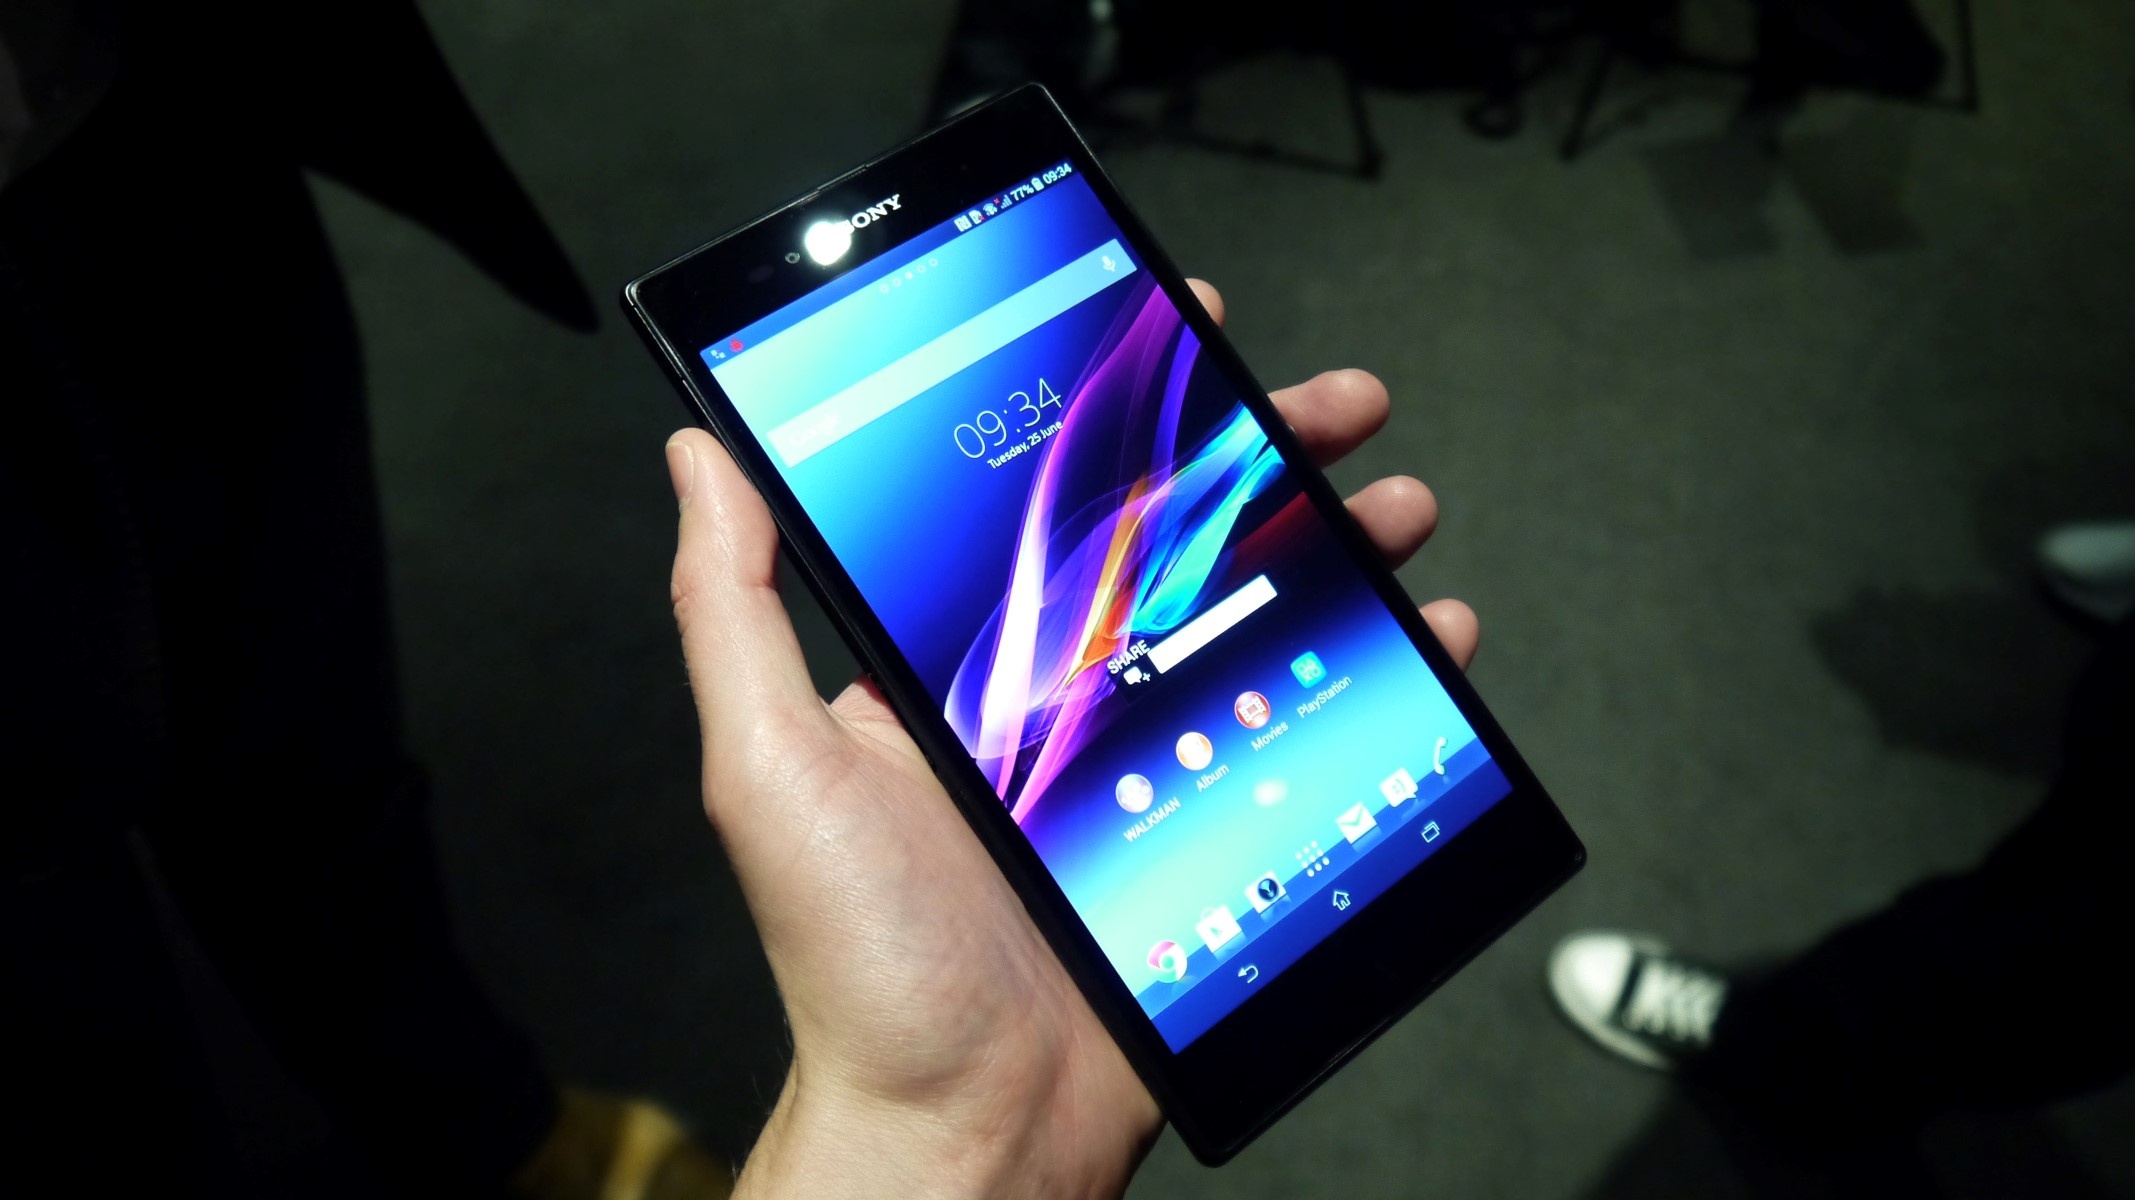
Capturing screenshots on your Sony Xperia Z is a breeze, thanks to the intuitive design and functionality of the device. One of the most straightforward methods to accomplish this task is by utilizing the Power and Volume Down buttons. This simple yet effective technique allows you to capture and save anything displayed on your screen with ease.
To initiate the process, locate the Power button and the Volume Down button on your Xperia Z. These buttons are typically situated on the side of the device, within easy reach of your fingers. Once you have identified these buttons, follow the steps below to capture a screenshot:
-
Prepare the Screen: Navigate to the screen that you want to capture. Whether it's a memorable conversation, a stunning image, or a vital piece of information, ensure that the content is displayed exactly as you want it to appear in the screenshot.
-
Simultaneously Press the Buttons: With the desired content on the screen, press the Power button and the Volume Down button simultaneously. It's important to press both buttons at the same time to ensure the successful capture of the screenshot.
-
Confirmation and Notification: Upon pressing the buttons, you will notice a subtle animation or hear a camera shutter sound, indicating that the screenshot has been successfully captured. Additionally, a notification may appear briefly, confirming that the screenshot has been saved.
-
Accessing the Screenshot: To view the captured screenshot, simply navigate to your device's gallery or photo app. From there, you can easily access, edit, and share the screenshot as desired.
The Power and Volume Down button method offers a quick and convenient way to capture screenshots on your Sony Xperia Z. Whether you need to save important information, preserve memorable moments, or share interesting content with others, mastering this simple technique empowers you to effortlessly capture and store anything displayed on your device's screen.
Using the Quick Settings Panel
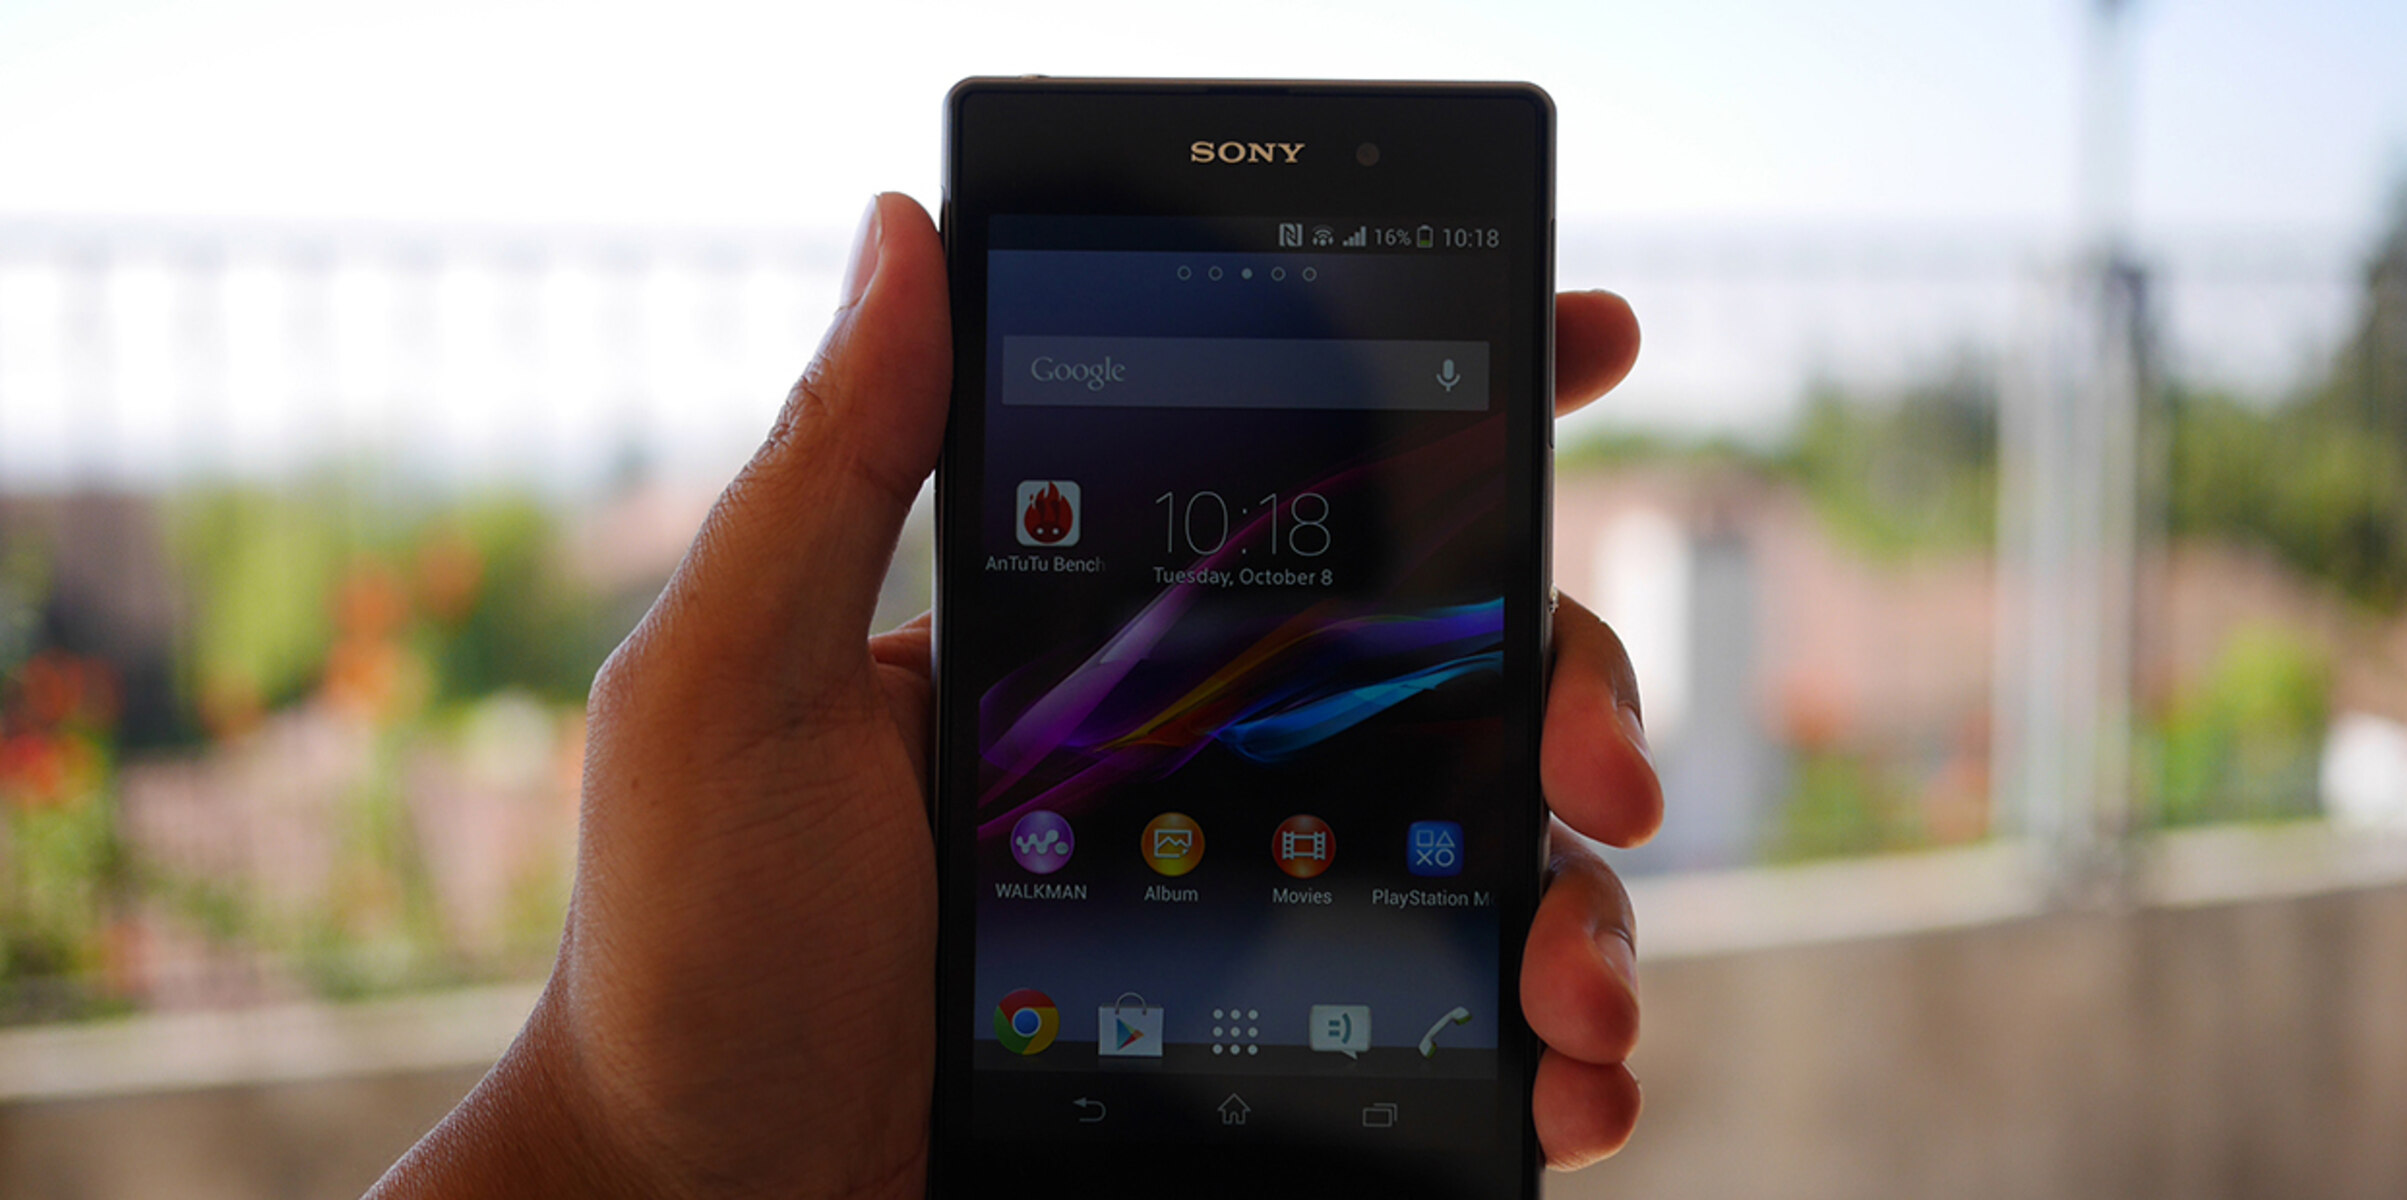
Capturing screenshots on your Sony Xperia Z can be achieved through various user-friendly methods, including the convenient Quick Settings Panel feature. This intuitive functionality allows you to effortlessly capture and save screenshots with just a few simple taps, providing a seamless and efficient experience.
To initiate the screenshot capture process using the Quick Settings Panel, begin by navigating to the screen that you wish to capture. Whether it's a captivating image, a crucial piece of information, or a memorable conversation, ensure that the content is displayed exactly as you want it to appear in the screenshot.
Once you have the desired content on the screen, access the Quick Settings Panel by swiping down from the top of the screen with two fingers or swiping down twice with one finger. This action will reveal a range of convenient settings and shortcuts, including the "Screenshot" option.
Locate and tap the "Screenshot" icon within the Quick Settings Panel. Upon tapping this icon, your Xperia Z will instantaneously capture the current screen and save it as a screenshot. You may notice a subtle animation or hear a camera shutter sound, indicating that the screenshot has been successfully captured.
Following the capture, a notification may briefly appear, confirming that the screenshot has been saved. This notification provides reassurance that the screenshot has been successfully stored and is ready for your access and use.
To access the captured screenshot, simply navigate to your device's gallery or photo app. From there, you can effortlessly view, edit, and share the screenshot as desired. This streamlined process ensures that you can quickly access and utilize the captured content for various purposes, whether it's sharing with friends, saving important information, or preserving memorable moments.
The Quick Settings Panel feature on your Sony Xperia Z offers a convenient and efficient method for capturing screenshots. By leveraging this intuitive functionality, you can seamlessly capture and save anything displayed on your device's screen, empowering you to effortlessly preserve and share valuable content with ease.
Using the Assistive Touch Feature
The Sony Xperia Z incorporates a range of innovative features to enhance user experience, including the Assistive Touch functionality, which provides a convenient method for capturing screenshots with ease. This intuitive feature offers a seamless alternative for users who prefer a more accessible and customizable approach to screenshot capture.
To utilize the Assistive Touch feature for capturing screenshots on your Xperia Z, begin by activating the Assistive Touch menu. This can typically be achieved by navigating to the device's settings and accessing the accessibility options. Once enabled, the Assistive Touch menu will appear as a floating icon on your screen, providing quick access to a variety of functions, including the screenshot capture feature.
With the Assistive Touch menu readily available, capturing a screenshot becomes a straightforward and customizable process. When you have the desired content displayed on your screen, simply tap the Assistive Touch icon to reveal the menu options. Within the menu, locate the designated screenshot capture function, which is often represented by a camera icon or a specific screenshot symbol.
Upon tapping the screenshot capture function within the Assistive Touch menu, your Xperia Z will instantaneously capture the current screen and save it as a screenshot. This seamless process eliminates the need to simultaneously press physical buttons, offering a more accessible and user-friendly approach to capturing screenshots.
Following the successful capture, a notification may briefly appear, confirming that the screenshot has been saved. This notification provides reassurance that the screenshot has been successfully stored and is ready for your access and use.
Accessing the captured screenshot is a simple task, as you can conveniently navigate to your device's gallery or photo app to view, edit, and share the screenshot as desired. The Assistive Touch feature streamlines the screenshot capture process, providing a customizable and accessible method for users to effortlessly preserve and share valuable content displayed on their Xperia Z.
By leveraging the Assistive Touch feature, users can tailor their screenshot capture experience to suit their preferences, ensuring a seamless and personalized approach to preserving important information, capturing memorable moments, and sharing captivating content with others. This feature exemplifies Sony's commitment to enhancing user accessibility and convenience, empowering Xperia Z users to effortlessly capture and utilize screenshots with ease.