Introduction
Mobile devices have become an indispensable part of our daily lives, serving as a gateway to the digital world. Whether it's staying connected with loved ones, accessing information on the go, or indulging in entertainment, the reliance on mobile devices is ever-growing. Amidst this reliance, the need for seamless connectivity and access to data is paramount. For users of Claro SIM cards, the process of adding data is a crucial aspect of ensuring uninterrupted access to the online realm.
In this comprehensive guide, we will delve into the step-by-step process of adding data to a Claro SIM card. From gathering the necessary materials to verifying the successful addition of data, each stage will be elucidated in a clear and concise manner. By following this guide, users can navigate through the process with ease, ensuring that their Claro SIM card is equipped with the requisite data for uninterrupted connectivity.
The ability to add data to a Claro SIM card empowers users to tailor their mobile experience to their specific needs, whether it's browsing the web, streaming content, or engaging in online communication. This guide aims to demystify the process, providing users with the knowledge and confidence to manage their data requirements effectively.
Stay tuned as we embark on this journey to streamline the process of adding data to a Claro SIM card, empowering users to harness the full potential of their mobile devices.
Step 1: Gather Necessary Materials
Before embarking on the process of adding data to a Claro SIM card, it is essential to gather the necessary materials to ensure a smooth and efficient experience. By having the required items at hand, users can proceed with confidence, knowing that they are well-prepared for the task ahead.
Materials Needed:
-
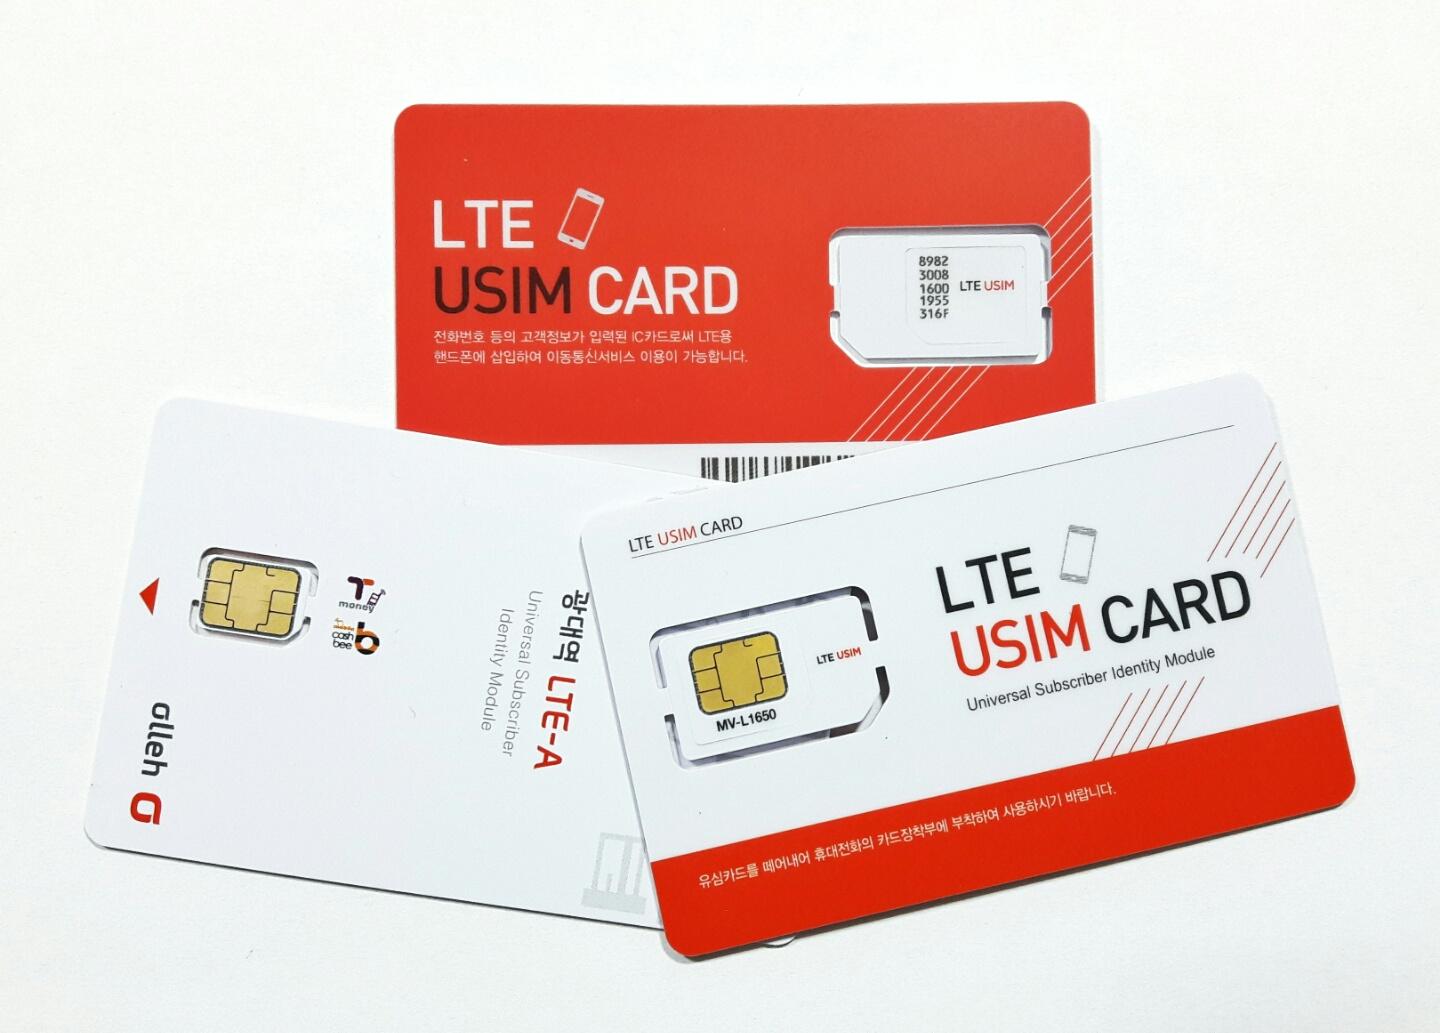
Claro SIM Card: The central component of this process is the Claro SIM card itself. Ensure that the SIM card is accessible and inserted into the mobile device for the data addition procedure.
-
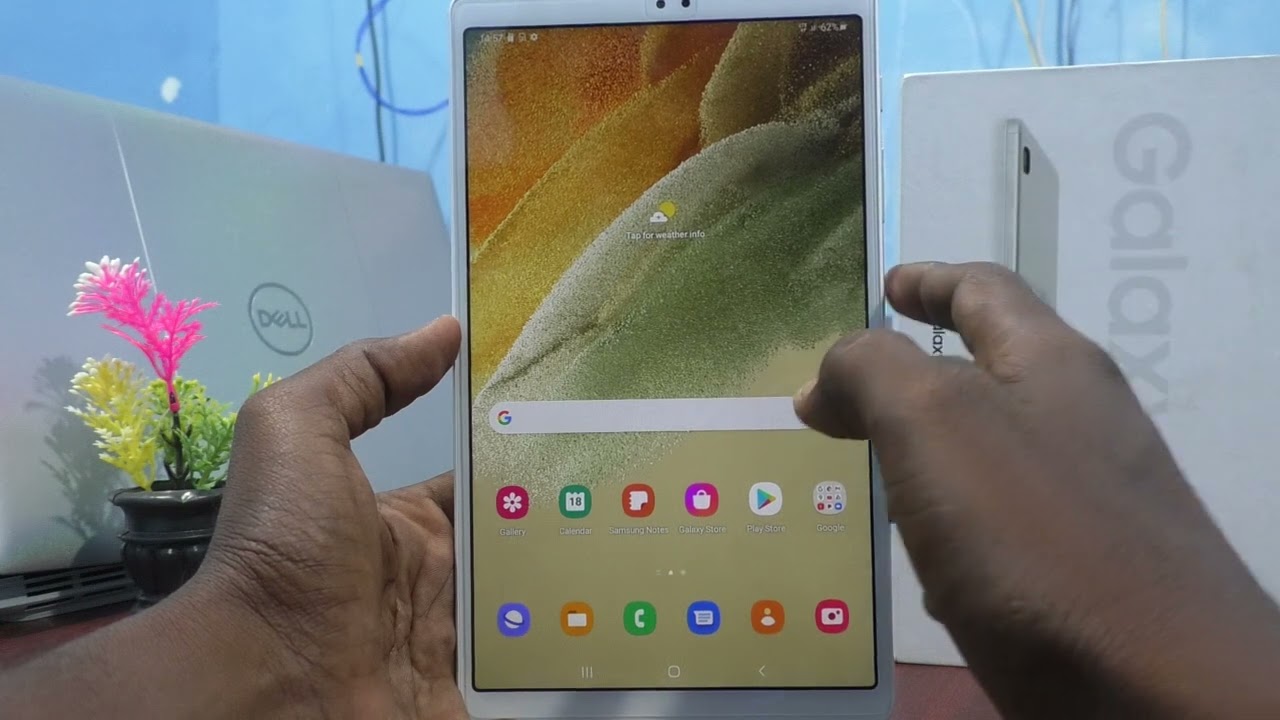
Mobile Device: To access the Claro SIM card and initiate the data addition process, a compatible mobile device is essential. Whether it's a smartphone or tablet, ensure that the device is fully charged and operational.
-
Internet Connection: A stable internet connection is vital for accessing the Claro account and adding data to the SIM card. Whether through Wi-Fi or mobile data, ensure that the internet connection is reliable to prevent any disruptions during the process.
-
Claro Account Credentials: To access the Claro account and manage the SIM card's data, it is crucial to have the account credentials readily available. This includes the username, password, and any additional authentication details required for accessing the account.
-
Payment Method: If the data addition involves a payment transaction, ensure that the preferred payment method, such as a credit card or digital wallet, is accessible and verified for seamless processing.
By gathering these essential materials, users can set the stage for a hassle-free experience when adding data to their Claro SIM card. With everything in place, the subsequent steps can be approached with confidence and clarity, ensuring that the data addition process unfolds smoothly and efficiently.
Step 2: Accessing the Claro SIM Card
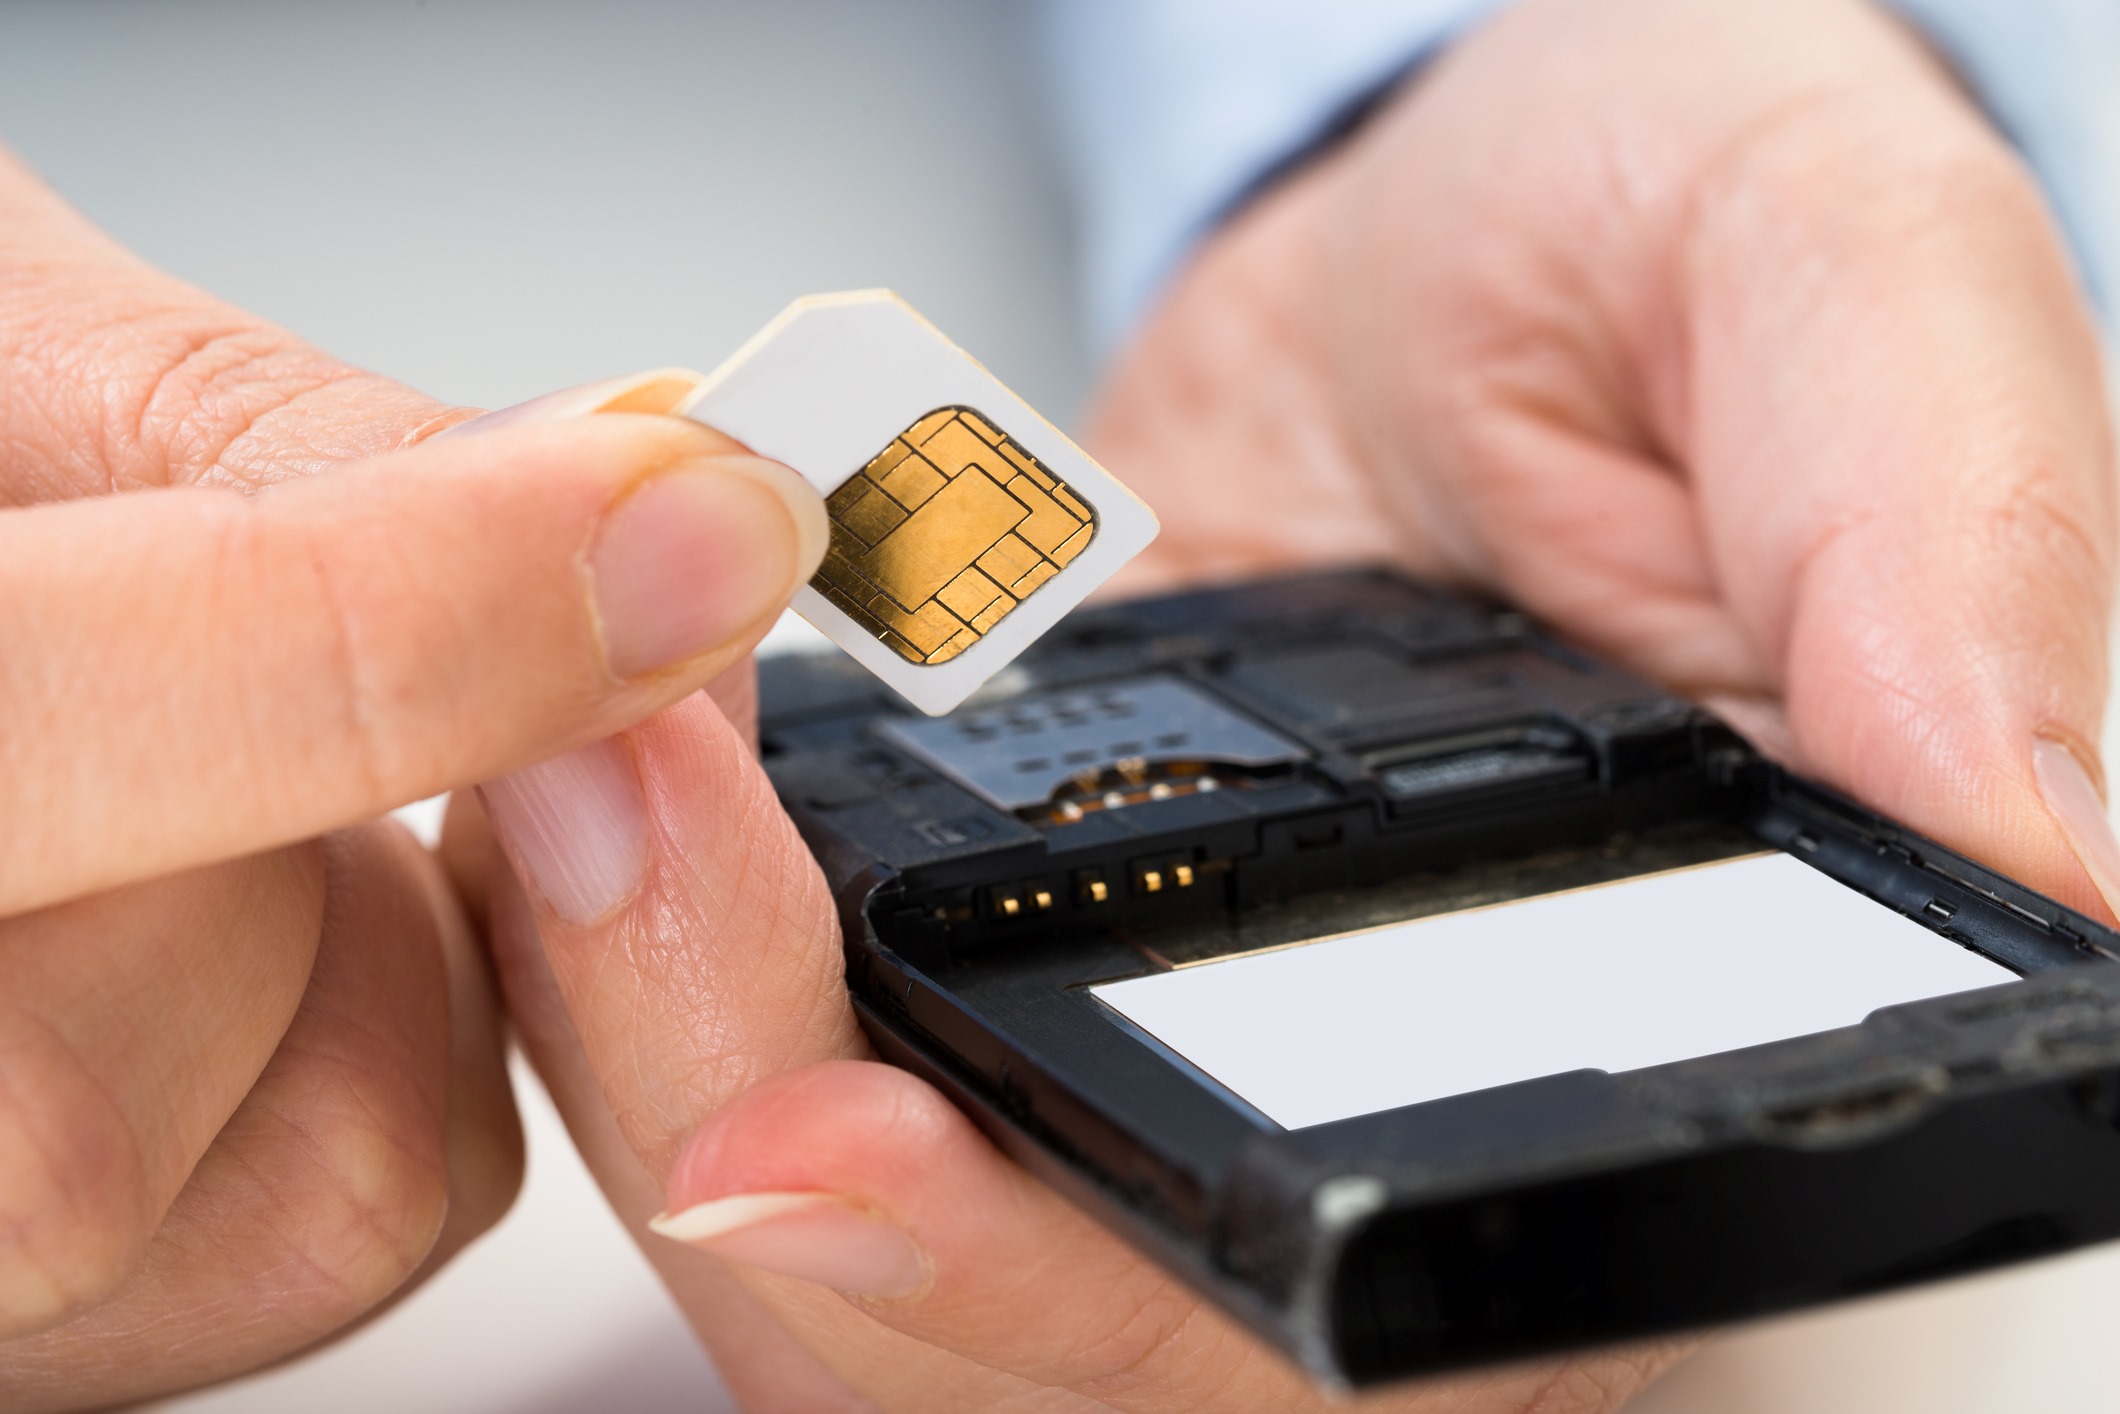
Accessing the Claro SIM card is a pivotal precursor to adding data and managing its connectivity features. The process involves locating the SIM card slot on the mobile device, ensuring that the device is powered off, and carefully inserting the Claro SIM card. Here's a detailed walkthrough of accessing the Claro SIM card:
-
Locate the SIM Card Slot: Depending on the mobile device model, the SIM card slot may be located on the side, top, or back of the device. Refer to the device's user manual or manufacturer's guidelines to pinpoint the exact location of the SIM card slot.
-
Power Off the Device: Before accessing the SIM card slot, it's imperative to power off the mobile device to prevent any potential damage to the SIM card or the device itself. Ensure that the device is completely powered down before proceeding.
-
Ejecting the SIM Tray: For devices with a SIM tray, gently insert the SIM eject tool into the provided slot on the SIM tray. Apply a slight amount of pressure to release the tray from the device. Carefully pull out the SIM tray from the device once it is ejected.
-
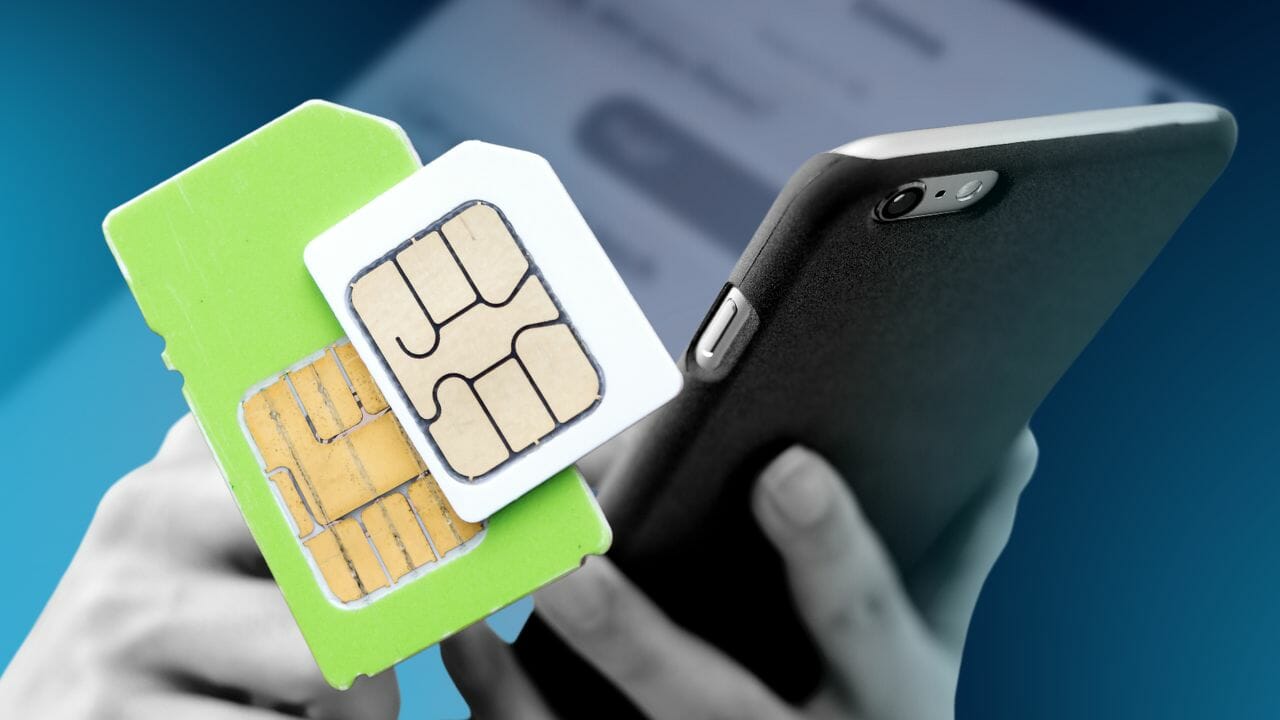
Inserting the Claro SIM Card: With the SIM tray in hand, place the Claro SIM card into the designated slot on the tray. Ensure that the gold contacts on the SIM card align with the corresponding contacts within the slot. Gently slide the SIM tray back into the device until it is securely in place.
-
Power On the Device: Once the Claro SIM card is inserted, power on the mobile device and allow it to initialize the SIM card. Depending on the device, a prompt for the SIM card PIN may appear. Enter the PIN if prompted to complete the setup.
By successfully accessing the Claro SIM card, users can now proceed to the next step of adding data to the SIM card. This crucial step ensures that the SIM card is correctly installed and ready to receive the additional data, paving the way for an uninterrupted mobile experience.
This process is designed to be user-friendly, allowing individuals to navigate through the steps with ease and confidence. With the Claro SIM card securely in place, users are poised to embark on the next phase of enhancing their mobile connectivity through data addition.
Step 3: Adding Data to the Claro SIM Card
Adding data to a Claro SIM card is a straightforward process that empowers users to customize their mobile experience according to their data requirements. Whether it's accessing the internet, using mobile apps, or engaging in online communication, ensuring that the SIM card is equipped with the necessary data is essential for uninterrupted connectivity.
To add data to the Claro SIM card, users can leverage the convenience of the Claro account management platform, which provides a user-friendly interface for managing various aspects of the SIM card, including data addition. Here's a detailed walkthrough of the process:
-
Access the Claro Account: Using the mobile device with the inserted Claro SIM card, access the Claro account management platform. This can be achieved through the Claro website or the official Claro app, depending on the user's preference and availability.
-
Login to the Claro Account: Enter the required credentials, including the username and password, to log in to the Claro account. Ensure that the login information is accurate to access the account successfully.
-
Navigate to Data Management: Once logged in, navigate to the section dedicated to managing the Claro SIM card's data and connectivity features. This section may be labeled as "Data Services," "Add Data," or a similar designation within the account interface.
-
Select Data Addition Option: Within the data management section, users can choose the option to add data to the Claro SIM card. This may involve selecting a specific data package, indicating the desired data allocation, and proceeding to the payment or confirmation step.
-
Complete the Data Addition Process: Follow the prompts and instructions provided within the account interface to complete the data addition process. This may include confirming the data package selection, verifying the associated charges, and authorizing the addition of data to the Claro SIM card.
-
Confirmation and Activation: Upon successful completion of the data addition process, a confirmation message or notification will indicate that the data has been added to the Claro SIM card. Users can verify the updated data allocation within the account interface or through the mobile device's settings.
By following these steps, users can seamlessly add data to their Claro SIM card, ensuring that the SIM card is equipped with the necessary data for a seamless mobile experience. This user-friendly process empowers individuals to manage their data requirements efficiently, enhancing their connectivity and access to mobile services.
The ability to add data to the Claro SIM card provides users with the flexibility to tailor their mobile experience according to their preferences and usage patterns. Whether it's opting for a specific data package or customizing the data allocation, the process is designed to be intuitive and accessible, catering to the diverse needs of Claro SIM card users.
Step 4: Verifying Data Addition
Verifying the successful addition of data to the Claro SIM card is a crucial step in ensuring that the allocated data is available for seamless connectivity. This verification process provides users with the confidence that the added data is reflected accurately and is ready for utilization across various mobile services and applications. Here's a detailed guide on how to verify the data addition:
-
Check Account Dashboard: Access the Claro account dashboard through the official website or the dedicated mobile app. The account dashboard typically provides a summary of the SIM card's details, including the current data allocation. Verify that the added data is reflected in the account dashboard, indicating the updated data balance.
-
Review Data Allocation: Within the account interface, navigate to the section dedicated to data management or usage details. This section offers a comprehensive overview of the data allocation, including the added data package and the remaining data balance. Verify that the added data is accurately accounted for in the data allocation details.
-
Mobile Device Settings: On the mobile device with the Claro SIM card inserted, access the device settings and navigate to the network or SIM card settings. Within the SIM card settings, verify the data allocation and ensure that the added data is reflected in the device's settings. This serves as a direct confirmation of the updated data availability on the SIM card.
-
Data Usage Monitoring: Utilize the data usage monitoring features available within the Claro account or through the mobile device's settings. Monitor the data usage in real-time to confirm that the added data is being utilized as expected. This proactive approach enables users to track the consumption of the added data and ensures that it is actively contributing to their mobile connectivity.
-
Connectivity Testing: Engage in various online activities, such as web browsing, streaming content, or using mobile apps, to test the connectivity and data usage. By actively utilizing the added data for different online tasks, users can verify that the data is functional and seamlessly integrated into their mobile experience.
By following these verification steps, users can confidently confirm the successful addition of data to their Claro SIM card. This comprehensive verification process empowers users to ensure that the added data is accurately reflected across the account interface and the mobile device, laying the foundation for uninterrupted connectivity and mobile services utilization.
The ability to verify the data addition provides users with the assurance that their Claro SIM card is equipped with the requisite data for their mobile needs. This proactive approach to verification aligns with the user-centric design of the data management process, offering clarity and transparency regarding the added data allocation.
Conclusion
In conclusion, the process of adding data to a Claro SIM card is an essential aspect of managing mobile connectivity and ensuring seamless access to online services. By following the step-by-step guide outlined in this comprehensive walkthrough, users can navigate through the process with confidence and clarity, empowering them to tailor their mobile experience according to their data requirements.
From gathering the necessary materials to accessing the Claro SIM card, adding data, and verifying the successful addition, each stage of the process is designed to be user-friendly and accessible. The emphasis on user empowerment and convenience underscores the commitment to providing Claro SIM card users with the tools and knowledge to manage their data allocation effectively.
The ability to customize the data allocation according to specific usage patterns and preferences reflects the user-centric approach adopted by Claro, catering to the diverse needs of mobile users. Whether it's opting for a specific data package, monitoring data usage, or verifying the added data, the process is designed to offer transparency and control over the SIM card's connectivity features.
By leveraging the Claro account management platform, users can seamlessly add data to their SIM card, ensuring that it is equipped with the necessary resources for uninterrupted connectivity. The convenience of accessing the account interface through the official website or dedicated mobile app enhances the accessibility of the data addition process, catering to the evolving digital lifestyles of users.
The verification steps outlined in this guide serve as a proactive approach to confirming the successful addition of data, providing users with the assurance that the allocated data is accurately reflected and ready for utilization. This verification process aligns with the commitment to transparency and user empowerment, enabling individuals to actively monitor and manage their data allocation.
In essence, the process of adding data to a Claro SIM card transcends mere functionality, embodying the seamless integration of technology into everyday life. It empowers users to stay connected, informed, and entertained, fostering a digital experience that aligns with their individual preferences and needs.
By demystifying the process of adding data to a Claro SIM card, this guide aims to equip users with the knowledge and confidence to manage their mobile connectivity effectively. The seamless addition of data to the SIM card represents a pivotal step in ensuring that users can harness the full potential of their mobile devices, fostering a connected and enriched digital lifestyle.