Introduction
Activating an AT&T Prepaid SIM card is the first step to unlocking the potential of your mobile device. Whether you're a new AT&T customer or making the switch to a prepaid plan, this comprehensive guide will walk you through the process, ensuring a seamless and hassle-free activation experience.
AT&T's prepaid plans offer the flexibility and control to tailor your mobile usage to your specific needs. By activating a prepaid SIM card, you gain access to a wide range of benefits, including affordable monthly plans, no annual contract, and the ability to bring your own device. With AT&T's extensive coverage and reliable network, you can stay connected wherever you go.
In this guide, we will delve into the step-by-step process of purchasing and activating an AT&T Prepaid SIM card. From the initial purchase to setting up your prepaid account and adding funds, you'll gain a comprehensive understanding of the entire activation journey. By following these instructions, you'll be well-equipped to activate your SIM card through the online portal or by phone, ensuring that you can start using your AT&T prepaid service without delay.
As we embark on this activation journey, it's important to note that the process is designed to be user-friendly and accessible to individuals of all technical backgrounds. Whether you're a tech-savvy enthusiast or a newcomer to the world of mobile devices, this guide will equip you with the knowledge and confidence to activate your AT&T Prepaid SIM card with ease.
So, without further ado, let's dive into the step-by-step process of activating your AT&T Prepaid SIM card and unlock the full potential of your mobile experience.
Step 1: Purchasing AT&T Prepaid SIM Card
Purchasing an AT&T Prepaid SIM card is the initial step towards gaining access to the benefits of AT&T's prepaid plans. Before you can activate your SIM card and enjoy the flexibility of a prepaid service, you'll need to acquire the physical SIM card. Here's a detailed overview of the process:
Visit an AT&T Store or Authorized Retailer
To kickstart the process, you can visit a nearby AT&T store or an authorized retailer. AT&T has an extensive network of retail locations, making it convenient to find a store in your area. Once there, you can explore the various prepaid plan options and select the one that best aligns with your mobile usage needs.
Choose Your Prepaid Plan
Upon reaching the store, you'll have the opportunity to explore the diverse range of prepaid plans offered by AT&T. These plans cater to different usage patterns, offering varying data allowances, talk time, and messaging options. Take the time to assess your needs and select a plan that suits your communication requirements and budget.
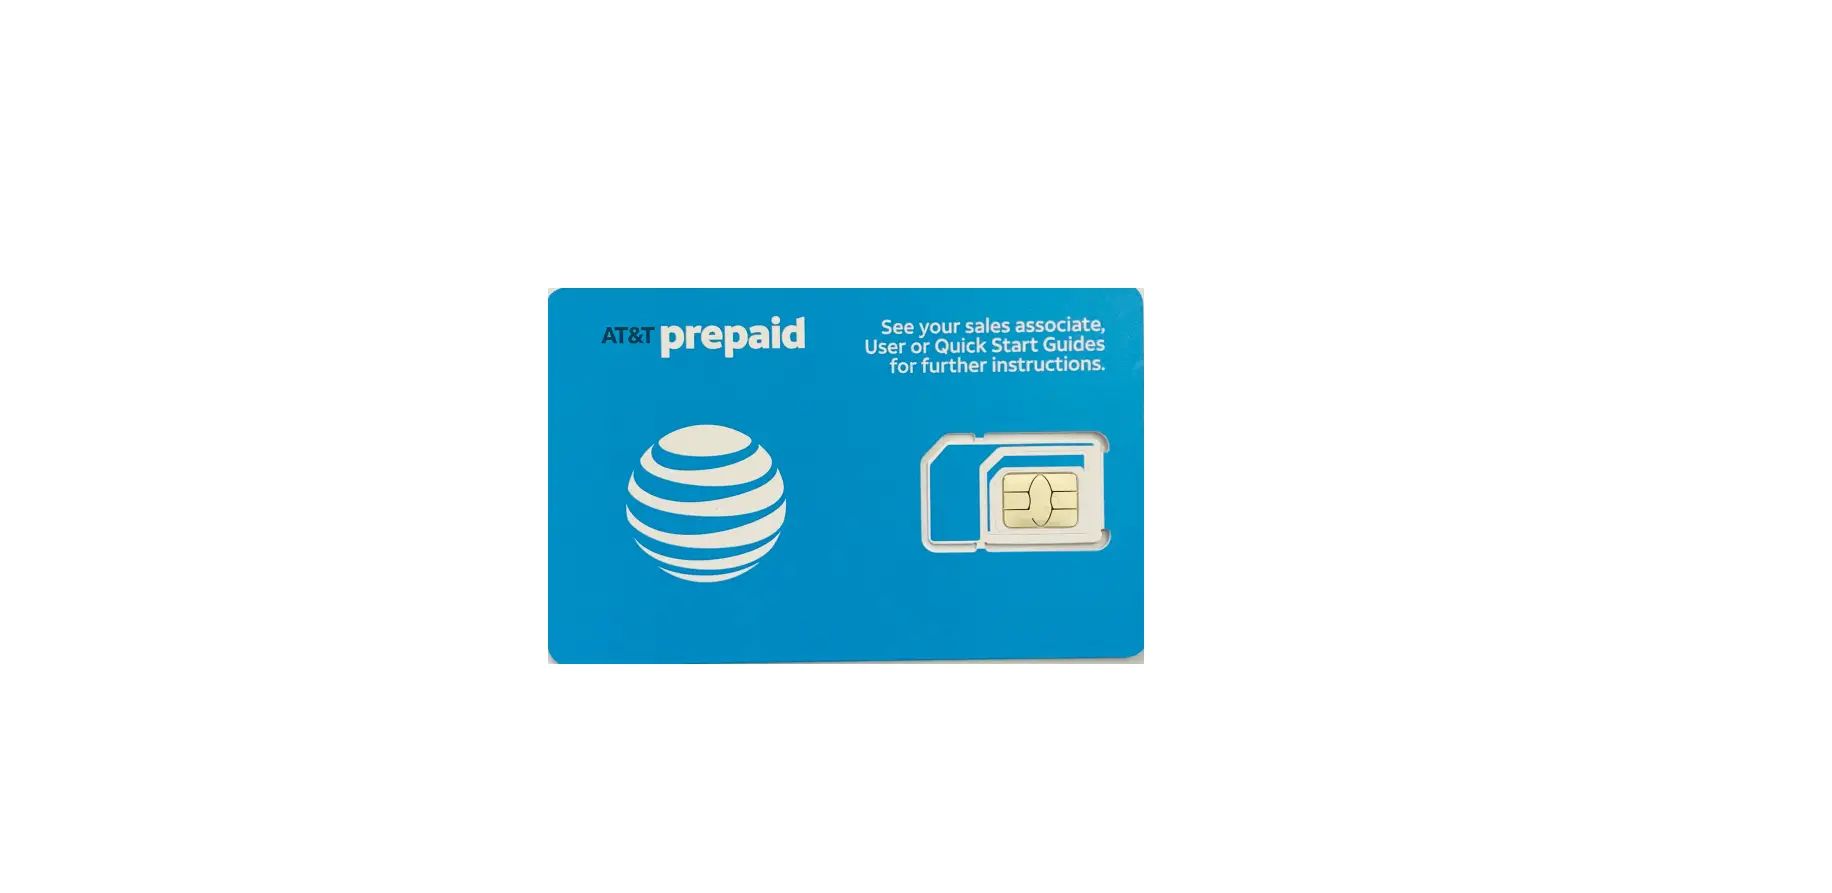
Purchase the AT&T Prepaid SIM Card
After selecting the ideal prepaid plan, you can proceed to purchase the AT&T Prepaid SIM card. The SIM card is the gateway to accessing AT&T's robust network and prepaid services. The store staff will assist you in acquiring the SIM card and provide any necessary guidance to ensure a smooth purchase process.
Bring Your Own Device or Choose a New Device
If you're bringing your own device, ensure that it is compatible with AT&T's network. Alternatively, if you're in need of a new device, the store personnel can guide you through the available options and help you select a device that complements your prepaid plan.
By following these steps, you'll successfully purchase an AT&T Prepaid SIM card, setting the stage for the subsequent activation process. With the SIM card in hand, you're one step closer to embracing the flexibility and convenience of AT&T's prepaid services.
This marks the completion of the first step in the journey towards activating your AT&T Prepaid SIM card. With the SIM card secured, you're now ready to proceed to the next phase of the activation process.
Step 2: Activating the SIM Card Online
Activating your AT&T Prepaid SIM card online is a convenient and straightforward process that empowers you to take control of your mobile service activation from the comfort of your own home. By following these steps, you can seamlessly activate your SIM card and begin enjoying the benefits of AT&T's prepaid plans.
Access the AT&T Prepaid Activation Website
To initiate the online activation process, navigate to the official AT&T Prepaid activation website using a web browser on your computer or mobile device. Once there, you'll be prompted to enter the required details to kickstart the activation journey.
Enter the SIM Card Details
Upon reaching the activation website, you'll need to provide essential information from your AT&T Prepaid SIM card. This typically includes the SIM card number, which is printed on the SIM card itself or included in the SIM card packaging. Additionally, you may be required to input other details such as your personal information and the prepaid plan activation code, if applicable.
Follow the On-Screen Instructions
After entering the necessary details, the activation website will guide you through the subsequent steps. Follow the on-screen instructions carefully, ensuring that all information is accurately inputted. The website will prompt you to verify the details you've provided before proceeding with the activation process.
Confirm Activation and Await Confirmation
Once you've completed the required steps and verified the information, you can confirm the activation. The website will process your activation request, and you'll receive a confirmation message indicating that your AT&T Prepaid SIM card has been successfully activated. This confirmation typically includes details about your prepaid plan, phone number assignment, and any additional instructions to get started.
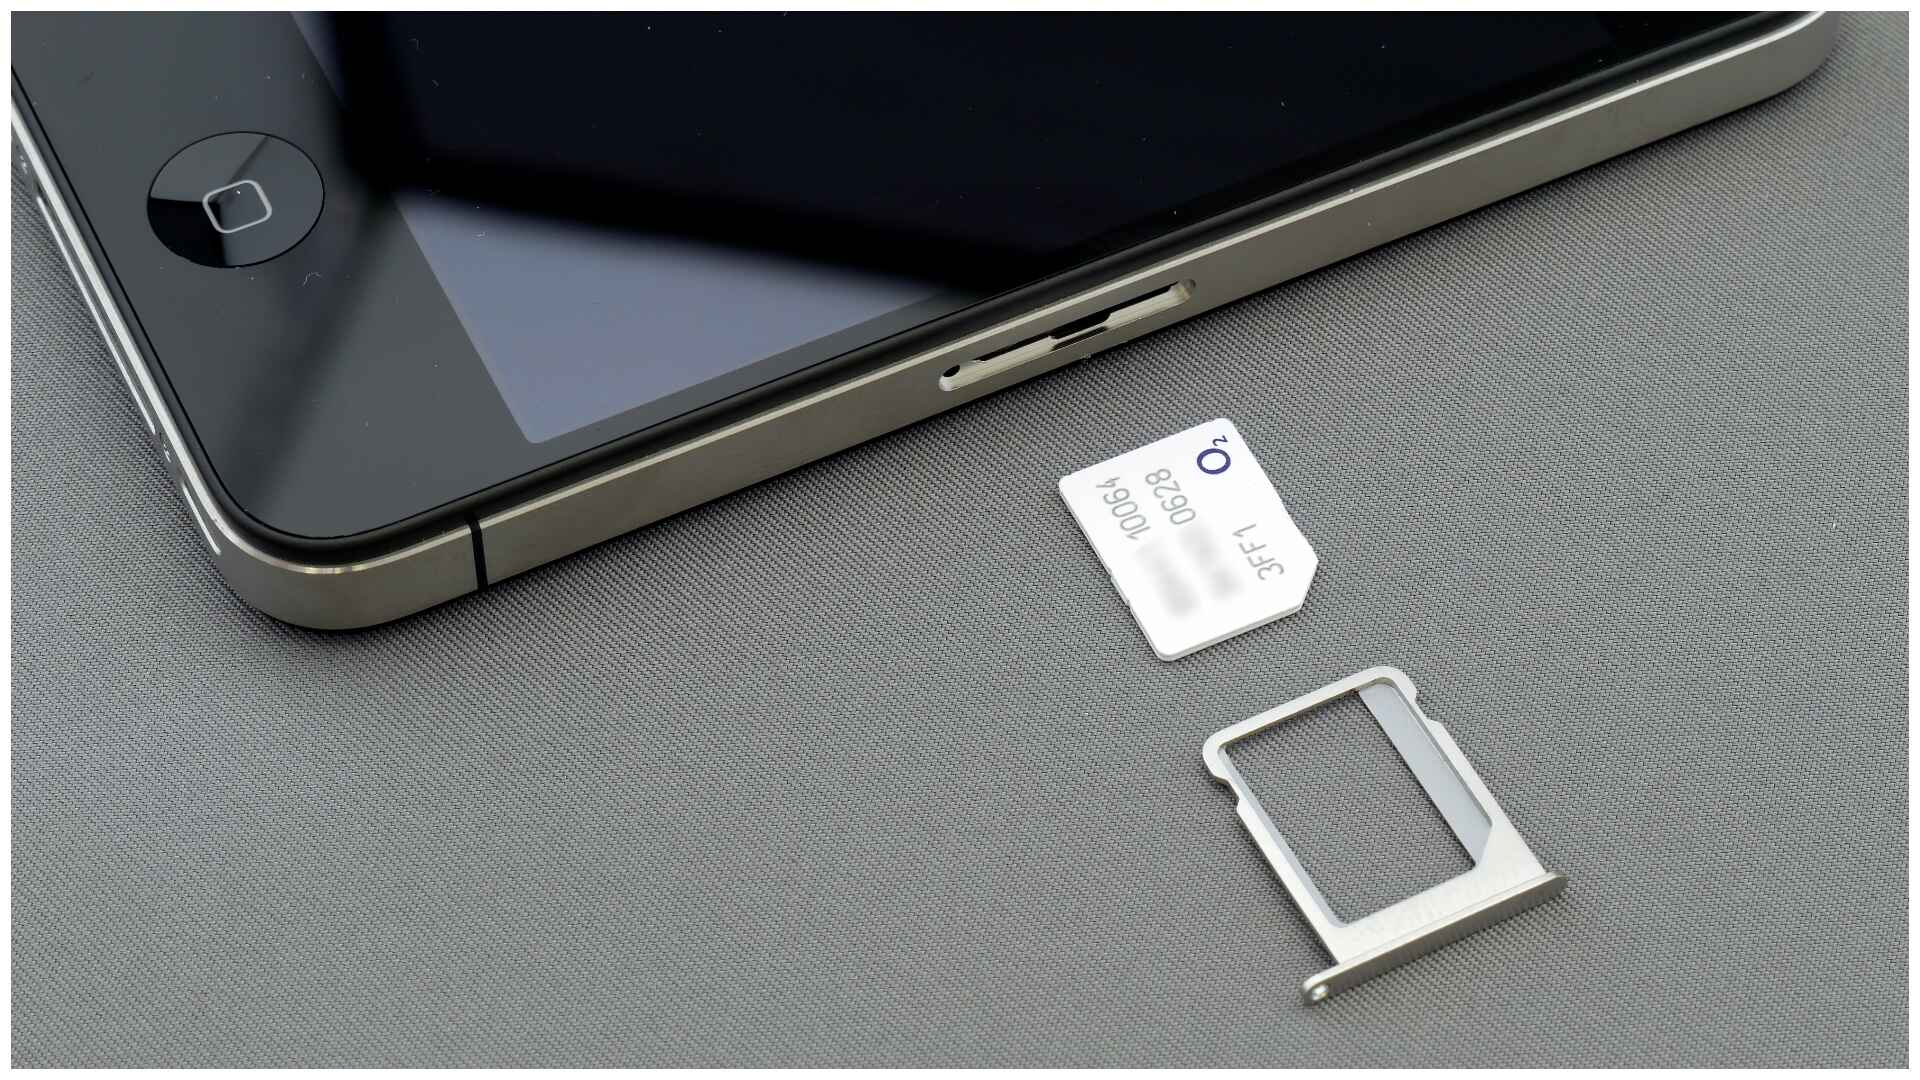
Insert the SIM Card and Power On Your Device
With the online activation process completed, it's time to insert your activated AT&T Prepaid SIM card into your device. Power on your device, and you'll be ready to make calls, send messages, and access data using AT&T's prepaid service.
By activating your AT&T Prepaid SIM card online, you've taken a significant step towards unlocking the full potential of your mobile experience. The convenience of online activation empowers you to seamlessly transition into the world of AT&T's prepaid services, ensuring that you can stay connected on your terms.
This wraps up the online activation process, paving the way for you to embark on the next phase of setting up your AT&T Prepaid account and adding funds to fuel your mobile usage.
Step 3: Activating the SIM Card by Phone
Activating your AT&T Prepaid SIM card by phone provides a convenient alternative to online activation, allowing you to initiate the activation process through a simple and guided phone call. This method is particularly beneficial for individuals who prefer a more interactive approach to activation or may encounter challenges with online processes. By following the steps outlined below, you can efficiently activate your SIM card and transition into the realm of AT&T's prepaid services.
-
Dial the Activation Number
To commence the activation process, dial the designated AT&T Prepaid activation number using the phone associated with the SIM card you intend to activate. The activation number is readily available on the SIM card packaging or can be obtained from AT&T's official website. -
Follow the Automated Prompts
Upon dialing the activation number, you'll be guided through a series of automated prompts designed to facilitate the activation process. These prompts will prompt you to input specific details, including the SIM card number and any additional information required to validate and activate the SIM card. -
Input the Required Information
As prompted by the automated system, input the necessary information to validate and activate your AT&T Prepaid SIM card. This typically includes the SIM card number, personal details for verification purposes, and the prepaid plan activation code if applicable. Ensure that you accurately input the details to facilitate a seamless activation experience. -
Confirmation and Activation
Once you've provided the required information, the automated system will process your activation request and confirm the successful activation of your SIM card. You may receive a confirmation message or notification indicating that your AT&T Prepaid SIM card has been activated and is ready for use. -
Insert the SIM Card and Power On Your Device
With the SIM card successfully activated, insert it into your device following the device-specific instructions. Power on your device, and you'll be primed to leverage AT&T's prepaid services for calls, messaging, and data usage.
By activating your AT&T Prepaid SIM card via phone, you've effectively navigated the activation process and positioned yourself to harness the benefits of AT&T's prepaid plans. This method offers a user-friendly and interactive approach to activation, ensuring that you can seamlessly integrate AT&T's prepaid services into your mobile experience.
This concludes the activation process by phone, marking a pivotal milestone in your journey towards unlocking the full potential of your AT&T Prepaid SIM card.
Step 4: Setting Up Your AT&T Prepaid Account
Setting up your AT&T Prepaid account is a crucial step that enables you to manage your mobile service, track usage, and access additional features offered by AT&T. By following the steps outlined below, you can seamlessly establish your prepaid account and gain control over your mobile experience.
Access the AT&T Prepaid Account Management Portal
To initiate the account setup process, access the official AT&T Prepaid account management portal using a web browser on your computer or mobile device. The portal provides a user-friendly interface that empowers you to create and manage your prepaid account with ease.
Create Your Account
Upon reaching the account management portal, you'll be prompted to create your AT&T Prepaid account. This typically involves providing essential details such as your name, contact information, and creating a secure login credentials, including a username and password. Ensure that the information you input is accurate and easily accessible for future account management purposes.
Verify Your Identity
As part of the account setup process, AT&T may require you to verify your identity to ensure the security of your prepaid account. This verification process may involve providing additional information or documentation to confirm your identity and safeguard your account against unauthorized access.
Select Your Preferences and Features
During the account setup, you'll have the opportunity to select your preferences and customize the features associated with your AT&T Prepaid account. This may include opting for paperless billing, managing auto-pay settings, and exploring additional services offered by AT&T to enhance your mobile experience.
Review and Confirm
Before finalizing the setup of your AT&T Prepaid account, carefully review the information you've provided and ensure that your preferences and features are accurately configured. This step is crucial in guaranteeing that your account aligns with your mobile usage needs and desired management settings.
Confirmation and Account Activation
Upon confirming your account setup details, you'll receive a confirmation message indicating that your AT&T Prepaid account has been successfully established. This confirmation typically includes details about your account credentials, access to the account management portal, and any additional instructions to navigate and utilize your prepaid account effectively.
By setting up your AT&T Prepaid account, you've taken a significant stride towards managing and optimizing your mobile service according to your preferences. This process empowers you to exercise control over your prepaid account, ensuring that you can tailor your mobile experience to align with your communication requirements and management preferences.
This concludes the account setup process, marking a pivotal milestone in your journey towards leveraging the full potential of your AT&T Prepaid account.
Step 5: Adding Funds to Your AT&T Prepaid Account
Adding funds to your AT&T Prepaid account is a fundamental aspect of maintaining uninterrupted access to AT&T's robust network and services. By ensuring that your account is adequately funded, you can continue to enjoy seamless connectivity, make calls, send messages, and access data without disruption. The process of adding funds to your AT&T Prepaid account is designed to be straightforward and accessible, empowering you to manage your mobile service with ease.
Here's a detailed overview of the steps involved in adding funds to your AT&T Prepaid account:
-
Access Your Account Management Portal: Begin by accessing the official AT&T Prepaid account management portal using a web browser on your computer or mobile device. The portal provides a secure and user-friendly interface that enables you to manage your prepaid account efficiently.
-
Navigate to the Refill Section: Within the account management portal, navigate to the "Refill" or "Add Funds" section. This dedicated area allows you to initiate the process of adding funds to your AT&T Prepaid account seamlessly.
-
Select the Refill Amount: Choose the desired refill amount based on your usage patterns and budget. AT&T offers flexibility in selecting refill amounts, allowing you to tailor the funding to align with your specific communication needs.
-
Choose the Payment Method: Upon selecting the refill amount, you can proceed to choose the preferred payment method for adding funds to your AT&T Prepaid account. AT&T supports various payment options, including credit or debit cards, electronic fund transfers, and refill cards that can be purchased from authorized retailers.
-
Input Payment Details: Input the necessary payment details, ensuring that the information is accurate and up to date. This step is crucial in facilitating a seamless transaction and ensuring that the funds are successfully added to your AT&T Prepaid account.
-
Review and Confirm: Before finalizing the refill transaction, carefully review the payment details and confirm the refill amount and payment method. This verification step ensures that the transaction aligns with your intended funding preferences.
-
Confirmation and Account Update: Upon confirming the refill transaction, you'll receive a confirmation message indicating that the funds have been successfully added to your AT&T Prepaid account. This confirmation typically includes details about the updated account balance and any additional instructions related to the refill transaction.
By following these steps, you can effectively add funds to your AT&T Prepaid account, ensuring that your mobile service remains active and accessible. This process empowers you to maintain control over your account balance, enabling uninterrupted usage of AT&T's prepaid services.
This marks the completion of the process of adding funds to your AT&T Prepaid account, underscoring the importance of proactive account management to sustain a seamless and uninterrupted mobile experience.
Conclusion
In conclusion, the activation of an AT&T Prepaid SIM card marks the beginning of a journey towards leveraging the flexibility, control, and convenience offered by AT&T's prepaid services. By following the comprehensive guide outlined in this article, individuals can navigate the process of purchasing, activating, and managing their AT&T Prepaid SIM card with confidence and ease.
The initial step of purchasing the AT&T Prepaid SIM card sets the stage for the subsequent activation process. Whether visiting an AT&T store or an authorized retailer, individuals have the opportunity to explore the diverse range of prepaid plans and select the one that best aligns with their communication needs and budget. With the SIM card secured, users are ready to proceed to the activation phase, whether through online activation or by phone.
The online activation process provides a convenient and user-friendly approach, empowering individuals to take control of their mobile service activation from the comfort of their own home. By entering the necessary SIM card details and following the on-screen instructions, users can seamlessly activate their SIM card and begin enjoying the benefits of AT&T's prepaid plans. Alternatively, the activation by phone offers a guided and interactive method, ensuring that individuals can efficiently activate their SIM card and transition into the realm of AT&T's prepaid services.
Setting up the AT&T Prepaid account and adding funds further solidify the foundation for a seamless and uninterrupted mobile experience. By creating and managing their prepaid account through the official portal, users can tailor their mobile service to align with their preferences and usage patterns. Additionally, the process of adding funds ensures that individuals can maintain an active and accessible account balance, allowing for continuous usage of AT&T's prepaid services.
In essence, the activation and management of an AT&T Prepaid SIM card empower individuals to stay connected on their terms, with the flexibility to control their mobile service according to their specific needs. Whether it's making calls, sending messages, or accessing data, AT&T's prepaid services offer the freedom to stay connected without the constraints of an annual contract.
By following the steps outlined in this guide, individuals can embark on their AT&T Prepaid journey with confidence, knowing that they have the knowledge and understanding to navigate the activation process seamlessly. With the activation of their AT&T Prepaid SIM card, users are well-equipped to embrace the freedom, flexibility, and reliability of AT&T's prepaid services, ensuring a seamless and personalized mobile experience.