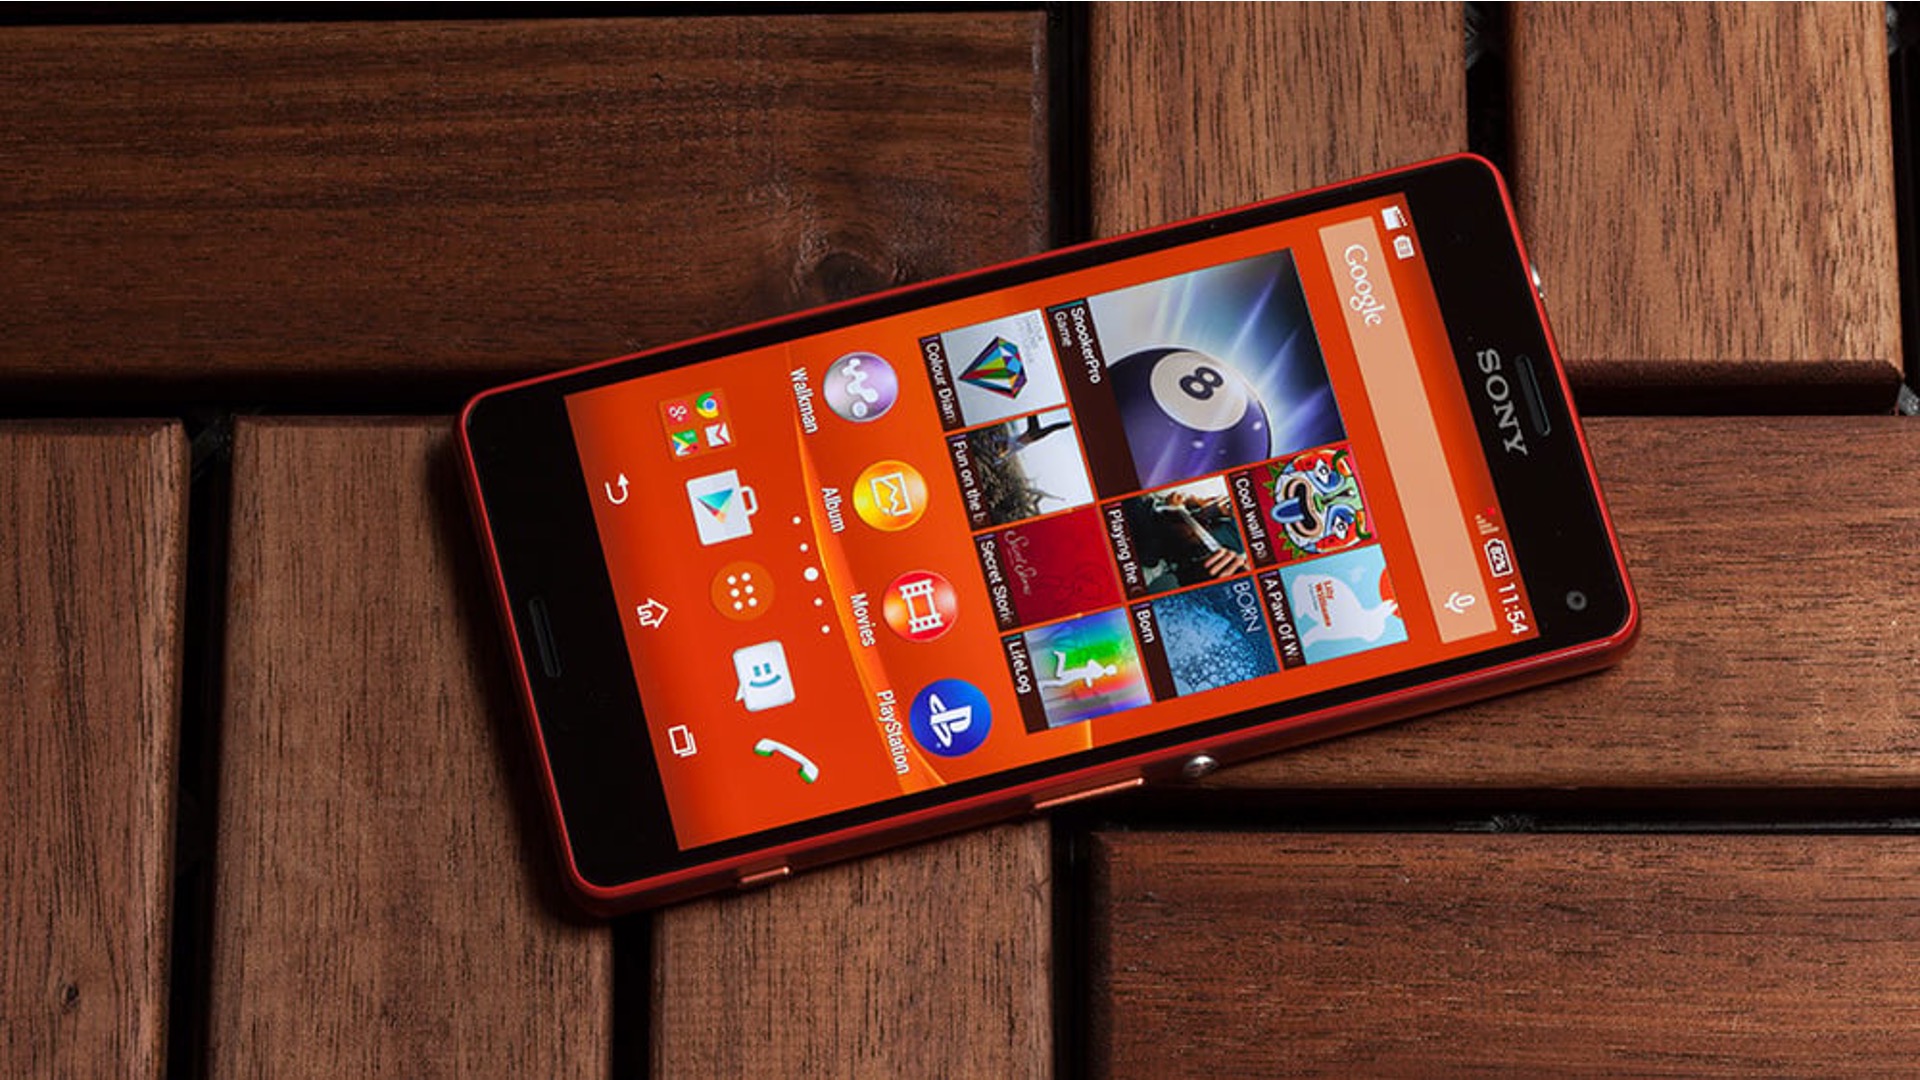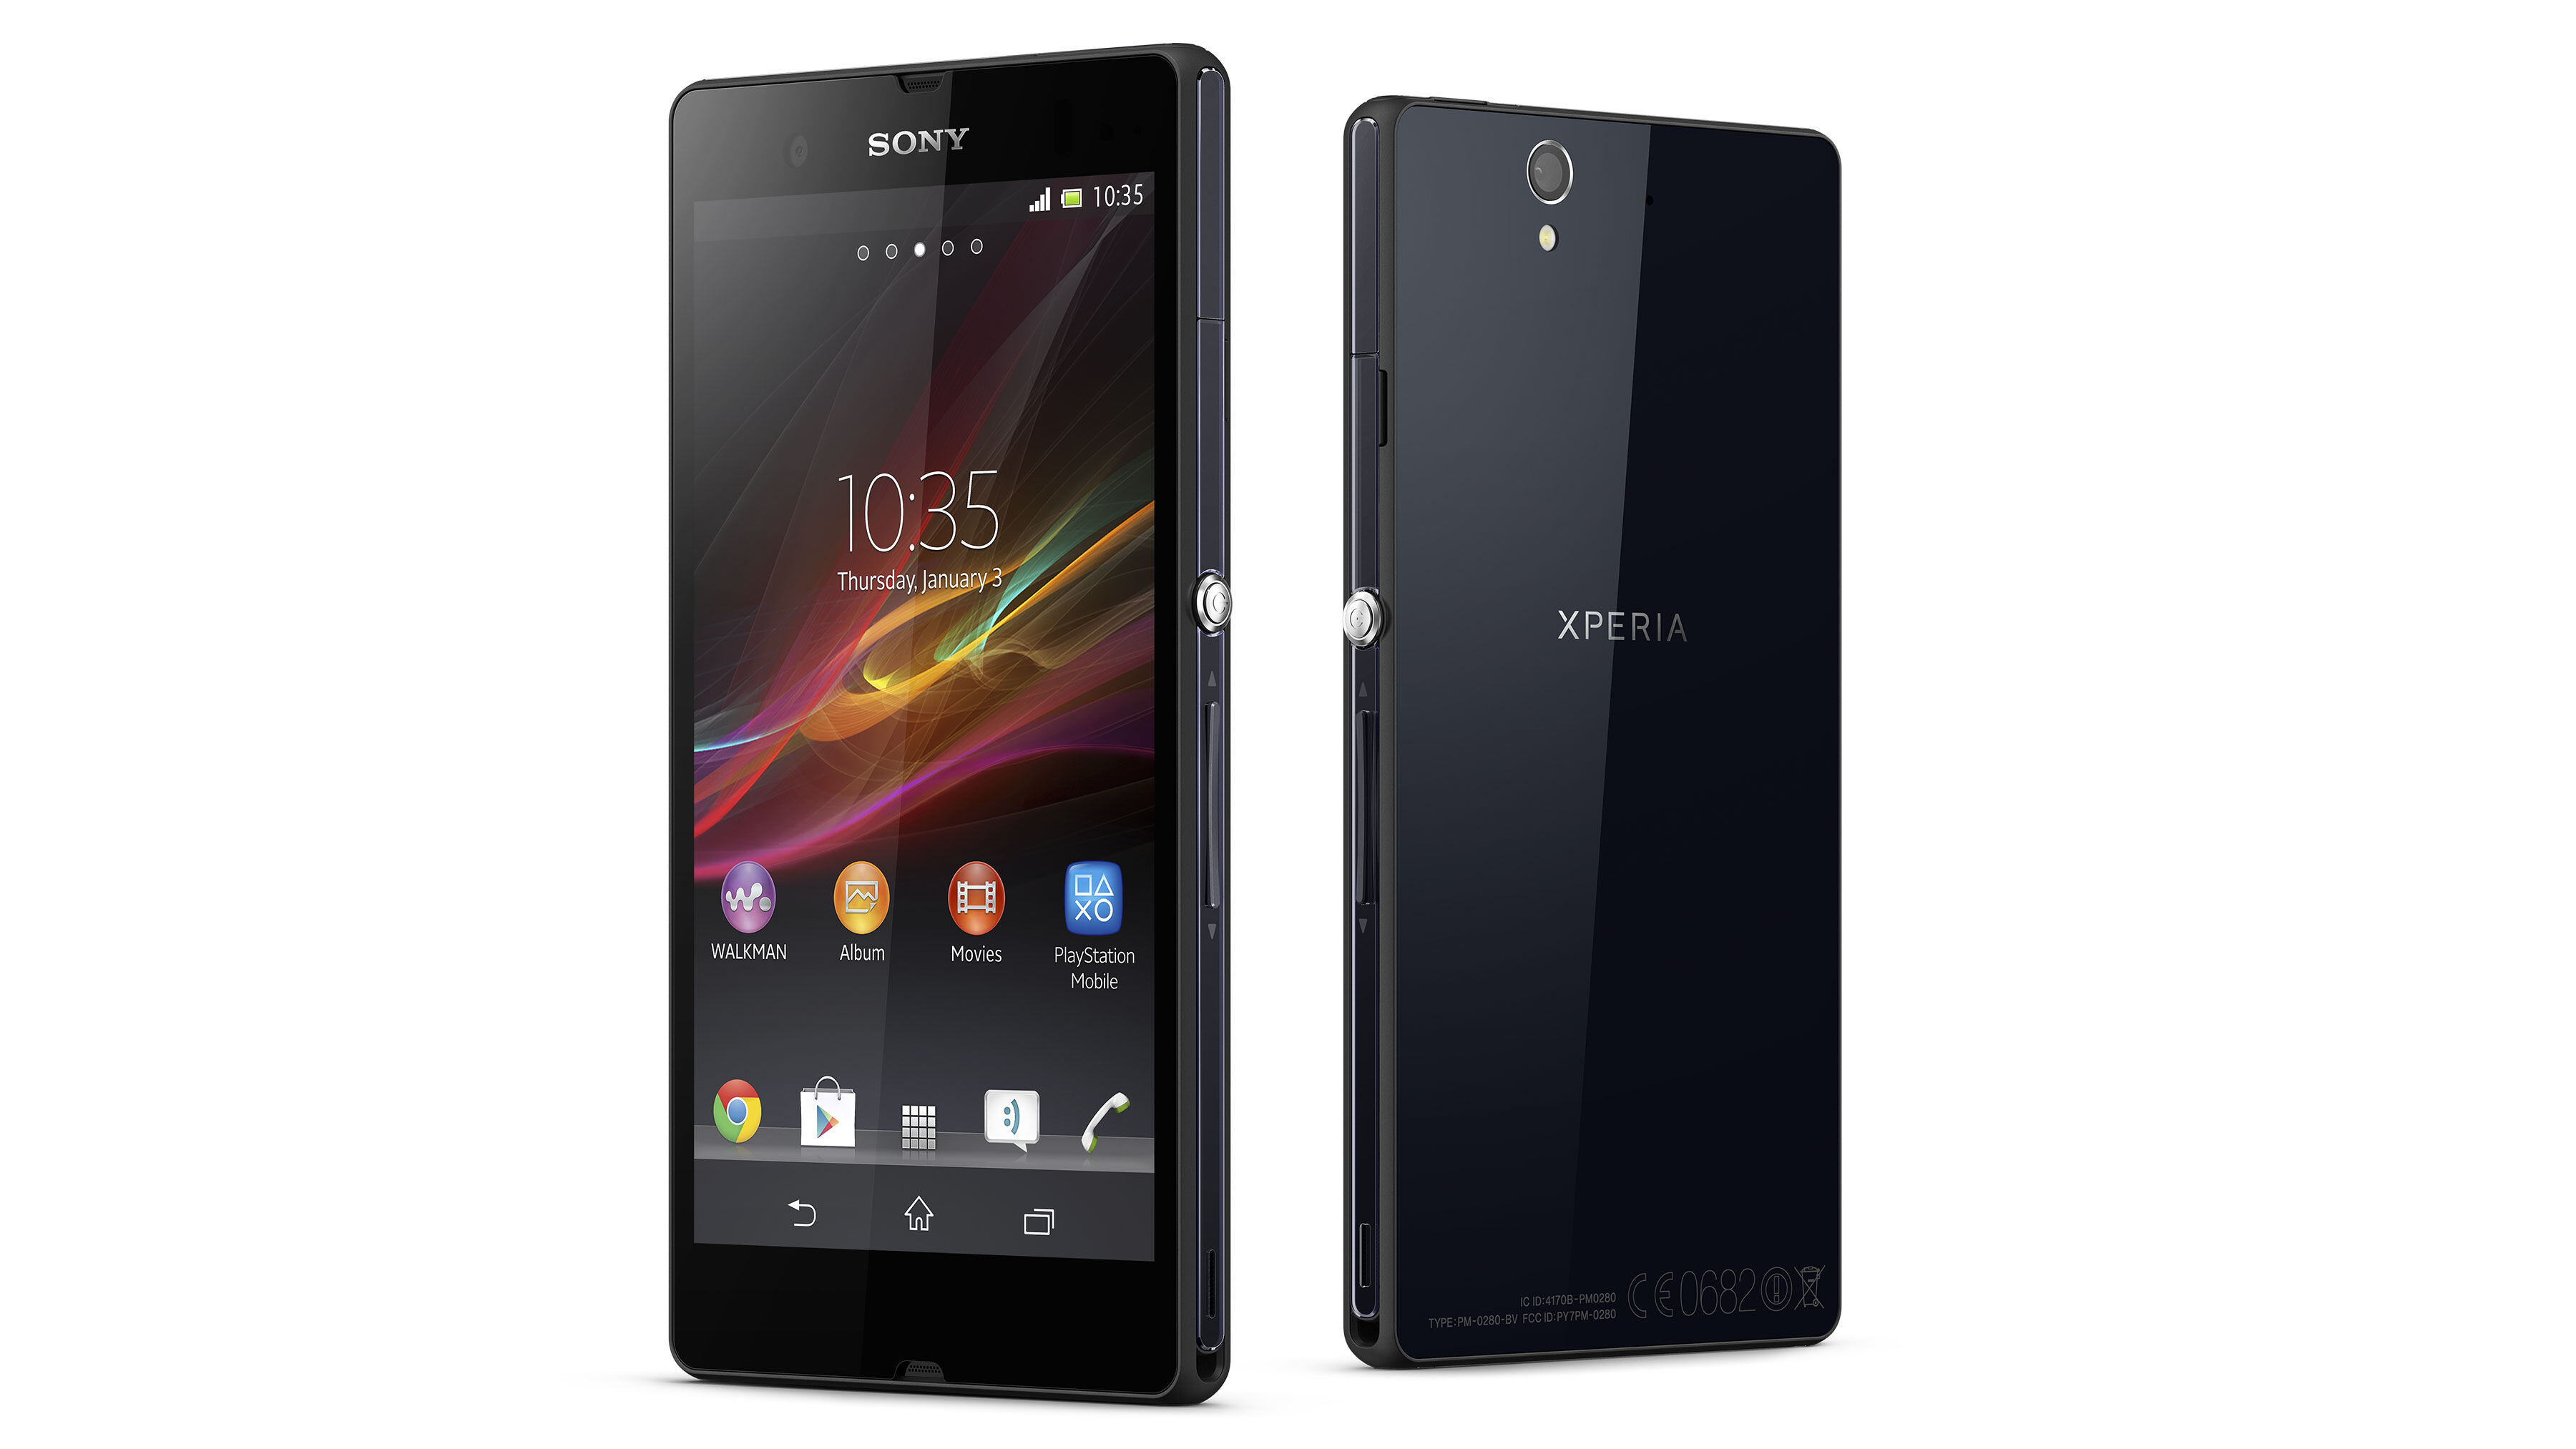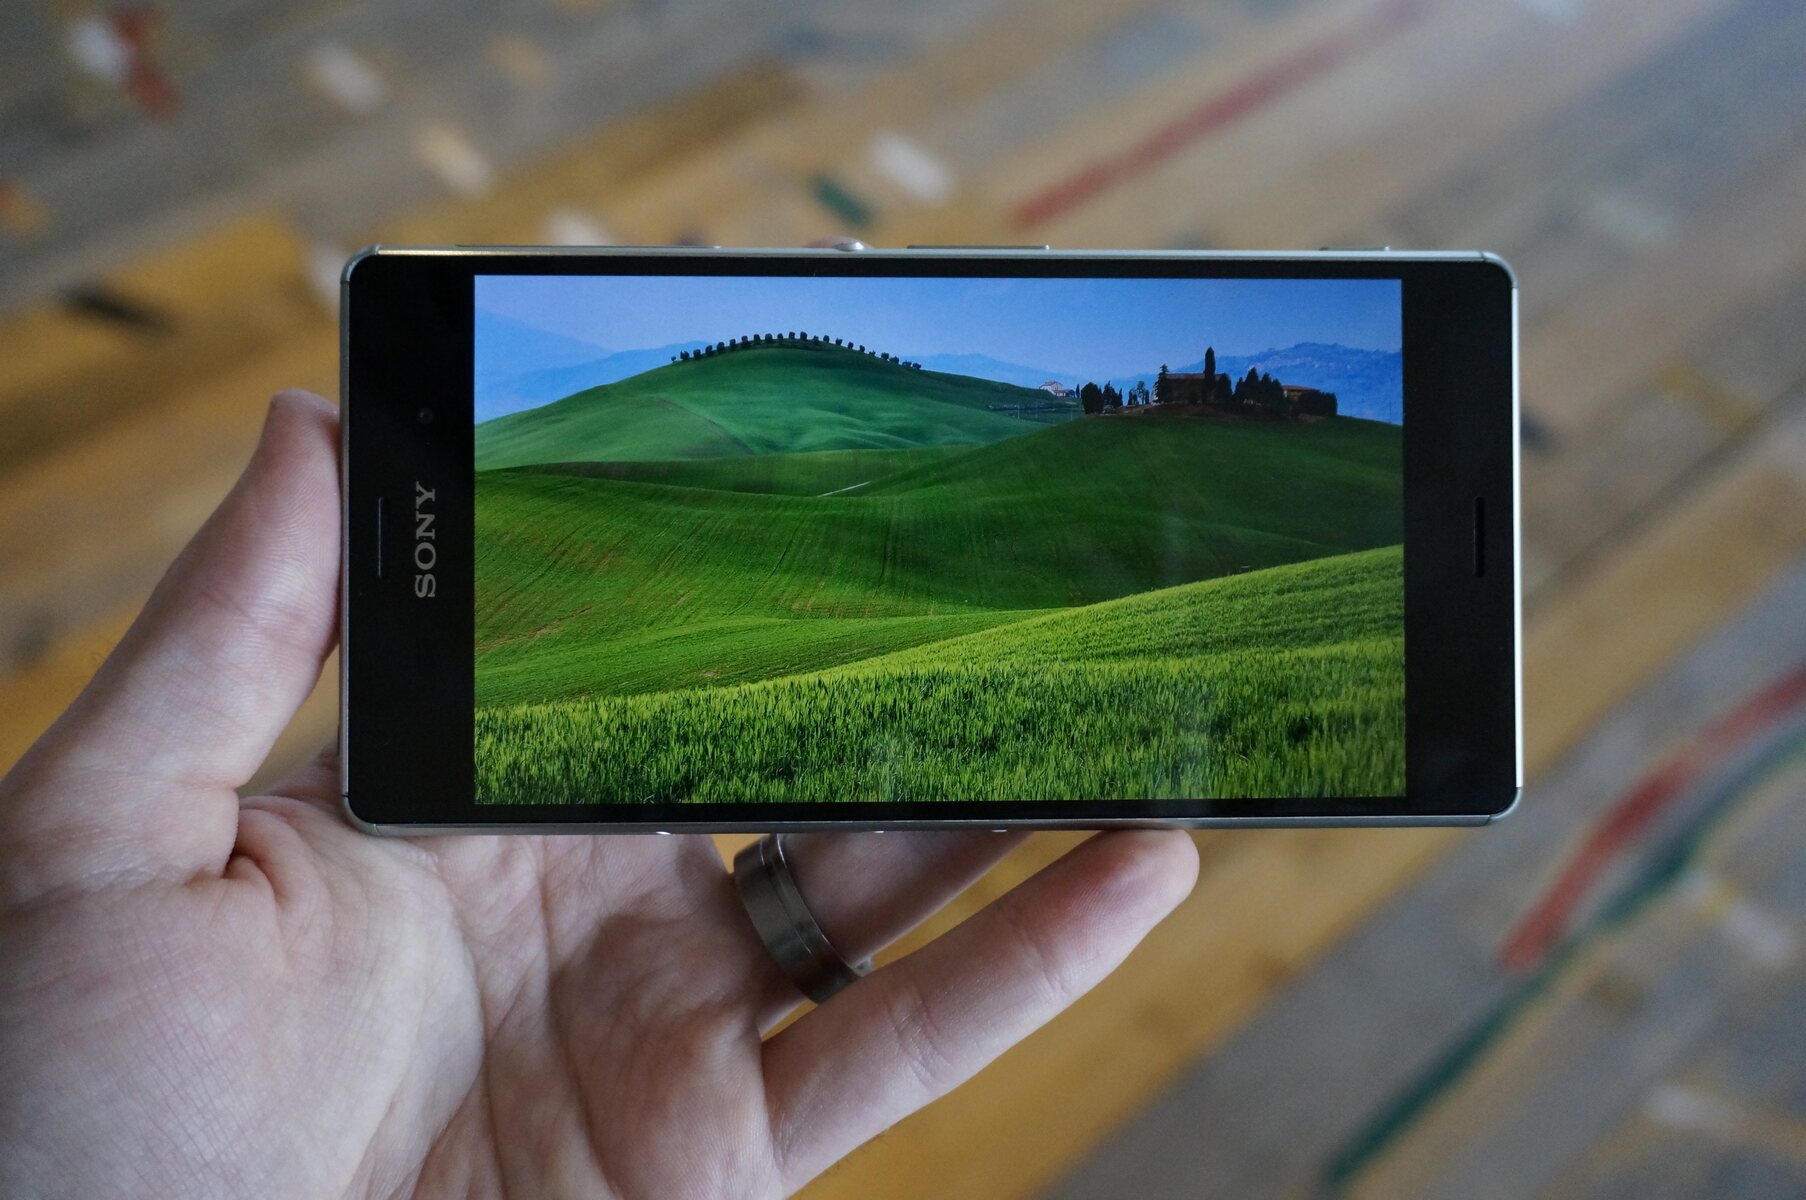
Introduction
Connecting your Sony Xperia smartphone to a computer can unlock a world of possibilities, allowing you to seamlessly transfer files, perform backups, and even update your device's software. Whether you're a tech enthusiast or a casual user, understanding the process of connecting your Sony Xperia to a computer is essential for maximizing the potential of your device.
In this comprehensive guide, we will walk you through the step-by-step process of connecting your Sony Xperia to a computer, ensuring that you can harness the full power of your device with ease. From installing the necessary software to safely disconnecting your Xperia, we've got you covered every step of the way.
So, grab your Sony Xperia and get ready to embark on a journey that will empower you to effortlessly manage your device and unleash its full potential. Whether you're a seasoned Xperia user or a newcomer to the world of Sony smartphones, this guide will equip you with the knowledge and skills to seamlessly connect your device to a computer, opening up a world of convenience and functionality.
Without further ado, let's dive into the process of connecting your Sony Xperia to a computer and discover the myriad benefits that come with this simple yet powerful connection. Whether you're looking to transfer photos, backup important data, or explore advanced software management options, this guide will serve as your trusted companion on this exciting technological journey.
Step 1: Install Sony Xperia Companion
To begin the process of connecting your Sony Xperia smartphone to a computer, the first step is to install the Sony Xperia Companion software. This essential tool serves as the gateway to seamless communication between your Xperia device and your computer, enabling a host of functionalities such as file transfers, software updates, and device management.
-
Download the Software: The initial step involves downloading the Sony Xperia Companion software from the official Sony website. This can be easily accomplished by navigating to the designated download page and selecting the appropriate version for your operating system, whether it's Windows or macOS.
-
Installation Process: Once the software has been downloaded, proceed to install it on your computer by following the on-screen instructions. The installation process is typically straightforward, requiring you to agree to the terms and conditions and select the installation location before the software is seamlessly integrated into your system.
-
Launch the Application: After the installation is complete, launch the Sony Xperia Companion application on your computer. This step is crucial as it initiates the connection process and prepares the software to communicate with your Xperia device.
-
Connect Your Xperia: At this stage, ensure that your Sony Xperia smartphone is powered on and in a ready state. Use a compatible USB cable to connect your Xperia to the computer, establishing a physical link that will enable the Sony Xperia Companion to recognize and interact with your device.
-
Follow On-Screen Instructions: Upon connecting your Xperia to the computer, the Sony Xperia Companion software will guide you through the necessary steps to establish a secure and functional connection. This may involve granting permissions on your Xperia device to enable data transfer and device management.
By successfully completing the installation of the Sony Xperia Companion software, you have laid the foundation for a seamless and productive connection between your Sony Xperia smartphone and your computer. With this essential software in place, you are now ready to move on to the next step and delve into the process of connecting your Xperia to the computer, unlocking a world of possibilities and convenience.
This marks the beginning of an exciting journey that will empower you to harness the full potential of your Sony Xperia device, leveraging the power of connectivity to streamline file management, software updates, and device maintenance. With the Sony Xperia Companion at your disposal, you are poised to embark on a seamless and enriching experience that will elevate your Xperia usage to new heights.
Step 2: Connect Your Sony Xperia to the Computer
Now that you have successfully installed the Sony Xperia Companion software on your computer, it's time to establish a physical connection between your Sony Xperia smartphone and the computer. This pivotal step sets the stage for seamless data transfer, software management, and device synchronization, enabling you to harness the full potential of your Xperia device.
-
Use a Compatible USB Cable: Begin by selecting a compatible USB cable to connect your Sony Xperia smartphone to the computer. It's essential to use a high-quality USB cable that is designed to facilitate data transfer and maintain a stable connection between your Xperia device and the computer.
-
Power On Your Xperia: Ensure that your Sony Xperia smartphone is powered on and in an operational state before initiating the connection process. This step is crucial as it allows the computer to recognize and establish communication with your Xperia device once the USB connection is established.
-
Connect to the Computer: With your Sony Xperia powered on, carefully insert one end of the USB cable into the charging port of your Xperia smartphone. Next, connect the other end of the USB cable to an available USB port on your computer. As the physical connection is established, your Xperia device and the computer will begin to communicate with each other, paving the way for seamless interaction.
-
Grant Necessary Permissions: Depending on your Xperia device's settings, you may be prompted to grant permissions for data transfer and device management when the USB connection is established. Follow any on-screen prompts on your Xperia device to ensure that the necessary permissions are granted, allowing the computer to access and interact with your Xperia seamlessly.
-
Confirmation of Connection: Upon successfully connecting your Sony Xperia to the computer, you may receive a notification on your Xperia device indicating that it is now connected as a media device or for file transfer. This confirmation signifies that the connection has been established, and your Xperia device is ready to interact with the computer for various purposes, including file transfers and software management.
By following these steps, you have successfully connected your Sony Xperia smartphone to the computer, laying the groundwork for a host of functionalities and interactions. With the physical connection in place, you are now poised to explore the myriad benefits of connecting your Xperia to the computer, from transferring files to managing software updates and backups with ease.
This seamless connection opens up a world of convenience and productivity, empowering you to effortlessly manage your Sony Xperia device and leverage the power of connectivity to enhance your overall user experience. With your Xperia now seamlessly connected to the computer, you are ready to embark on the next steps of this exciting journey, unlocking the full potential of your device with confidence and ease.
Step 3: Accessing Your Xperia on the Computer
Once your Sony Xperia smartphone is successfully connected to the computer, the next step is to access and interact with your device from the computer interface. This pivotal stage opens the door to a myriad of possibilities, allowing you to seamlessly manage files, explore device settings, and even perform software updates with ease. Here's a detailed breakdown of how to access your Xperia on the computer:
Windows Operating System
If you are using a Windows-based computer, accessing your Sony Xperia device is a straightforward process. Upon connecting your Xperia to the computer, you may encounter a notification indicating that a new device has been connected. This notification serves as a confirmation that your Xperia device is recognized by the computer and is ready for interaction.
To access your Xperia on a Windows computer, follow these steps:
-
File Explorer: Open the File Explorer on your computer, and you should see your connected Xperia device listed under "This PC" or "Computer." Click on the Xperia device icon to access its contents, including internal storage, SD card (if applicable), and other relevant folders.
-
File Transfer: Once you have accessed your Xperia device through File Explorer, you can seamlessly transfer files between your computer and the Xperia device. This includes copying photos, videos, documents, and other files to and from your Xperia, facilitating efficient file management.
-
Device Management: In addition to file transfer, accessing your Xperia on a Windows computer allows you to manage your device's content, including organizing files, creating new folders, and performing backups of important data directly from the computer interface.
macOS Operating System
For users of macOS-based computers, accessing your Sony Xperia device follows a similar process, albeit with slight variations in the interface. Here's how to access your Xperia on a macOS computer:
-
Finder: Open the Finder application on your Mac, and you should see your connected Xperia device listed in the sidebar under "Locations." Click on the Xperia device to access its contents, including internal storage and any additional storage media.
-
File Transfer: Once you have accessed your Xperia device through Finder, you can seamlessly transfer files between your Mac and the Xperia device, enabling efficient data exchange and management.
-
Device Interaction: Accessing your Xperia on a macOS computer empowers you to interact with your device's content, allowing you to organize files, create backups, and explore the device's storage directly from the Finder interface.
By following these steps, you can seamlessly access your Sony Xperia device on both Windows and macOS computers, unlocking a world of convenience and functionality. This seamless interaction between your Xperia and the computer interface empowers you to manage your device's content with ease, facilitating efficient file transfers, backups, and device management directly from your computer.
With your Xperia now accessible on the computer, you are ready to explore the next steps of this exciting journey, leveraging the power of connectivity to enhance your Xperia experience and streamline your device management with confidence and ease.
Step 4: Transferring Files between Your Xperia and Computer
Transferring files between your Sony Xperia smartphone and computer is a fundamental aspect of the connectivity process, enabling seamless exchange of photos, videos, documents, and other essential data. Whether you're looking to back up important files from your Xperia to the computer or transfer media content from the computer to your device, the file transfer functionality empowers you to manage your digital content with ease.
Windows Operating System
On a Windows-based computer, transferring files between your Xperia and the computer is a straightforward process. Once your Xperia device is connected to the computer, follow these steps to initiate file transfers:
-
File Explorer: Open the File Explorer on your computer and navigate to the connected Xperia device listed under "This PC" or "Computer." Click on the Xperia device icon to access its contents, including internal storage and any additional storage media such as an SD card if applicable.
-
Select and Transfer: Within the Xperia device's storage, you can browse through folders and select the files you wish to transfer. Whether it's photos from your Xperia's camera roll, documents, or media files, simply drag and drop the selected files to a designated location on your computer to initiate the transfer process.
-
Copy and Paste: Alternatively, you can use the copy and paste method to transfer files between your Xperia and the computer. Right-click on the selected files, choose "Copy," navigate to the desired location on your computer, and then right-click again to select "Paste," effectively transferring the files to the designated location.
macOS Operating System
For users of macOS-based computers, the process of transferring files between your Xperia and the computer follows a similar pattern with slight interface variations. Here's how to transfer files on a macOS computer:
-
Finder: Open the Finder application on your Mac and locate the connected Xperia device listed in the sidebar under "Locations." Click on the Xperia device to access its contents, including internal storage and any additional storage media.
-
Drag and Drop: Within the Xperia device's storage, you can select the files you wish to transfer and simply drag them to a desired location on your Mac. This intuitive drag-and-drop method facilitates seamless file transfer, allowing you to effortlessly move files between your Xperia and the computer.
-
Copy and Paste: Alternatively, you can use the copy and paste method on macOS by selecting the files, choosing "Copy" from the context menu, navigating to the desired location on your Mac, and then selecting "Paste" to complete the file transfer process.
By following these steps, you can effortlessly transfer files between your Sony Xperia smartphone and the computer, facilitating efficient data management and ensuring that your digital content remains accessible across both devices. This seamless file transfer functionality empowers you to maintain a synchronized digital ecosystem, allowing you to manage and organize your files with ease, enhancing your overall user experience.
Step 5: Safely Disconnecting Your Xperia from the Computer
Safely disconnecting your Sony Xperia smartphone from the computer is a crucial step in maintaining the integrity of your device and ensuring a seamless user experience. By following the proper procedures for disconnection, you can minimize the risk of data corruption and hardware issues, safeguarding the content on your Xperia and preserving the stability of the device. Here's a detailed guide on how to safely disconnect your Xperia from the computer:
Windows Operating System
-
Eject Xperia Device: In the File Explorer, locate your connected Xperia device under "This PC" or "Computer." Right-click on the Xperia device and select "Eject" from the context menu. This action ensures that all active processes involving the Xperia device are safely terminated, preparing it for disconnection.
-
Wait for Confirmation: After initiating the ejection process, wait for the confirmation message indicating that it is safe to disconnect the Xperia device. This message serves as a crucial indicator that all data transfer processes and device interactions have been successfully concluded, and the device is ready for disconnection.
-
Disconnect USB Cable: Once you receive the confirmation message, carefully disconnect the USB cable from your Xperia device and the computer. Ensure that the disconnection is performed gently and without applying excessive force to the USB port, preserving the integrity of the physical connection points.
macOS Operating System
-
Unmount Xperia Device: In the Finder, locate your connected Xperia device listed under "Locations" in the sidebar. Click on the Xperia device and then click the "Eject" button next to its name. This action unmounts the Xperia device from the computer, ensuring that all active processes are safely concluded.
-
Wait for Unmounting: Allow the unmounting process to complete, indicated by the disappearance of the Xperia device from the Finder sidebar. This signifies that the device is no longer actively connected to the computer and is prepared for disconnection.
-
Disconnect USB Cable: Upon the successful unmounting of the Xperia device, gently disconnect the USB cable from your Xperia and the computer, ensuring a smooth and careful disconnection process to avoid any potential damage to the USB ports.
By following these steps, you can safely disconnect your Sony Xperia smartphone from the computer, preserving the integrity of your device and ensuring a seamless transition from the connected state to standalone operation. This mindful disconnection process minimizes the risk of data loss or hardware issues, allowing you to maintain the stability and reliability of your Xperia device while leveraging the power of connectivity with confidence and ease.
Conclusion
In conclusion, the process of connecting your Sony Xperia smartphone to a computer is not only a technical endeavor but also a gateway to unlocking the full potential of your device. By following the step-by-step guide outlined in this comprehensive article, you have gained the knowledge and skills necessary to seamlessly establish a connection between your Xperia and the computer, opening up a world of convenience, productivity, and functionality.
From the initial installation of the Sony Xperia Companion software to the seamless file transfers and the mindful disconnection process, you have embarked on a journey that empowers you to manage your Xperia device with confidence and ease. The ability to access your Xperia on the computer interface, transfer files effortlessly, and safely disconnect the device underscores the seamless integration of technology into your daily life.
By leveraging the power of connectivity, you can now effortlessly manage your digital content, perform backups, and explore advanced software management options with ease. The connection between your Sony Xperia and the computer serves as a bridge that enhances your overall user experience, allowing you to seamlessly synchronize your digital ecosystem and maintain a harmonious balance between your device and the computer.
As you navigate the technological landscape of Sony Xperia connectivity, remember that this process is not merely about data transfer or software management; it's about empowering you to harness the full potential of your device. Whether you're a photography enthusiast looking to transfer stunning images from your Xperia to the computer, a professional seeking to back up crucial documents, or a casual user exploring the seamless integration of your digital world, the connection between your Xperia and the computer is a catalyst for enhanced productivity and convenience.
With the knowledge and skills acquired from this guide, you are now equipped to embark on a seamless and enriching journey with your Sony Xperia smartphone, leveraging the power of connectivity to elevate your user experience. As technology continues to evolve, the connection between your Xperia and the computer will remain a cornerstone of efficient device management, ensuring that you can effortlessly navigate the digital landscape with confidence and ease.
So, as you embark on this exciting technological journey, remember that the connection between your Sony Xperia and the computer is not just a link; it's a gateway to a world of possibilities, convenience, and empowerment. Embrace the seamless integration of your Xperia into your digital ecosystem, and let the power of connectivity propel you toward a future where managing your device is not just a task but a seamless and enriching experience.