Introduction
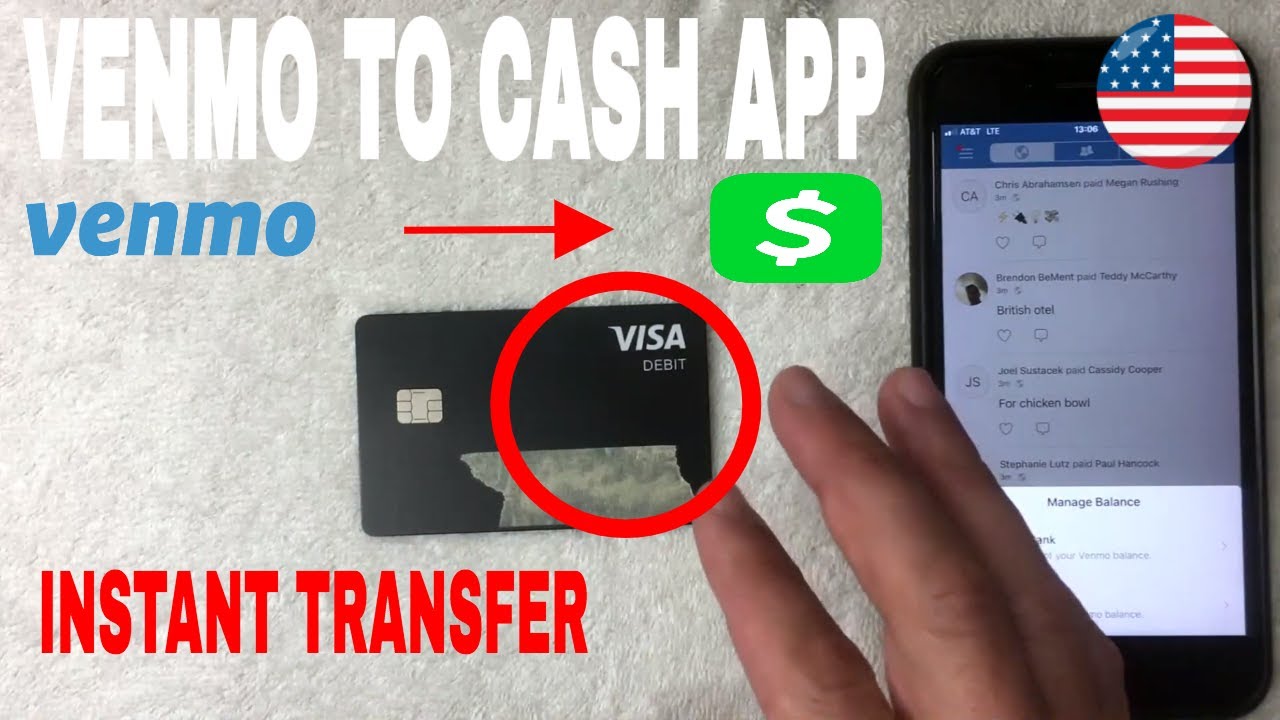
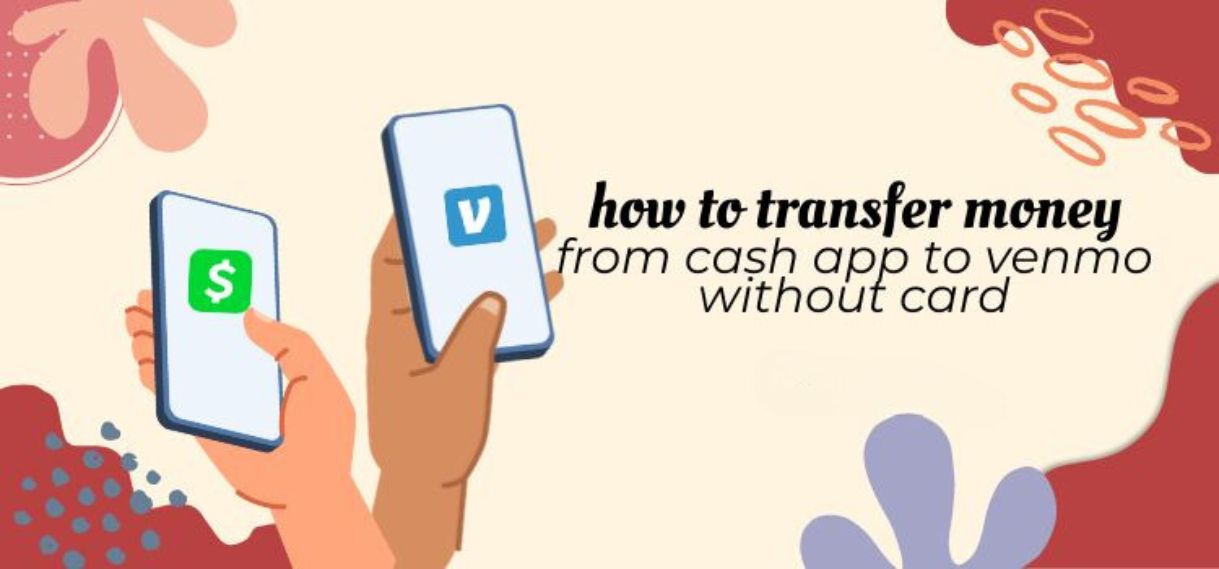
Transferring money between different payment platforms has become a common need in today’s digital age. As more and more people rely on mobile payment apps like Cash App and Venmo for convenient financial transactions, the question arises: how can you transfer money from Cash App to Venmo?
In this article, we will guide you through the step-by-step process of transferring money from your Cash App account to your Venmo account. Whether you need to split expenses with friends, reimburse someone, or simply want to consolidate your funds, these instructions will help you effortlessly move your money between the two platforms.
Before we dive into the steps, it’s essential to understand that this transfer process requires a few prerequisites. First, you need to have both a Cash App account and a Venmo account. If you haven’t already, download these apps onto your smartphone and create accounts for free. Additionally, it’s important to link your Cash App and Venmo accounts to your respective bank accounts. This ensures seamless money transfers between the platforms.
Now that you’re aware of the key considerations let’s get started with the step-by-step instructions on how to transfer money from Cash App to Venmo!
Step 1: Link your Cash App and Venmo accounts
In order to transfer money from your Cash App to Venmo, you first need to link your accounts. This ensures a seamless connection between the two platforms. Here’s how you can do it:
- Open the Cash App on your smartphone and navigate to the settings menu.
- Select “Link Bank” or “Add Bank Account” to connect your Cash App to your bank account. Follow the prompts to enter your bank account details and verify them.
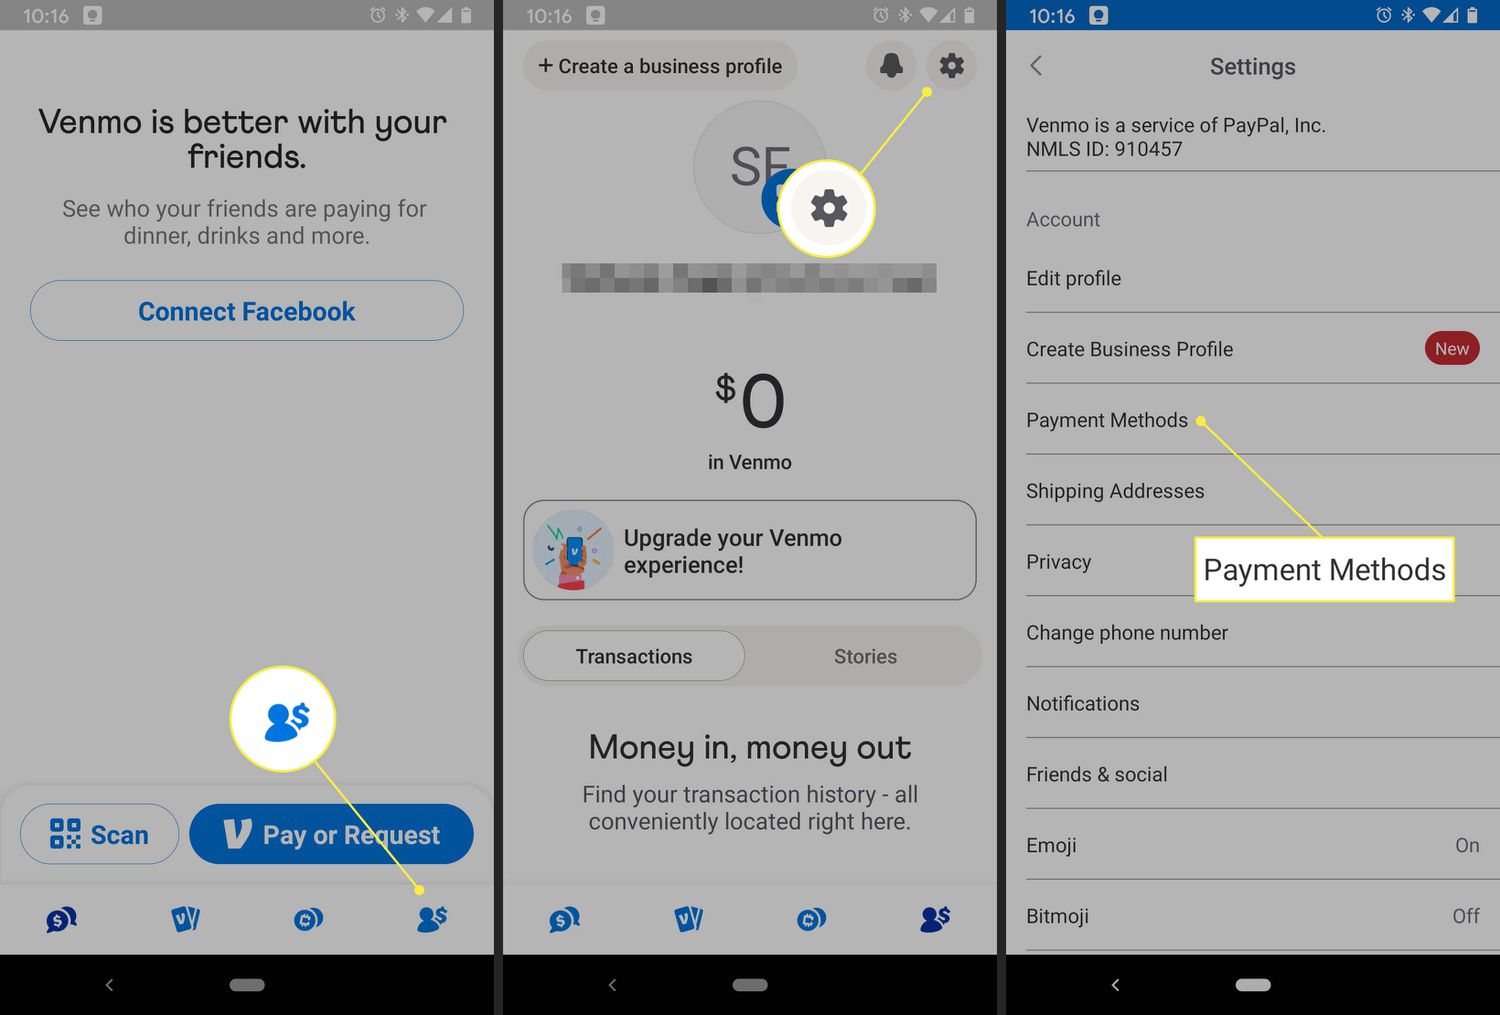
- Once your Cash App is linked to your bank account, open the Venmo app.
- In the Venmo app, tap on the menu icon and select “Settings.”
- Choose the “Payment Methods” option and then select “Add a Bank Account.”
- Follow the instructions to enter your bank account details and verify them.
By completing these steps, you have successfully linked your Cash App and Venmo accounts to your bank account. This link allows you to transfer funds between the two platforms using your bank as a intermediary. Now, let’s proceed to the next step to transfer money from your Cash App to your bank account.
Step 2: Transfer money from Cash App to your bank account
Once your Cash App and Venmo accounts are linked to your bank account, you can easily transfer money from Cash App to your bank account. Follow these steps:
- Launch the Cash App on your smartphone.
- On the Cash App home screen, locate and tap on the “Balance” tab at the bottom of the screen.
- Next, click on the “Cash Out” option to initiate the transfer process.
- Enter the amount you want to transfer from your Cash App to your bank account.
- Select your linked bank account as the destination for the transfer.
- Review the transfer details and confirm the transaction.
- Wait for the transfer to complete, which usually takes 1-3 business days depending on your bank’s processing time.
By following these steps, you have successfully transferred money from your Cash App account to your bank account. The funds will now be available in your bank account, ready to be used for various purposes, including transferring to your Venmo account.
Now that you have transferred the funds to your bank account, let’s move on to the next step to add money to your Venmo balance from your bank account.
Step 3: Add money to your Venmo balance from your bank account
Now that you have transferred money from your Cash App to your bank account, you can add funds to your Venmo balance. Follow these steps:
- Open the Venmo app on your smartphone.
- Tap on the menu icon and select “Settings.”
- In the settings menu, choose the “Payment Methods” option.
- Select “Add Money” and then choose your linked bank account as the funding source.
- Enter the amount you wish to add to your Venmo balance from your bank account.
- Review the transaction details and confirm the transfer.
Once you’ve completed these steps, the funds will be added to your Venmo balance from your bank account. This enables you to have funds readily available for transactions within the Venmo app.
Now that you have successfully added money to your Venmo balance, let’s move on to the next step to learn how to request money from your Venmo balance.
Step 4: Request money from your Venmo balance
After adding money to your Venmo balance, you can easily request funds from others. Follow these steps to request money from your Venmo balance:
- Open the Venmo app on your smartphone.
- Tap on the “Request” icon at the bottom of the screen.
- Enter the amount you want to request from someone.
- Add a note or a brief description for the request, specifying the reason or any necessary details.
- Select the contact or enter the username of the person from whom you want to request money.
- Review the request details and confirm the transaction.
Once you’ve completed these steps, your request will be sent to the recipient, who can then approve and send the requested amount to your Venmo balance.
Now that you know how to request money from your Venmo balance, let’s move on to the final step to transfer money from your Venmo balance to your bank account.
Step 5: Transfer money from your Venmo balance to your bank account
Once you have funds in your Venmo balance, you may want to transfer them back to your bank account for easy access and use. Follow these steps to transfer money from your Venmo balance to your bank account:
- Launch the Venmo app on your smartphone.
- Tap on the menu icon and select “Transfer to Bank.”
- Enter the amount you wish to transfer from your Venmo balance to your bank account.
- Choose your linked bank account as the destination for the transfer.
- Review the transfer details and confirm the transaction.
- Wait for the transfer to complete, which generally takes 1-3 business days.
By following these steps, you have successfully completed the transfer of money from your Venmo balance to your bank account. The funds will now be available in your bank account, ready for you to use as needed.
With this, you have completed the process of transferring money from Cash App to Venmo. You can now enjoy the convenience of using both payment platforms and effortlessly move your funds between them as required.
Remember to keep your accounts linked and be mindful of any fees or transaction limits that may apply to your transfers. It’s always a good practice to review your account statements and track your transactions to ensure accuracy and security.
Conclusion
Transferring money from Cash App to Venmo may seem like a complex process, but by following the step-by-step instructions outlined in this guide, you can easily move your funds between these popular payment platforms.
Remember to link your Cash App and Venmo accounts to your bank account first, as this serves as the foundation for seamless transfers. Once linked, you can transfer money from your Cash App to your bank account, add funds to your Venmo balance from your bank account, request money from your Venmo balance, and transfer money from your Venmo balance back to your bank account.
By understanding the steps involved and following the instructions provided, you can effectively manage your finances across multiple payment platforms and streamline your financial transactions.
However, it’s important to note that fees, timeframes, and specific policies may vary between Cash App and Venmo, so it’s always advisable to familiarize yourself with these details and stay updated on any changes from the respective platforms.
Now that you have the knowledge and tools to transfer money between Cash App and Venmo, you can effortlessly manage your funds and make secure and convenient transactions.
So go ahead, link your accounts and enjoy the flexibility and convenience that these payment platforms offer!