Introduction
Welcome to the world of Ethereum mining on Windows! If you are interested in getting started with Ethereum mining, you’ve come to the right place. Ethereum is a decentralized platform that enables smart contracts and decentralized applications to be built and run. As a miner, you have the opportunity to contribute to the Ethereum network by verifying transactions and maintaining the integrity of the blockchain.
Before we dive into the technicalities of mining Ethereum, it’s important to note that mining can be a complex and resource-intensive process. However, with the right tools and knowledge, it is possible to set up your own mining rig and start earning Ethereum.
In this guide, we will walk you through the process of mining Ethereum on Windows. We will cover the necessary prerequisites, such as setting up a wallet and choosing the right mining software. Additionally, we will guide you through the steps of joining a mining pool, configuring your mining software, and finally, starting the mining process. By the end of this guide, you will have a solid understanding of how to mine Ethereum on your Windows machine.
It’s worth mentioning that the mining landscape is constantly evolving, and new software and techniques are being developed all the time. Therefore, it’s essential to stay up-to-date with the latest news and developments in the mining community. Let’s get started with the prerequisites for mining Ethereum on Windows!
Prerequisites
Before you begin your Ethereum mining journey on Windows, there are a few prerequisites that you need to fulfill. These prerequisites will ensure that you have a smooth and successful mining experience.
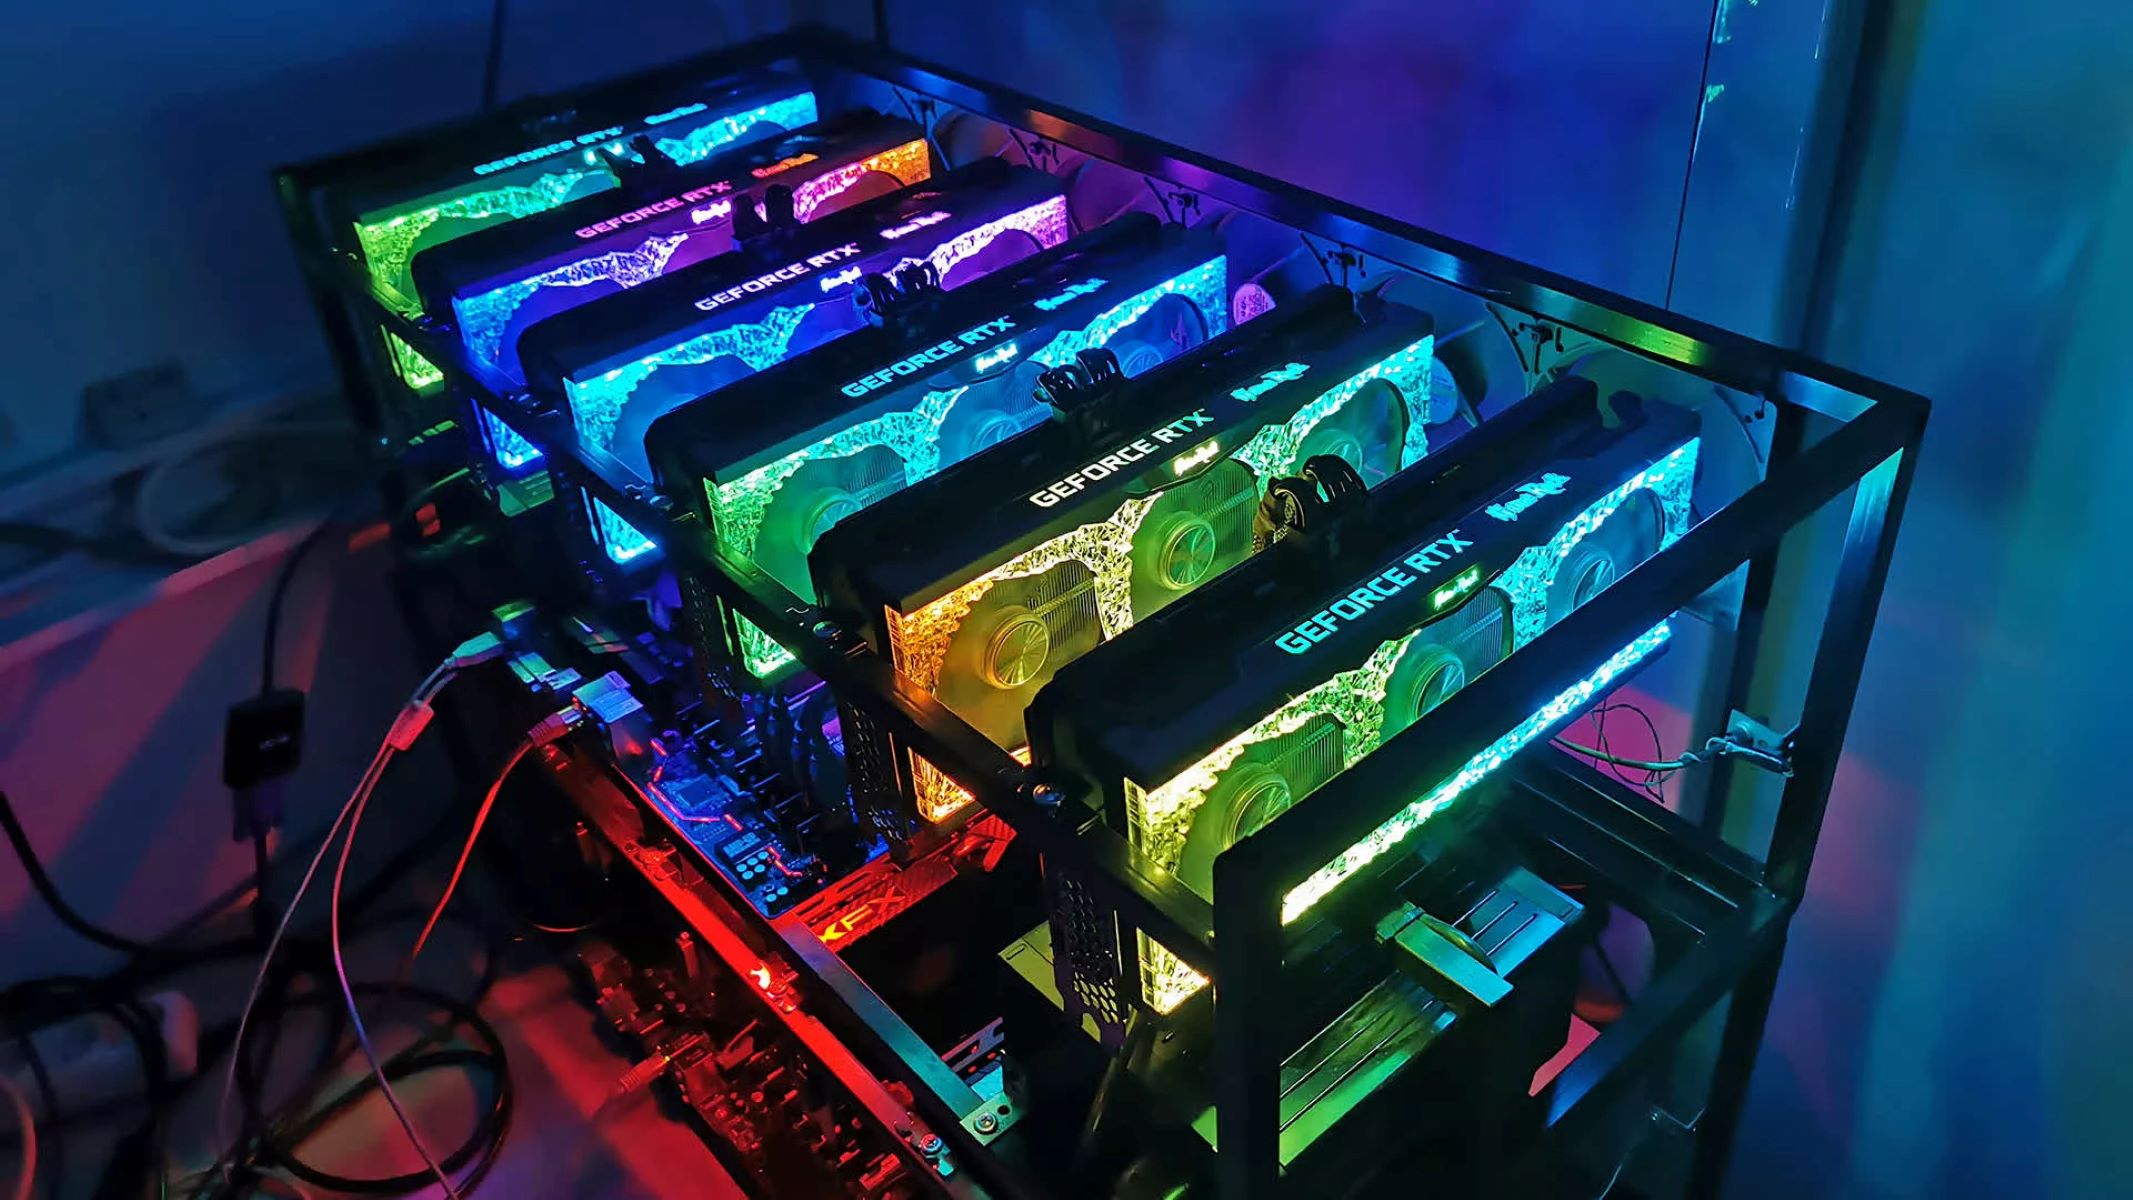
1. Hardware: To mine Ethereum, you will need a powerful computer with a good graphics card (GPU). While CPU mining is also possible, it is less efficient compared to GPU mining. Make sure your GPU meets the minimum requirements for mining Ethereum.
2. Operating System: As the name suggests, this guide is specifically for Windows users. Ensure that your Windows operating system is up to date and compatible with the mining software and tools.
3. Wallet: In order to store the Ethereum you mine, you will need a digital wallet. There are various types of wallets available, including online wallets, mobile wallets, and hardware wallets. Choose a secure and reputable wallet to protect your earnings.
4. Internet Connection: A stable and reliable internet connection is essential for mining Ethereum. Ensure that you have a high-speed internet connection to prevent any interruptions or connectivity issues during the mining process.
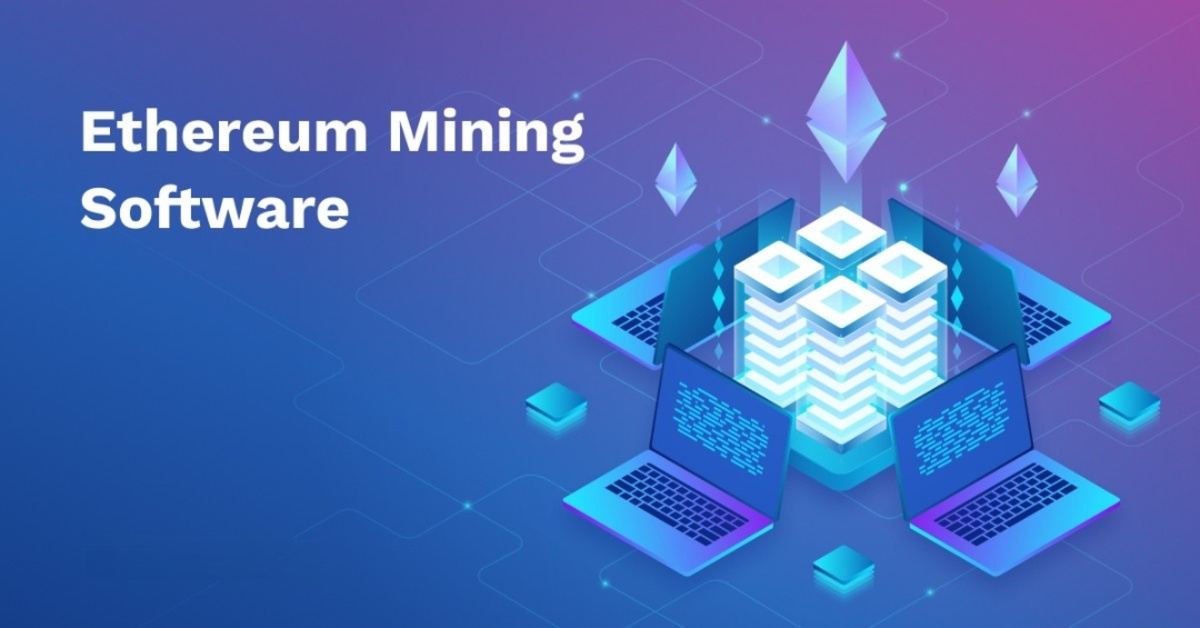
5. Mining Software: Mining Ethereum requires specialized software that connects your computer to the Ethereum network and allows it to mine blocks. There are several mining software options available, so choose one that is compatible with your hardware and operating system.
6. Mining Pool: While it is possible to mine Ethereum individually, joining a mining pool increases your chances of earning rewards consistently. A mining pool is a group of miners who combine their computational power to mine Ethereum collectively. Research and choose a reputable mining pool to join.
By fulfilling these prerequisites, you will be well-prepared to begin your Ethereum mining venture on Windows. In the next sections, we will guide you through the process of setting up a wallet, installing the mining software, joining a mining pool, configuring the mining software, and finally, initiating the mining process. Let’s get started!
Step 1: Set up a Wallet
Before you start mining Ethereum on Windows, it’s essential to set up a wallet to store the Ethereum you will earn. A wallet is a digital tool that allows you to securely store, send, and receive cryptocurrencies. Here’s a step-by-step guide on how to set up a wallet for Ethereum:
1. Research Different Wallet Options: There are various types of wallets available, including online wallets, mobile wallets, and hardware wallets. Each has its own advantages and considerations. Take the time to research and choose a wallet that best meets your needs in terms of security, accessibility, and ease of use.
2. Create a Wallet: Once you’ve chosen a wallet, follow the instructions provided by the wallet provider to set up your wallet. This typically involves creating a unique username and password. Make sure to choose a strong password and enable any additional security measures, such as two-factor authentication, offered by the wallet provider.
3. Back Up Your Wallet: After creating your wallet, it’s crucial to back it up. Most wallets provide a recovery phrase or a private key that you can use to restore access to your wallet in case you forget your password or lose your device. Write down this recovery phrase or private key and store it in a safe and secure location.
4. Test Your Wallet: Before you start mining Ethereum, it’s a good idea to send a small amount of Ethereum to your wallet to ensure that it’s functioning correctly. This will also help you become familiar with the process of sending and receiving Ethereum.
5. Keep Your Wallet Secure: As you accumulate Ethereum through mining, it’s crucial to keep your wallet secure. Use best practices such as regularly updating your wallet software, enabling all available security features, and being cautious of phishing attempts and suspicious links.
Setting up a wallet is the first step towards preparing yourself for Ethereum mining on Windows. Once you have a wallet in place, you’ll be ready to install the mining software and begin the mining process. In the next section, we will guide you through the installation process of the mining software. Stay tuned!
Step 2: Install the Mining Software
Now that you have set up your Ethereum wallet, the next step is to install the mining software on your Windows machine. The mining software allows your computer to connect to the Ethereum network and participate in the mining process. Follow these steps to install the mining software:
1. Choose the Right Mining Software: There are various mining software options available, each with its own features and compatibility. Some popular mining software for Ethereum includes Claymore, Phoenix Miner, and Ethminer. Research and choose a mining software that is compatible with your hardware and meets your mining requirements.
2. Download the Mining Software: Visit the official website of the mining software you have chosen and download the latest version. Make sure to download the software from a reputable source to ensure it is free from malware and other security risks.
3. Extract the Software: Once the download is complete, locate the downloaded file and extract the contents of the software to a folder on your computer. This will create a dedicated folder for the mining software.
4. Configure the Mining Software: Open the folder where you extracted the mining software and locate the configuration file. This file contains the settings and parameters for the mining process. Depending on the mining software, the configuration file may be named “config.txt” or “start.bat”. Open the file in a text editor and customize the configuration to match your mining preferences (e.g., mining pool information, GPU settings).
5. Save and Close the Configuration File: After customizing the configuration file, save the changes and close the file. Make sure to double-check the settings to ensure everything is correctly entered.
6. Run the Mining Software: To start mining Ethereum, open the mining software folder and double-click on the executable file. This will launch the mining software and connect it to the Ethereum network. The software will begin the mining process, utilizing your computer’s GPU to solve complex mathematical problems and earn Ethereum rewards.
7. Monitor and Optimize: Once the mining software is running, you can monitor its performance and adjust settings if necessary. Keep an eye on your mining progress, GPU temperature, and hash rate. It’s also a good idea to periodically check for software updates to ensure you are using the latest version.
By following these steps, you will successfully install the mining software on your Windows machine and be ready to join a mining pool. In the next section, we will guide you through the process of joining a mining pool. Stay tuned!
Step 3: Join a Mining Pool
Joining a mining pool is a popular option for Ethereum miners as it allows you to combine your mining power with other miners, increasing your chances of earning consistent rewards. In this step, we will guide you on how to join a mining pool and start mining Ethereum on Windows.
1. Research Mining Pools: There are several Ethereum mining pools available, each with its own payout structure, fees, and reputation. Research and choose a mining pool that suits your preferences. Consider factors such as pool size, payout frequency, and user reviews to make an informed decision.
2. Sign Up for an Account: Once you have chosen a mining pool, visit their website and sign up for an account. Provide the required information, such as your email address and wallet address, to create your account.
3. Configure Mining Software: Open your mining software configuration file, which we discussed in the previous step, and enter the necessary information provided by the mining pool. This typically includes the pool URL, your username, and worker details. Save the changes to the configuration file.
4. Connect to the Mining Pool: Restart your mining software to apply the new configuration settings. The mining software will now connect to the mining pool, utilizing your computer’s mining power to contribute to the pool’s collective mining efforts.
5. Monitor Your Mining: Once connected to the mining pool, you can monitor your mining progress through the pool’s dashboard. The dashboard will display your hashrate, earnings, and other relevant statistics. Keep an eye on your mining status and make any necessary optimizations to maximize your mining efficiency.
6. Withdraw Your Earnings: As you mine Ethereum in the pool, your earnings will accumulate in your mining pool account. Each mining pool has its own payout threshold and payout schedule. Once you reach the minimum payout threshold, you can withdraw your earnings to your wallet.
7. Stay Informed: Mining pools often have their own communities and forums where you can connect with other miners and stay informed about developments in the mining pool. Participate in these communities to learn from experienced miners and stay up-to-date with changes and updates.
By joining a mining pool, you can optimize your mining efforts and earn more consistent Ethereum rewards. In the next section, we will guide you through the process of configuring the mining software for optimal performance. Keep reading!
Step 4: Configure the Mining Software
Configuring the mining software is an important step to optimize your mining performance and ensure smooth operation. In this step, we will guide you through the process of configuring the mining software for Ethereum mining on Windows.
1. Open the Configuration File: Locate the configuration file of your mining software. This file may be named “config.txt” or “start.bat”. Open the file in a text editor, such as Notepad.
2. Set the Mining Pool Address: In the configuration file, you need to specify the mining pool address. This address is provided by the mining pool you joined in the previous step. Copy and paste the mining pool address into the configuration file.
3. Enter Your Worker Credentials: If the mining pool requires worker credentials, enter your username and password for the worker account. These credentials are used to identify your contribution to the mining pool.
4. Specify GPU Settings: Depending on your hardware and mining software, you may need to specify GPU settings in the configuration file. This can include parameters such as GPU overclocking, power limit, and memory settings. Consult the documentation of your mining software for the correct syntax and values.
5. Save and Close the Configuration File: After making the necessary changes to the configuration file, save the file and close the text editor. Make sure the file is saved with the correct file extension, such as “.txt” or “.bat”.
6. Test the Configuration: Open the mining software and check if the configuration changes are applied correctly. The mining software should connect to the mining pool specified in the configuration file. Monitor the mining software’s output for any error messages or warnings that may indicate configuration issues.
7. Optimize Your Configuration: Mining is a trial-and-error process, and optimal settings may vary depending on your specific hardware and software combination. Experiment with different settings, such as GPU overclocking and intensity levels, to find the configuration that provides the best mining performance and stability.
By properly configuring the mining software, you can maximize your mining efficiency and optimize the use of your hardware resources. In the next step, we will guide you through the process of starting the mining process. Stay tuned!
Step 5: Start Mining
Now that you have set up your wallet, installed the mining software, joined a mining pool, and configured the mining software, it’s time to start mining Ethereum on Windows. Follow these steps to initiate the mining process:
1. Open the Mining Software: Launch the mining software by double-clicking on the executable file. The software will start connecting to the mining pool and utilizing your computer’s GPU to mine Ethereum.
2. Monitor Mining Performance: Once the mining software is running, monitor its performance through the software’s interface or the mining pool’s dashboard. Keep an eye on essential metrics such as hashrate, temperature, and mining shares.
3. Check Earnings: Your earnings will accumulate in your mining pool account as you contribute to the mining process. Check your mining pool’s dashboard to keep track of your earnings.
4. Optimize Your Setup: While mining, continue to monitor your mining performance and make any necessary adjustments to optimize your setup. This could include fine-tuning GPU settings, adjusting fan speeds, or exploring software updates.
5. Regularly Withdraw Earnings: Once you reach the minimum payout threshold set by your mining pool, withdraw your earnings to your wallet. This ensures that your earnings remain secure and accessible.
6. Stay Informed: Follow the latest news and developments in the Ethereum mining community. Stay connected with the mining pool’s community and participate in mining forums to learn from experienced miners and stay up-to-date with the evolving mining landscape.
Remember, Ethereum mining on Windows requires a fair amount of computational resources and energy consumption. Make sure to monitor your hardware’s temperature and optimize your setup to maintain optimal performance and minimize any potential risks.
By following these steps, you are now mining Ethereum on your Windows machine. Congratulations! Remember to stay updated with the latest mining software and pool updates to ensure you are maximizing your mining potential. In the next section, we will provide a summary of the key points covered in this guide. Keep reading!
Conclusion
Congratulations on successfully setting up and starting your Ethereum mining journey on Windows! In this guide, we have walked you through the essential steps, from setting up a wallet to joining a mining pool and configuring the mining software. Here are the key takeaways from this guide:
– Make sure your hardware meets the requirements for mining Ethereum, especially a powerful GPU.
– Choose a secure and reputable wallet to store your mined Ethereum.
– Research and select a mining software that is compatible with your hardware and operating system.
– Join a mining pool to improve your chances of earning consistent rewards.
– Configure the mining software to connect to the mining pool and optimize your mining performance.
– Monitor your mining progress, earnings, and hardware temperatures regularly.
– Stay informed about the latest news and developments in the Ethereum mining community.
Remember that mining Ethereum can be a resource-intensive process that requires a significant amount of electricity and computational power. Be mindful of the environmental impact and the associated costs.
Additionally, the world of cryptocurrency mining is constantly evolving, with updated software and new mining techniques being developed. Stay updated with the latest advancements and adapt your mining setup accordingly to stay competitive.
We hope this guide has provided you with the knowledge and confidence to start mining Ethereum on Windows. Happy mining and may your mining endeavors be rewarding!