Introduction
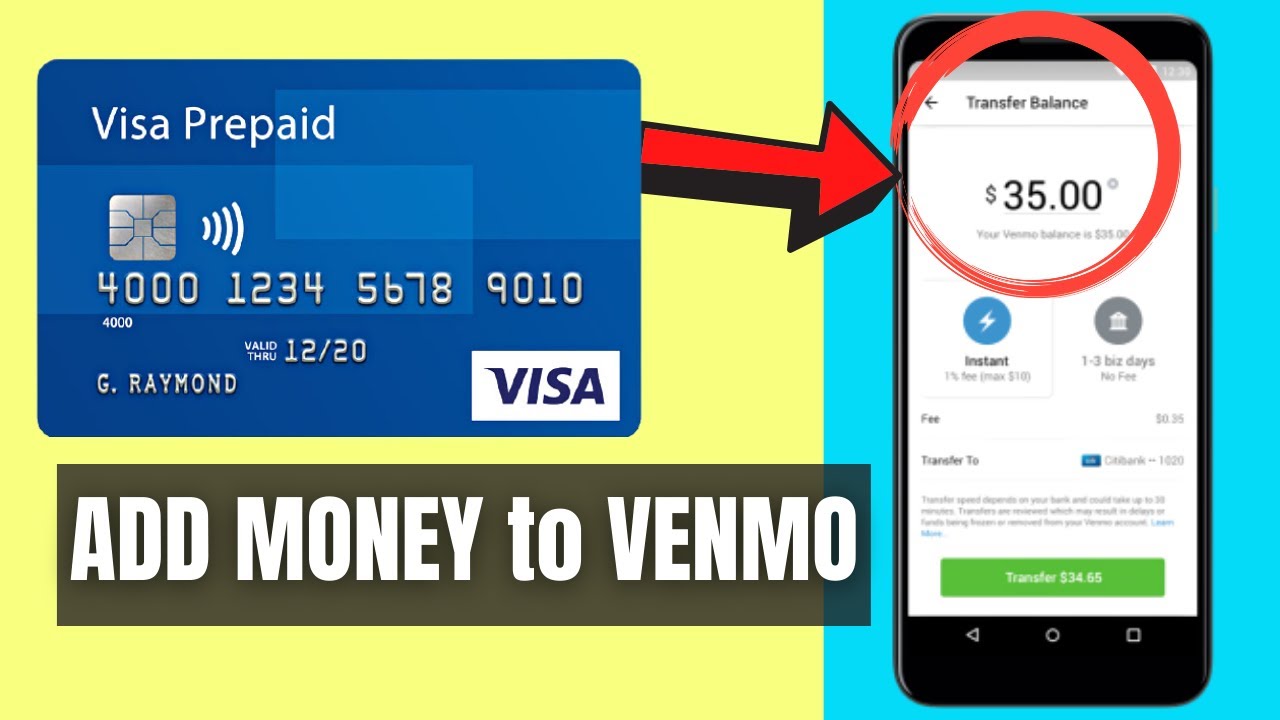
In the digital age, money is no longer confined to physical wallets. With the rise of mobile payment apps like Venmo, you can easily send and receive money with just a few taps on your smartphone. In order to utilize Venmo’s seamless payment features, you’ll need to add a debit or credit card to your account.
Adding a card to Venmo allows you to make transactions effortlessly and participate in the ever-growing cashless society. Whether you’re splitting a bill with friends, paying for goods and services, or simply transferring funds, having a card linked to your Venmo account gives you the convenience and flexibility to manage your finances on the go.
In this guide, we will walk you through the step-by-step process of adding a card to Venmo. Rest assured, the process is quick, easy, and secure. So, let’s dive in and get your card linked to Venmo right away.
Step 1: Open the Venmo app
The first step in adding a card to Venmo is to open the Venmo app on your smartphone. Make sure you have the latest version of the app installed from the App Store (for iOS) or Google Play Store (for Android).
Once you have the app installed, locate the Venmo icon on your home screen or app drawer and tap on it to launch the application. If you haven’t logged in to Venmo before, you will be prompted to enter your login credentials. If you’re a new user, you’ll need to sign up for a Venmo account by following the on-screen instructions.
After successfully logging in or signing up, you will be taken to the Venmo home screen, where you’ll find all the features and options available for managing your payments.
Note: If you don’t have Venmo installed on your device, you can download it for free from the App Store or Google Play Store. The app is compatible with both iOS and Android, so you can use it regardless of the smartphone you own.
Now that you have opened the Venmo app, let’s move on to the next step in adding a card to your Venmo account.
Step 2: Go to the Menu
Once you have opened the Venmo app, the next step is to navigate to the menu where you can access various settings and options for managing your Venmo account.
To go to the menu, look for the three horizontal lines (also known as the “hamburger icon”) at the top-left corner or bottom-right corner of the screen. This icon signifies the menu and is commonly used in mobile apps to indicate hidden navigation options.
Tap on the hamburger icon, and a side menu will slide out from the left or right side of the screen, depending on your device’s orientation. This menu is the gateway to your Venmo account settings, transaction history, profile information, and more.
In the menu, you’ll find a list of options, usually presented as icons or text. The exact layout and design may vary slightly depending on the version of the app, but the options are typically organized in a logical and user-friendly manner.
Take a moment to familiarize yourself with the menu and the different options available. This will help you navigate through the app effortlessly and access the desired features quickly.
Now that you’ve successfully located and opened the menu, let’s move on to the next step of adding a card to your Venmo account.
Step 3: Select “Settings”
After accessing the menu in the Venmo app, it’s time to select the “Settings” option. This will allow you to access the various configuration options for your account, including the ability to add and manage your payment methods.
In the menu, scroll through the options until you locate “Settings.” It is usually represented by a gear or cog icon, denoting the settings section. Tap on “Settings” to proceed.
Upon selecting “Settings,” you will be presented with a new screen that contains all the settings related to your Venmo account. This is where you can customize your account preferences, privacy settings, notifications, and more.
Take a moment to review the different settings available and explore any other options that might interest you. This way, you can familiarize yourself with the full range of customization possibilities that Venmo offers.
Remember, it’s important to have a good grasp of the settings section as it allows you to tailor your Venmo experience to suit your needs and preferences. However, for now, our focus is on adding a card to your Venmo account.
Now that you’ve navigated to the settings page, let’s move on to the next step and select the option to add a debit or credit card to your Venmo account.
Step 4: Choose “Banks & Cards”
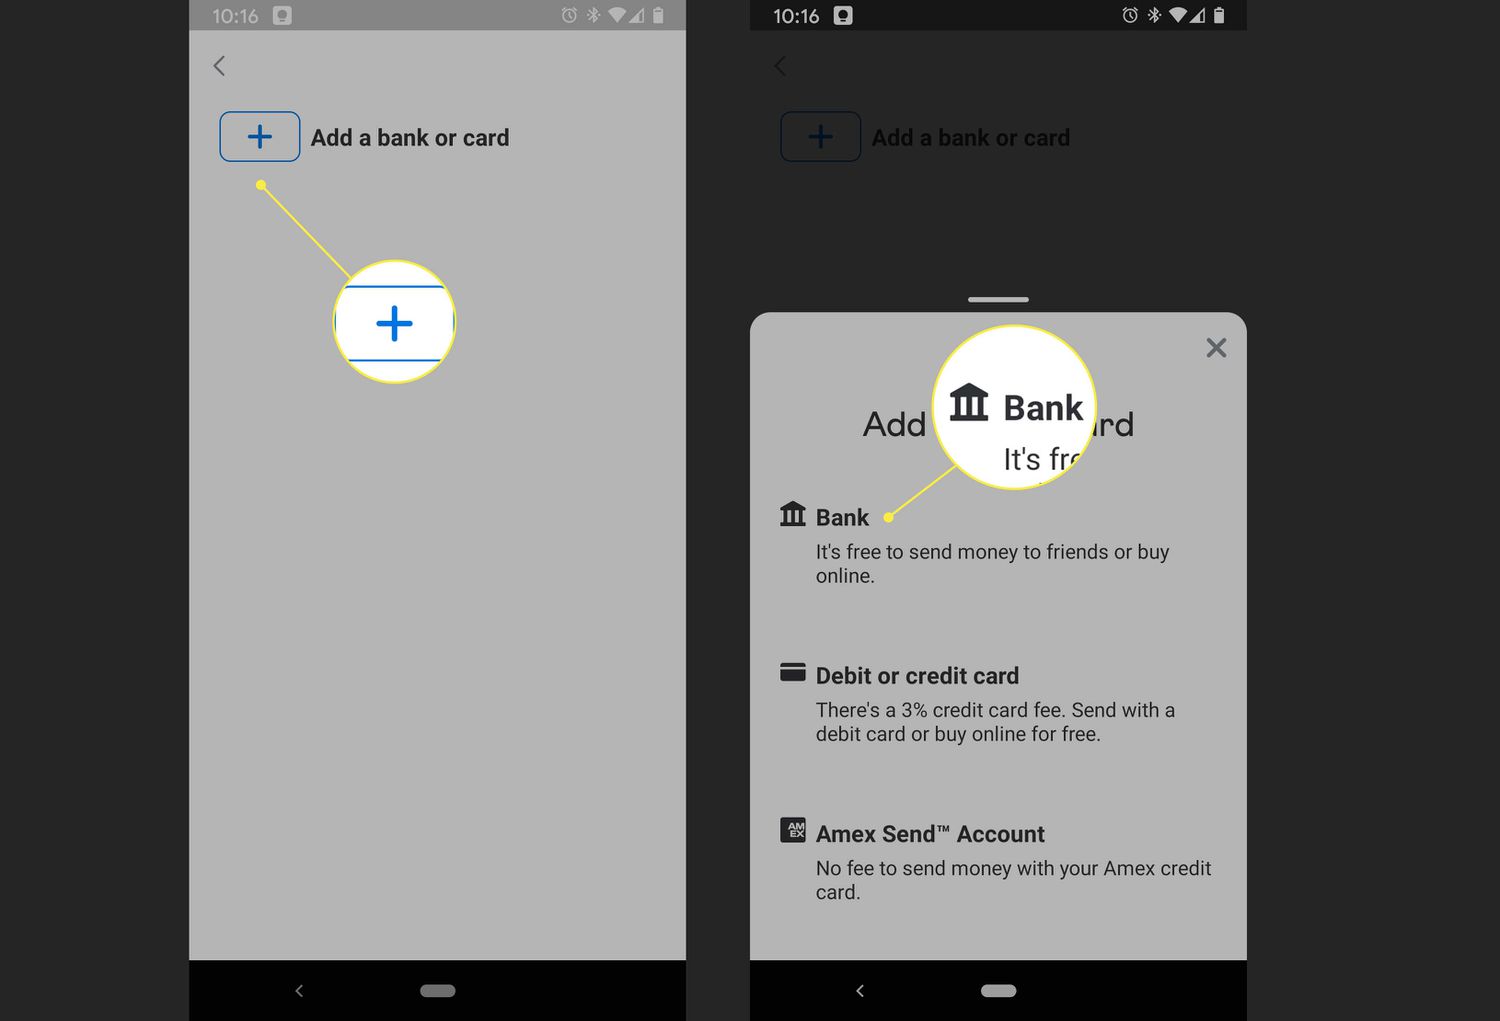
After entering the settings section in the Venmo app, it’s time to select the “Banks & Cards” option. This is where you can manage and add your payment methods, including debit and credit cards.
Scroll down the settings menu until you find the “Banks & Cards” option. It is typically represented by an icon or text that indicates managing your payment methods. Tap on “Banks & Cards” to proceed.
Once you select “Banks & Cards,” you will be taken to a new screen that displays the payment methods currently linked to your Venmo account, if any. This screen allows you to view, edit, remove, or add new cards to your account.
If you have previously linked a card to your Venmo account, it will be listed on this page. You can tap on any existing card to view its details or make changes as needed.
However, if you haven’t added a card yet, the screen will be empty with a prompt to add a card. Don’t worry, we’ll guide you through the process of adding a debit or credit card to your Venmo account in the next steps.
Now that you’ve successfully reached the “Banks & Cards” section, let’s move on to the next step and tap on “Add Debit or Credit Card” to add a new card to your Venmo account.
Step 5: Tap on “Add Debit or Credit Card”
Once you have entered the “Banks & Cards” section of the Venmo app, it’s time to add a new debit or credit card to your account. To do this, you need to locate and tap on the option that says “Add Debit or Credit Card.”
Scroll down the “Banks & Cards” screen until you find the “Add Debit or Credit Card” option. It’s usually represented by a button or link with a label that clearly indicates the action of adding a new card.
Tap on the “Add Debit or Credit Card” option, and a new screen will appear where you can input the necessary information for your card.
On this screen, Venmo will prompt you to enter the card details, including the cardholder name, card number, expiration date, and the security code (CVV/CVC) located on the back of the card.
Take your time to carefully enter the information. Ensure that you have the correct card details in order to link the right card to your Venmo account. Double-checking the accuracy of the information is crucial to avoid any issues or errors during the process.
Rest assured that Venmo takes the security of your payment information seriously. The app utilizes encryption technology to protect your sensitive data and ensure a secure transaction environment.
Once you have entered the card details correctly, tap on the “Next” or “Add Card” button to proceed. Venmo will now verify the card to confirm its legitimacy and authorization for use within the app.
Now that you have successfully tapped on “Add Debit or Credit Card” and entered the necessary information, let’s move on to the next step and learn how to verify the card linked to your Venmo account.
Step 6: Enter Card Information
After tapping on “Add Debit or Credit Card” in the Venmo app, you will be directed to a screen where you can enter the necessary information for your card. This step is crucial to ensure that the card is correctly linked to your Venmo account.
On the screen, you will find fields to input various details, including the cardholder name, card number, expiration date, and the security code (CVV/CVC) located on the back of the card.
Begin by entering the cardholder name exactly as it appears on the card. It’s essential to provide the accurate name to avoid any potential issues with card verification or payment processing.
Next, enter the card number, which is typically a 16-digit numerical code embossed or printed on the front of the card. Take care to double-check the number for accuracy, ensuring no digits are missing or incorrect.
Following the card number, you will need to input the expiration date. This date is usually represented by a month and year and can be found on the front of the card. Make sure to select the correct month and year to ensure the card remains valid for use.
Finally, enter the security code, also known as the CVV or CVC. This three-digit code can be found on the back of most cards, near the signature panel. It serves as an additional layer of verification to guarantee the card’s authenticity during transactions.
Take your time to input the card information accurately. Any errors or discrepancies can result in failed verification or difficulties when using the card for payments within Venmo.
Once you have entered all the necessary card information, review it carefully to ensure accuracy. If everything looks correct, tap on the “Next” or “Add Card” button to proceed to the next step.
Now that you have successfully entered the card information, let’s move on to the next step to verify the card and link it to your Venmo account.
Step 7: Verify the Card
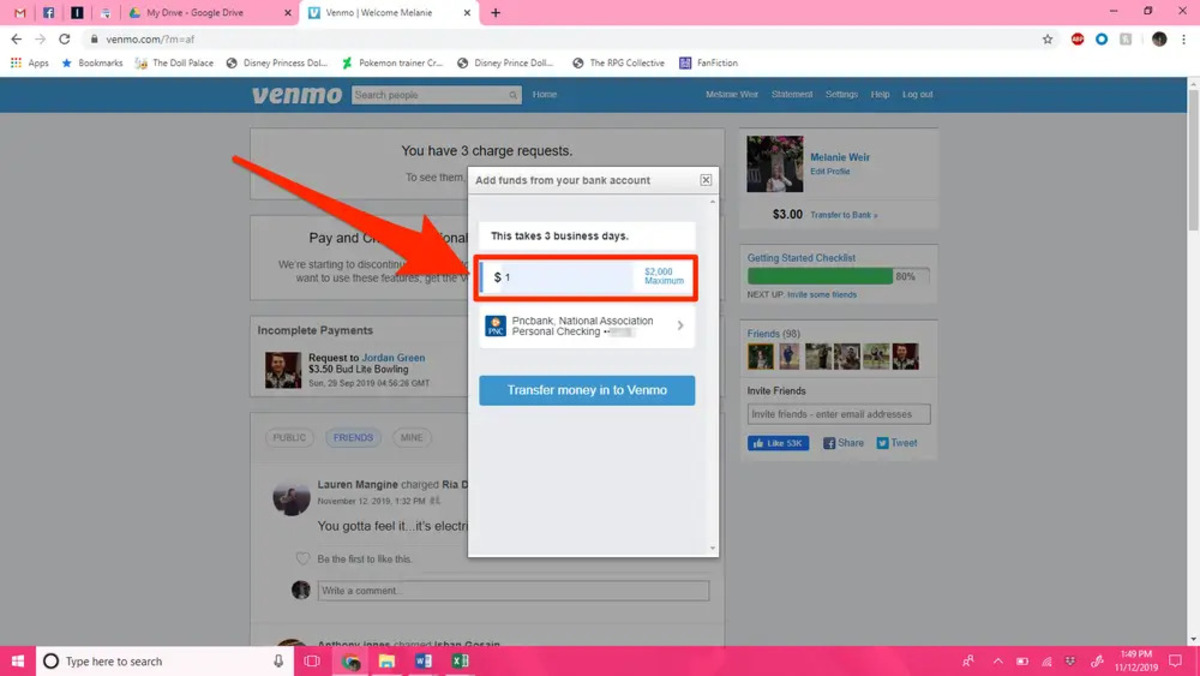
After entering all the necessary card information, the next step in adding a card to your Venmo account is card verification. This step ensures that the card you’ve entered is legitimate and authorized for use within the app.
Once you tap on the “Next” or “Add Card” button, Venmo will initiate the verification process. The specifics of the card verification may vary, depending on the card issuer and security measures in place.
In most cases, Venmo will attempt to verify the card by charging a small amount to the linked card. This charge is typically around $1 and is used to validate the card’s authenticity. Rest assured, this is a standard practice used by many financial institutions to ensure the security of payment methods.
When the card verification process starts, you may receive a notification or email from your card issuer informing you about the charge. The notification usually includes instructions on how to confirm the transaction.
To complete the card verification, follow the instructions provided by your card issuer. This may involve confirming the charge through a mobile app, website, or by contacting customer support. Follow the steps promptly to avoid any delays in verifying your card.
Once the card verification is successfully completed, Venmo will confirm that the card is now linked to your Venmo account. You will be able to use the card for making payments, receiving funds, and other financial transactions within the app.
If there are any issues during the card verification process, such as an unsuccessful transaction or an error in the entered card information, you may need to review the details and retry the verification process. In some cases, contacting the card issuer’s customer support may be necessary for assistance.
Congratulations! You have successfully entered the card information and completed the verification process. Your card is now linked to your Venmo account, allowing you to enjoy the convenience and ease of mobile payments.
Conclusion
Adding a card to your Venmo account opens up a world of seamless and convenient financial transactions. With just a few simple steps, you can link your debit or credit card to your Venmo account and take advantage of the app’s features.
In this guide, we walked you through the process, starting from opening the Venmo app and navigating to the menu. We then covered selecting “Settings” and choosing the “Banks & Cards” option. From there, we guided you through tapping on “Add Debit or Credit Card” and entering the necessary card information. Finally, we discussed the crucial step of card verification.
It’s important to note that Venmo takes the security of your financial information seriously. The app uses encryption technology to protect your card details and provides an additional layer of verification to ensure the legitimacy of your linked card.
By adding a card to your Venmo account, you gain the ability to easily send and receive money, split bills with friends, pay for goods and services, and manage your finances on the go.
We hope this guide has been helpful and that you can now confidently add a card to your Venmo account. Enjoy the convenience and ease that Venmo offers, and make the most out of mobile payments.
Now that you’ve successfully completed the process, you’re ready to embark on a seamless and cashless payment experience with Venmo!