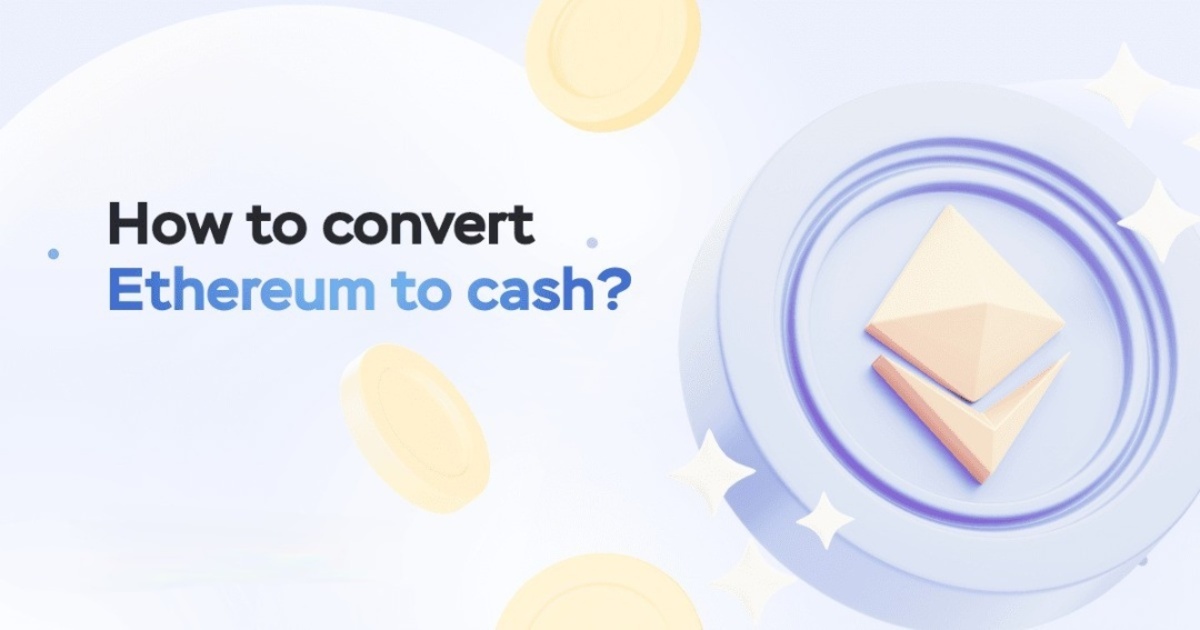
Introduction
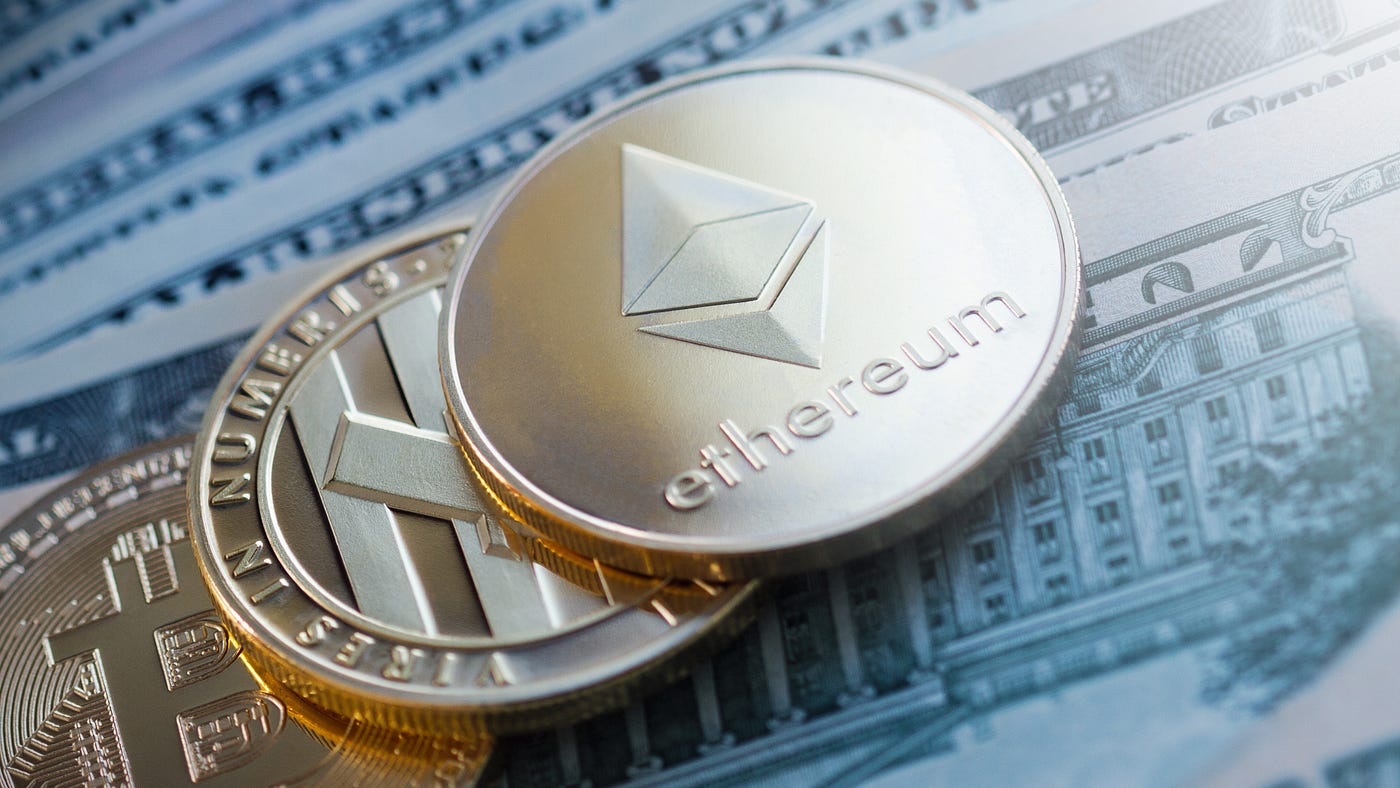
Welcome to the world of cryptocurrencies, where digital assets, such as Ethereum, have gained immense popularity. As the second-largest cryptocurrency by market capitalization, Ethereum offers numerous opportunities for investors and traders to capitalize on its value. Whether you’ve been holding onto your Ethereum for a while or recently acquired some, you may be wondering how to convert it into cash.
Converting Ethereum to cash involves a few steps, but with the right knowledge and guidance, it can be a smooth and seamless process. In this article, we will provide you with a step-by-step guide on how to convert your Ethereum holdings into cash.
Before we dive into the process of converting Ethereum to cash, let’s briefly understand what Ethereum is and why it has become such a popular digital asset. Ethereum is a decentralized blockchain platform that enables the development of smart contracts and decentralized applications (dApps). It is known for its native cryptocurrency, Ether (ETH), which serves both as a digital currency and fuels the Ethereum network.
Now, let’s discuss the importance of setting up a wallet. A cryptocurrency wallet is a software program or hardware device that allows you to securely store, send, and receive your Ethereum. It acts as a digital vault that safeguards your private keys, which are necessary for accessing and managing your cryptocurrency holdings. Setting up a wallet is an essential step to ensure the security and control of your Ethereum before initiating any transactions.
Once you have set up your wallet, the next step is to choose a reliable cryptocurrency exchange. A cryptocurrency exchange is an online platform where you can buy, sell, and trade cryptocurrencies, including Ethereum. It acts as an intermediary between buyers and sellers, facilitating the conversion of cryptocurrencies into other digital assets or traditional fiat currencies, such as cash.
Now that you understand the basics of Ethereum and the importance of a wallet and cryptocurrency exchange, let’s proceed with the step-by-step process of converting Ethereum to cash. By following these instructions, you will be able to successfully exchange your Ethereum for your desired fiat currency and withdraw it to your bank account or other preferred payment method.
Understanding Ethereum and Cash
Before delving into the process of converting Ethereum to cash, it’s important to have a clear understanding of both Ethereum and cash. Ethereum is a decentralized blockchain platform that enables the development of smart contracts and decentralized applications (dApps). Its native cryptocurrency, Ether (ETH), is not only used as a digital currency but also fuels the Ethereum network. Ethereum offers various advantages, such as fast and secure transactions, programmable money, and the potential for decentralized finance.
Cash, on the other hand, refers to physical currency, such as banknotes and coins, that is widely accepted as a medium of exchange for goods and services. It is regulated by central banks and is considered legal tender in most countries. Cash represents a tangible and universally understood form of value that can be easily exchanged for goods, services, or other assets.
When it comes to converting Ethereum to cash, it’s important to note that this process typically involves selling your Ethereum on a cryptocurrency exchange and withdrawing the cash equivalent to your bank account or preferred payment method.
There are several reasons why you may want to convert your Ethereum to cash. You might need immediate liquidity for personal expenses, want to take profits from your Ethereum investments, or simply prefer to hold physical currency for convenience or security reasons. Whatever the motivation, converting Ethereum to cash allows you to realize the value of your digital assets in a traditional and easily spendable form.
It’s worth mentioning that the value of Ethereum, like any other cryptocurrency, can be highly volatile. The price of Ethereum fluctuates based on market demand and supply, as well as various external factors and market conditions. Therefore, it’s crucial to consider the current market price and any associated fees when converting Ethereum to cash, as it can impact the final amount you receive.
Additionally, it’s important to ensure that you are compliant with relevant tax regulations and financial laws in your jurisdiction when converting Ethereum to cash. Depending on your country of residence, you may be subject to capital gains taxes or other reporting requirements when converting cryptocurrencies to fiat currency.
Now that we’ve gained a better understanding of Ethereum and cash, let’s proceed to the next steps of converting Ethereum to cash, including setting up a wallet and choosing a reliable cryptocurrency exchange.
Setting Up a Wallet
Before you can convert your Ethereum to cash, you need to have a secure wallet to store your Ethereum holdings. A cryptocurrency wallet is a software program or hardware device that allows you to securely store, send, and receive cryptocurrencies.
There are several types of wallets available, each with its own level of security and convenience:
- Desktop Wallets: These wallets are installed on your computer and give you full control over your private keys. Examples include Exodus, Electrum, and MyEtherWallet.
- Mobile Wallets: These wallets are smartphone applications that offer the convenience of accessing your Ethereum on-the-go. Some popular mobile wallets include Trust Wallet, Coinbase Wallet, and MetaMask.
- Hardware Wallets: These physical devices offer the highest level of security by storing your private keys offline. Popular hardware wallets include Ledger Nano S, Trezor, and KeepKey.
- Web Wallets: These wallets are accessed through a web browser and are typically provided by cryptocurrency exchanges. While convenient, web wallets are considered less secure than hardware wallets. Examples include MyEtherWallet and MetaMask.
When setting up a wallet, it’s important to follow these best practices to ensure the security of your Ethereum:
- Choose a reputable wallet provider and make sure to download it from the official website.
- Create a strong and unique password for your wallet.
- Enable two-factor authentication (2FA) if available for an extra layer of security.
- Keep your wallet software or app up to date with the latest security patches.
- Backup your wallet’s recovery phrase or seed words in a secure location. This will allow you to recover your wallet in case of theft, loss, or damage to your device.
- Be cautious of phishing attempts and only enter your wallet information on trusted websites.
Once you have set up your wallet and taken the necessary security measures, you are ready to proceed with the next step: choosing a cryptocurrency exchange.
Remember, having a secure wallet is crucial when dealing with cryptocurrencies, as it ensures the protection of your funds and provides you with full control over your Ethereum holdings.
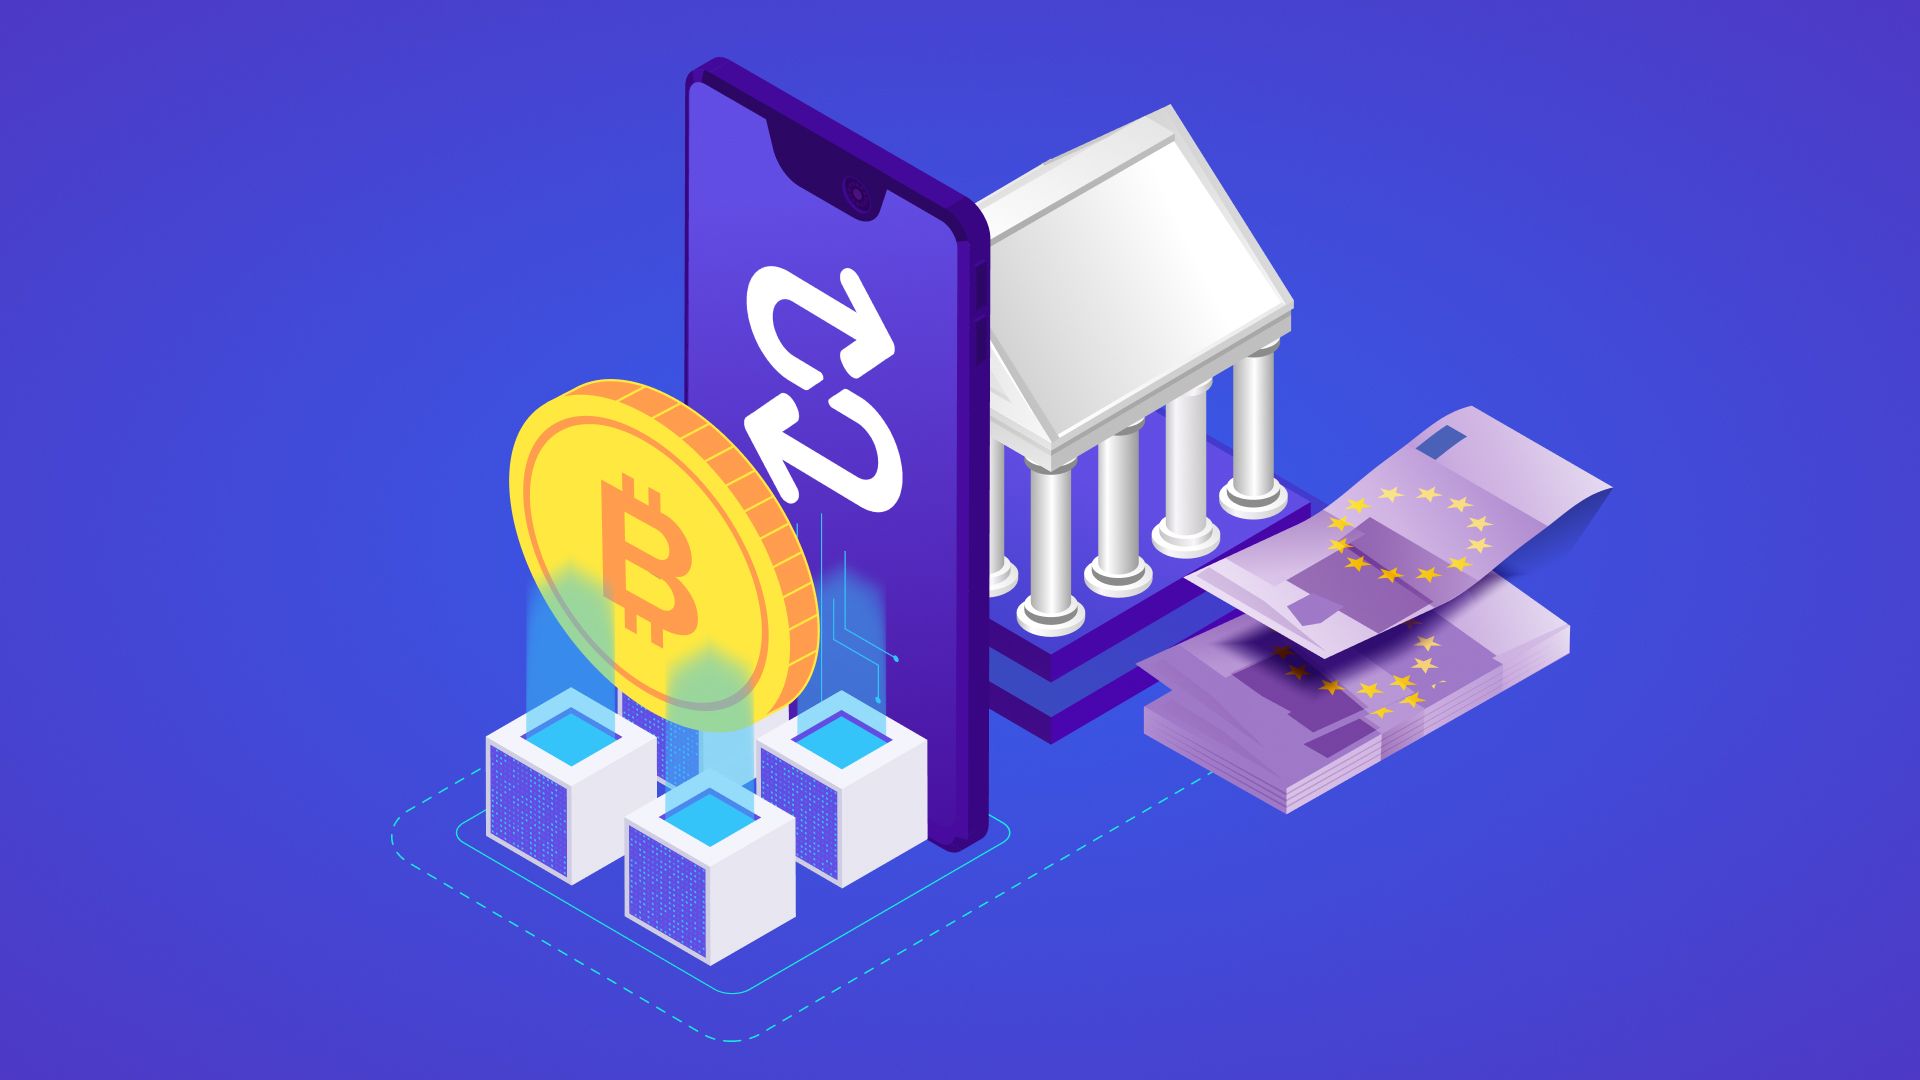
Choosing a Cryptocurrency Exchange
When it comes to converting Ethereum to cash, choosing the right cryptocurrency exchange is a crucial step. A cryptocurrency exchange is a digital platform that facilitates the buying, selling, and trading of cryptocurrencies.
Here are some factors to consider when selecting a cryptocurrency exchange:
- Reputation and Security: Look for exchanges that have a solid reputation and a proven track record of security. Research the exchange’s history, reviews, and security measures they have in place to protect user funds.
- Liquidity: Choose an exchange with high liquidity to ensure that you can easily buy or sell your Ethereum without significant price fluctuations or delays. Higher liquidity also allows for better trade execution and minimizes the risk of slippage.
- Supported Fiat Currencies: Check if the exchange supports the fiat currency you want to convert your Ethereum into. Not all exchanges offer the same range of fiat currency options.
- Trading Fees: Consider the fees charged by the exchange for trading Ethereum. Different exchanges have different fee structures, including transaction fees, deposit fees, and withdrawal fees. Compare the fees across various exchanges to find the most cost-effective option.
- User Experience: Look for a user-friendly exchange platform with an intuitive interface and easy navigation. A well-designed platform can make the trading process more efficient and enjoyable.
- Customer Support: Ensure that the exchange provides reliable customer support to address any issues or concerns you may have. Prompt and helpful customer support can make a significant difference, especially during times of technical difficulties or account-related inquiries.
Some popular cryptocurrency exchanges that support Ethereum and fiat currency conversions include Coinbase, Binance, Kraken, and Gemini. It’s important to note that the availability of exchanges might vary depending on your geographical location.
Before choosing an exchange, it can be beneficial to read reviews, compare features, and even seek recommendations from experienced traders or community members. Doing thorough research will help you make an informed decision and choose an exchange that aligns with your requirements.
Once you have selected a cryptocurrency exchange and created an account, you are ready to proceed to the next steps: transferring your Ethereum to the exchange and selling it for cash.
Remember to take necessary precautions when dealing with cryptocurrency exchanges, such as enabling two-factor authentication (2FA) and using strong and unique passwords to protect your account.
Creating an Account on the Exchange
Before you can convert your Ethereum to cash, you need to create an account on the cryptocurrency exchange of your choice. The process of creating an account may vary slightly between different exchanges, but generally, it involves the following steps:
- Choose an Exchange: Select the cryptocurrency exchange that meets your requirements in terms of reputation, security, supported fiat currencies, trading fees, user experience, and customer support.
- Visit the Exchange’s Website: Go to the official website of the selected exchange. Ensure that you access the genuine website to prevent falling victim to phishing attacks.
- Click on “Sign Up” or “Create an Account”: Look for the “Sign Up” or “Create an Account” button on the homepage or navigation menu of the exchange’s website, and click on it.
- Fill in the Registration Form: Provide the required information to register for an account. This typically includes your full name, email address, username, and a strong and unique password. Make sure to use a secure password that includes a combination of letters, numbers, and special characters.
- Verify Your Email: After submitting the registration form, you will receive an email from the exchange with a verification link. Click on the link to verify your email address. Some exchanges may require additional identity verification steps, especially for higher account tiers.
- Set Up Two-Factor Authentication (2FA): Enable two-factor authentication for an extra layer of security. This typically involves linking your exchange account with a 2FA app, such as Google Authenticator or Authy, and entering a unique verification code during the login process.
- Read and Accept the Exchange’s Terms of Service: Familiarize yourself with the exchange’s terms of service, privacy policy, and any other legal agreements. Read them carefully and accept them to proceed with the account creation process.
- Complete the Registration Process: Follow any additional steps or prompts provided by the exchange to complete the registration process. This may include setting up additional security measures, creating a PIN, or answering security questions.
Once you have successfully created your account, it’s important to secure it further by taking the following precautions:
- Enable all available security features, such as two-factor authentication (2FA) and email notifications for account activity.
- Set a strong, unique password that you do not use for any other accounts.
- Regularly update your password and avoid sharing it with anyone.
- Be cautious of phishing attempts and only login to your account through the official exchange website.
Once your account is set up and secured, you are ready to proceed with the next steps of transferring your Ethereum to the exchange and selling it for cash.
Transferring Ethereum to the Exchange
Now that you have created an account on the cryptocurrency exchange, the next step in converting Ethereum to cash is transferring your Ethereum from your wallet to the exchange. This process involves sending your Ethereum to a unique wallet address provided by the exchange.
Here’s a step-by-step guide on how to transfer Ethereum to the exchange:
- Sign in to Your Exchange Account: Go to the exchange’s website and sign in to your account using your username and password. Make sure to use a secure internet connection and double-check that you are on the genuine exchange website.
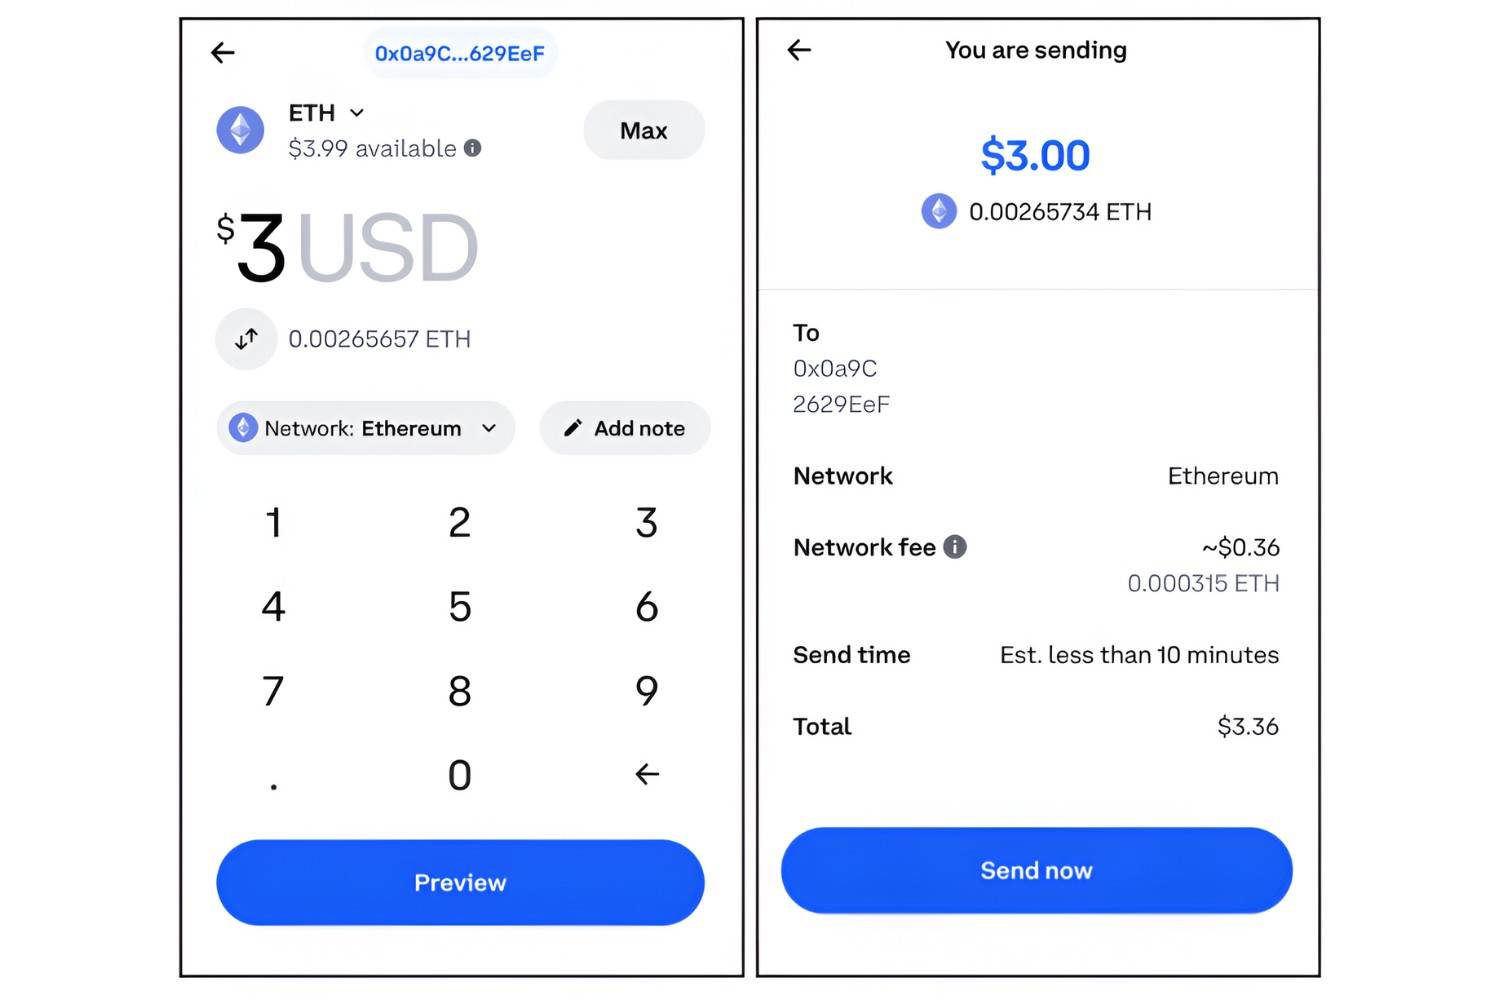
- Locate Your Ethereum Wallet Address: Find the “Wallet” or “Balances” section on the exchange platform and locate your Ethereum wallet. Each wallet on the exchange has a unique address, which you will need to send your Ethereum to.
- Copy Your Ethereum Wallet Address: Click on the option to receive or deposit Ethereum in your exchange wallet. This will display your Ethereum wallet address. Copy this address, ensuring that you do not miss any characters or make any errors.
- Open Your Wallet: Open your Ethereum wallet on your desktop, mobile, or hardware device, depending on the type of wallet you have chosen.
- Initiate a “Send” or “Withdraw” Transaction: Look for the option to send or withdraw Ethereum from your wallet. Paste the exchange wallet address you copied in the previous step as the recipient address.
- Enter the Amount to Send: Specify the amount of Ethereum you want to transfer to the exchange. Double-check the amount to ensure accuracy.
- Confirm the Transaction: Review the transaction details, including the recipient address and the amount of Ethereum to be sent. Confirm the transaction, ensuring that the transaction fee is reasonable. Higher transaction fees may result in faster confirmation times.
- Wait for Confirmation: After confirming the transaction, wait for it to be included in a block on the Ethereum blockchain. This process may take some time, depending on network congestion and the gas price you selected for the transaction.
- Check Your Exchange Wallet: Once the transaction is confirmed, check your exchange wallet balance to ensure that the Ethereum has been successfully transferred.
It’s important to note that transferring Ethereum to the exchange may incur network fees, known as gas fees. These fees are paid to Ethereum miners to prioritize and process your transaction. Gas fees can vary depending on network congestion and the gas price you choose for the transaction. Consider adjusting the gas price based on your desired transaction speed and cost-effectiveness.
After successfully transferring your Ethereum to the exchange, you are now ready to proceed with selling Ethereum for cash.
Selling Ethereum for Cash
Now that you have transferred your Ethereum to the exchange, you can proceed with selling it for cash. Selling Ethereum involves placing a sell order on the exchange’s platform, specifying the desired price and quantity.
Here’s a step-by-step guide on how to sell Ethereum for cash:
- Sign in to Your Exchange Account: Go to the exchange’s website and sign in to your account using your username and password.
- Locate the Trading Section: Find the trading section on the exchange platform. It is usually labeled as “Trade,” “Markets,” or something similar.
- Select the Ethereum Trading Pair: Look for the trading pair that represents Ethereum and your desired cash currency (e.g., ETH/USD or ETH/EUR). This pair indicates the exchange rate at which Ethereum can be sold for cash.
- Choose the Sell Option: Once you have selected the Ethereum trading pair, choose the “Sell” or “Sell ETH” option on the trading interface.
- Enter the Selling Details: Specify the quantity of Ethereum you want to sell and the type of order you want to place. There are typically two types of orders: market order and limit order.
- Market Order: A market order enables you to sell your Ethereum at the current market price. It guarantees instant execution but may result in a slightly different amount received due to market fluctuations and fees.
- Limit Order: A limit order allows you to set a specific price at which you want to sell your Ethereum. The order will be executed only if the market price reaches or exceeds your specified price. This gives you more control over the selling price but may not guarantee immediate execution.
- Set the Selling Price (Limit Order): If you choose to place a limit order, enter the desired price per Ethereum at which you want to sell.
- Review and Confirm: Review the selling details, including the quantity, order type, and selling price (if applicable). Confirm the order, taking note of any applicable trading fees.
- Wait for Order Execution: Once you have placed the sell order, wait for it to be executed. This process can vary in duration depending on market conditions and the type of order you placed.
- Check Your Account Balance: After the sell order is completed, check your exchange account balance to confirm that you have sold your Ethereum successfully.
It’s worth noting that the price at which you sell your Ethereum may not always be the same as the current market price due to market fluctuations and liquidity. The exchange may charge fees for executing your sell order, so be sure to review the fee structure beforehand.
After successfully selling your Ethereum, the equivalent amount in cash will now be available in your exchange account. The final step is to withdraw the cash from the exchange.
Withdrawing Cash from the Exchange
After selling your Ethereum for cash on the exchange, the final step is to withdraw the funds from your exchange account to your preferred payment method, such as your bank account.
Here’s a step-by-step guide on how to withdraw cash from the exchange:
- Sign in to Your Exchange Account: Go to the exchange’s website and sign in to your account using your username and password.
- Locate the Withdrawal Section: Find the withdrawal section on the exchange platform. It is usually labeled as “Withdraw,” “Funds,” or something similar.
- Select Your Preferred Payment Method: Choose your desired payment method for cash withdrawal. Most exchanges offer options such as bank transfer, PayPal, or other supported payment processors.
- Enter Withdrawal Details: Provide the necessary details for the withdrawal, such as the amount of cash you want to withdraw and the destination account information. Ensure that you accurately enter the information to prevent any issues with the withdrawal process.
- Review and Confirm: Review the withdrawal details, including the amount, destination account, and any applicable withdrawal fees. Confirm the withdrawal request to initiate the processing.
- Wait for Withdrawal Processing: After confirming the withdrawal, wait for the processing period, which can vary depending on the exchange and the chosen payment method. Some withdrawals may be processed instantly, while others may take a few business days to complete.
- Check Your Destination Account: Once the withdrawal is processed, check your chosen destination account, such as your bank account, to ensure that the cash has been successfully transferred.
It’s important to note that different exchanges may have varying withdrawal limits and fees, so be sure to review the exchange’s policies and fee structure before initiating the withdrawal process. Some exchanges may also require additional identity verification steps, especially for larger withdrawal amounts, to comply with regulatory requirements.
Keep in mind that the withdrawal process may come with associated fees, such as transaction fees or withdrawal fees, imposed by the exchange or the payment method provider. Take these fees into account when calculating the final amount you will receive.
Once you have successfully withdrawn the cash from the exchange, it is now available in your chosen payment method, allowing you to use it for your desired purposes, whether it’s for everyday expenses or further investments.
Conclusion
Congratulations! You have successfully learned how to convert your Ethereum holdings into cash. Converting Ethereum to cash involves a series of steps, starting with setting up a secure wallet, choosing a reliable cryptocurrency exchange, transferring Ethereum to the exchange, selling Ethereum for cash, and finally, withdrawing cash from the exchange. By following these steps, you can easily navigate the process and access the value of your Ethereum in a traditional and easily spendable form.
Remember, selecting a reputable cryptocurrency exchange and securing your wallet are essential for a smooth and secure conversion process. Take the time to research and choose an exchange that meets your needs in terms of security, fees, liquidity, and supported fiat currencies. Additionally, prioritize the security of your funds by enabling two-factor authentication (2FA) and using strong passwords.
When transferring Ethereum to the exchange, pay attention to network fees and confirm the transaction details carefully to ensure accuracy. Selling Ethereum for cash involves understanding different order types and considering market conditions. Consider placing market or limit orders based on your trading preferences. Lastly, always double-check withdrawal details when withdrawing cash from the exchange, including payment method and destination account information.
It’s important to note that the cryptocurrency market is highly dynamic, and prices can fluctuate significantly. Before converting Ethereum to cash, factor in market conditions, fees, and any associated tax obligations or regulations that apply to your jurisdiction.
While converting Ethereum to cash allows you to realize the value of your digital assets, it’s crucial to stay informed and updated about the evolving cryptocurrency landscape. Continuously educate yourself on market trends, new developments, and emerging technologies to make informed decisions and maximize your investment opportunities.
By following the steps outlined in this guide, you now have the knowledge and tools to successfully convert your Ethereum to cash. Start exploring the world of cryptocurrency exchanges and enjoy the freedom and flexibility of converting your digital assets into spendable cash.