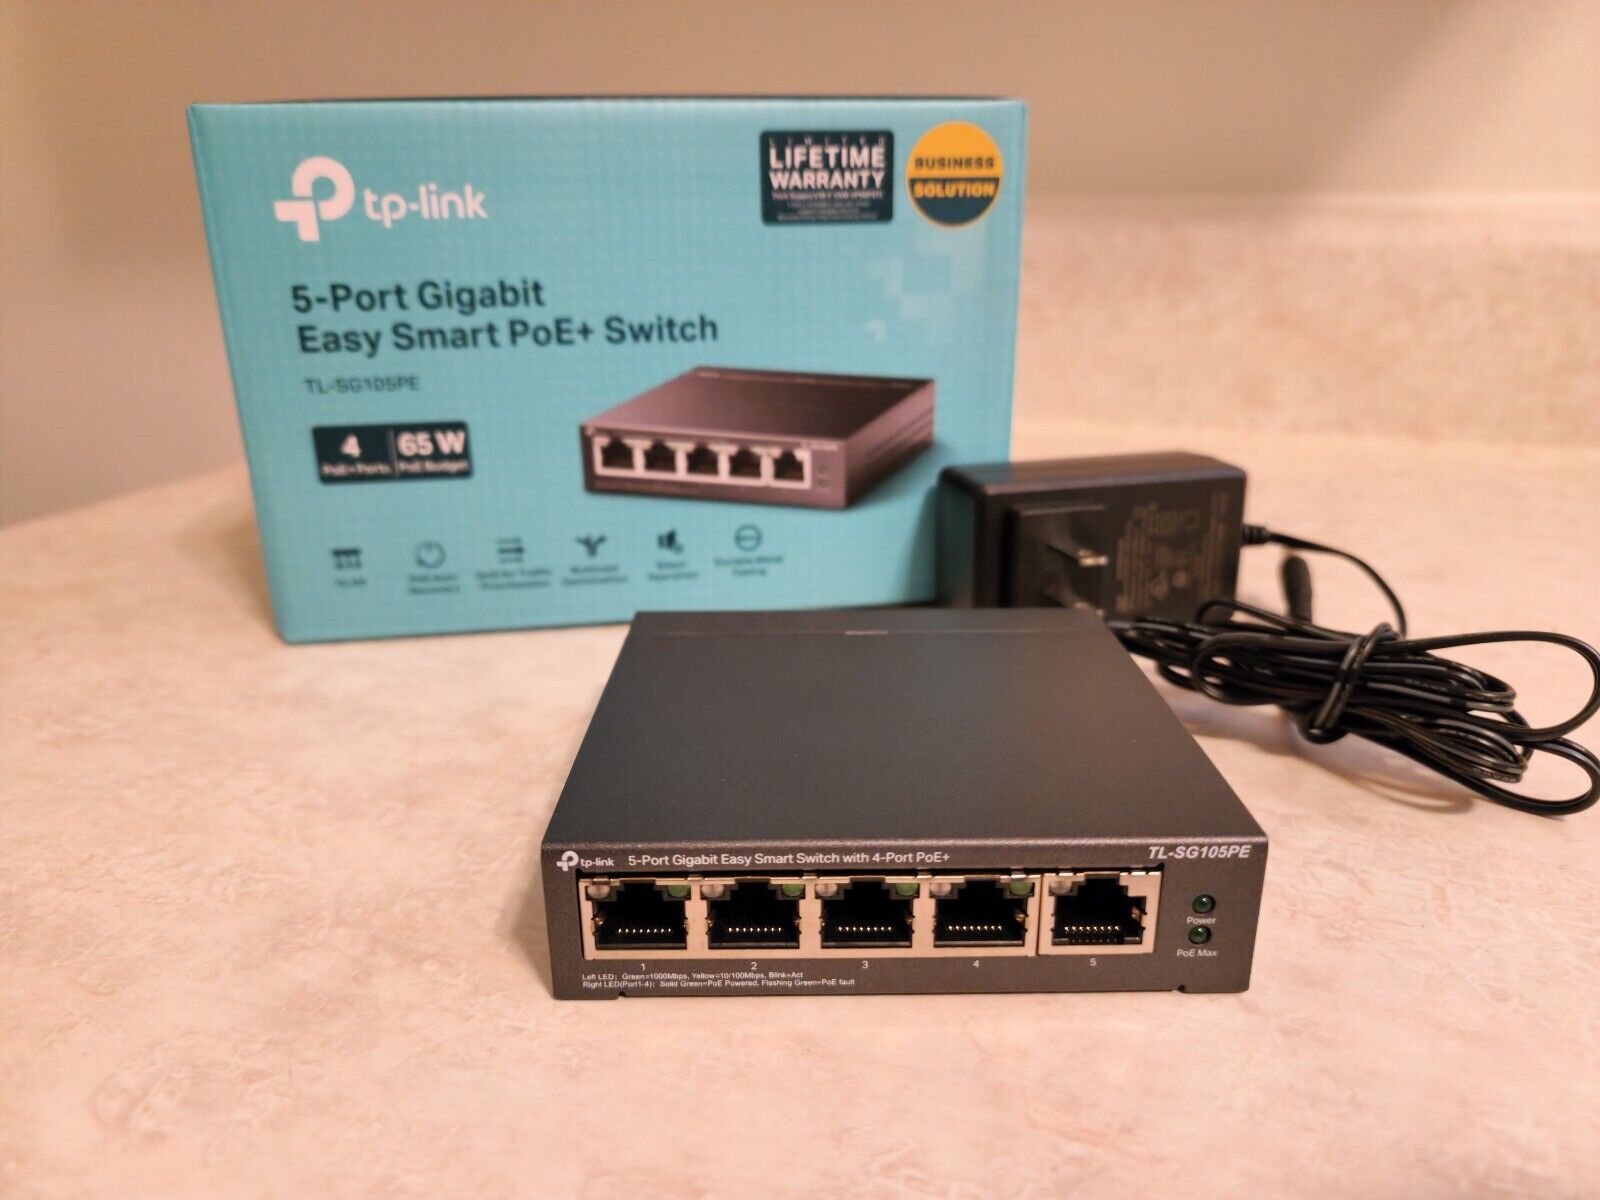
To set up a TP-Link 5-port switch, simply connect the power adapter, then plug your router, computer, or other devices into any of the five Ethernet ports using standard cables, no software or configuration is needed. This unmanaged switch is designed for plug-and-play operation, so once everything is connected and powered on, your network will expand instantly with Gigabit speeds. If you later need VLANs or traffic prioritization, you would configure a managed network switch instead.
Before you set up your TP-Link 5-port switch
This device is an unmanaged switch, meaning it requires no software configuration, just plug in and it works. In the box, you will find the switch unit, a power adapter, and user documentation. For optimal Gigabit performance, use Category 5e (Cat5e) or Category 6 (Cat6) Ethernet cables. The maximum recommended cable length between the switch and any connected device is 100 meters (328 feet).
Connect the switch to power
- Plug the provided power adapter into the switch’s power socket.
- Connect the adapter to an AC outlet.
- Check that the Power LED on the switch turns solid green, indicating normal operation.
The switch requires a power input of 100-240 V ~ 50/60 Hz. If the Power LED does not light, verify the power cable connection, voltage, and outlet.
Connect your devices to the switch
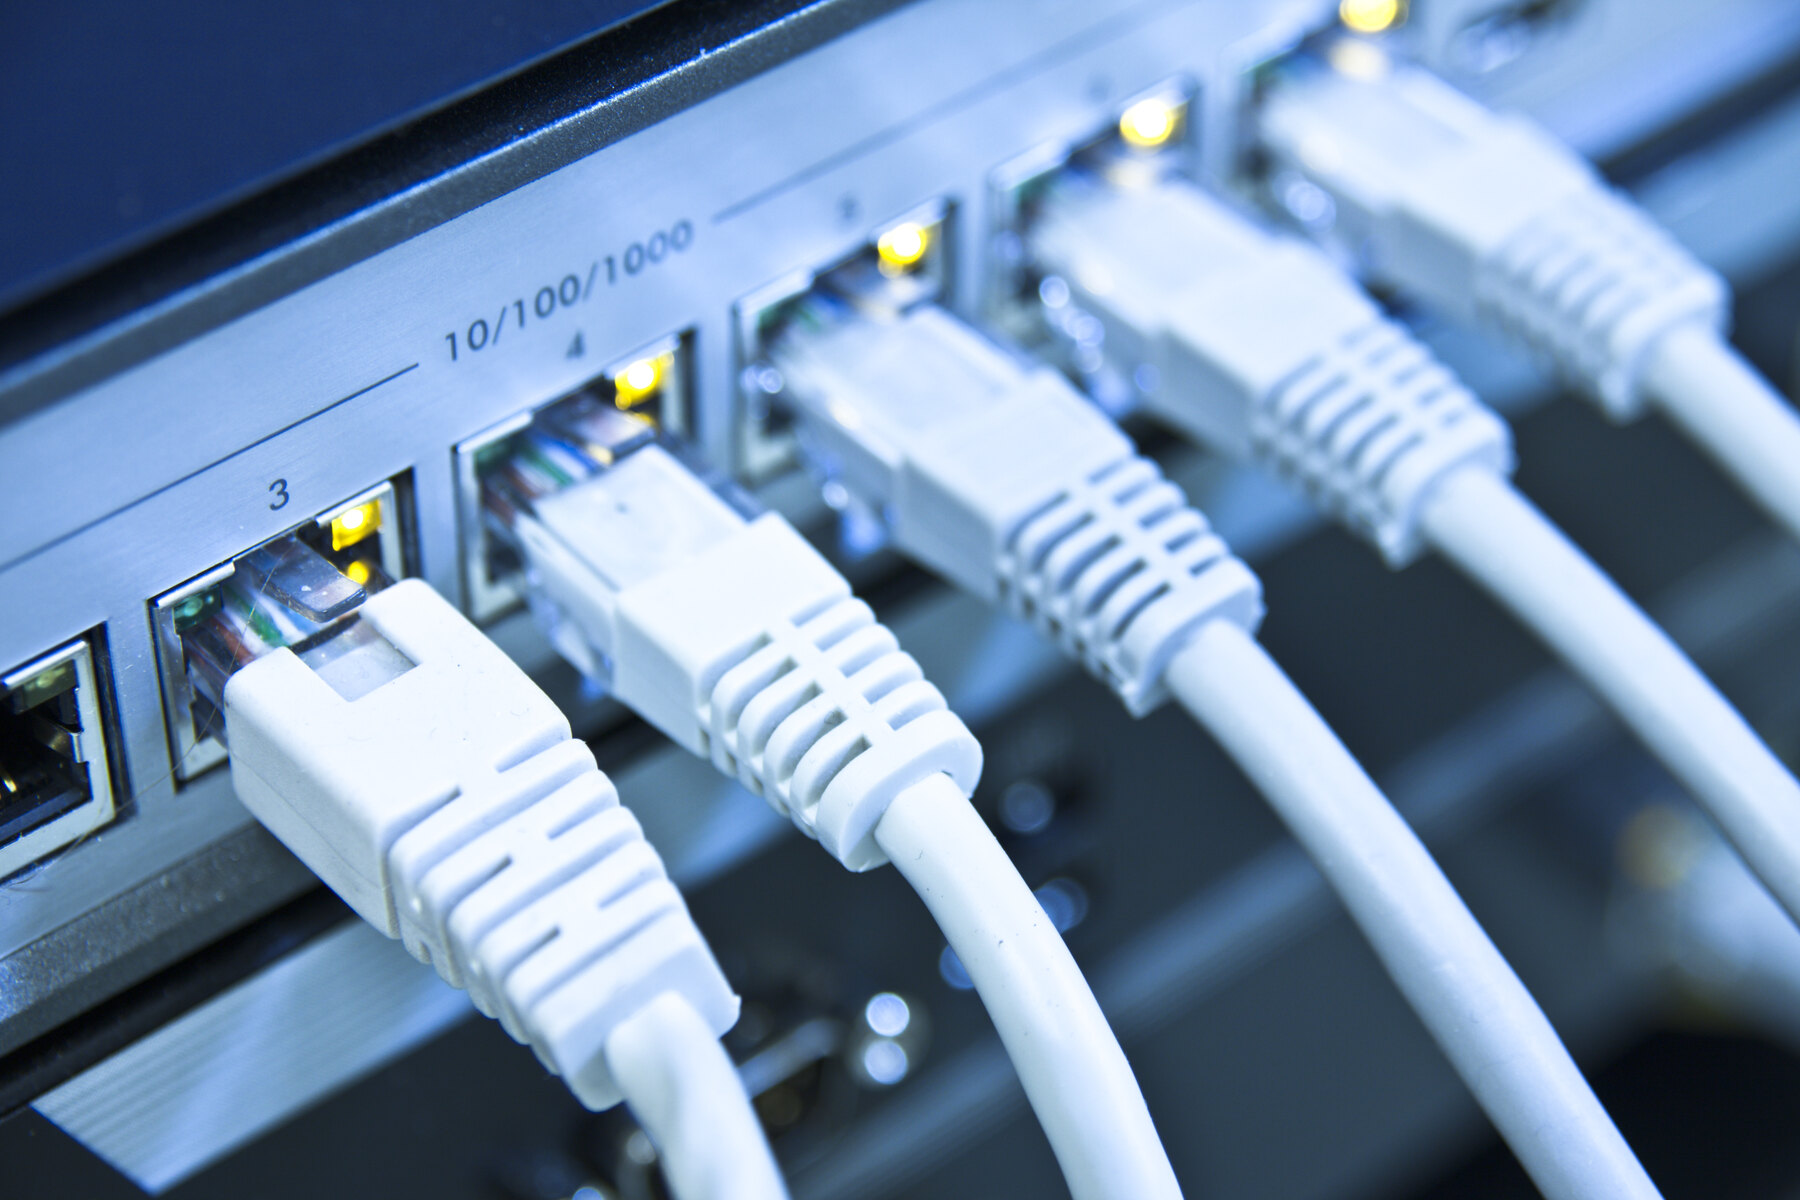
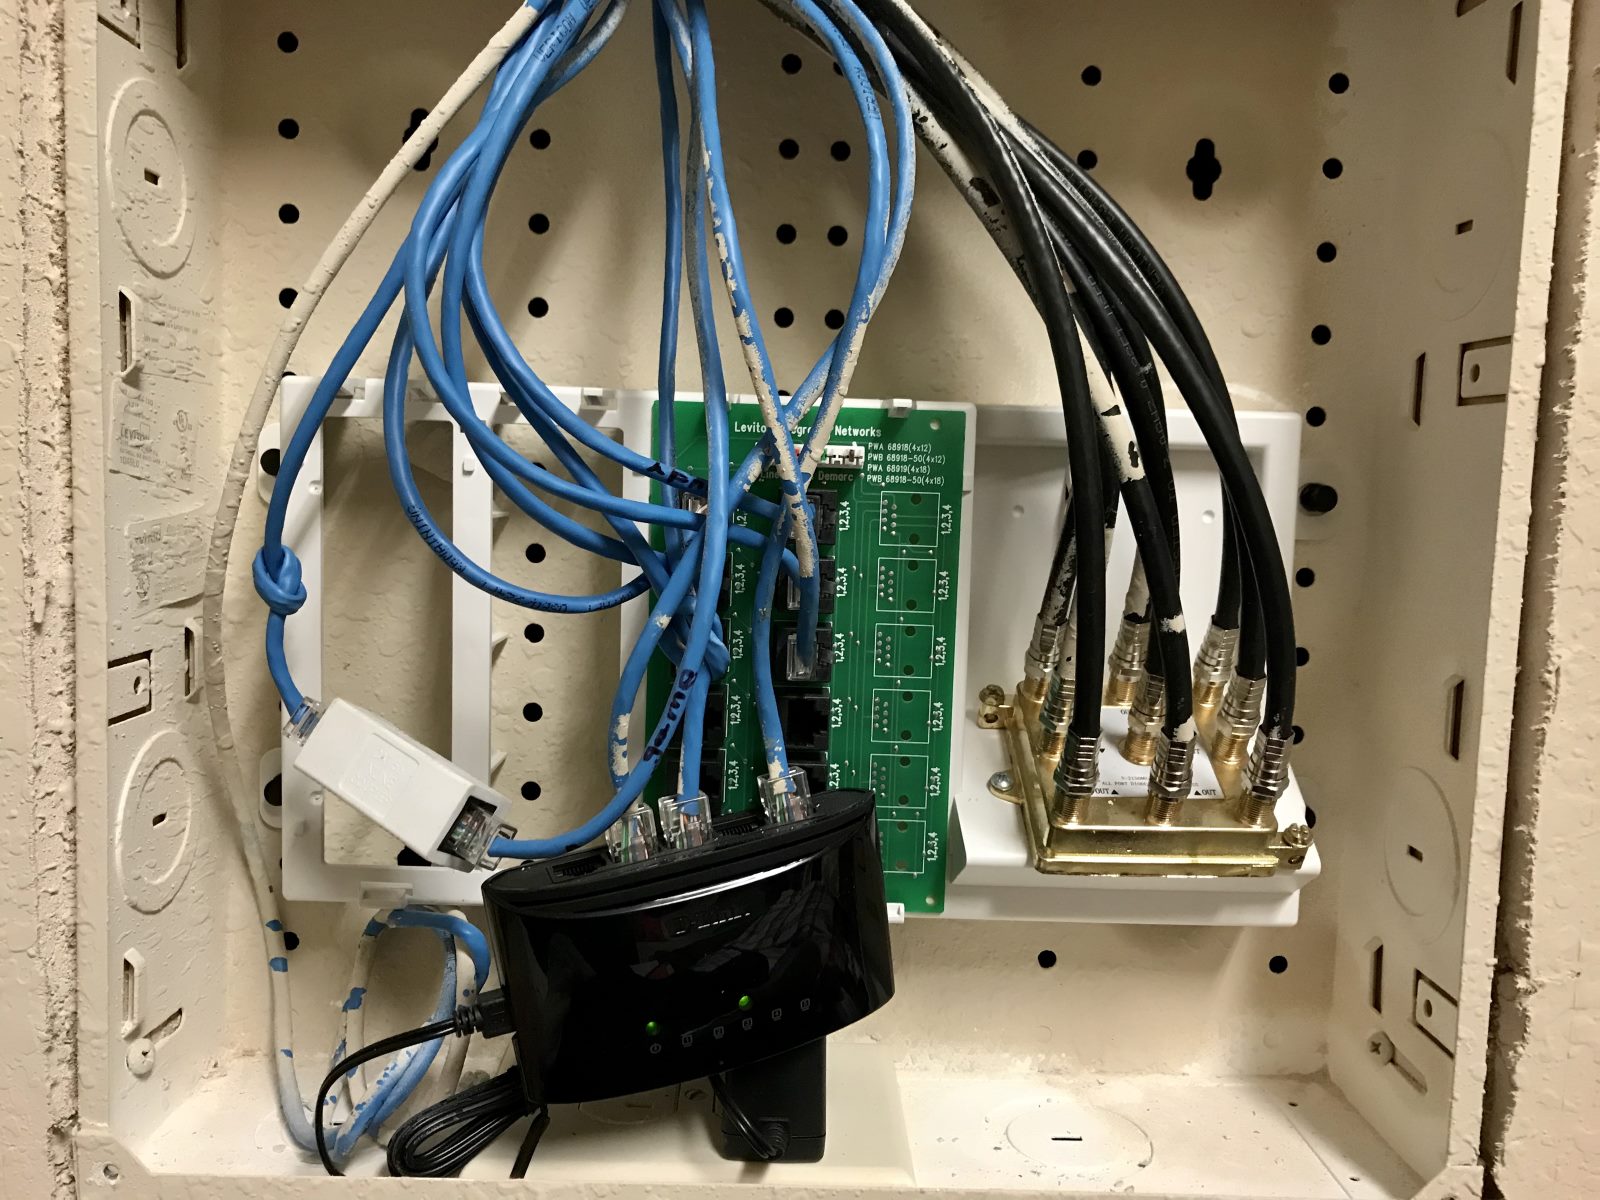
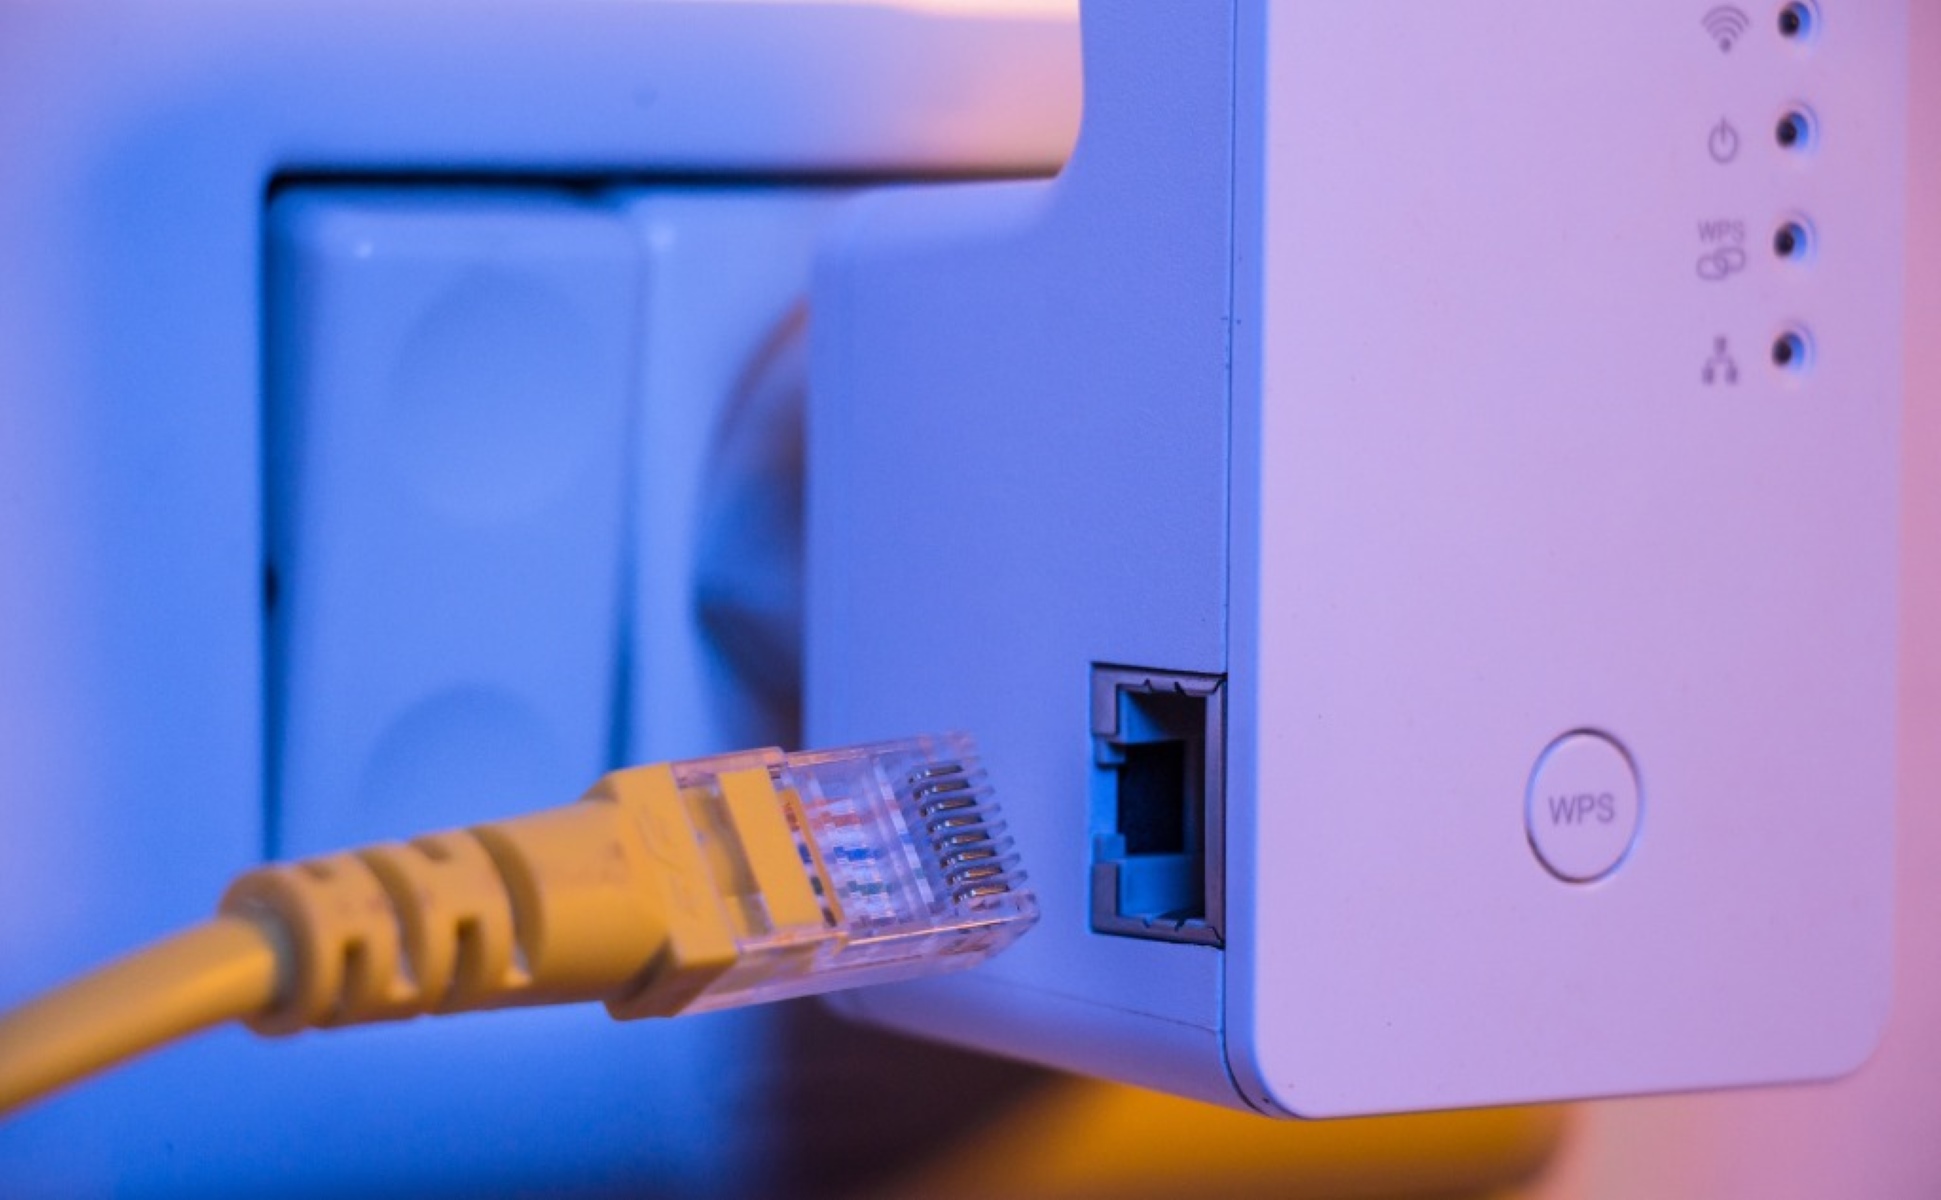
- Use a standard Ethernet cable (Cat5e or Cat6) to connect a router, PC, NAS, gaming console, or other wired device to any of the five RJ45 ports.
- Repeat for each device you want to add to the network.
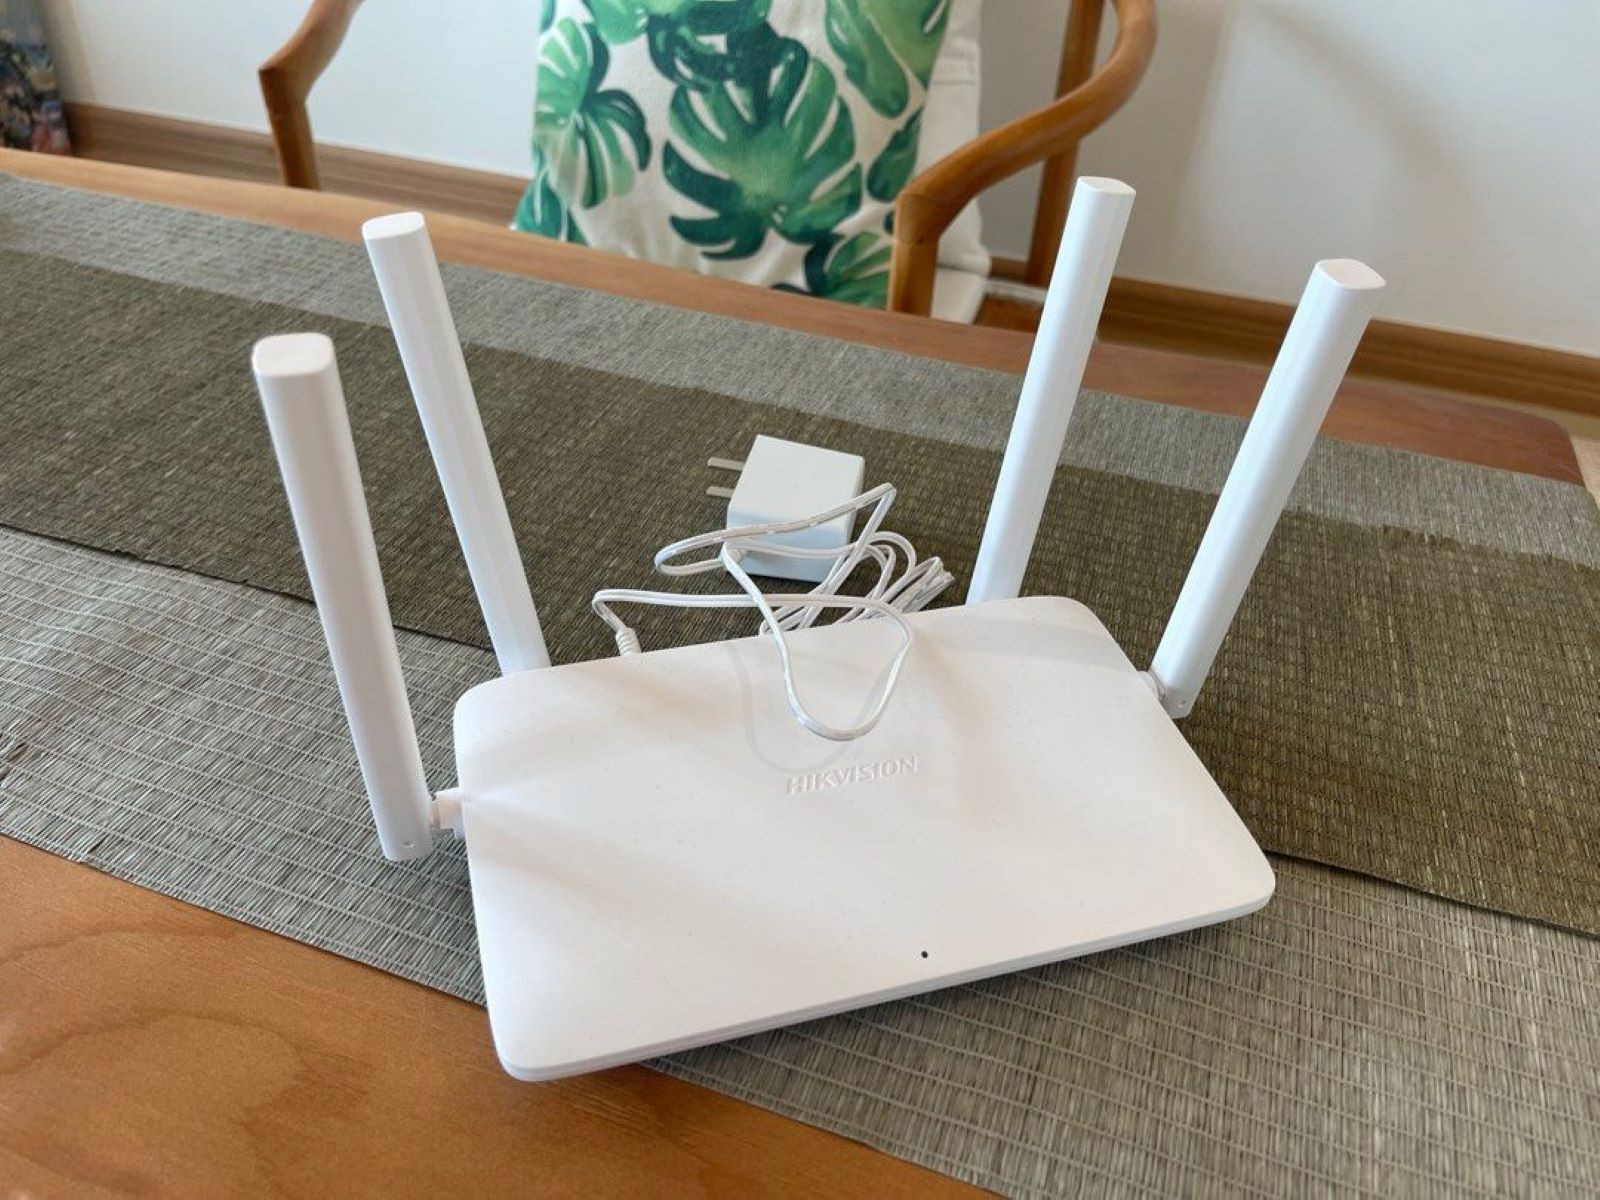
The switch features Auto-MDI/MDIX, so any standard cable works, no crossover cables needed. Auto-Negotiation automatically detects the link speed (10/100/1000 Mbps) for each connected device. If you want to use a network switch with 2 routers, simply connect both routers to any two ports, and the switch will handle the traffic.
Place the switch in your space
The switch supports both desktop placement and wall-mounting. Choose a location with good ventilation, and keep the switch away from water, fire, humidity, or hot environments to ensure reliable operation.
Understand the LED indicators and troubleshoot
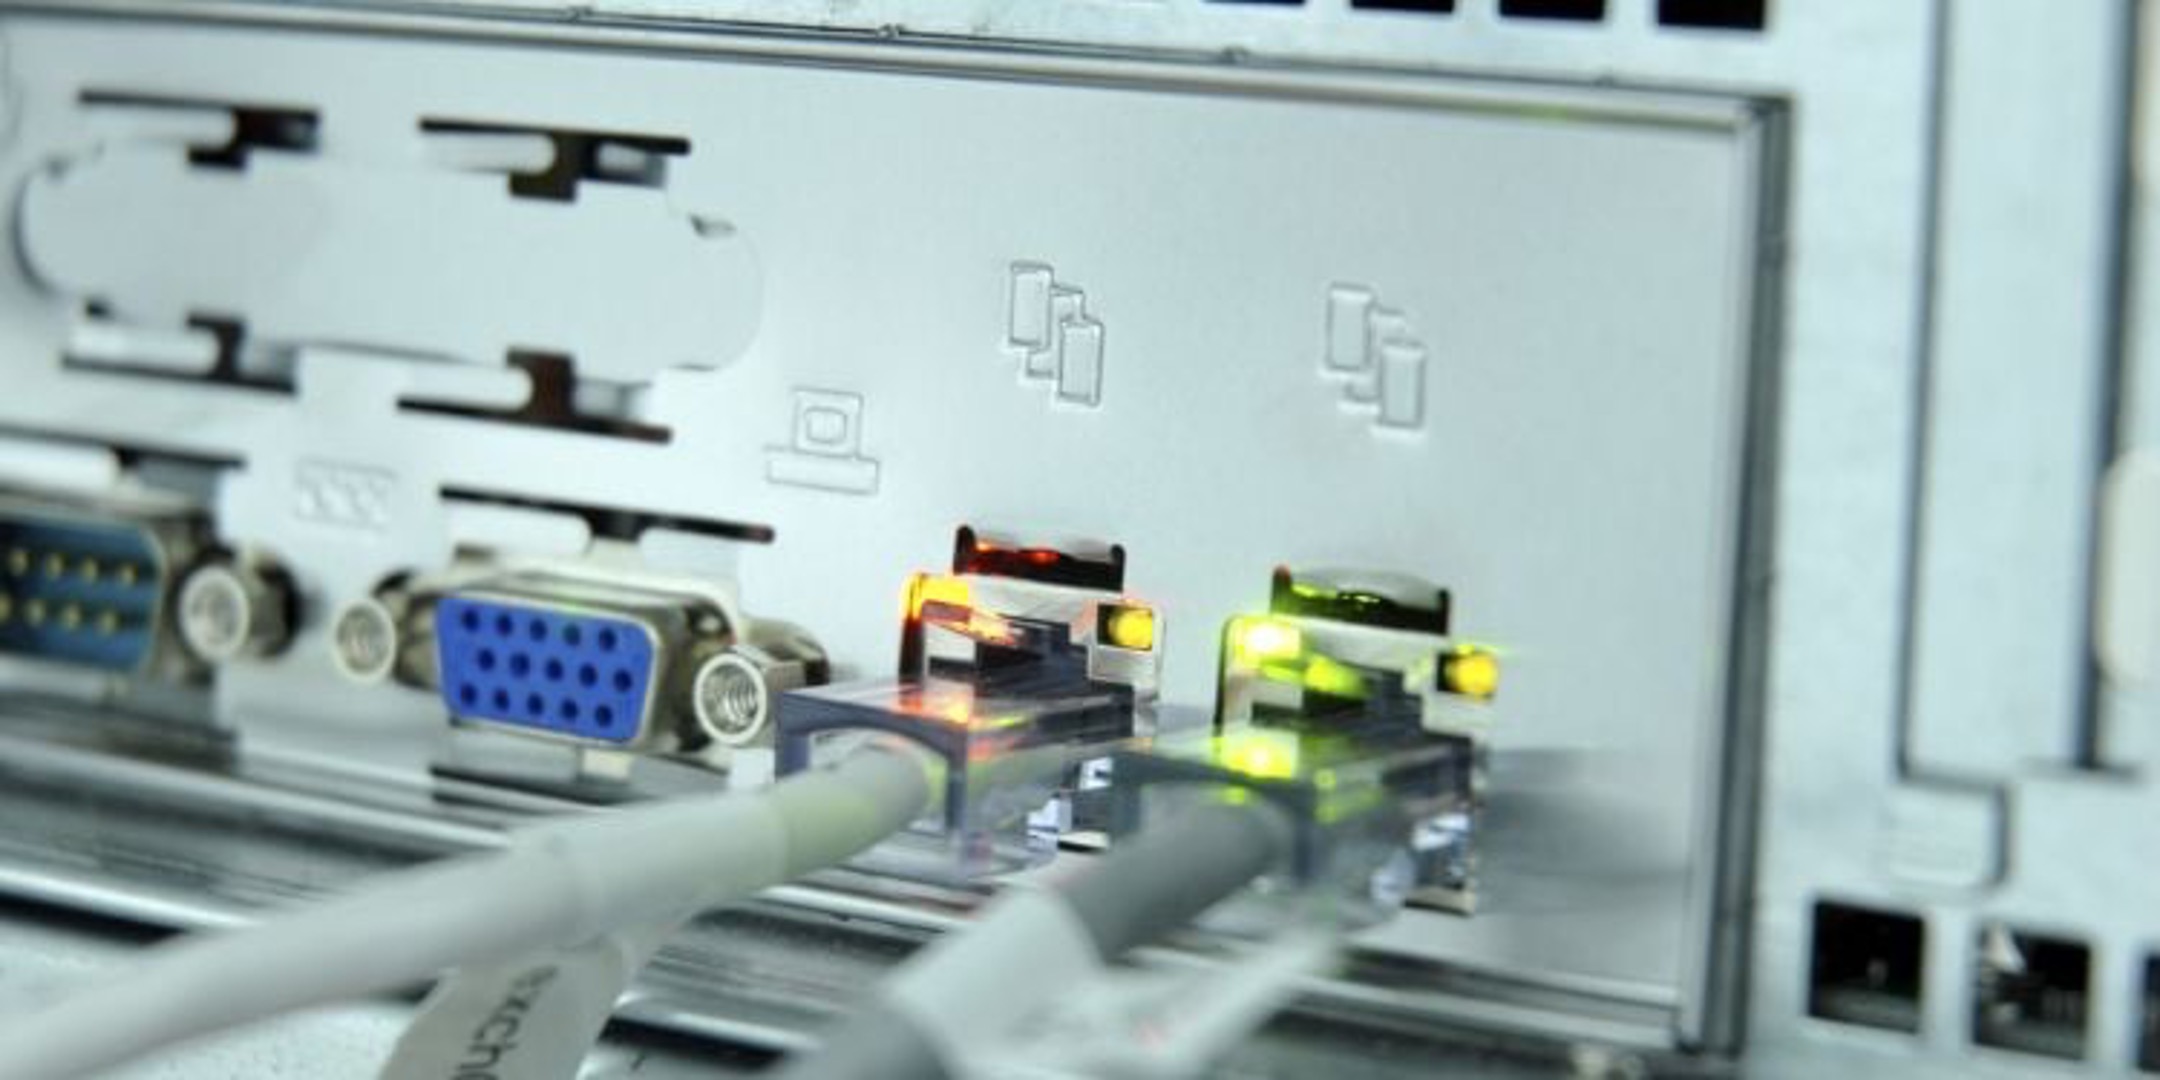
Each Ethernet port has a Link/Act LED. A solid green light means a valid connection is established, while a flashing green light indicates data is being transmitted or received. If a Link/Act LED is off, use this checklist:
- Ensure cable connectors are firmly plugged into both the switch and the connected device.
- Confirm the connected device is powered on.
- Check that the Ethernet cable length does not exceed 100 meters.
- Use good quality cables and verify the connected device’s Network Interface Card (NIC) is set to auto-negotiation mode.
Related reading: Does It Matter Where I Plug Stuff On A Network Switch.