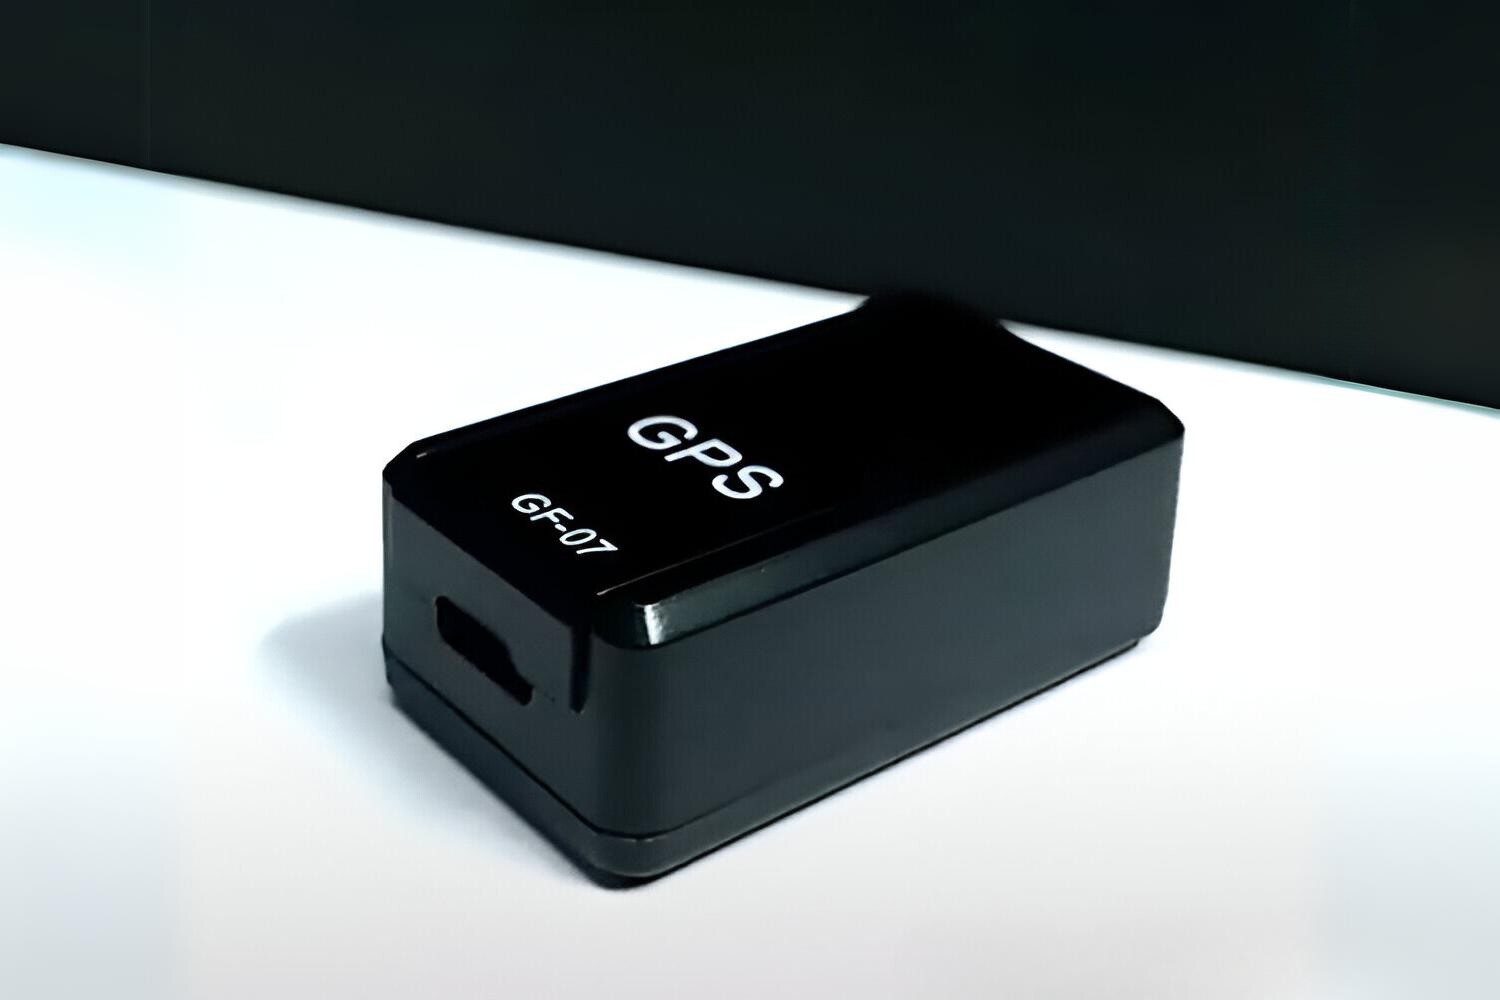
Configuring a GF-07 GPS tracker setup begins with preparing the SIM card and sending SMS commands, not with a mobile app. While some third-party apps may support tracking, the core setup and control functionalities are managed via SMS commands, making this the primary method for configuration; understanding these commands is also essential later for disabling and deactivating GPS trackers in your vehicle.
Before you begin: GF-07 GPS tracker setup requirements
Unbox the device and check that the tracker unit, USB charging cable, and instruction manual are present. Charge the tracker fully using the provided cable before proceeding. The critical step is to disable the SIM card's PIN, voicemail, and call forwarding before insertion. This prevents the tracker from getting stuck on a PIN prompt or diverted calls, ensuring it can receive SMS commands and make connections.
Inserting the SIM card and powering on
Locate the SIM card slot on the side or rear of the device. Open the slot cover carefully, then insert the activated SIM card with the correct orientation as shown in the manual. Secure the cover afterward. Power on the tracker by pressing and holding the power button. Observe the indicator lights: a steady or flashing light typically confirms the device has connected to the cellular network. If the light does not appear, recheck the SIM card orientation and that PIN/voicemail features are disabled.
Configuring the tracker with SMS commands
This is the core setup process. Use any phone to send SMS commands to the tracker's SIM card number.
- Set the admin number: Send the command
admin123456(replace 123456 with your phone number) to authorize your phone as the administrator. The tracker will reply with a confirmation SMS. - Configure the tracking interval: Send
interval#seconds(e.g.,interval#300for 5 minutes) to set how often the tracker reports its location. The tracker confirms the interval via SMS. - Request an initial location: Send
where#to get the current GPS coordinates. The tracker replies with a link containing latitude and longitude.
All commands must be sent from the admin number you set in step one. The tracker does not respond to commands from unregistered numbers.
Testing your GF-07 GPS tracker
Make a test call to the tracker's SIM number. It will answer silently, allowing you to listen in on the environment. This confirms the voice function works. Then send a location request SMS (where#) and verify the accuracy of the returned coordinates on a map by entering the latitude and longitude into any mapping service. The coordinates should place the tracker within a few meters of its actual position. If the location is significantly off, move the tracker to an open area with clear sky view and retry.