Introduction
Having a voice recorder can be incredibly useful in various scenarios, whether you need to record an important meeting, capture audio notes, or simply want to document your thoughts on the go. However, encountering issues with your voice recorder can be frustrating and hinder your productivity. If you find yourself facing problems with your voice recorder, such as it not working properly, there may be several reasons behind it.
In this article, we will explore some of the common issues that can arise with voice recorders and suggest troubleshooting steps to help you resolve them. Whether it’s software glitches, inadequate storage space, a faulty microphone, or outdated firmware, we’ll provide you with insights on how to identify and address these problems.
By following the troubleshooting techniques outlined in this article, you will be able to regain the functionality of your voice recorder and continue using it to its full potential. Let’s dive into the possible reasons behind your voice recorder not working and the steps you can take to fix the problem.
Common Issues with Voice Recorders
Voice recorders, like any electronic device, can experience various problems that can impact their performance. Identifying these common issues is the first step towards troubleshooting and resolving them. Here are some of the typical issues users might encounter with their voice recorders:
- Software Glitches: Voice recorders rely on software to function correctly. Occasionally, software glitches may occur, causing the recorder to freeze, crash, or not operate as expected.
- Insufficient Storage Space: If your voice recorder has limited storage capacity and you have filled it with recordings, you may encounter issues such as the inability to record new files or playback existing ones.
- Faulty Microphone: A malfunctioning or damaged microphone can prevent your voice recorder from recording clear audio. This issue may result in muffled or distorted recordings.
- Outdated Firmware: Voice recorders, like other devices, require firmware updates from time to time to improve performance, fix bugs, and add new features. Using outdated firmware can lead to compatibility issues and other problems.
- Disabled Permissions: If the necessary permissions are not granted to your voice recorder app, it may not be able to access the microphone or save recordings, resulting in the recorder not working properly.
- Low Battery Life: If your voice recorder runs on batteries or has a limited battery life, a drained or low battery can cause the device to malfunction or not turn on at all.
Understanding these common issues will help you narrow down the possible causes for your voice recorder not working. In the following sections, we will delve into troubleshooting steps and solutions to address these problems.
Software Glitches
Software glitches can occur in any electronic device, including voice recorders. These glitches can cause the recorder to freeze, crash, or behave unexpectedly. If you’re experiencing software-related issues with your voice recorder, here are some steps to troubleshoot and resolve the problem:
Restart your device: Sometimes, a simple device restart can fix software glitches. Power off your voice recorder, wait for a few seconds, and then power it back on. This action can help clear any temporary software issues that may be causing the recorder to malfunction.
Update the software: Check if there are any available software updates for your voice recorder. Manufacturers often release updates to address bugs and improve performance. Visit the manufacturer’s website or the app store to see if there are any updates available, and install them if necessary.
Reset the settings: If the software glitch persists, try resetting the settings of your voice recorder. Refer to the user manual or the manufacturer’s website for instructions on how to reset your specific model. Keep in mind that resetting the settings will erase any personalized configurations, so be sure to back up any important data beforehand.
Contact customer support: If the above steps don’t resolve the software issue, reach out to the customer support of your voice recorder’s manufacturer. They may have additional troubleshooting steps or be able to provide further assistance in resolving the glitch.
Software glitches can be frustrating, but by following these steps, you can often resolve the problem and get your voice recorder working again.
Insufficient Storage Space
Running out of storage space is a common issue that can prevent your voice recorder from functioning properly. If you’re unable to record new files or play back existing recordings, it’s likely that your voice recorder’s storage is full. Here are some steps you can take to address the problem of insufficient storage space:
Delete unnecessary recordings: Review your existing recordings and delete any that are no longer needed. This will free up storage space and allow you to continue recording new files. Be sure to back up any important recordings before deleting them.
Transfer recordings to a computer or external storage: If your voice recorder has a USB or microSD card slot, you can transfer recordings to a computer or external storage device. This will free up space on your voice recorder without permanently deleting the recordings. Once the files are safely transferred, you can delete them from the device to create more storage space.
Use cloud storage: Many voice recorder apps offer the option to store recordings in the cloud. This allows you to free up space on your device while still having access to your recordings. Check if your voice recorder app supports cloud storage and set up automatic syncing or manual uploads to ensure your recordings are safely stored in the cloud.
Invest in a larger storage capacity: If you frequently find yourself running out of storage space on your voice recorder, consider upgrading to a model with larger internal storage or expandable storage options. This will give you more room to store your recordings without worrying about running out of space.
By managing your storage space effectively, you can avoid the issue of insufficient storage and ensure that your voice recorder functions properly when you need it.
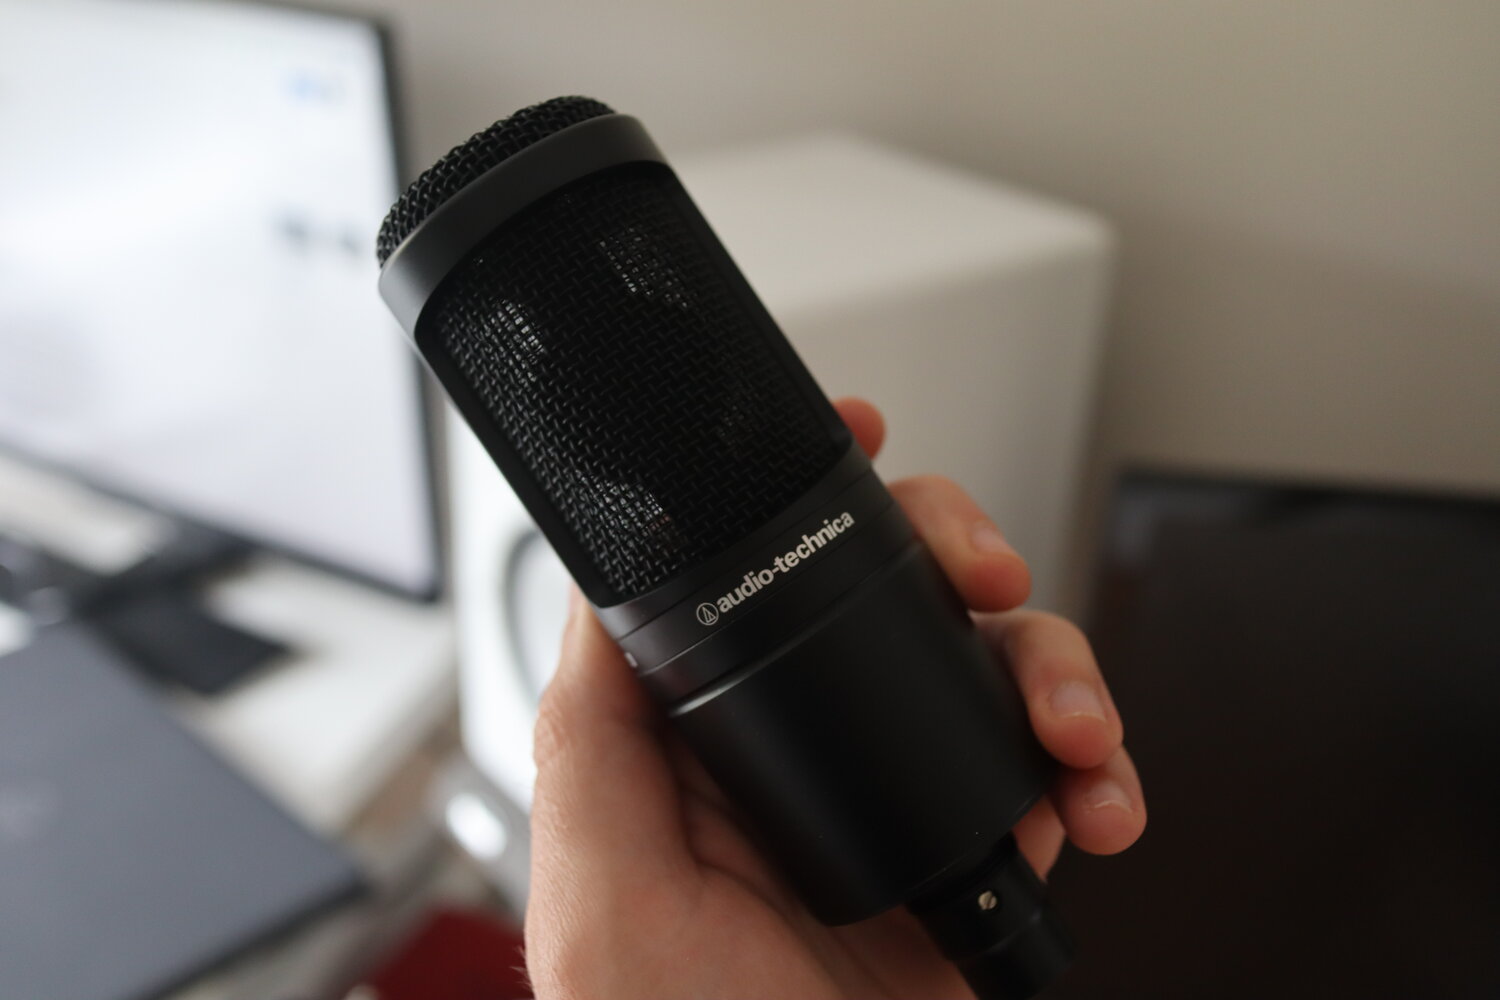
Faulty Microphone
A faulty microphone is another common issue that can affect the performance of your voice recorder. If the microphone is not functioning properly, your recordings may sound muffled, distorted, or may not be captured at all. Here are some troubleshooting steps to address the issue of a faulty microphone:
Check for physical damage: Inspect the microphone of your voice recorder for any visible damage. Look for any loose connections, dents, or debris that may be obstructing the microphone. If you notice any damage, it may be necessary to contact the manufacturer for repairs or consider replacing the device if it’s beyond repair.
Test the microphone with another device: Connect your voice recorder to another device, such as a computer or a different recorder, to determine if the issue lies with the microphone or the recorder itself. If the microphone works fine on another device, the problem may be related to the recorder’s settings or software.
Adjust microphone settings: Access the settings menu of your voice recorder and ensure that the microphone settings are properly configured. Check if the microphone is set to the correct input source and adjust the sensitivity levels if necessary.
Update firmware: Make sure that your voice recorder’s firmware is up to date. Manufacturers often release firmware updates that can address issues with the device’s hardware, including the microphone. Visit the manufacturer’s website or refer to the user manual for instructions on how to update the firmware.
Perform a factory reset: If all else fails, you can try performing a factory reset on your voice recorder. Keep in mind that this will erase all the settings and data on the device, so it’s important to back up any important recordings before proceeding. After the factory reset, go through the initial setup again and test if the microphone is functioning properly.
If the microphone issue persists despite these troubleshooting steps, it may be necessary to seek professional assistance or consider replacing the voice recorder with a new one.
Outdated Firmware
Outdated firmware can cause compatibility issues and other problems with your voice recorder. In order to ensure optimal performance and functionality, it’s essential to keep the firmware of your device up to date. Here’s how you can address the issue of outdated firmware:
Check for firmware updates: Visit the manufacturer’s website or the app store for your voice recorder and check if there are any available firmware updates. Manufacturers often release updates to improve performance, fix bugs, and add new features. Download and install the latest firmware version if one is available.
Follow the update instructions: After downloading the firmware update, carefully follow the instructions provided by the manufacturer to install it correctly. This may involve connecting your voice recorder to a computer, using specific software, or following a step-by-step process outlined in the manual.
Back up your data: Before performing a firmware update, it’s crucial to back up any important data or recordings on your voice recorder. This will ensure that you don’t lose any important information in case something goes wrong during the update process.
Ensure a stable power source: Before initiating the firmware update, make sure that your voice recorder has a stable power source. It’s recommended to have a fully charged battery or connect your device to a power outlet during the update. A sudden power loss during the update can cause irreversible damage to your device.
Verify the update: After installing the firmware update, verify that it was successful by checking the version number in the settings or consulting the manufacturer’s instructions. If the update was successful, you should notice an improvement in the device’s performance and compatibility.
Regularly checking for firmware updates and keeping your voice recorder up to date will ensure that your device is running on the latest software, providing you with the best possible experience and resolving any compatibility issues that may arise.
Disabled Permissions
Permissions play a crucial role in allowing your voice recorder app to access the necessary resources, such as the microphone and storage, to function properly. If the required permissions are disabled, your voice recorder may not be able to record audio or save recordings, resulting in it not working correctly. Here’s how you can address the issue of disabled permissions:
Check app permissions: Access the settings of your voice recorder app and navigate to the permissions section. Make sure that the necessary permissions, such as microphone access and storage access, are enabled. If any permissions are disabled, toggle them on to grant the app access to the required resources.
Android permissions: On Android devices, you can manage app permissions by going to the device’s settings, selecting “Apps” or “Application Manager,” locating your voice recorder app, and adjusting the permissions accordingly. Ensure that microphone and storage permissions are enabled for the app.
iOS permissions: On iOS devices, you can manage app permissions by going to the device’s settings, selecting “Privacy,” and navigating to the relevant permission category (e.g., Microphone or Photos). Locate your voice recorder app and enable the necessary permissions.
Reinstall the app: If the permissions are enabled, but the voice recorder still isn’t working, try reinstalling the app. This can help refresh the app’s settings and potentially resolve any permission-related issues that may be impacting its functionality.
Update the app: Ensure that you have the latest version of your voice recorder app installed. App updates often include bug fixes and improvements, which can also address permission-related issues. Check the app store for any available updates and install them if necessary.
By ensuring that the necessary permissions are enabled for your voice recorder app, you can regain full functionality and ensure that it has access to the resources it requires to record and save audio.
Low Battery Life
A low battery can significantly impact the performance of your voice recorder. If your device is not turning on or is shutting off frequently, it’s likely that the battery is running low. Here are some steps you can take to address the issue of low battery life:
Charge your device: Connect your voice recorder to a power source and allow it to charge fully. Ensure that you are using the appropriate charging cable and adapter recommended by the manufacturer. Leave the device connected until the battery reaches its maximum capacity.
Check for battery-saving features: Some voice recorders have built-in battery-saving features that can extend the battery life. Access the settings of your device and look for options such as power-saving mode or sleep mode. Enable these features to optimize battery usage.
Reduce screen brightness and timeout: The brightness of the screen can impact battery life. Lower your voice recorder’s screen brightness to a level that is still visible but consumes less power. Additionally, reduce the screen timeout duration, so the display turns off sooner when not in use.
Close background apps and processes: Running unnecessary apps and background processes can drain your battery. Close any apps that are not in use and force-stop background processes that may be consuming power. This will help conserve battery life and ensure that the device can focus on essential tasks.
Disable connectivity options: Wi-Fi, Bluetooth, and GPS are connectivity features that can drain the battery quickly. If you’re not actively using these features, disable them to conserve power. You can usually find these options in the device’s settings menu.
Consider replacing the battery: If you consistently experience low battery life even after following the above steps, it may be time to consider replacing the battery. Contact the manufacturer or check their website for information on battery replacements specific to your voice recorder model.
By following these steps, you can extend the battery life of your voice recorder and ensure that it remains operational when you need it the most.
How to Troubleshoot and Fix the Problem
Now that we have explored some of the common issues with voice recorders, it’s time to discuss how to troubleshoot and fix these problems. By following these steps, you can often identify the underlying cause of the issue and implement the necessary solutions:
1. Restart Your Device: A simple restart can resolve minor glitches and refresh the system. Power off your voice recorder, wait for a few seconds, and then power it back on. This might resolve software or temporary issues.
2. Check for Software Updates: Software updates often include bug fixes and performance improvements. Verify if there are any available updates for your voice recorder’s software or app. Install the updates to ensure optimal functionality.
3. Clear Storage Space: Insufficient storage can hinder your voice recorder’s performance. Delete unwanted recordings or transfer them to another device or cloud storage to free up space and allow for the creation of new recordings.
4. Test the Microphone: If you’re experiencing audio-related issues, ensure that the microphone is clean and undamaged. Test the microphone on another device to determine if the problem lies with the microphone or the voice recorder itself.
5. Grant Necessary Permissions: Check the permissions for your voice recorder app and ensure that it has access to the microphone, storage, and any other required resources. Adjust the settings if necessary to grant the necessary permissions.
6. Charge Your Device: If your voice recorder runs on batteries, low battery life can cause various issues. Connect your device to a power source and allow it to charge fully. Consider adjusting settings to optimize battery usage.
If after implementing these troubleshooting steps, you’re still facing issues with your voice recorder, it may be advisable to reach out to the manufacturer’s customer support for further assistance. They can provide specific guidance based on your device model and help you resolve any persistent problems.
Restart Your Device
If you’re encountering issues with your voice recorder, a simple and effective troubleshooting step is to restart your device. Restarting can help clear temporary software glitches and refresh the system, potentially resolving minor issues. Here’s how you can restart your voice recorder:
Step 1: Locate the power button or switch on your device.
Step 2: Press and hold the power button or switch until a menu appears on the screen.
Step 3: Select the option to power off or restart your device. The wording may vary depending on your device model.
Step 4: If prompted, confirm the action to power off or restart your device.
After your voice recorder powers off, wait for a few seconds and then turn it back on. This simple action can help resolve temporary software issues and restore your voice recorder’s functionality.
If the problem persists after restarting, you may need to consider other troubleshooting methods. However, a restart is always a good initial step to attempt resolving any minor issues with your voice recorder.
Check for Software Updates
Keeping your voice recorder’s software up to date is essential for optimal performance and to address any potential bugs or issues. Manufacturers regularly release software updates that include bug fixes, performance improvements, and new features. Here’s how you can check for and install software updates:
Step 1: Open the app store or visit the manufacturer’s website on your device.
Step 2: Search for your voice recorder app or visit the support page for your device.
Step 3: Look for any available updates for your voice recorder software.
Step 4: If an update is available, select the option to download and install it.
Step 5: Follow the on-screen instructions to complete the update process.
It is recommended to always install the latest software update for your voice recorder. These updates often include bug fixes and performance enhancements that can help resolve issues you may be experiencing.
It’s important to note that some voice recorders may have firmware updates available. Firmware updates are different from software updates as they specifically address the device’s internal programming. If your device has firmware updates, follow the manufacturer’s instructions to download and install them to ensure your voice recorder functions optimally.
Regularly checking for software updates helps to ensure that your voice recorder is running on the latest version, which can improve stability, compatibility, and overall performance. Stay up to date with software updates to take full advantage of the features and troubleshooting improvements offered by the manufacturer.
Clear Storage Space
If your voice recorder is running out of storage space, it can lead to various issues, such as the inability to record new files or playback existing recordings. Clearing storage space is crucial to ensure smooth functioning of your voice recorder. Here’s how you can clear storage space:
Delete unnecessary recordings: Review your existing recordings and delete any that are no longer needed. This will free up storage space and allow you to continue recording new files. Be sure to back up any important recordings before deleting them.
Transfer recordings to a computer or external storage: If your voice recorder has a USB or microSD card slot, you can transfer recordings to a computer or external storage device. Connect your voice recorder to the computer using the provided cable or insert the memory card into your computer’s card reader. Once the files are safely transferred, you can delete them from your voice recorder to create more storage space.
Use cloud storage: Many voice recorder apps offer the option to store recordings in the cloud. This allows you to free up space on your device while still having access to your recordings. Check if your voice recorder app supports cloud storage and set up automatic syncing or manual uploads to ensure your recordings are safely stored in the cloud.
Organize your files: If you have a large number of recordings stored on your device, consider organizing them into folders or categories. This can help you easily locate specific recordings and free up space by grouping related files.
Consider expanding storage capacity: If you frequently find yourself running out of storage space on your voice recorder, consider upgrading to a model with larger internal storage or expandable storage options. This will give you more room to store your recordings without worrying about running out of space.
Clearing storage space on your voice recorder is essential to ensure that it continues to function properly. By regularly managing your storage and removing unnecessary files, you can maintain sufficient space for new recordings and avoid any storage-related issues.
Test the Microphone
If you’re experiencing audio issues with your voice recorder, it’s important to test the microphone to determine if it is functioning properly. A faulty microphone can result in poor quality or no audio recordings. Here’s how you can test the microphone on your voice recorder:
Step 1: Find a quiet environment to minimize external noise interference.
Step 2: Open your voice recorder app or access the voice recording function on your device.
Step 3: Ensure that the microphone is not obstructed by anything, such as your hand or a cover.
Step 4: Start a new recording and speak into the microphone clearly and at a normal volume.
Step 5: After recording, play back the audio to assess the clarity and quality of the recording.
While testing the microphone, pay attention to any distortions, muffled sounds, or if there is no audio at all. If you notice any issues, here are some troubleshooting steps you can take:
Step 1: Clean the microphone: Use a soft, lint-free cloth or a cotton swab lightly dampened with rubbing alcohol to gently clean the microphone. Be careful not to apply excessive pressure or moisture.
Step 2: Check for physical damage: Inspect the microphone for any physical damage such as visible cracks or deformities. If you notice any damage, contact the manufacturer for further assistance or consider repairing or replacing the device.
Step 3: Adjust microphone settings: Access the settings menu of your voice recorder app or the device settings and ensure that the microphone settings are properly configured. Check if the microphone is set to the correct input source and adjust the sensitivity levels if necessary.
Step 4: Test with another app or device: Determine if the issue is specific to the voice recorder app by testing the microphone with another recording app or using it with a different device. This can help identify whether the problem lies with the microphone or the voice recorder itself.
If the microphone issues persist after trying these troubleshooting steps, it’s recommended to contact the manufacturer’s customer support for further assistance or consider seeking professional repair services.
Grant Necessary Permissions
Properly granting the necessary permissions to your voice recorder app is crucial for it to function correctly. Without the appropriate permissions, the app may not be able to access the microphone, storage, or other important resources required for recording and saving audio. Here’s how you can ensure the necessary permissions are granted:
Step 1: Open the settings menu on your device and navigate to the “Apps” or “Application Manager” section.
Step 2: Locate your voice recorder app in the list of installed apps and select it.
Step 3: Look for an option like “Permissions” or “App Permissions” within the app settings.
Step 4: Review the permissions listed and ensure that the necessary permissions, such as microphone access and storage access, are enabled.
Step 5: If any required permissions are disabled, toggle them on to grant the app access to the required resources.
Keep in mind that the exact steps may vary depending on your device’s operating system (e.g., Android or iOS) and version. The above steps provide a general guide that should help you find the relevant permissions settings for your voice recorder app.
Granting the necessary permissions allows your voice recorder app to access the microphone and storage, enabling it to record audio and save recordings successfully. It’s important to note that apps typically require permissions to be enabled for security and privacy purposes, so be mindful of the permissions you grant and consider the trustworthiness of the app.
If you encounter any issues despite granting the necessary permissions, try restarting the app or your device. In some cases, a restart can help refresh the app’s permissions and resolve any related issues. If problems persist, consider reinstalling the app or contacting the app’s customer support for further assistance.
Charge Your Device
A common issue that can affect the performance of your voice recorder is a low battery. If your device is not turning on or is frequently shutting off, it’s likely that the battery needs to be charged. Charging your device is an essential step to ensure that it has sufficient power to function properly. Here’s what you can do:
Step 1: Connect your device to a power source using the provided charging cable.
Step 2: Ensure that the charging cable is securely connected to both your device and the power source.
Step 3: Allow your device to charge uninterrupted until the battery reaches its maximum capacity.
Step 4: Once fully charged, disconnect your device from the power source.
In addition to charging your device, here are a few tips to help optimize your battery life:
Lower screen brightness: Reduce the brightness of your device’s screen to conserve battery power. Dimming the screen can significantly improve battery life.
Turn off unnecessary features: Disable features such as Wi-Fi, Bluetooth, and GPS when you’re not actively using them. These features can drain the battery even when not in use.
Close apps running in the background: Some apps continue to run in the background, consuming battery power. Close unnecessary apps to conserve battery life.
Enable power-saving mode: Activate the power-saving mode or battery-saving mode on your device. This feature adjusts the settings to conserve battery life by limiting background activity and reducing power consumption.
Remember that battery life can vary depending on usage patterns and device settings. If you consistently experience a short battery life, it may be worth considering replacing the battery or seeking assistance from the device manufacturer.
By ensuring your device is adequately charged, you can prevent disruptions during recording sessions and ensure that your voice recorder functions optimally when you need it most.
Conclusion
Encountering issues with your voice recorder can be frustrating, but with the troubleshooting steps outlined in this article, you can effectively address and resolve common problems. Whether it’s software glitches, insufficient storage space, a faulty microphone, outdated firmware, disabled permissions, or a low battery life, there are steps you can take to troubleshoot and fix the problem.
Restarting your device can often resolve minor software glitches, while checking for software updates ensures that your voice recorder has the latest bug fixes and improvements. Clearing storage space allows you to make room for new recordings, and testing the microphone helps identify any issues with audio quality. Granting necessary permissions ensures that your voice recorder app can access the required resources, and charging your device maintains optimal battery performance.
It’s important to remember that different issues may require different troubleshooting approaches. If the initial steps do not resolve the problem, consider reaching out to the manufacturer’s customer support for further assistance or consulting professional repair services.
Regularly maintaining your voice recorder, keeping it updated, and following good recording practices will help ensure its longevity and reliable performance. By troubleshooting and fixing the problems that may arise, you can continue to use your voice recorder to capture important audio recordings, take notes, and enhance your productivity in various personal and professional settings.