Introduction
Having a reliable headset with a functioning microphone is essential for various activities, such as online gaming, video conferencing, or recording audio. Logitech headsets are popular among users for their superior audio quality and comfort. However, you may encounter an issue where the microphone of your Logitech headset stops working. This can be frustrating, as it can hinder your ability to communicate effectively.
There could be several reasons why your Logitech headset’s microphone is not working as expected. It could be due to a hardware connection issue, outdated audio drivers, incorrect microphone settings, conflicts with other applications, or a combination of these factors. Fortunately, there are troubleshooting steps that you can follow to resolve this problem and get your Logitech headset microphone working again.
In this article, we will explore the common causes of Logitech headset mic issues and provide you with step-by-step troubleshooting methods to help you rectify the problem. Whether you are using a Logitech gaming headset, a wireless headset, or a USB headset, these troubleshooting techniques will be applicable to most Logitech headset models. So, let’s dive into the possible causes and solutions for Logitech headset mic problems.
Possible Causes of Logitech Headset Mic Not Working
When your Logitech headset microphone stops working, there can be several underlying causes. Understanding the potential reasons will help you narrow down the troubleshooting steps required to resolve the issue. Here are some common causes to consider:
- Loose or faulty hardware connection: One possible cause is that the headset’s cable or connectors are not properly connected or are damaged. A loose connection can result in the microphone not being detected or unable to transmit sound.
- Outdated or incompatible drivers: If you have not updated your audio drivers in a while or if the drivers are incompatible with your computer’s operating system, it can cause issues with your Logitech headset’s microphone functionality.
- Incorrect microphone settings: Sometimes, the microphone settings on your computer can be misconfigured or disabled, leading to the Logitech headset mic not working. It could be due to settings such as volume levels, microphone privacy settings, or default device selection.
- Conflicts with other applications: Certain applications or programs on your computer might interfere with your Logitech headset’s microphone functionality. This can occur if multiple applications are trying to access the microphone simultaneously or if there are conflicts between different audio-related applications.
By identifying the potential causes, you can proceed with the appropriate troubleshooting steps to address the specific issue with your Logitech headset microphone. In the following sections, we will guide you through the troubleshooting process, providing step-by-step instructions to help you get your Logitech headset microphone back in working condition.
Troubleshooting Steps
If you’re experiencing issues with your Logitech headset microphone, don’t worry! There are several troubleshooting steps you can follow to resolve the problem. Here are some effective solutions to try:
- Check your headset’s hardware connection: Start by ensuring that your Logitech headset is properly connected to your computer or device. Check if the cables are securely plugged in and make sure there are no loose connections. If you’re using a wireless headset, ensure that it is paired correctly and within range.
- Update audio drivers: Outdated or incompatible audio drivers can cause issues with your Logitech headset’s microphone. Visit the Logitech website or the manufacturer’s website of your computer’s sound card to download and install the latest drivers for your audio device.
- Adjust microphone settings in Windows: Open the Sound settings on your computer and navigate to the Recording tab. Select your Logitech headset’s microphone as the default recording device. Check the microphone’s volume levels and make sure it is not muted. If necessary, adjust the microphone boost or sensitivity settings.
- Set your Logitech headset as the default communication device: In some cases, Windows may have assigned another device as the default communication device. Right-click on the volume icon in your taskbar, select “Open Sound settings,” and choose your Logitech headset as the default communication device. This ensures that applications use your headset’s microphone for communication purposes.
- Restart Windows Audio Service: Sometimes, restarting the Windows Audio Service can resolve microphone issues. Open the Run dialog by pressing the Windows key + R, type “services.msc,” and hit Enter. Locate the “Windows Audio” service, right-click on it, and select “Restart.” This will refresh the audio service and may fix the problem.
- Disable or uninstall conflicting applications: Certain applications, like voice chat or recording software, can conflict with your Logitech headset’s microphone. Try disabling or uninstalling these applications temporarily to see if it resolves the issue. Additionally, check the application’s settings to ensure they are configured correctly to use your headset’s microphone.
By following these troubleshooting steps, you should be able to identify and resolve the issue with your Logitech headset microphone. However, if the problem persists, you may need to reach out to Logitech support or consult with a technical expert for further assistance.
Check your headset’s hardware connection
When encountering issues with your Logitech headset microphone, one of the first troubleshooting steps is to check the hardware connection. A loose or faulty connection can prevent the microphone from working properly. Follow these steps to ensure your headset’s hardware is properly connected:
- Check the cables: Examine the cables of your Logitech headset. Make sure they are securely plugged into the appropriate ports on your computer or device. Inspect the connectors for any damage or signs of wear that could affect the connection.
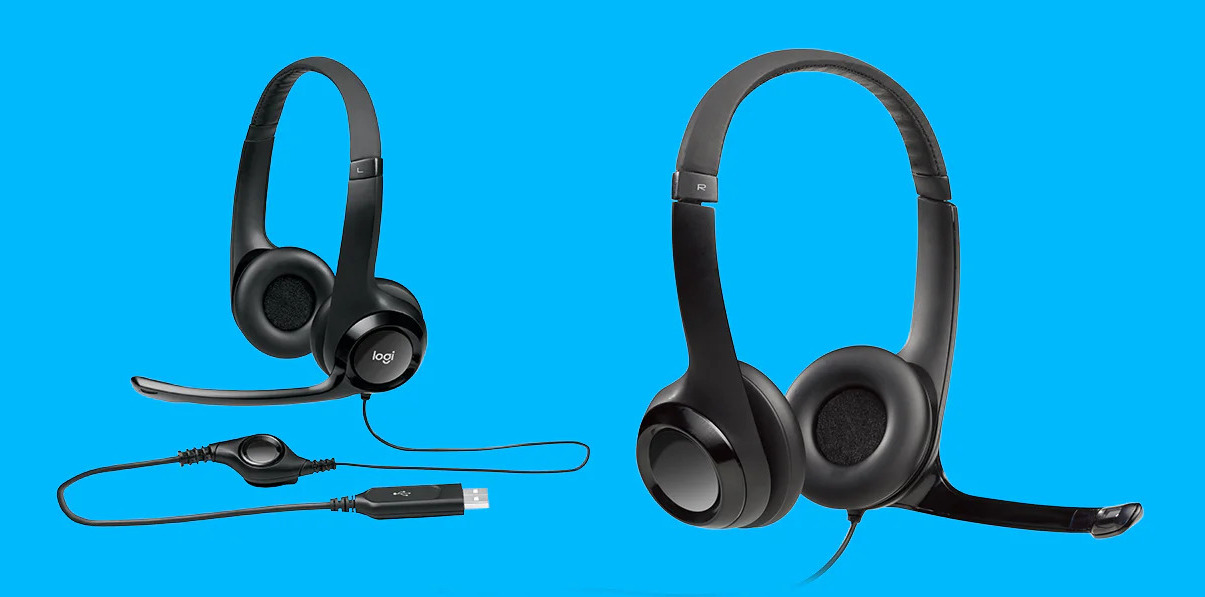
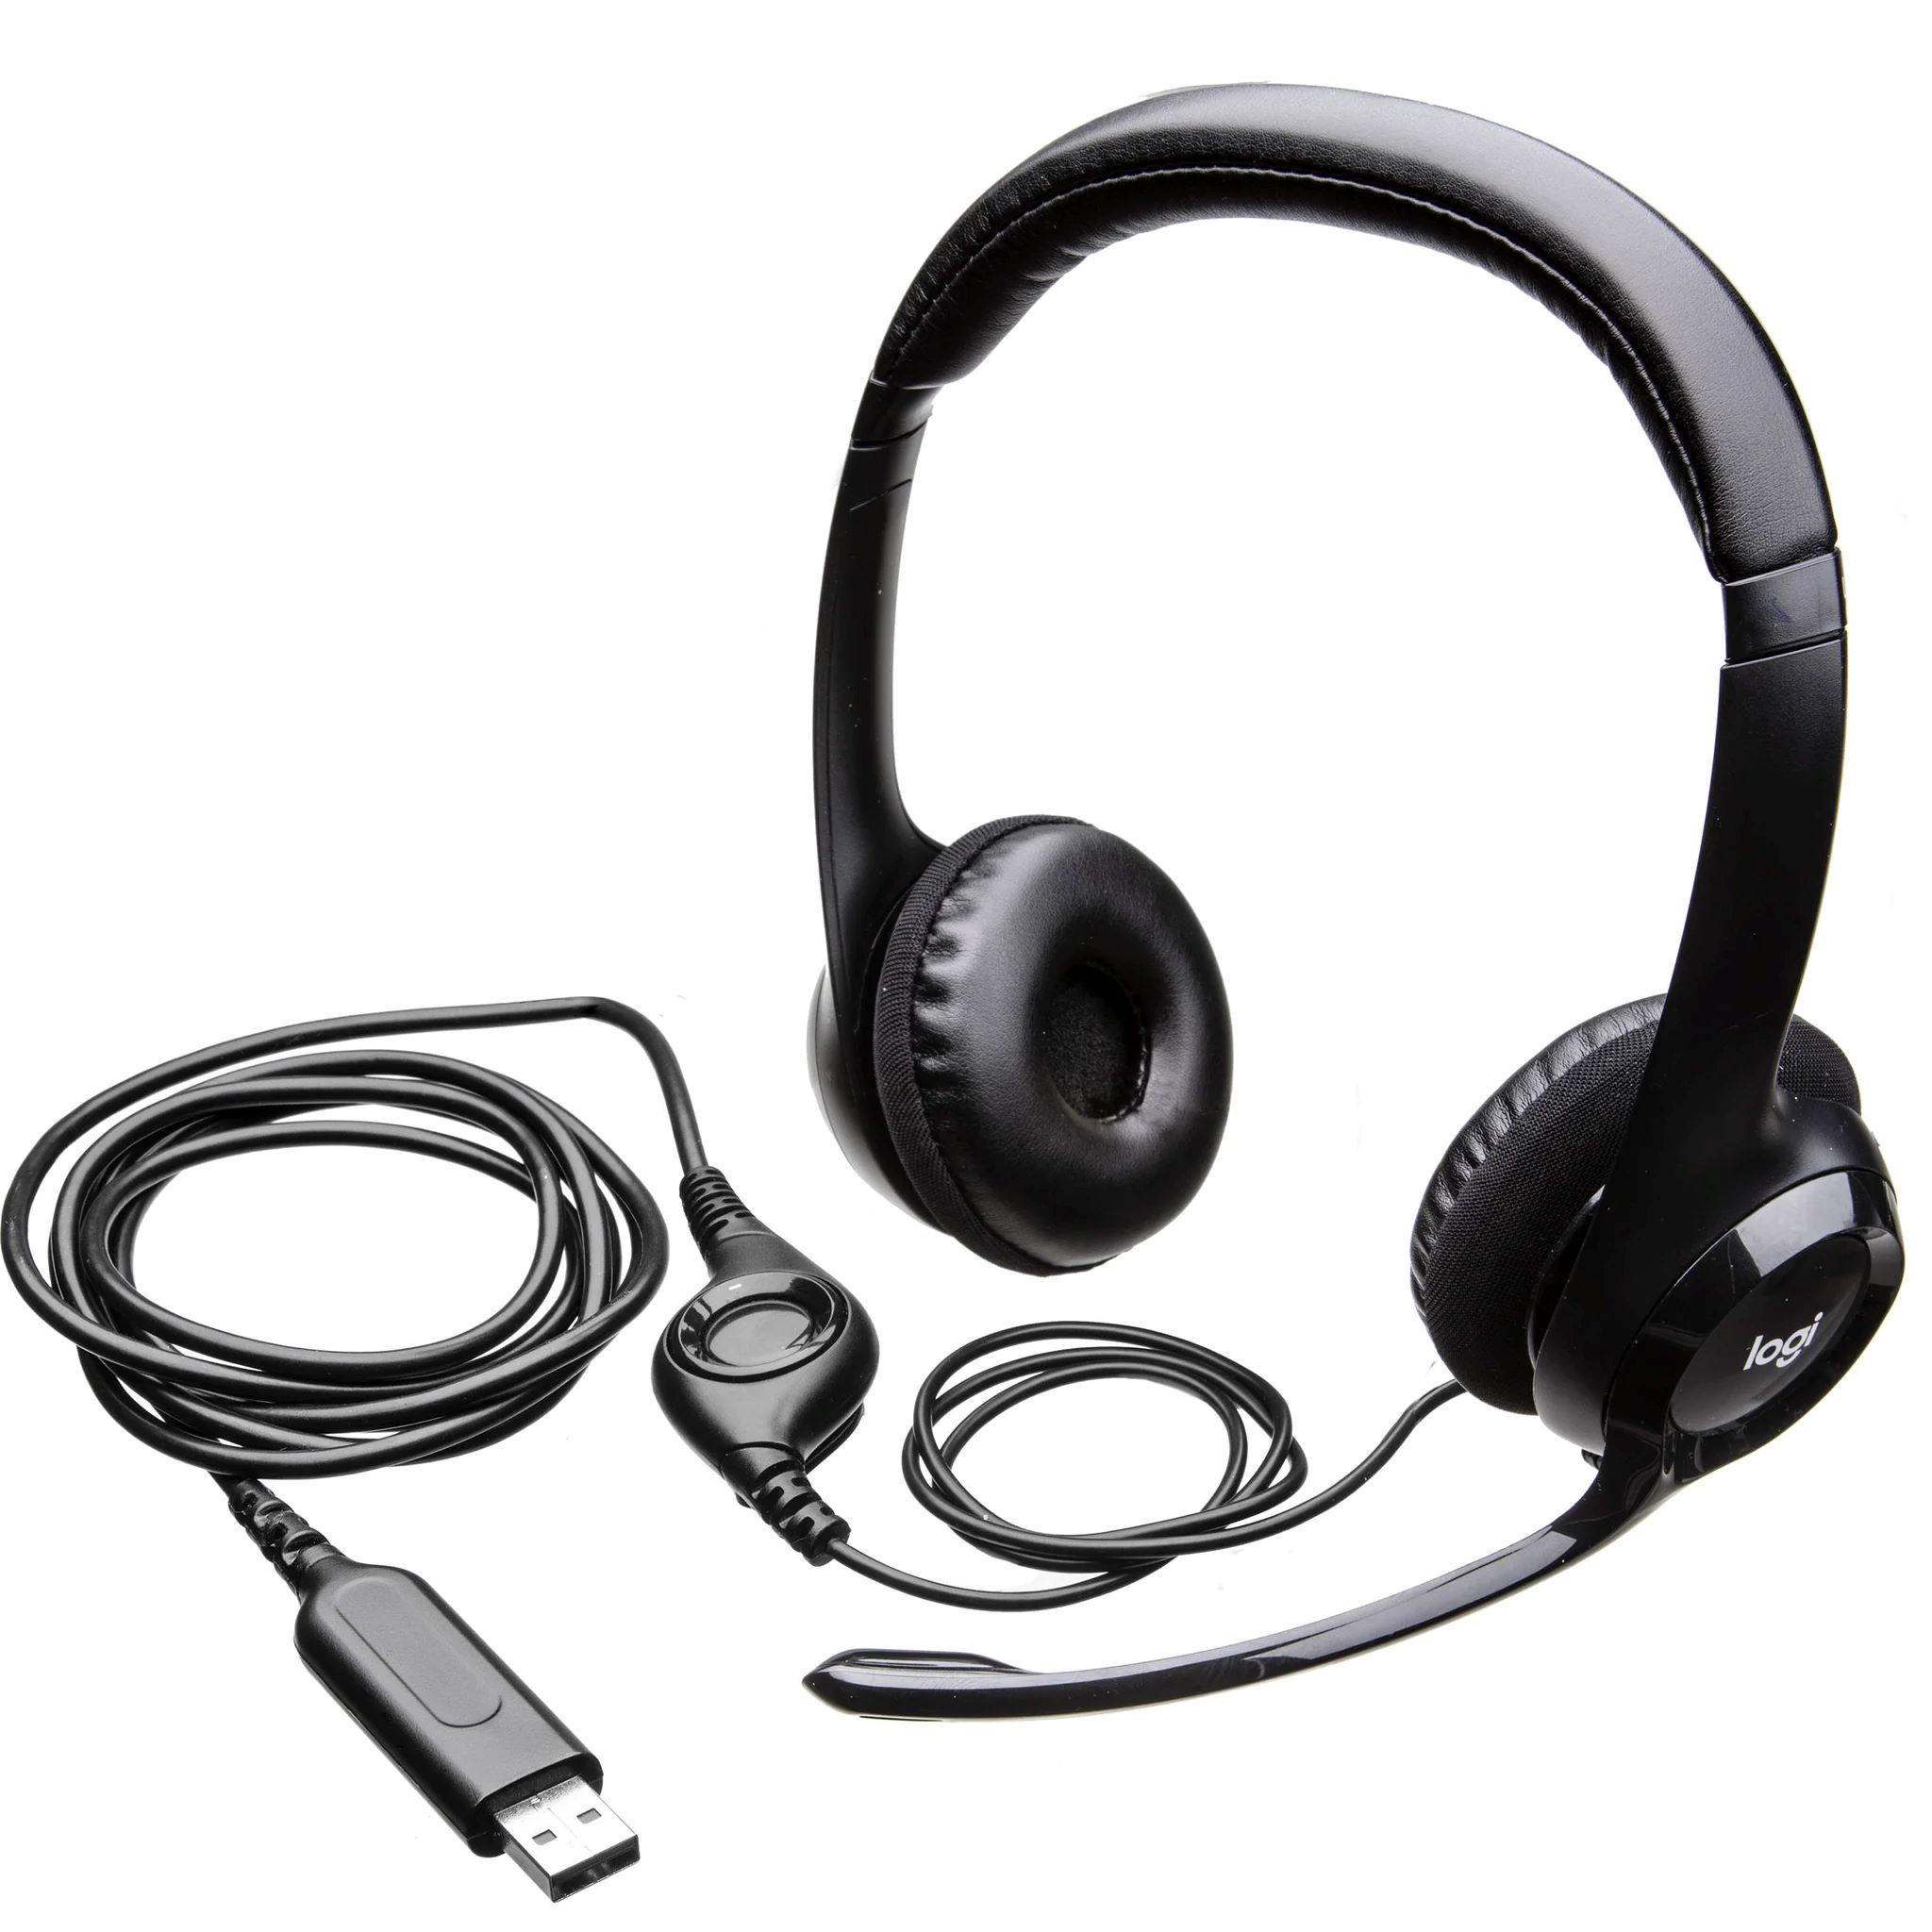
- USB vs. audio jacks: Depending on the model of your Logitech headset, it may connect via USB or audio jacks. USB headsets typically have a single USB connector, which should be plugged into an available USB port on your computer. Audio jacks usually have two separate connectors for the headphone and microphone, which should be inserted into the corresponding ports on your computer.
- Ensure compatibility: Verify that your Logitech headset is compatible with your computer or device. Check the specifications provided by Logitech to ensure that your headset is designed for use with your operating system and hardware. Incompatible devices may not function properly, including the microphone.
- Try a different USB port or audio jack: Sometimes, the USB port or audio jack you are using may have issues. Switch to a different USB port or audio jack on your computer to see if the microphone starts working. This can help determine if the problem is related to the port or jack itself.
- Test the headset on another device: To isolate the issue further, test your Logitech headset on another device, such as a different computer or a smartphone. This can help determine if the problem is specific to your computer or if it persists across multiple devices.
By following these steps, you can ensure that your Logitech headset’s hardware connection is secure and functioning properly. If the issue persists after checking the hardware connection, proceed to the next troubleshooting steps to resolve the problem.
Update audio drivers
Outdated or incompatible audio drivers can often cause issues with the microphone on your Logitech headset. By updating your audio drivers, you can ensure that your headset’s microphone functions properly. Follow these steps to update your audio drivers:
- Identify your audio device: Determine the manufacturer and model of your computer’s sound card or audio chipset. You may find this information in the Device Manager or by checking your computer’s documentation or manufacturer’s website.
- Visit the manufacturer’s website: Go to the website of the audio device manufacturer or the Logitech support website. Look for the section or page that provides drivers or downloads for your specific audio device.
- Download the latest drivers: Locate and download the latest audio drivers for your device and operating system. Ensure that the drivers are compatible with your computer’s specifications.
- Install the drivers: Once the drivers are downloaded, run the installer file and follow the on-screen instructions to install the updated drivers. It may be necessary to restart your computer after the installation process is completed.
- Verify microphone functionality: After updating the audio drivers, test your Logitech headset’s microphone to ensure that it is working correctly. Check the recording device settings in your operating system to make sure that your Logitech microphone is the default device.
By updating your audio drivers, you can eliminate any compatibility issues and ensure that your Logitech headset’s microphone operates optimally. If updating the drivers does not resolve the problem, proceed to the next troubleshooting steps for further solutions.
Adjust microphone settings in Windows
If the microphone on your Logitech headset is not working correctly, it may be due to incorrect settings in your Windows operating system. Follow these steps to adjust the microphone settings and ensure they are configured properly:
- Open the Sound settings: Right-click on the volume icon in the taskbar and select “Open Sound settings.” Alternatively, you can access the Sound settings by going to the Control Panel and selecting “Sound.”
- Navigate to the Recording tab: In the Sound settings window, click on the “Recording” tab. This tab displays the available recording devices connected to your computer.
- Select your Logitech headset’s microphone: Look for your Logitech headset in the list of recording devices. It may be listed as the specific model name or under the generic name “Microphone.” Right-click on it and select “Set as Default Device.”
- Adjust microphone volume levels: Double-click on your Logitech headset’s microphone to open its properties. In the Microphone Properties window, navigate to the “Levels” tab. Ensure that the microphone volume slider is turned up and not muted. You can also adjust the microphone boost or sensitivity settings if necessary.
- Check microphone privacy settings: In the Sound settings window, click on the “Privacy” tab. Under the “Microphone” section, make sure that the toggle switch is turned on to allow apps to access your microphone.
By adjusting the microphone settings in Windows, you can ensure that your Logitech headset’s microphone is configured properly for optimal performance. After applying the changes, test the microphone to check if the issue has been resolved. If not, proceed to the next troubleshooting steps to further troubleshoot the problem.
Set your Logitech headset as default communication device
Sometimes, your Logitech headset may not be set as the default communication device in your Windows operating system, which can result in microphone issues. By setting your Logitech headset as the default communication device, you can ensure that applications use it for audio input during calls or communication. Follow these steps to set your Logitech headset as the default communication device:
- Right-click on the volume icon: Locate the volume icon in the taskbar, typically found in the bottom right corner of the screen. Right-click on the icon to open the context menu.
- Select “Open Sound settings”: In the context menu, select “Open Sound settings.” This will open the Sound settings window.
- Navigate to the “Sound Control Panel”: Under the “Related Settings” section, click on “Sound Control Panel.” This will open the Sound Control Panel window.
- Set your Logitech headset as default: In the Sound Control Panel, navigate to the “Recording” tab. Locate your Logitech headset in the list of recording devices. Right-click on it and select “Set as Default Communication Device.” This will ensure that your Logitech headset is used for communication applications.
- Check application settings: Some applications may have their own audio settings. Make sure to check the individual settings within applications, such as voice chat or video conferencing software, to ensure they are configured to use the default communication device.
By setting your Logitech headset as the default communication device, you can ensure that it is prioritized for audio input during calls and communication. After making the changes, test your Logitech headset’s microphone to see if the issue has been resolved. If not, proceed to the next troubleshooting steps to further troubleshoot the problem.
Restart Windows Audio Service
If your Logitech headset’s microphone is still not working properly, restarting the Windows Audio Service can help refresh the audio system and resolve any related issues. Follow these steps to restart the Windows Audio Service:
- Press Windows key + R: Simultaneously press the Windows key and the “R” key on your keyboard to open the Run dialog box.
- Type “services.msc” and press Enter: In the Run dialog box, type “services.msc” and hit Enter. This will open the Services window.
- Locate the Windows Audio Service: In the Services window, scroll down and locate the “Windows Audio” service in the list.
- Restart Windows Audio Service: Right-click on the “Windows Audio” service and select “Restart” from the context menu. This will stop and start the service again, effectively refreshing the audio system.
- Test your Logitech headset’s microphone: After restarting the Windows Audio Service, test your Logitech headset’s microphone to see if it is now working correctly. Check the recording device settings in your operating system to ensure that your Logitech microphone is the default device.
Restarting the Windows Audio Service can help resolve any issues related to the audio system, potentially fixing problems with your Logitech headset’s microphone. If the issue persists after restarting the service, proceed to the next troubleshooting steps to further troubleshoot the problem.
Disable/uninstall conflicting applications
Conflicts with other applications can sometimes cause issues with your Logitech headset’s microphone. In some cases, certain applications may be accessing the microphone or interfering with its functionality. To resolve this, you can try disabling or uninstalling these conflicting applications. Follow these steps to disable or uninstall conflicting applications:
- Identify potential conflicting applications: Take note of any applications that might be using or accessing the microphone, such as voice chat programs, recording software, or virtual audio software.
- Disable the conflicting applications: Temporarily disable or close the conflicting applications to see if the Logitech headset’s microphone starts working. Right-click on the taskbar and select “Task Manager.” In the Task Manager window, go to the “Processes” or “Applications” tab, locate the conflicting applications, right-click on them, and select “End Task” or “Close.” Test your Logitech headset’s microphone to check if it is now functioning properly.
- Uninstall conflicting applications: If disabling the applications did not resolve the issue, you may need to uninstall them. Open the Control Panel on your computer, go to “Programs” or “Programs and Features,” and uninstall the conflicting applications. Restart your computer and test your Logitech headset’s microphone to see if the problem persists.
- Review application settings: In some cases, conflicting applications may have specific microphone settings that need to be adjusted. If you cannot uninstall the applications or need them for other purposes, check their settings to ensure they are configured correctly to use your Logitech headset’s microphone.
By disabling or uninstalling conflicting applications, you can eliminate any interference they may be causing to your Logitech headset’s microphone. If the microphone issue persists, continue with the remaining troubleshooting steps or consider reaching out to Logitech support for further assistance.
Conclusion
Dealing with a Logitech headset microphone that is not working can be frustrating, but by following the troubleshooting steps outlined in this article, you can often resolve the issue. From checking the hardware connection and updating audio drivers to adjusting settings in Windows and addressing conflicts with other applications, there are several potential solutions to explore.
Start by ensuring that your headset’s hardware connection is secure and properly plugged in. Then, check for any outdated or incompatible audio drivers and update them accordingly. Adjusting the microphone settings within your Windows operating system and setting your Logitech headset as the default communication device can also help rectify the problem. Additionally, restarting the Windows Audio Service and disabling or uninstalling conflicting applications are steps worth taking.
Remember to test your Logitech headset’s microphone after each troubleshooting step to see if the issue has been resolved. If the problem persists, you may need to seek further assistance from Logitech support or consult with a technical expert.
By following these troubleshooting methods, you can increase the chances of getting your Logitech headset microphone up and running again, ensuring that you can enjoy clear and uninterrupted communication during your gaming sessions, video calls, or any other activities that require microphone functionality.


