Introduction
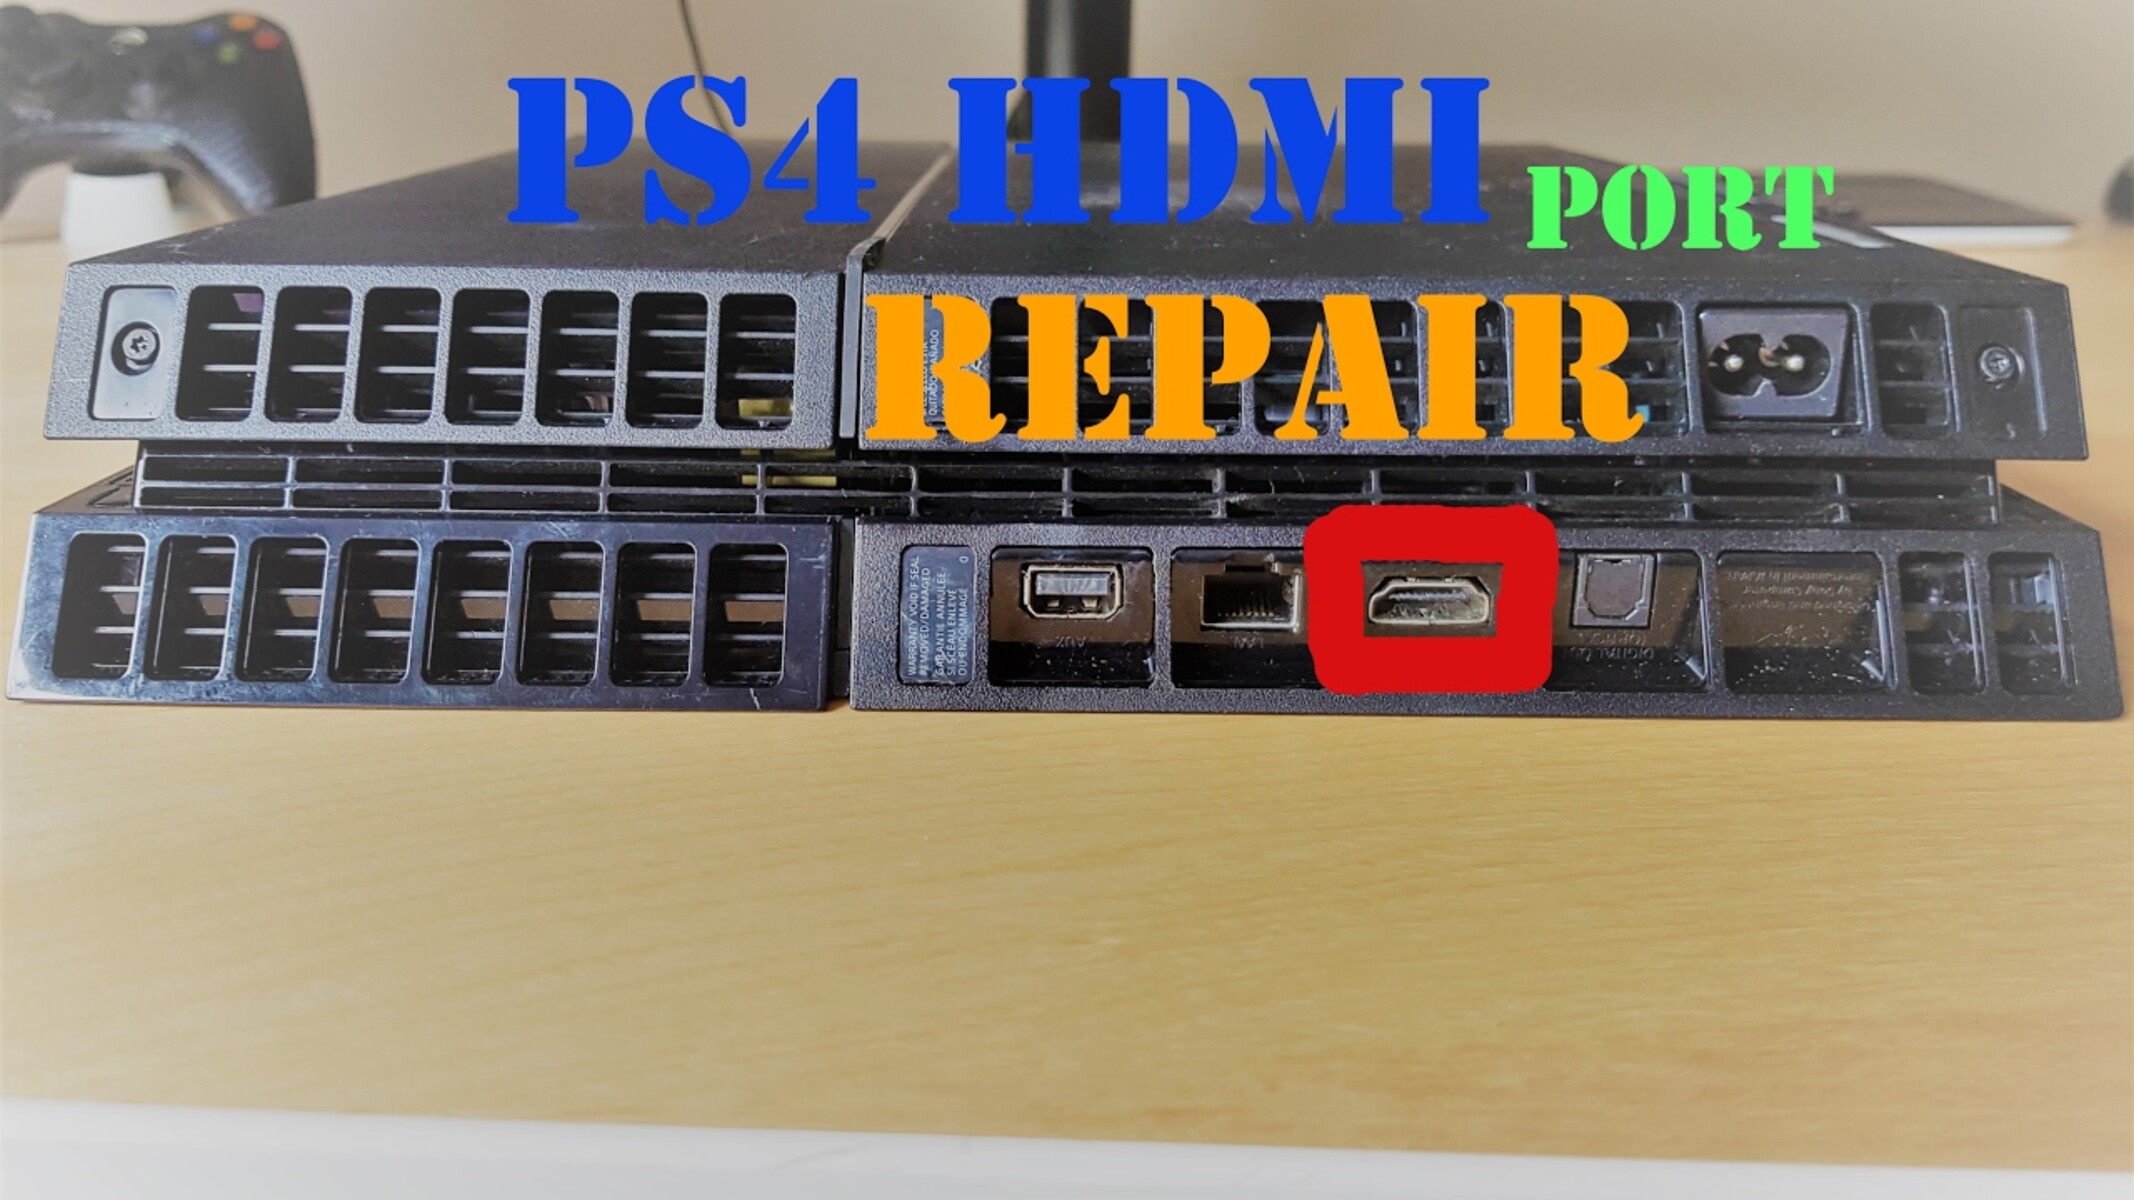
Welcome to the world of high-definition multimedia! HDMI (High-Definition Multimedia Interface) ports have become an integral part of our digital lives, allowing us to connect various devices like TVs, computer monitors, gaming consoles, and more. However, there may be instances when your HDMI port stops working, leaving you frustrated and unable to enjoy your favorite content in high definition.
While HDMI ports are generally reliable, there can be various reasons why they might cease to function properly. Understanding these common issues and troubleshooting steps will help you get your HDMI port back up and running in no time.
In this article, we will delve into the most common problems you may encounter with your HDMI port and provide practical solutions to resolve them. We will guide you through a step-by-step process to identify the root cause of the issue and offer troubleshooting methods that will help you get your HDMI port working again.
Before we dive into the details, it’s important to note that the troubleshooting steps provided here are general in nature and may vary depending on your specific device and operating system. It’s always advisable to consult the user manual or reach out to customer support for device-specific solutions.
So, if you’re ready to troubleshoot your HDMI port and get your high-definition experience back on track, let’s jump right in!
Common Issues with HDMI Ports
HDMI ports can encounter several common issues that may prevent them from functioning correctly. By understanding these issues, you can better diagnose and resolve the problem. Here are some of the most frequent problems you may encounter with your HDMI port:
- No signal: This is a common issue where the HDMI-connected device fails to display any signal on the screen. It could be due to a loose cable connection, incompatible resolution settings, or a malfunctioning HDMI port.
- Intermittent signal: Sometimes, the HDMI signal may drop out intermittently, causing the display to go blank temporarily. This can be caused by a faulty HDMI cable, a weak connection, or an incompatible resolution or refresh rate.
- Unsupported resolution: Your HDMI port may not support certain resolutions or refresh rates, resulting in a black screen or distorted image. This can occur when trying to display content with a resolution that exceeds the capabilities of your display or device.
- No audio: Another common issue is when you can see the video signal, but there is no audio coming through. This can be caused by incorrect audio settings on your device, a faulty HDMI cable, or an audio output issue on the connected device.
- Unrecognized device: Sometimes, your HDMI port may fail to recognize the connected device, resulting in no signal or a “No input” message on the screen. This can occur due to compatibility issues, outdated firmware, or a faulty HDMI port.
These common issues can be frustrating, but the good news is that most of them can be resolved with some simple troubleshooting steps. In the following sections, we will guide you through the process of identifying the root cause of the problem and provide practical solutions to fix these issues.
Remember, if you find that the problem persists even after troubleshooting, it’s advisable to seek professional help or reach out to customer support for further assistance. Now, let’s move on to the troubleshooting steps to get your HDMI port working again.
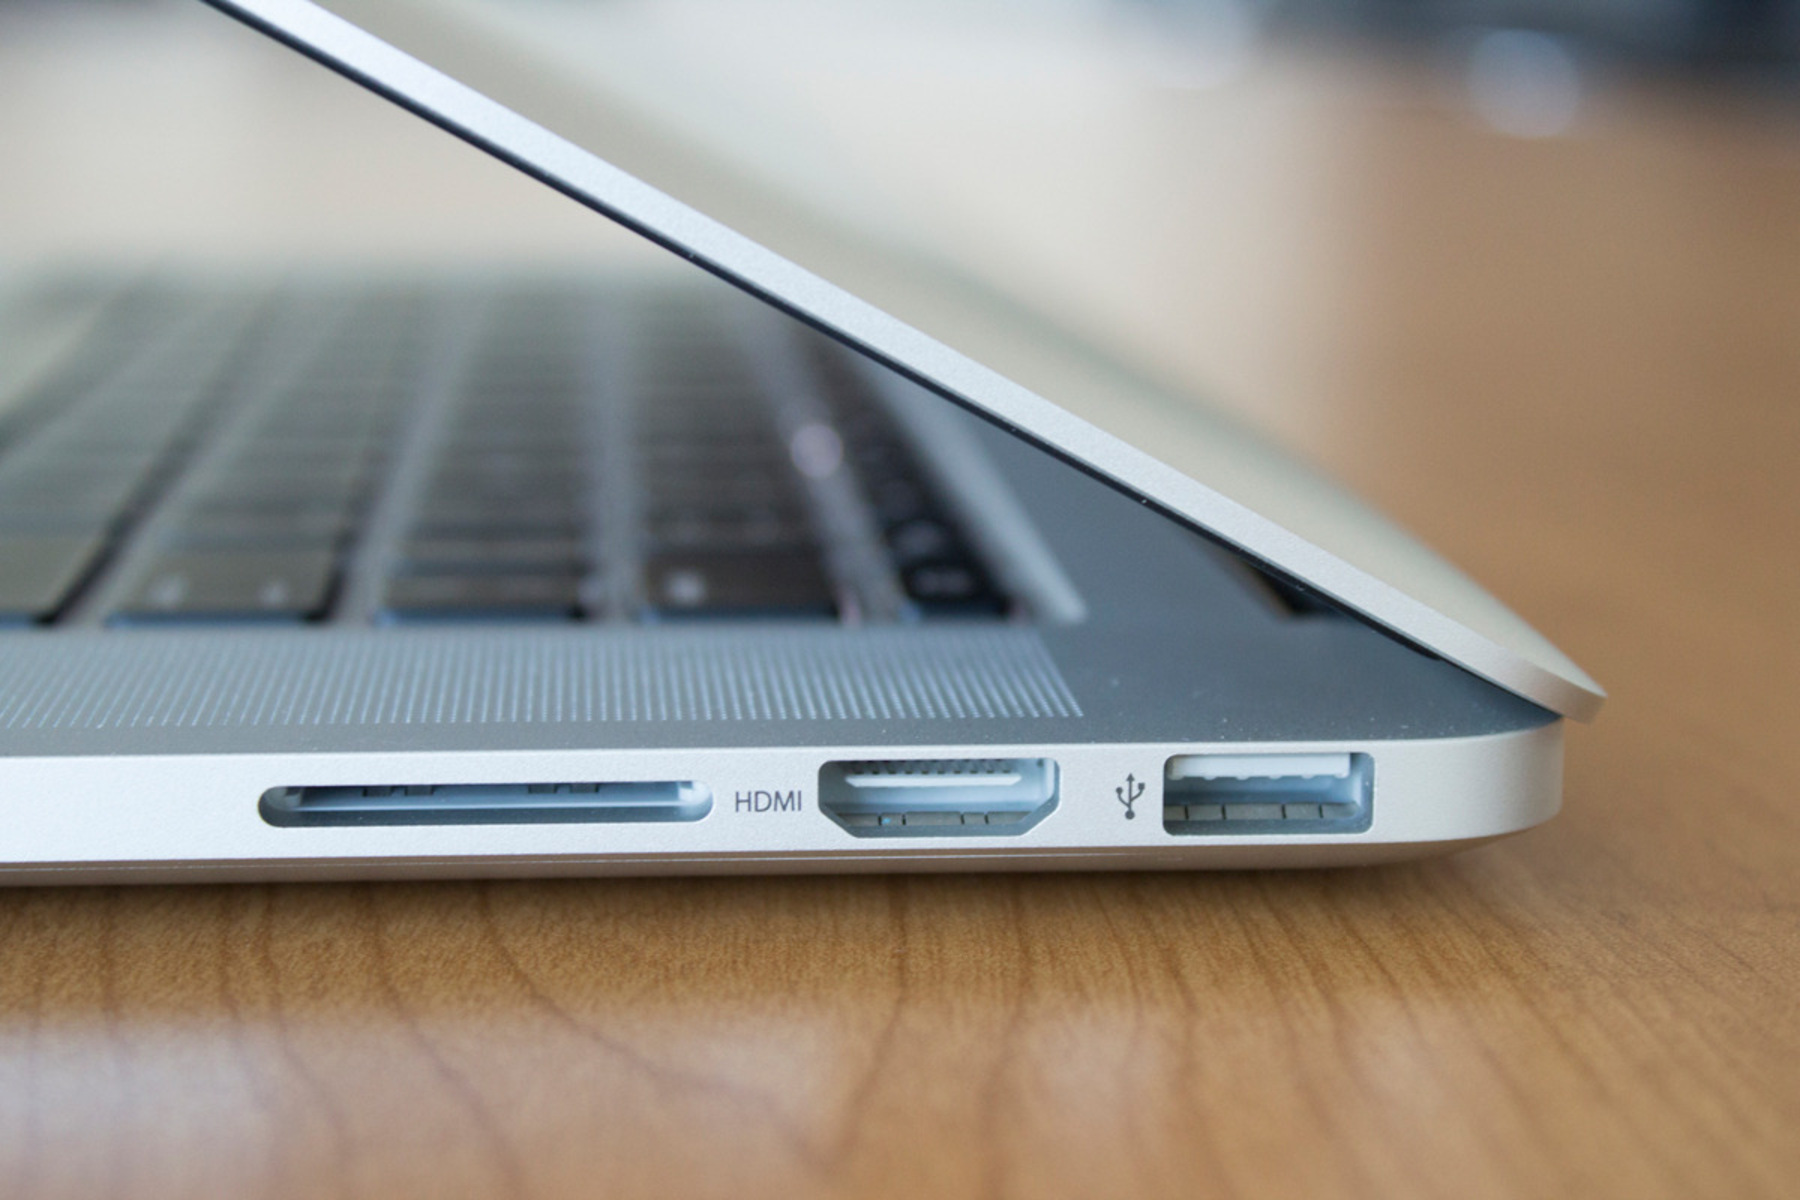
Check Your HDMI Cable
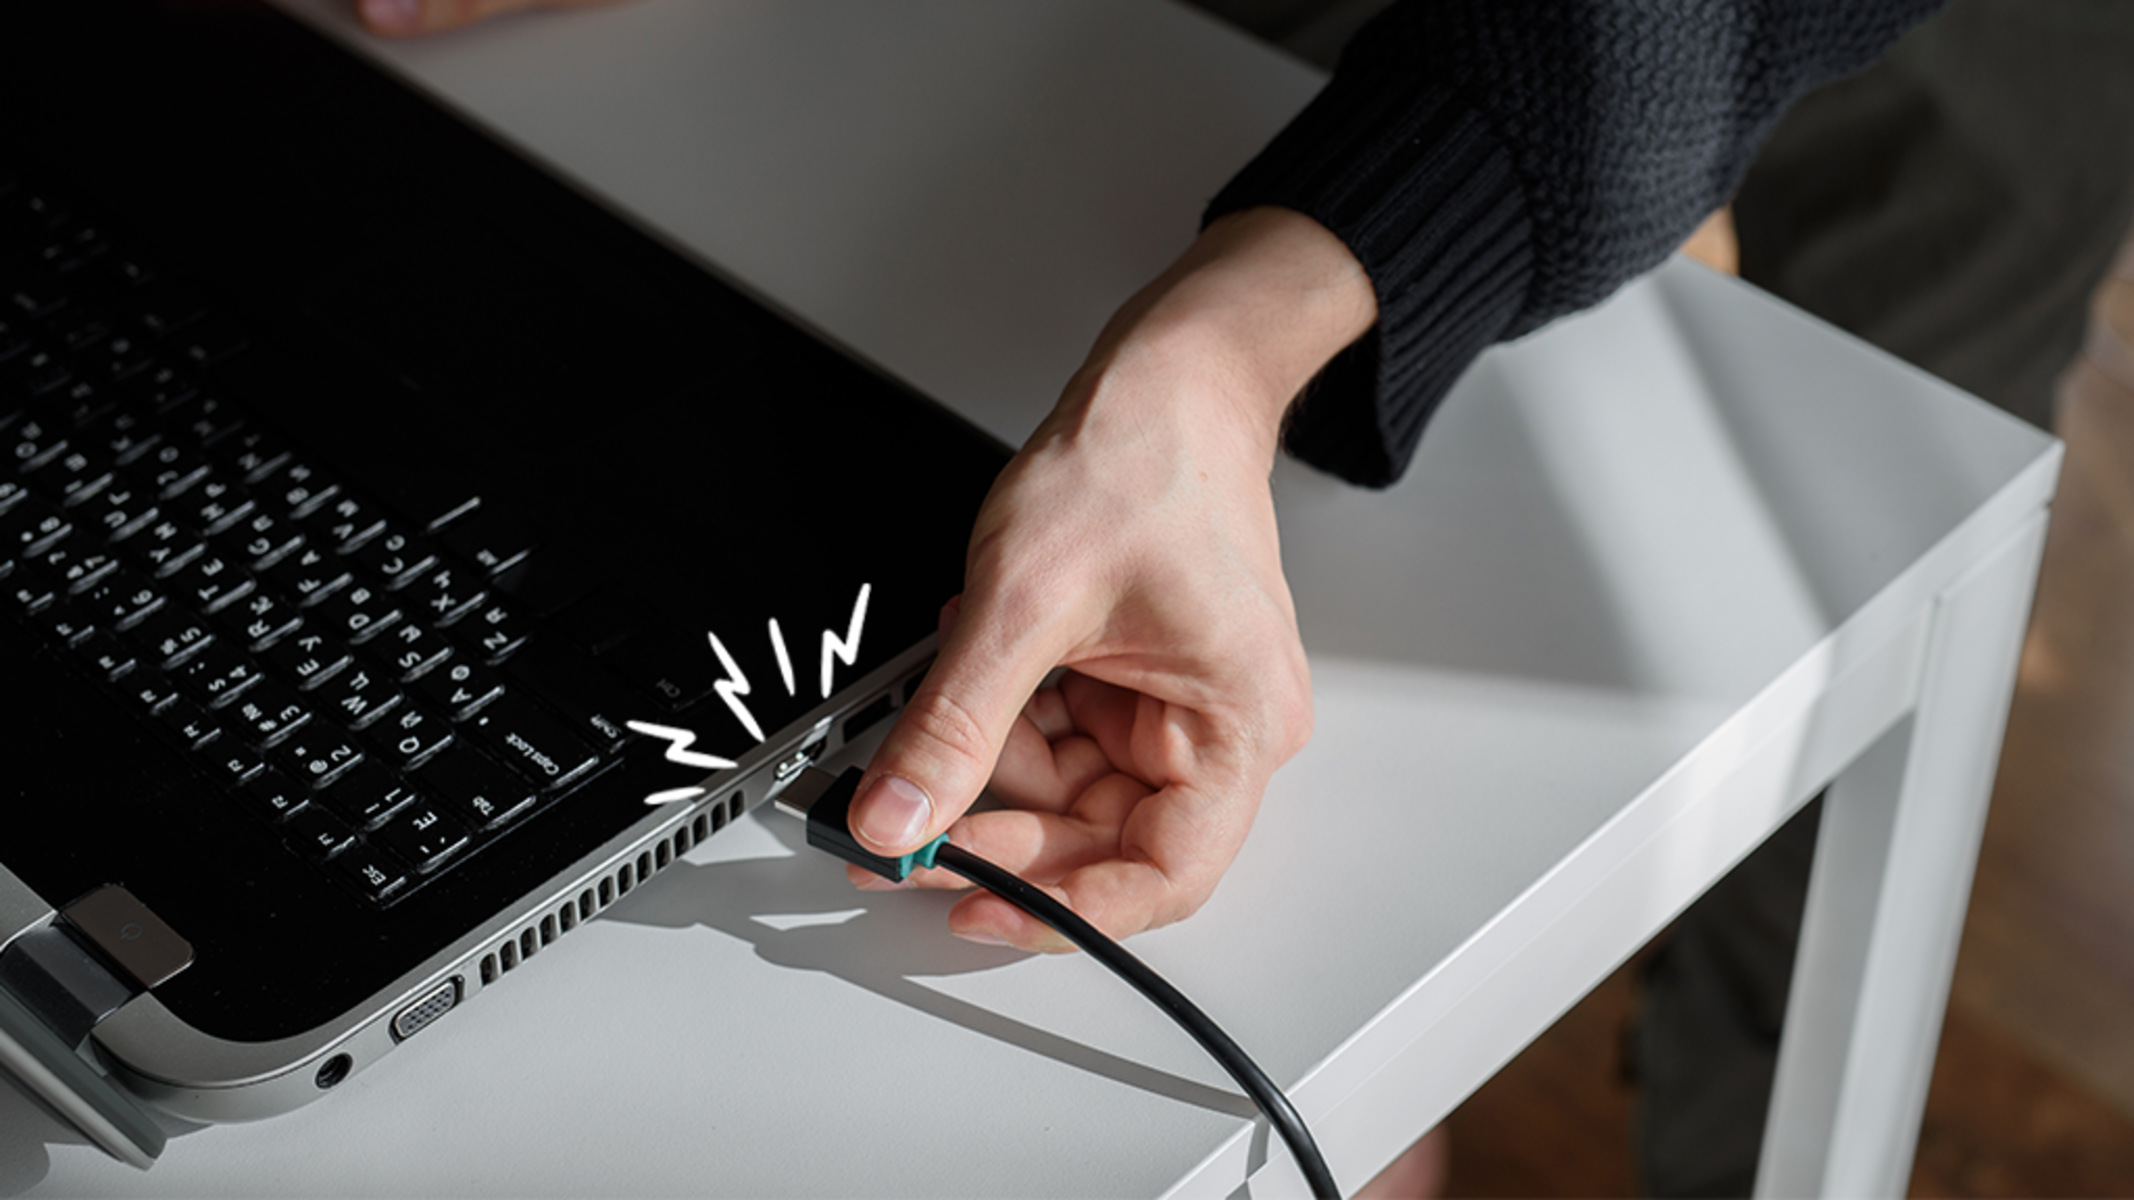
One of the first things to check when your HDMI port is not working is the HDMI cable itself. A faulty or damaged cable can often be the culprit behind the connectivity issues. Here are the steps to check your HDMI cable:
- Inspect the cable: Start by examining the HDMI cable for any visible signs of damage, such as cuts, bends, or frayed edges. If you find any physical damage, it’s likely that the cable needs to be replaced.
- Secure connections: Ensure that both ends of the cable are securely plugged into the HDMI ports on your devices. Sometimes, the cable may seem connected but is not fully inserted, leading to a weak or no signal. Gently push the cable in to ensure a snug connection.
- Try a different cable: If you have another HDMI cable available, it’s worth testing with that to rule out any issues with the current cable. Swap the cables and check if the problem persists. If the new cable works fine, it indicates that the original cable is faulty.
- Avoid cable extensions or adapters: If you are using cable extensions or adapters to connect your HDMI cable, there is a chance that they might be causing compatibility issues. Try connecting the HDMI cable directly without any extensions or adapters to see if that resolves the problem.
- Test with another device: Sometimes, the issue may not lie with the HDMI cable itself, but with the device you are connecting to. To determine if this is the case, try connecting the HDMI cable to a different device, such as another TV or computer monitor, and see if it works. If it does, it indicates that the problem lies with the original device.
By checking your HDMI cable and making sure it is in good condition and properly connected, you can eliminate any cable-related issues that may be causing the HDMI port to malfunction. If the problem persists even after checking the cable, don’t worry. There are still more troubleshooting steps to try. Let’s move on to the next section:
Check Your Display Settings
If your HDMI port is not working, it’s essential to check your display settings to ensure they are configured correctly. Incorrect display settings can cause compatibility issues and prevent the HDMI connection from functioning properly. Here’s what you need to do:
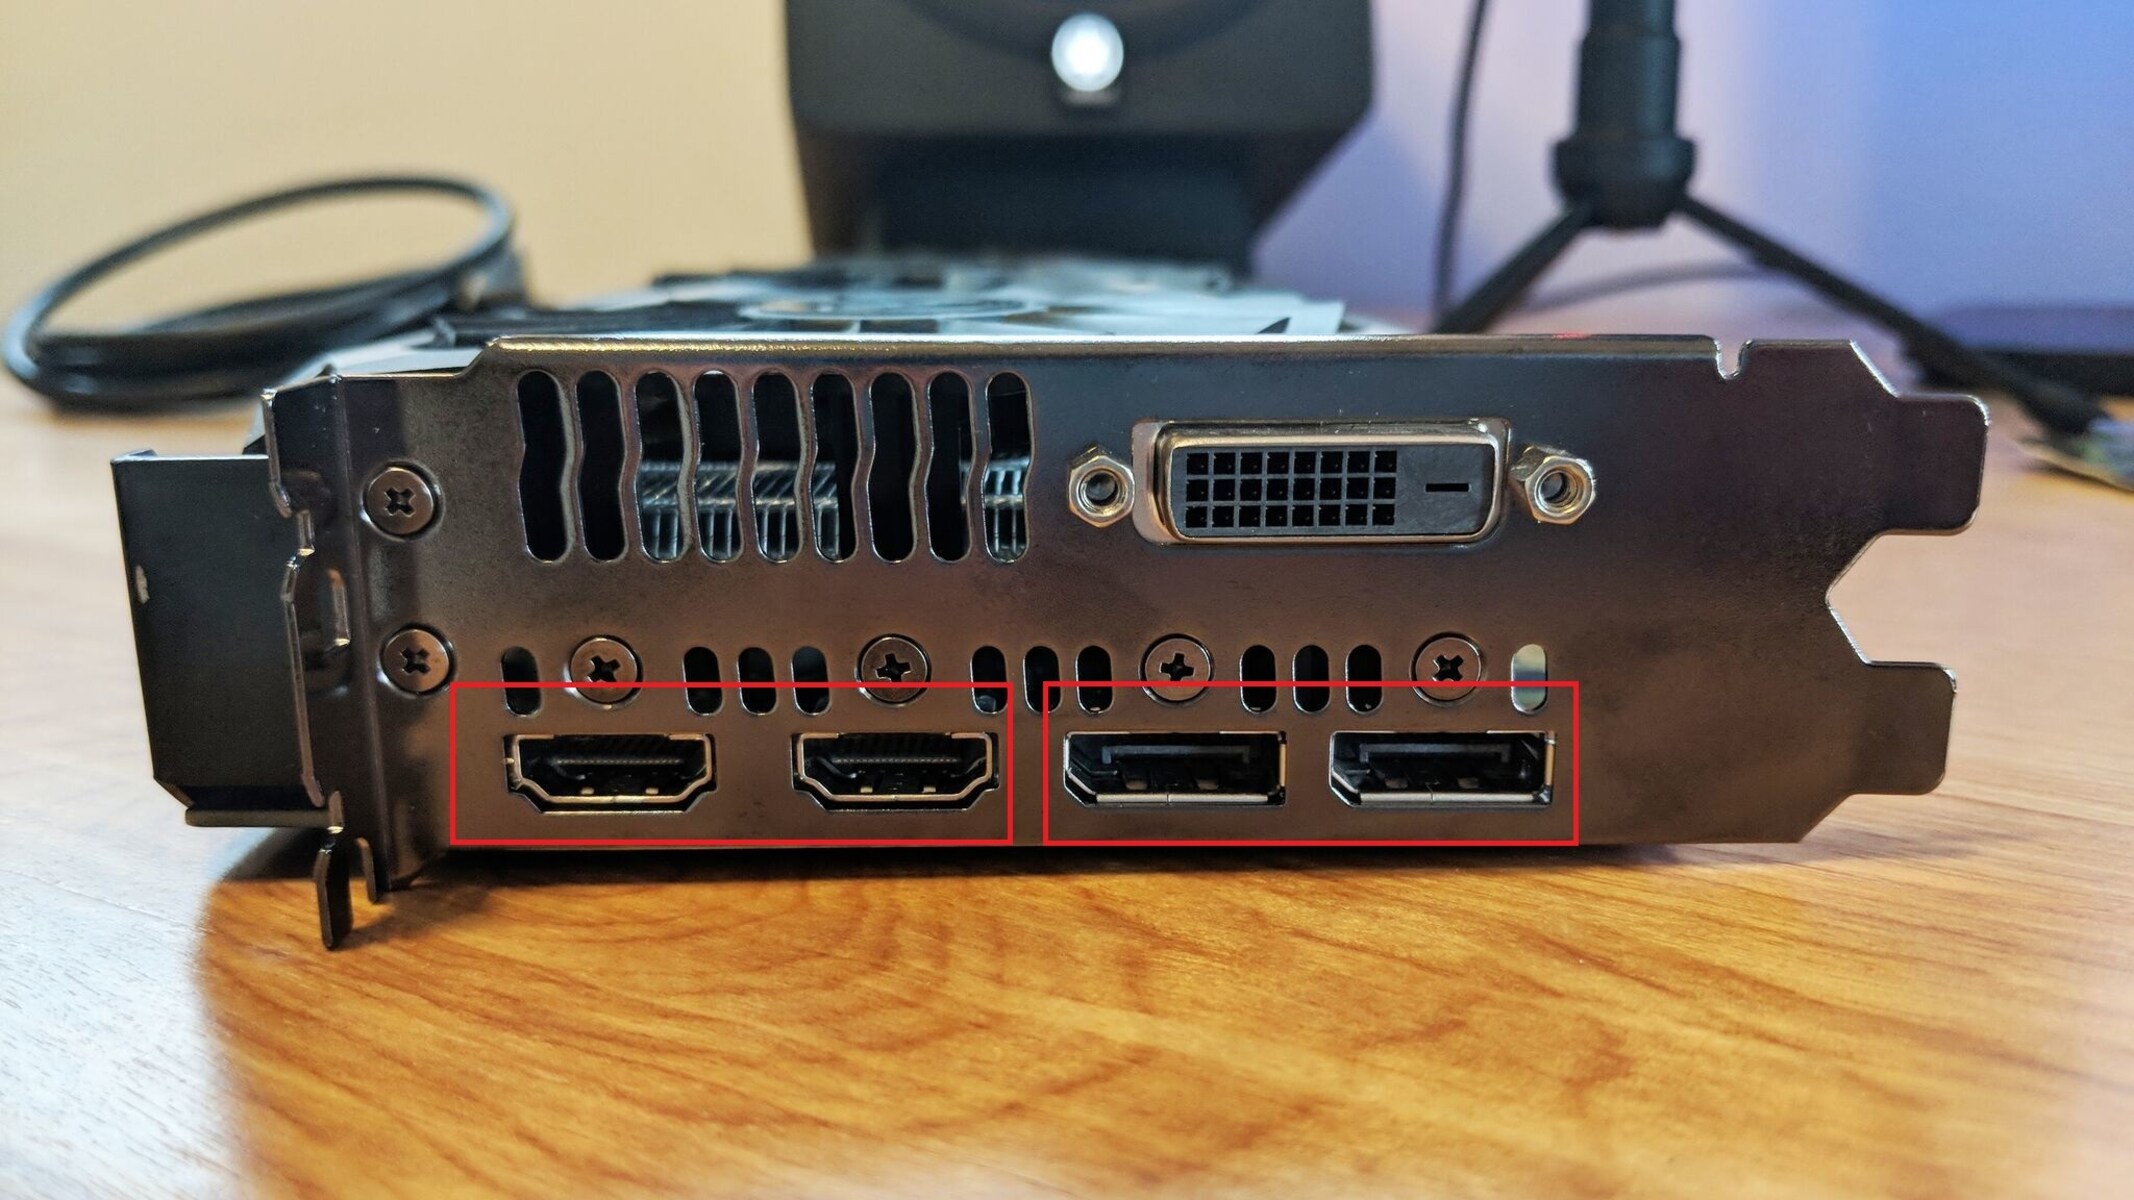
- Select the correct input source: Use your TV remote or monitor settings to ensure that the input source is set to the HDMI port you are using. Many TVs and monitors have multiple HDMI ports, so selecting the correct input source is crucial.
- Check display resolution: Ensure that the display resolution on your device matches the supported resolution of your TV or monitor. If the resolution is set too high or too low, it can lead to a black screen or distorted image. Adjust the resolution settings in the display settings menu and check if the HDMI port starts working.
- Verify refresh rate: Similar to resolution, the refresh rate should be compatible with your TV or monitor. Incompatible refresh rates might result in flickering or no display. Confirm that the refresh rate matches the recommended value for your display.
- Disable overscan: Some TVs have an overscan feature that zooms in the image slightly, cutting off the edges. This can sometimes cause issues with HDMI connections. In the display settings or picture settings menu, look for an option to disable overscan and check if it resolves the problem.
- Reset display settings: If you have made multiple changes to the display settings and are unsure if they are causing the issue, you can reset the display settings to their default values. This will revert any customizations and potentially resolve any conflicts that might be affecting the HDMI port.
By ensuring that the display settings are correctly configured, you can avoid compatibility issues and ensure a seamless HDMI connection. However, if the problem persists even after checking the display settings, it’s time to explore other troubleshooting methods. Let’s move on to the next section to continue our troubleshooting journey.
Update Your Graphics Card Driver
If your HDMI port is still not working, the issue may lie with the graphics card driver on your computer. Outdated or incompatible drivers can cause various connectivity problems, including HDMI port issues. Here’s how you can update your graphics card driver:
- Identify your graphics card: Start by identifying the make and model of your graphics card. You can find this information in the Device Manager on Windows or the System Information tool on macOS.
- Visit the manufacturer’s website: Once you have the information about your graphics card, visit the manufacturer’s website (such as NVIDIA, AMD, or Intel). Look for the support or driver section, and search for the appropriate graphics card driver based on your model and operating system.
- Download and install the latest driver: Download the latest driver software provided by the manufacturer for your specific graphics card model and operating system. Follow the instructions provided to install the driver on your computer.
- Restart your computer: After installing the updated graphics card driver, restart your computer to apply the changes. This helps ensure that the new driver is properly integrated into the system.
- Test the HDMI port: Once your computer restarts, test the HDMI port to see if it is working. Connect your HDMI cable to the port and check if the display now appears on your TV or monitor. If the issue was indeed caused by an outdated driver, updating it should have resolved it.
Updating your graphics card driver is a crucial step in troubleshooting HDMI port issues. It ensures that your computer can establish a stable and compatible connection with your display device. If updating the driver doesn’t fix the problem, don’t worry; there are still more troubleshooting steps to explore. Let’s move on to the next section and continue troubleshooting.
Test with Another Device
If your HDMI port is still not working, it’s time to determine whether the issue lies with the device you are connecting to the HDMI port or with the port itself. Testing with another device can help you identify the source of the problem. Here’s what you need to do:
- Choose a different device: Select another device that has an HDMI output, such as a laptop, gaming console, or another computer. Make sure this device is known to be working properly with an HDMI connection.
- Connect the HDMI cable: Use the same HDMI cable that you were using with the original device and connect it to the HDMI port on the new device.
- Power on the devices: Power on both the new device and the display device (TV or monitor) connected to the HDMI port.
- Select the correct input source: On your TV or monitor, switch the input source to the HDMI port that you connected the new device to.
- Check for signal: Observe the screen to see if the new device’s display appears on the TV or monitor. If you can see the display, it indicates that the HDMI port on your original device may have an issue. However, if there is still no signal, it suggests that the problem may lie with the HDMI port, the cable, or the TV/monitor itself.
Testing with another device allows you to isolate the problem and determine whether it is related to the specific device or the HDMI port itself. If the new device works without any issues, you may need to investigate further into the original device’s settings or consult with technical support. If the issue persists even with the new device, it’s advisable to explore the final troubleshooting step we’ll discuss in the next section.
Reset Your Display Settings
If you’ve tried all the previous troubleshooting steps and your HDMI port is still not working, it’s worth considering a reset of your display settings. Resetting the display settings can help resolve any conflicts or misconfigurations that might be causing the HDMI port issues. Here’s how to reset your display settings:
- Power off your devices: Turn off both the device connected to the HDMI port (e.g., your computer) and the display device (e.g., your TV or monitor).
- Unplug the HDMI cable: Disconnect the HDMI cable from both devices.
- Unplug the power cables: Unplug the power cables from both devices. This will completely power down the devices.
- Wait for a few minutes: Allow the devices to sit powered off for a few minutes. This helps clear any residual power and ensures a more thorough reset.
- Plug in the power cables: Reconnect the power cables to both devices and power them on.
- Reset the display settings: On your device (e.g., computer), navigate to the display settings and look for the option to reset to default or factory settings. Select this option to reset all display settings to their original values.
- Reconnect the HDMI cable: After resetting the display settings, reconnect the HDMI cable to the HDMI port on both devices.
- Power on the devices: Power on both devices and switch the input source on your display device to the HDMI port connected to your device.
- Check for signal: Verify if the display now appears on your TV or monitor. If the HDMI port is now working, it indicates that the issue was resolved by resetting the display settings.
Resetting your display settings can help in situations where there might be conflicting settings or misconfigurations causing the HDMI port to malfunction. However, if the issue persists even after resetting, it’s recommended to reach out to customer support or seek technical assistance for further troubleshooting.
Now that you’ve tried all the troubleshooting steps, you should have a better understanding of the possible causes behind your HDMI port not working. Remember, every situation may be unique, and the solutions provided here are general guidelines. It’s always a good idea to refer to your device’s user manual or contact customer support for device-specific troubleshooting steps.
Contact Customer Support
If you have exhausted all the troubleshooting steps and your HDMI port is still not working, it’s time to seek assistance from customer support. Customer support is equipped with the knowledge and expertise to help you resolve technical issues related to your specific device. Here’s how you can reach out to customer support:
- Visit the manufacturer’s website: Go to the website of the manufacturer of your device. Look for the “Support” or “Contact Us” section, where you can find contact information and ways to get in touch with customer support.
- Call or email customer support: Use the provided phone number or email address to contact customer support. Explain in detail the issue you are facing with your HDMI port and the troubleshooting steps you have already taken. The support team will guide you through any additional steps or arrangements for repair or replacement if necessary.
- Provide relevant information: To expedite the support process, ensure you have the device model, serial number, and any relevant purchase information readily available. This will help customer support assist you more efficiently.
- Follow their instructions: Customer support may provide further troubleshooting steps specific to your device or advise you on the best course of action. Be sure to follow their instructions carefully to resolve the HDMI port issue.
- Warranty and repair options: If your device is still within the warranty period, customer support will guide you through the warranty claim process. They may also provide information regarding repair options or any potential costs involved.
Remember, customer support is there to assist you and provide the necessary guidance to resolve your HDMI port issue. They have the expertise to handle device-specific problems and can offer practical solutions or determine if further technical intervention is required.
With the help of customer support, you will be able to navigate through the troubleshooting process and find a resolution to get your HDMI port working again.
Now that you have reached out for expert assistance, you can rest assured knowing that professionals are working towards resolving the issue. In the meantime, explore alternative ways to enjoy your multimedia content or consider using other available ports for connectivity.