Introduction
When it comes to managing the hardware components of your computer, the Device Manager is an invaluable tool. Whether you are troubleshooting an issue or simply interested in gaining insights into the devices installed on your system, Device Manager provides a comprehensive overview.
Device Manager is a built-in utility in Windows operating systems that allows users to view and control the hardware connected to their computer. It offers a centralized interface where you can access information about your devices, update drivers, disable or enable devices, and resolve conflicts.
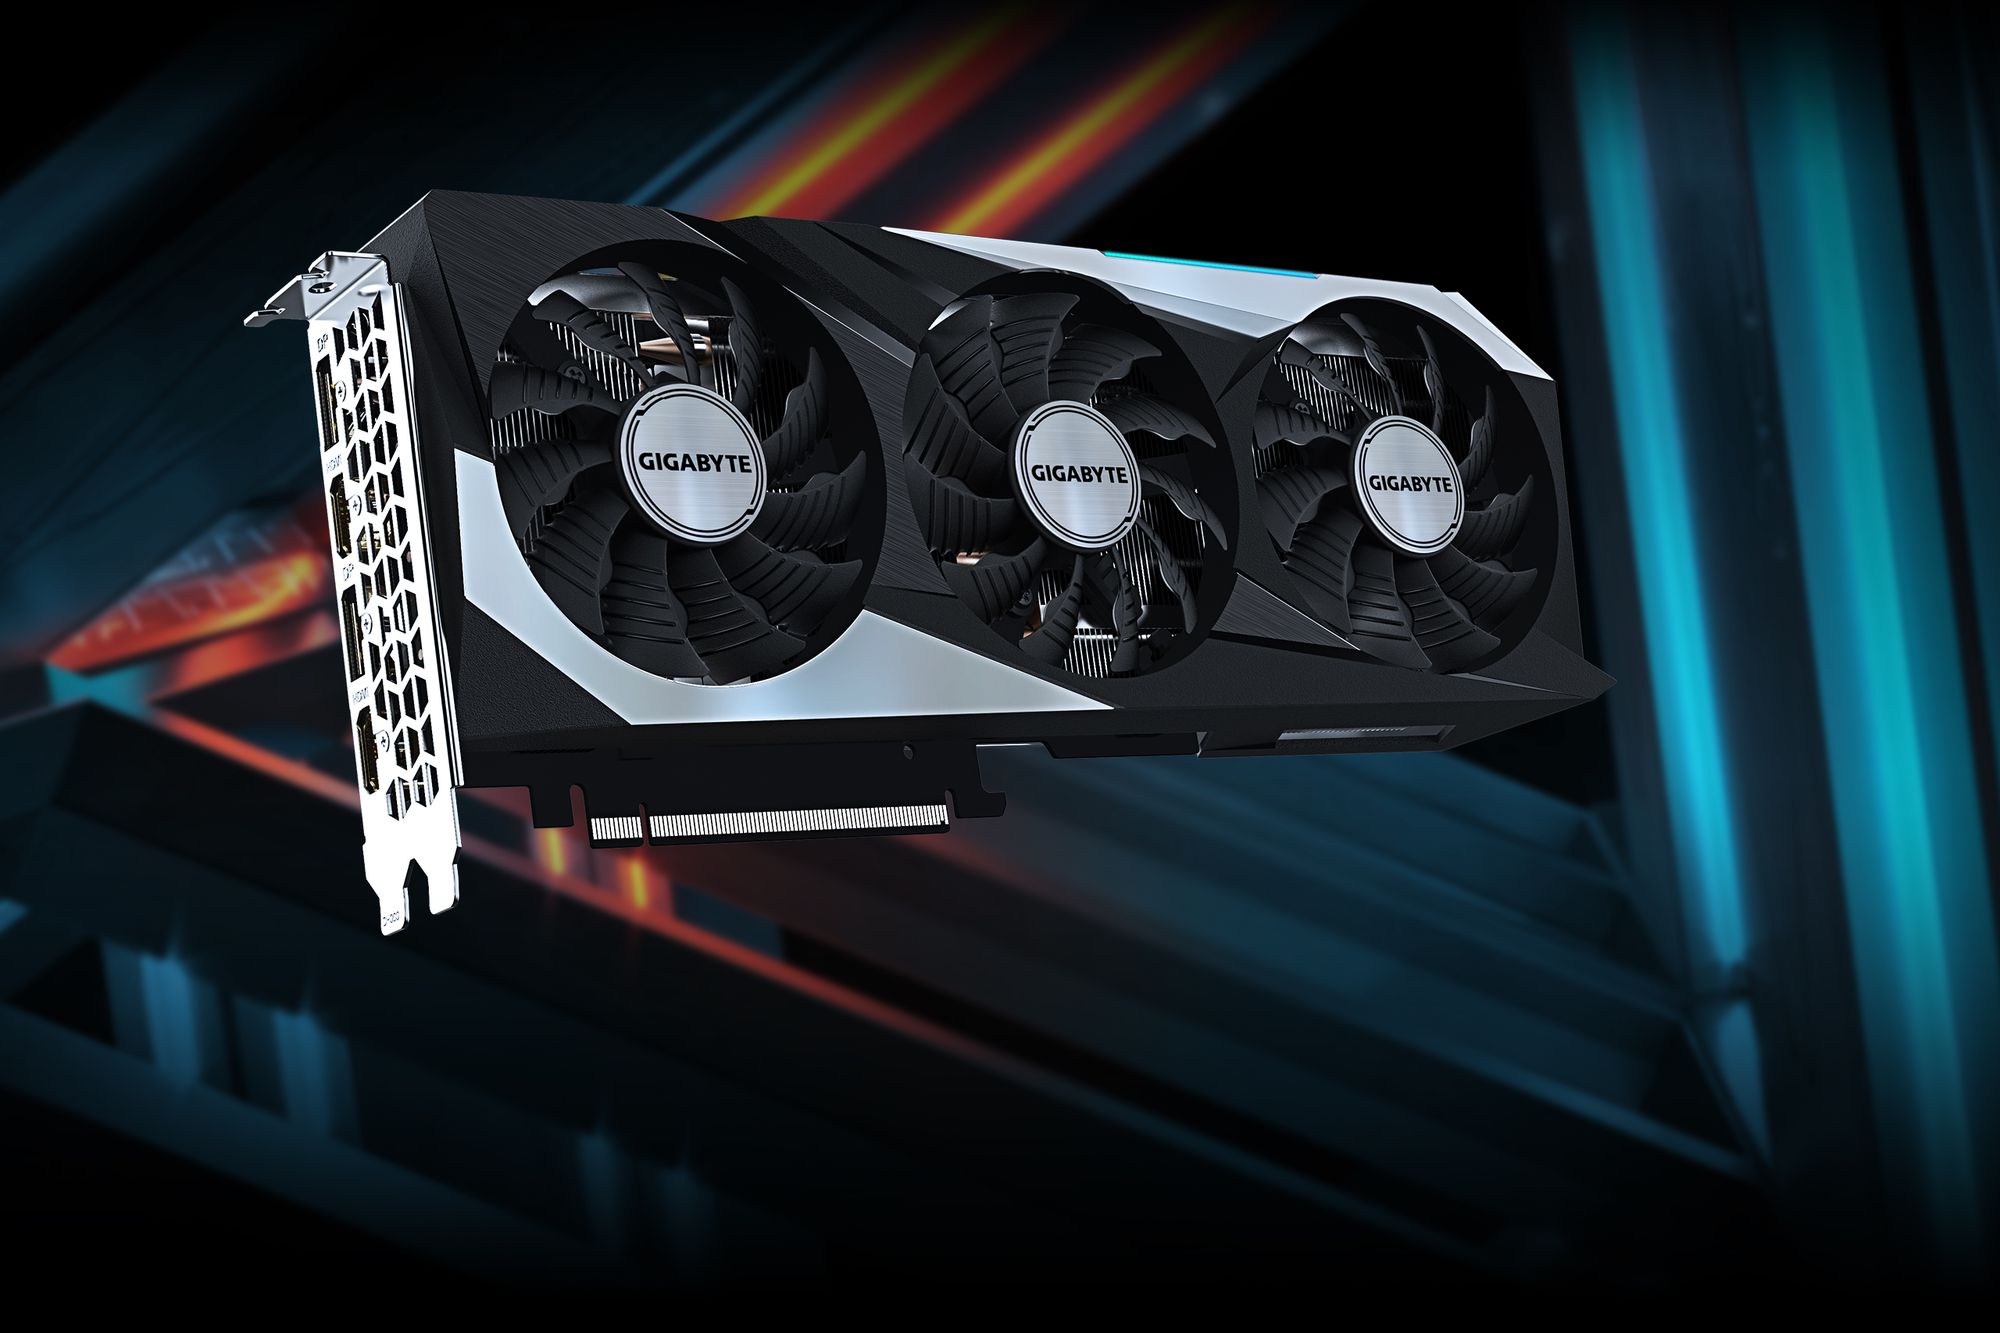
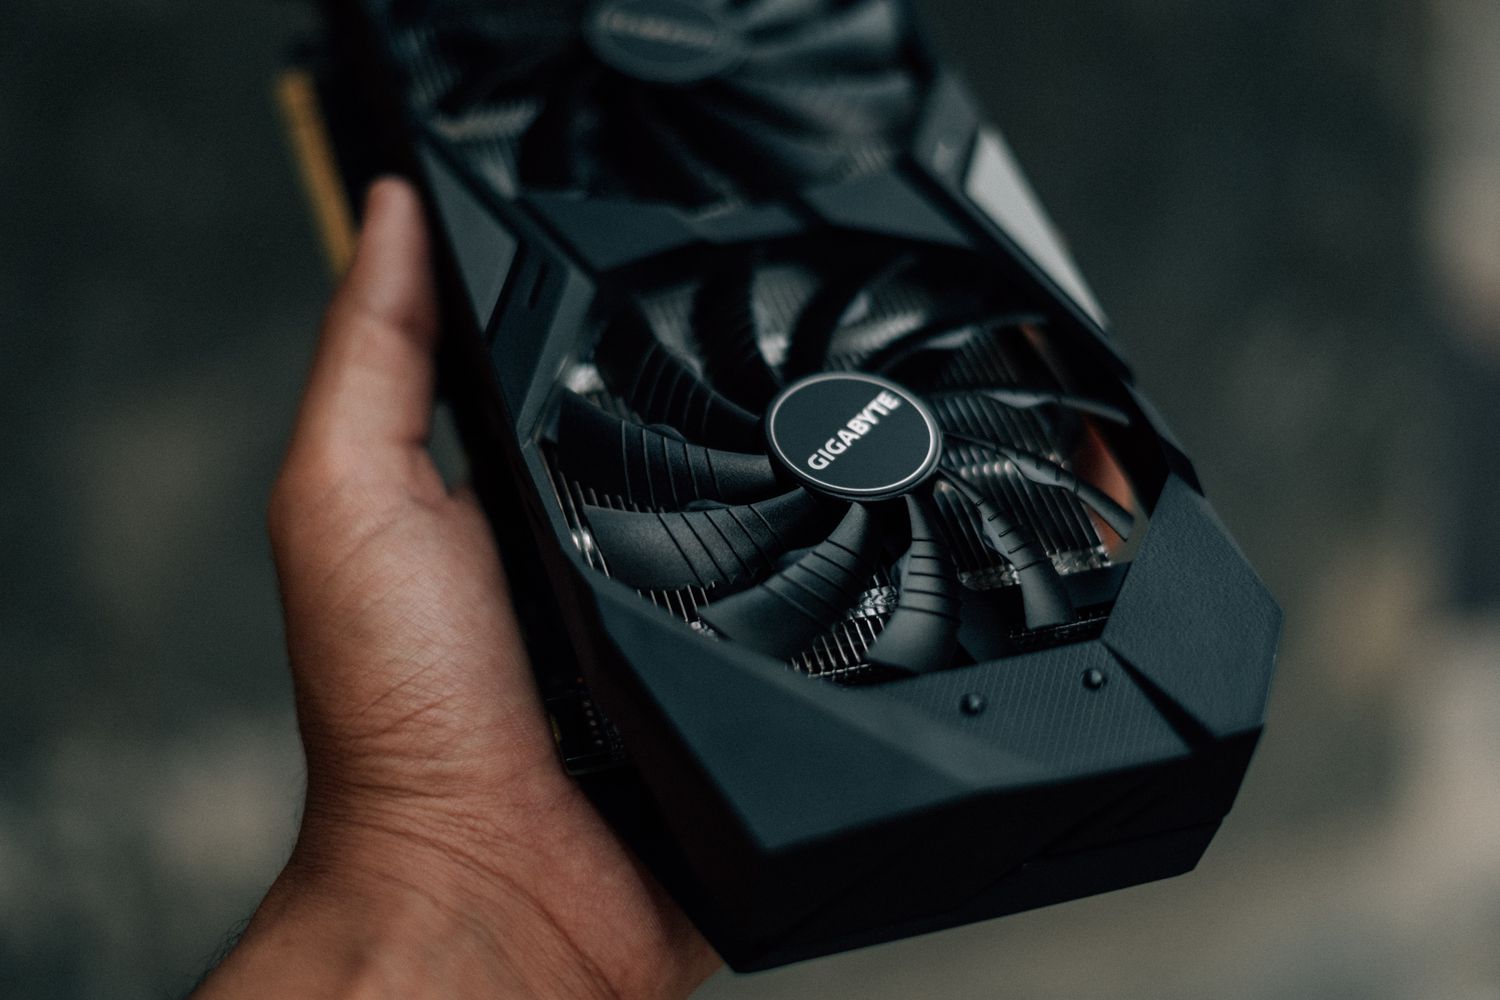
In this article, we’ll focus specifically on finding the Graphics Processing Unit (GPU) in Device Manager. The GPU, also known as the graphics card, is responsible for rendering images, videos, and animations on your monitor. It plays a crucial role in ensuring a smooth and visually appealing user experience.
By locating the GPU in Device Manager, you can verify if it is properly installed and functioning correctly. If you are experiencing issues with your graphics performance or need to update your GPU drivers, finding the GPU in Device Manager is the first step.
We’ll guide you through the process of accessing Device Manager and locating the GPU within the interface. Additionally, we’ll discuss some potential issues you might encounter and provide troubleshooting steps to address them. Let’s dive in and unveil the mysteries of the GPU in Device Manager!
What is Device Manager?
Device Manager is a powerful utility in the Windows operating system that allows users to manage and control the hardware devices connected to their computer. It provides a consolidated view of all the devices installed on your system, including network adapters, sound cards, printers, and more.
The primary purpose of Device Manager is to provide a centralized location for managing and troubleshooting hardware-related issues. It allows you to view detailed information about each device, update drivers, disable or enable devices, and resolve conflicts that may arise.
To access Device Manager, simply right-click on the “Start” button and select “Device Manager” from the context menu. Alternatively, you can press the Windows key + X and choose “Device Manager” from the menu that appears.
Once you open the Device Manager, you will be presented with a hierarchical list of device categories. By expanding each category, you can view the specific devices within it. Each device is represented by its name and icon, making it easy to identify and navigate.
Device Manager provides valuable information about each device, such as the device status, manufacturer, driver version, and more. This information can be particularly useful when troubleshooting hardware issues or verifying that the correct drivers are installed.
One of the main advantages of using Device Manager is the ability to update drivers. Drivers act as the intermediary between your hardware devices and the operating system, ensuring smooth communication and optimal performance. By keeping your drivers up to date, you can enhance the stability and functionality of your system.
Overall, Device Manager is an essential tool for any Windows user, whether you are a casual computer user or a seasoned IT professional. It provides a user-friendly interface for managing and troubleshooting hardware devices. In the next sections, we will focus specifically on locating the Graphics Processing Unit (GPU) within Device Manager and address potential issues you may encounter.
Where to Find the Device Manager
Locating the Device Manager in Windows is a straightforward process. There are a few different methods you can use to access it:
- Right-click on the “Start” button: One of the easiest ways to access Device Manager is by right-clicking on the “Start” button located at the bottom-left corner of the screen. In the context menu that appears, select “Device Manager.”
- Use the Windows key + X shortcut: Press the Windows key + X on your keyboard to open the Quick Link menu. From the menu, select “Device Manager” to open the utility.
- Search in the Control Panel: Type “Control Panel” in the search bar next to the Start menu. Open the Control Panel, then select “Device Manager” from the available options.
- Search in the Settings menu: Click on the Start menu and select the “Settings” icon (shaped like a gear). In the Settings menu, type “Device Manager” in the search bar. Click on the “Device Manager” result to open it.
Regardless of the method you choose, the Device Manager interface will appear in a new window. This window is divided into different sections, displaying the various device categories and subcategories.
If you’re using an older version of Windows, such as Windows XP or Windows 7, simply open the “Control Panel” and look for the “Device Manager” option. Once you locate and open Device Manager, the interface will be similar to the newer versions, providing access to your devices.
Now that you know where to find Device Manager, let’s move on to understanding its interface and navigating to the GPU category.
Understanding the Device Manager Interface
The Device Manager interface is designed to provide a straightforward and intuitive experience for users. Once you open Device Manager, you will be presented with a hierarchical list of device categories on your computer.
The main window consists of expandable categories, each representing a broader category of devices, such as “Display adapters,” “Network adapters,” “Sound, video, and game controllers,” and more.
To view the devices within a particular category, simply click on the arrow icon next to the category name. This will expand the category and reveal the individual devices it contains.
Each device is represented by its name and a corresponding icon. If a device has a problem or requires attention, an exclamation mark icon will accompany it. This can indicate issues such as outdated drivers, conflicts, or malfunctioning hardware.
When you select a specific device, its properties will be displayed in the lower pane of the Device Manager interface. Here, you can access detailed information about the device, such as the device status, location, driver version, and more.
One useful feature of Device Manager is the ability to update drivers. Right-clicking on a device and selecting “Update driver” will prompt Windows to search for the latest drivers online and install them if available. This ensures that your devices are equipped with the latest software enhancements and bug fixes.
Furthermore, Device Manager allows you to disable or enable specific devices. This feature can be handy when troubleshooting or when you want to deactivate a certain device temporarily.
By understanding the Device Manager interface, you can navigate through the different categories and access the properties and settings of your devices. Next, we’ll delve into locating the Graphics Processing Unit (GPU) within Device Manager.
Where to Locate the Graphics Processing Unit (GPU) in Device Manager
Locating the Graphics Processing Unit (GPU) within Device Manager is an essential step in verifying its presence and ensuring that it is functioning correctly. The GPU is responsible for rendering graphics and visuals on your computer, making it a critical component for tasks such as gaming, video editing, and graphic design.
To locate the GPU in Device Manager, follow these steps:
- Open Device Manager using one of the methods mentioned earlier.
- Expand the “Display adapters” category by clicking on the arrow icon next to it.
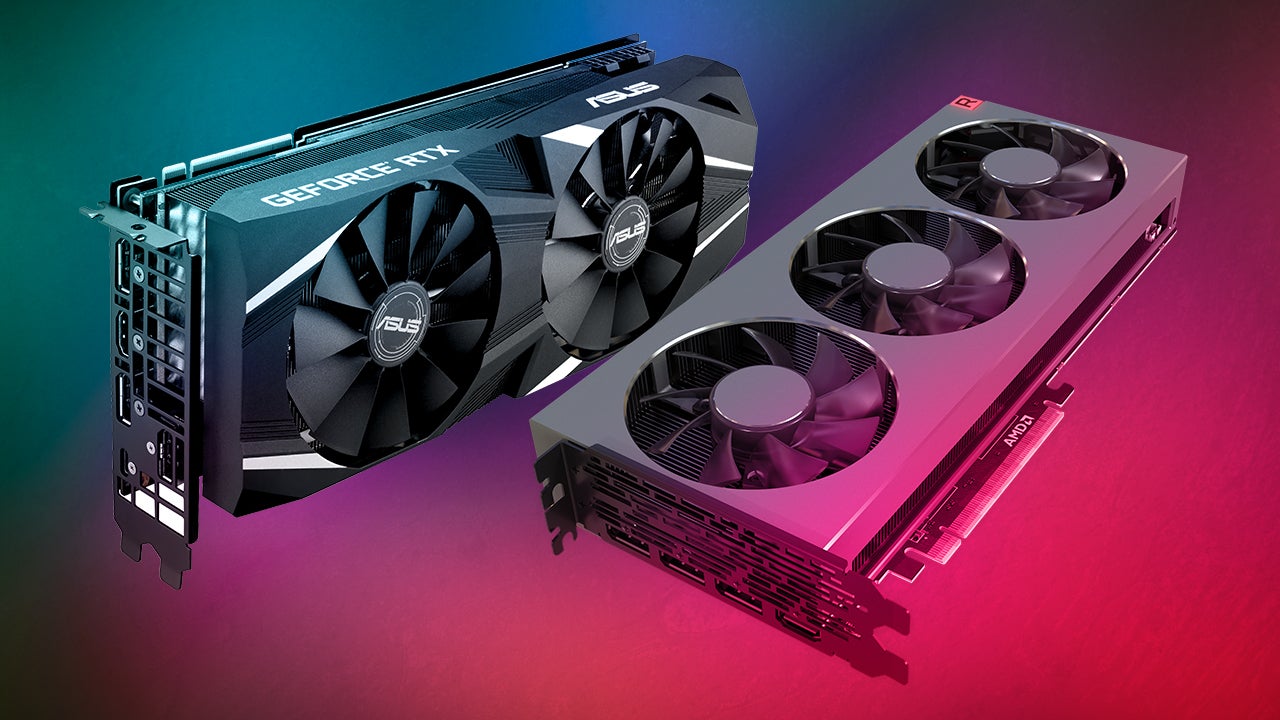
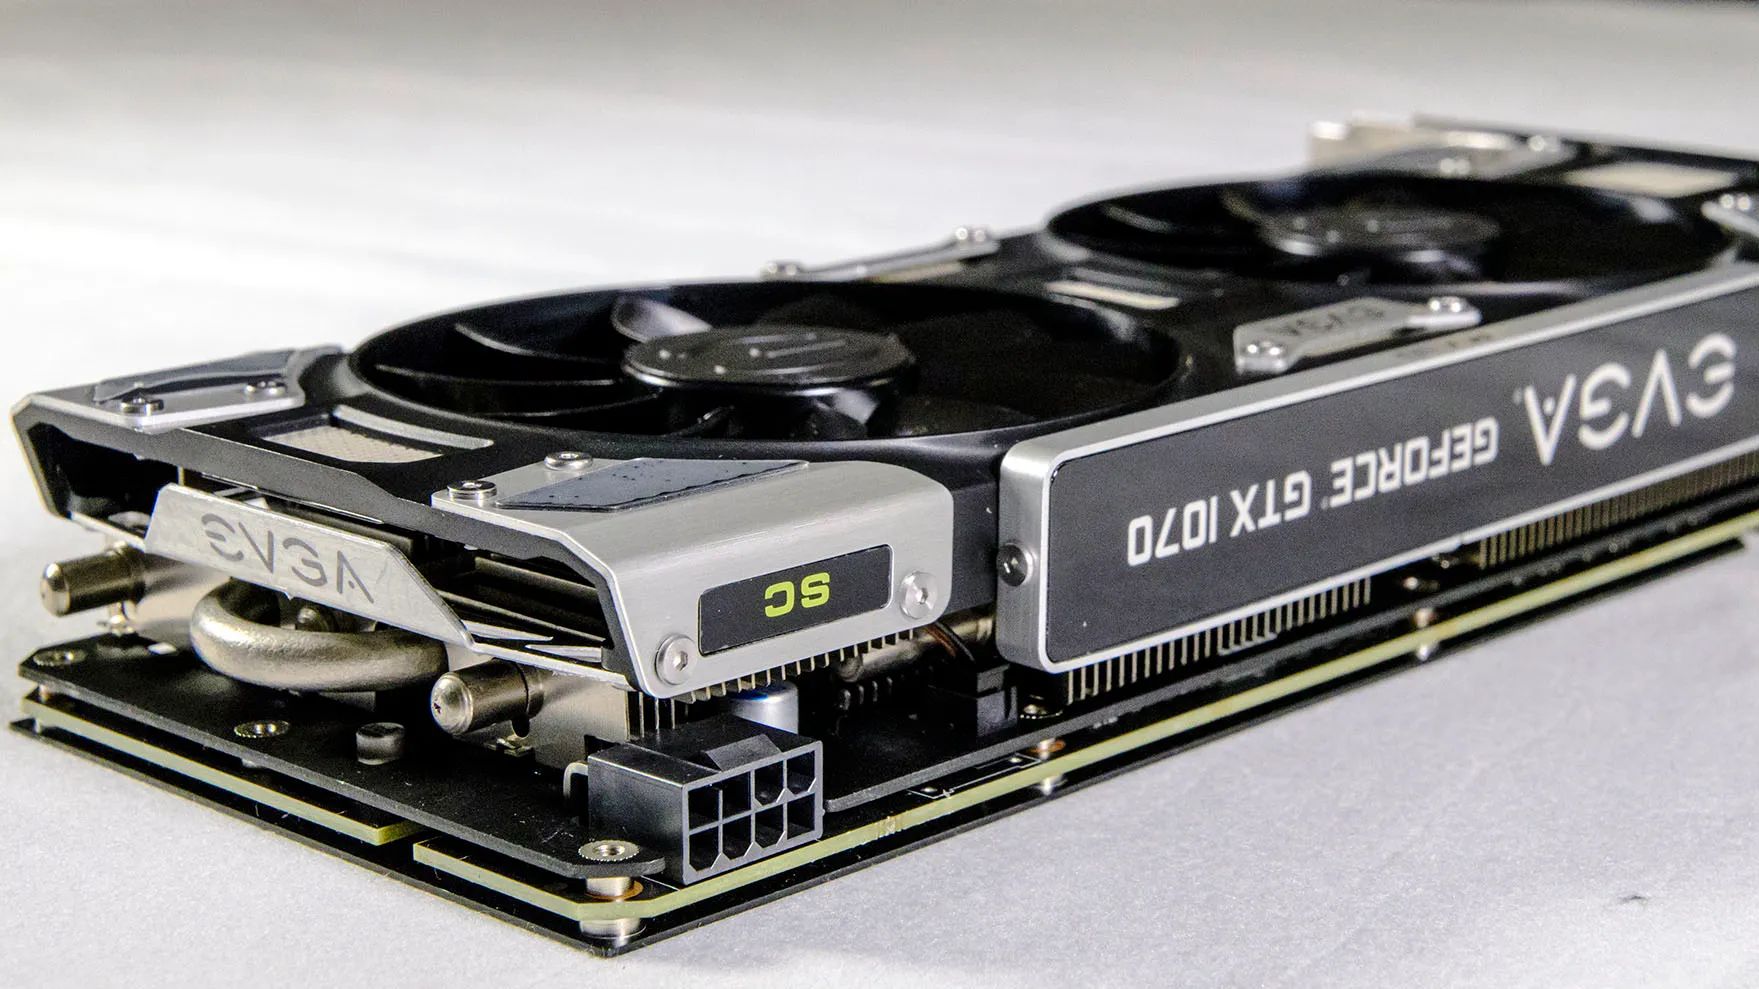
- The GPU(s) installed on your system will be listed beneath the “Display adapters” category. Each GPU will be represented by its name, such as “NVIDIA GeForce GTX” or “AMD Radeon RX.”
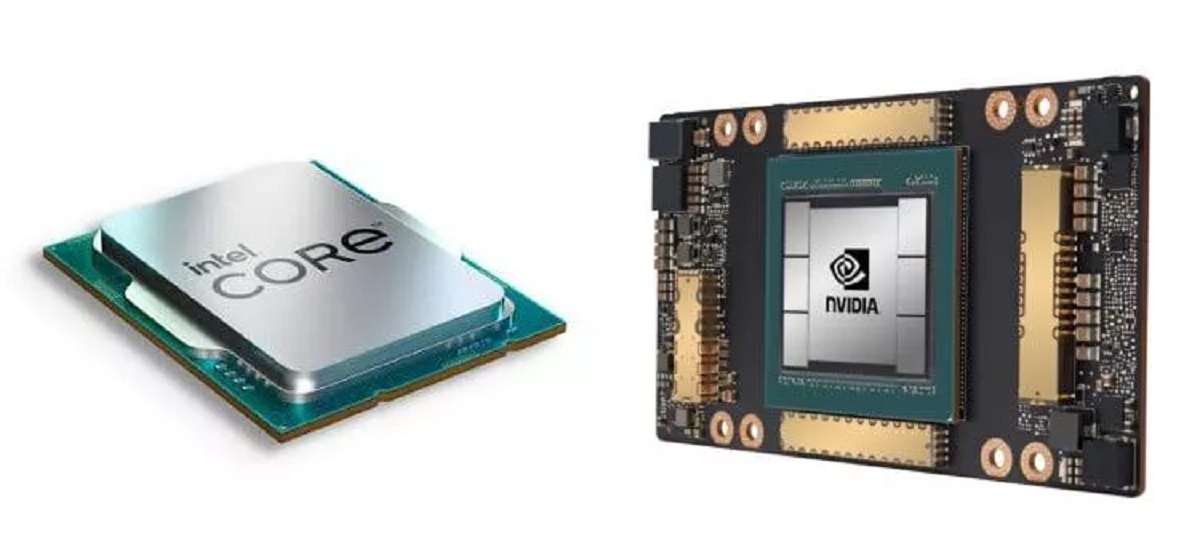
If you have multiple GPUs installed, they will all be listed separately. You might have integrated graphics, which will be listed alongside the dedicated graphics card. Integrated graphics are built-in to the motherboard and provide basic display capabilities. Dedicated graphics cards, on the other hand, offer higher performance and are typically used for demanding tasks.
By locating the GPU in Device Manager, you can confirm that it is recognized by the operating system. If you do not see any GPUs listed under “Display adapters,” there might be an issue with the installation or connection of the GPU. In such cases, refer to the troubleshooting steps we’ll discuss later in this article.
Now that you know where to find the GPU in Device Manager, let’s explore some potential issues you may encounter related to the GPU not showing up correctly.
Potential Issues with GPU in Device Manager
While Device Manager is a reliable tool for managing and troubleshooting hardware devices, you may encounter some issues related to the Graphics Processing Unit (GPU) not showing up correctly or functioning properly in Device Manager. Here are a few potential issues you might come across:
- Missing GPU: One common issue is when the GPU does not appear in the “Display adapters” category in Device Manager. This could indicate that the GPU is not properly installed, the drivers are not up to date, or there is a hardware or connection problem.
- Incorrect GPU Identification: Another issue you might encounter is when the GPU is listed but not correctly identified. For example, instead of displaying the specific GPU model, it may show up as a generic device or have an error message next to it.
- Yellow Exclamation Mark: A yellow exclamation mark icon next to the GPU in Device Manager suggests a problem or conflict, such as outdated drivers or hardware issues.
- Code 43 Error: Seeing a “Code 43” error message for the GPU in Device Manager indicates that Windows has stopped the device due to a reported problem. This could be caused by outdated drivers, incompatible hardware, or a malfunctioning GPU.
If you encounter any of these issues, it is essential to take the appropriate steps to address them and ensure that your GPU is functioning optimally. In the next section, we will discuss some troubleshooting steps to resolve these issues and get your GPU back on track in Device Manager.
Troubleshooting Steps for GPU Not Showing in Device Manager
If you are experiencing the issue of the Graphics Processing Unit (GPU) not showing up in Device Manager, try the following troubleshooting steps to resolve the issue:
- Check physical connections: Ensure that the GPU is properly installed in your computer and that all necessary power connections are securely connected. Sometimes, loose connections can prevent the GPU from being detected.
- Restart your computer: A simple restart can often resolve device recognition issues. Restart your computer and check if the GPU appears in Device Manager upon reboot.
- Update GPU drivers: Outdated or incompatible GPU drivers can prevent the GPU from being recognized in Device Manager. Visit the manufacturer’s website to download and install the latest drivers for your specific GPU model.
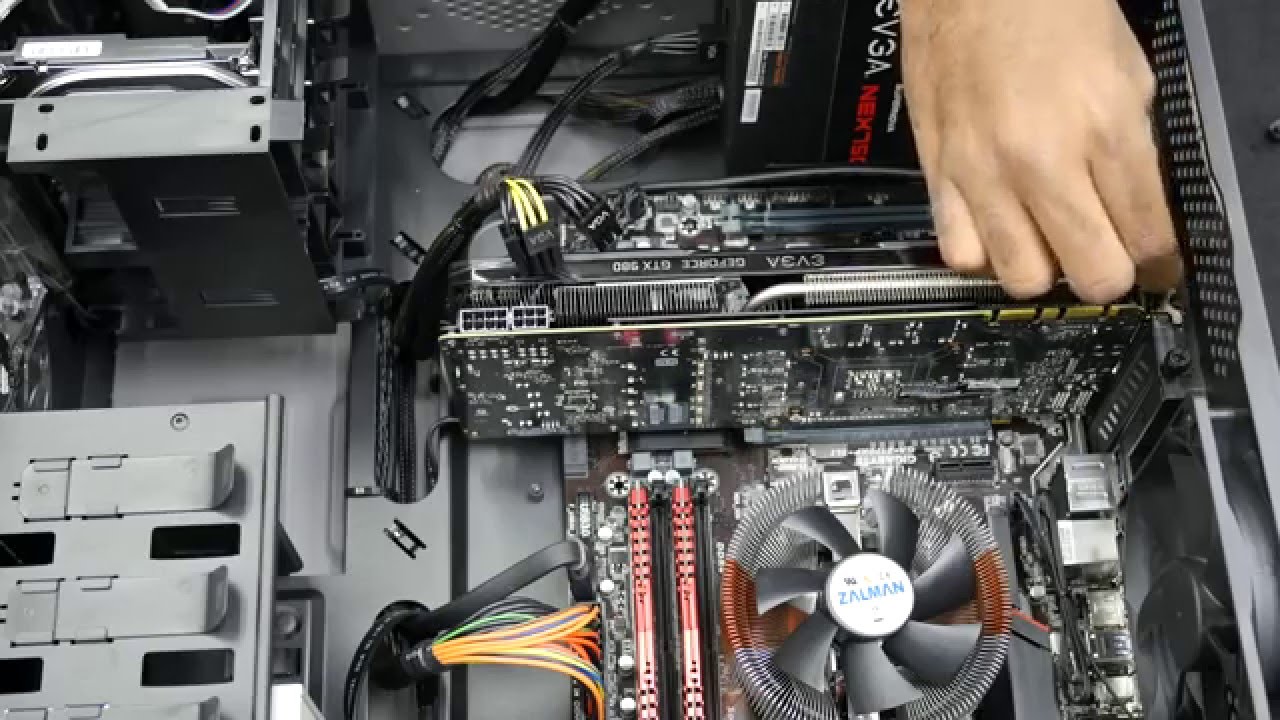
- Reseat the GPU: If you are comfortable working with hardware, you can try reseating the GPU in its slot. Turn off your computer, unplug it from the power source, open the case, carefully remove the GPU, and then reinsert it firmly into the slot.
- Disable integrated graphics: If your computer has both integrated graphics and a dedicated GPU, there may be conflicts between the two. Access your computer’s BIOS settings and disable the integrated graphics to force the system to recognize the dedicated GPU.
- Update Windows: Ensure that your operating system is up to date with the latest Windows updates. Sometimes, compatibility issues between the GPU and operating system can be resolved through updates.
- Check for hardware conflicts: In Device Manager, look for any other devices that might be conflicting with the GPU. Right-click on the conflicting device, select “Properties,” and try disabling or uninstalling it to see if that resolves the GPU recognition issue.
- Seek professional assistance: If none of the above steps resolve the issue, it may be beneficial to consult a computer technician or the manufacturer’s support for further assistance. They can diagnose the problem and provide specialized solutions.
By following these troubleshooting steps, you will significantly increase the chances of resolving the issue of the GPU not showing up in Device Manager. However, if the problem persists, it is recommended to seek professional help to identify and address any underlying hardware or software issues.
Conclusion
Device Manager is a powerful tool that allows you to manage and troubleshoot the hardware devices connected to your computer. Locating the Graphics Processing Unit (GPU) in Device Manager is essential for verifying its presence, ensuring proper functionality, and addressing any potential issues.
In this article, we explored the various steps involved in finding the GPU within the Device Manager interface. We discussed potential issues you may encounter, such as the GPU not showing up or not being correctly identified. Additionally, we provided troubleshooting steps to help you resolve these issues and get your GPU recognized in Device Manager.
Remember to check physical connections, update GPU drivers, and perform necessary hardware or software adjustments to address any GPU recognition problems. It is important to consult professional help if the issues persist or if you are uncomfortable performing advanced troubleshooting steps.
By successfully locating the GPU in Device Manager and addressing any related issues, you can ensure optimal graphics performance, whether you’re gaming, working with graphics-intensive applications, or simply enjoying a visually immersive experience on your computer.
Now that you’re equipped with the knowledge to navigate Device Manager and troubleshoot GPU-related issues, you can confidently manage and optimize the hardware devices on your computer. Keep exploring and learning to make the most out of your technology!


