Introduction
Building your own PC can be a rewarding and exciting experience. Whether you are a tech enthusiast, a gamer, or someone who wants more control over their computer’s specifications, building a PC allows you to customize and tailor it to your specific needs.
While buying a pre-built computer is undoubtedly convenient, it often comes with limitations such as limited upgrade options, unnecessary software, and higher costs. Building your own PC not only gives you the freedom to choose the components you want but also allows for future upgradability and flexibility.
But where do you start? With so many components and options available, it can be overwhelming for beginners. That’s why we’ve put together this guide to help you navigate the world of PC building and choose the right components for your needs.
In this article, we will discuss the essential components needed to build a PC, including the processor (CPU), motherboard, memory (RAM), storage, graphics card (GPU), power supply unit (PSU), cooling system, and computer case. We will also cover additional peripherals and accessories that can enhance your PC experience.
Whether you’re looking to build a gaming rig that can handle the latest titles, a high-performance workstation for demanding tasks, or a multimedia powerhouse for content creation, this guide will provide you with the knowledge and guidance to select the right components and build a PC that suits your needs and preferences.
So, if you’re ready to embark on this exciting journey and unleash your creativity, let’s dive in and discover what you need to build your own PC.
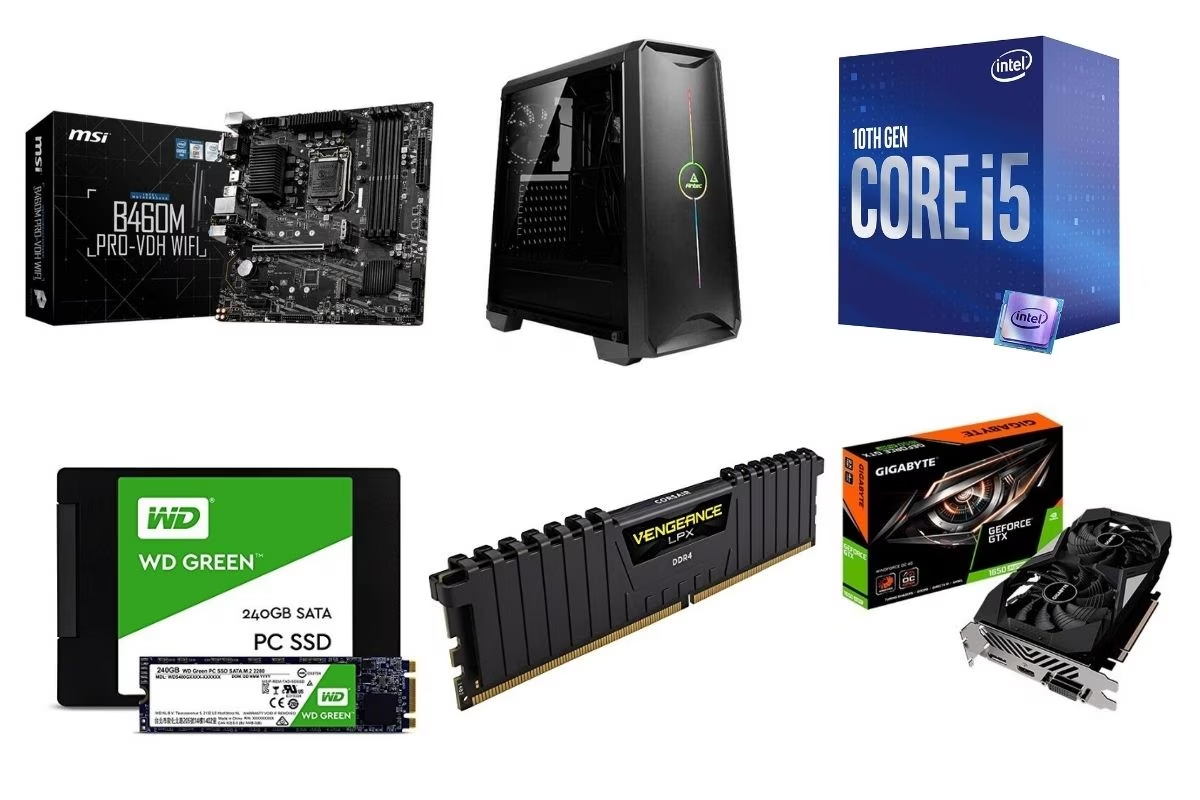
Choosing the Right Components
Before diving into the technical details of each component, it’s important to understand the role each one plays in your PC. Every component is vital for the overall performance and functionality of your system, so making the right choices is crucial.
First and foremost, consider your needs and budget. Are you building a PC for gaming, content creation, or everyday computing? Knowing your specific requirements will help you determine which components are most important for your build.
The processor, or CPU, is often referred to as the “brain” of your computer. It determines how well your PC can perform tasks and handle multitasking. When choosing a CPU, consider factors like the number of cores, clock speed, and compatibility with other components.
The motherboard is the main circuit board where all the components are connected. It determines the compatibility of other components, so make sure to choose a motherboard that supports the features and connectors you need, such as USB ports, expansion slots, and RAM slots.
Memory, or RAM, is responsible for storing and accessing data that your computer needs to perform tasks. The amount of RAM you need depends on the type of applications you use. For gaming and multitasking, 8GB to 16GB of RAM should suffice, while content creators might need 32GB or more.
Storage is where your operating system, programs, and files are stored. There are two main types: hard drives (HDDs) and solid-state drives (SSDs). HDDs offer more storage capacity at a lower cost, while SSDs are faster and more durable. Consider a combination of both for optimal performance and storage capacity.
The graphics card, or GPU, is crucial for gaming and tasks that require intensive graphics processing. It determines the quality and smoothness of visuals in games and other applications. Look for a GPU with sufficient VRAM and compatibility with your monitor’s resolution and refresh rate.
The power supply unit, or PSU, provides the necessary power to your components. Choose a PSU with sufficient wattage to handle your components’ power requirements and ensure stable performance.
A proper cooling system is essential for keeping your PC running smoothly and preventing overheating. Consider a combination of fans, heatsinks, and liquid cooling solutions to dissipate heat effectively.
The computer case houses and protects your components. Choose a case that accommodates your motherboard size, has sufficient airflow, and offers expandability for future upgrades.
Lastly, consider additional peripherals and accessories that can enhance your PC experience, such as a monitor, keyboard, mouse, speakers, and external storage.
By carefully selecting each component based on your needs, preferences, and budget, you can build a powerful, reliable, and future-proof PC that meets your specific requirements. Now that we have an overview of the components needed, let’s proceed to the next steps of actually building your PC.
Processor (CPU)
The processor, or central processing unit (CPU), is often considered the brain of your computer. It is responsible for executing instructions and performing calculations, making it a critical component when building a PC.
When choosing a CPU, there are a few key factors to consider: the number of cores, clock speed, cache size, and compatibility with other components.
The number of cores refers to the individual processing units within the CPU. A higher number of cores allows for better multitasking and faster performance, especially when running resource-intensive tasks or applications simultaneously. CPUs usually come with 2, 4, 6, or even more cores.
The clock speed, measured in gigahertz (GHz), indicates how fast the CPU can execute instructions. A higher clock speed means that the CPU can complete more operations per second. However, keep in mind that comparing clock speeds across different CPU models may not give you an accurate picture of their performance. It’s essential to consider other factors as well.
The cache size, also known as CPU cache, is a small amount of high-speed memory located directly on the CPU chip. It stores frequently accessed data to speed up processing and reduce latency. CPUs with larger cache sizes can handle data more efficiently, leading to better performance.
Compatibility is another crucial aspect when choosing a CPU. Ensure that the CPU you select is compatible with your chosen motherboard socket type. Common socket types include Intel’s LGA and AMD’s AM4.
When it comes to brands, the two leading players in the CPU market are Intel and AMD. Both offer a range of options catering to different needs and budgets.
Intel processors, known for their strong single-core performance, are often favored by gamers and users who prioritize high clock speeds. They offer a wide range of options, from budget-friendly choices to high-end CPUs for power users.
AMD processors, on the other hand, have gained significant popularity in recent years due to their excellent multi-core performance and competitive pricing. They offer a great value for their price and are typically preferred by content creators, video editors, and those who prioritize multitasking.
Ultimately, the choice between Intel and AMD comes down to your specific needs and budget. Consider the type of applications you’ll be running, your budget, and the overall compatibility with other components.
Remember to also factor in the power requirements of your chosen CPU. Higher-performance CPUs may require more power, so ensure that your power supply unit (PSU) can handle the load.
By carefully evaluating the number of cores, clock speed, cache size, compatibility, brand, and power requirements, you can choose a CPU that fits your specific requirements and build a PC that delivers optimal performance for your intended usage.
Motherboard
The motherboard is a vital component that acts as the backbone of your PC, connecting all the other components together. It serves as a platform for communication and coordination between the CPU, memory, storage, graphics card, and other peripherals. When building a PC, selecting the right motherboard is crucial for compatibility and future upgradability.
When choosing a motherboard, there are several key factors to consider:
- Form Factor: The form factor determines the physical size and layout of the motherboard. Common form factors include ATX, micro ATX, and mini ITX. Ensure that the motherboard you choose matches the case you plan to use, as different cases support specific form factors.
- Socket Type: The socket type dictates the compatibility of your chosen CPU. Intel CPUs use LGA sockets, while AMD CPUs use AM4 sockets. Make sure to select a motherboard with the correct socket type for your CPU.
- Chipset: The chipset is responsible for managing data flow between various components on the motherboard. It affects the motherboard’s features, performance, and compatibility. Ensure that the chipset on your chosen motherboard supports the features you require, such as USB ports, PCIe slots, and RAM capacity.
- Expansion Slots: Consider the number and type of expansion slots available on the motherboard. These slots allow you to add additional components in the future, such as a sound card, Wi-Fi card, or capture card. Common expansion slots include PCIe and PCI slots.
- RAM Slots: The number of RAM slots on the motherboard determines the maximum memory capacity you can install. Consider your memory needs and the future potential for memory upgrades when selecting a motherboard.
- Connectivity: Take into account the connectivity options provided by the motherboard, such as USB ports (both USB 2.0 and USB 3.0), Ethernet ports, audio ports, HDMI or DisplayPort for video output, and any additional headers for front panel connectors, such as USB or audio.
- Storage Options: Consider the number and type of storage connectors available on the motherboard. Look for SATA connectors for traditional hard drives and SSDs, as well as M.2 slots for high-speed NVMe SSDs.
- BIOS/UEFI: The motherboard’s BIOS or UEFI (Unified Extensible Firmware Interface) is responsible for initializing the hardware and booting the operating system. Check for a user-friendly BIOS/UEFI interface that provides easy access to settings and updates.
Additionally, consider the reputation and support provided by the motherboard manufacturer. Look for reviews and customer feedback to ensure reliability and quality.
Remember to also evaluate the power delivery on the motherboard, as this can impact stability, especially for high-performance CPUs. Higher-end motherboards often have superior power delivery systems to handle demanding CPUs.
By carefully considering the form factor, socket type, chipset, expansion slots, RAM slots, connectivity options, storage connectors, BIOS/UEFI, and power delivery, you can select a motherboard that meets your requirements and provides a solid foundation for your PC build.
Memory (RAM)
Memory, commonly known as RAM (Random Access Memory), is a critical component of any computer system. RAM allows your computer to store and quickly access data that is needed by the CPU while running applications or performing tasks. Choosing the right amount and type of RAM is essential for the performance and responsiveness of your PC.
When selecting RAM for your PC build, consider the following factors:
- Capacity: RAM capacity is measured in gigabytes (GB). The amount of RAM you need depends on the type of applications you use and your computing requirements. For everyday computing and light multitasking, 8GB to 16GB of RAM is generally sufficient. However, if you engage in content creation, video editing, or gaming, consider opting for 32GB or more for optimal performance.
- Type: There are different generations and types of RAM available, such as DDR3 and DDR4. DDR4 is the current standard and offers faster speeds and lower power consumption compared to DDR3. Ensure that the RAM you choose is compatible with your motherboard’s memory slots.
- Speed: RAM speed, measured in megahertz (MHz), determines how fast data can be read from and written to the memory. Higher RAM speeds can lead to improved performance, especially in tasks that require frequent memory access, such as gaming and content creation. However, keep in mind that the actual performance gain may vary depending on the specific applications and CPU.
- Latency: RAM latency, also known as CAS latency, measures the delay between the CPU requesting data and the memory module accessing and providing that data. Lower latency results in faster data retrieval and can contribute to overall system responsiveness. Consider lower latency RAM modules for better performance.
- Compatibility: Ensure that the RAM you choose is compatible with your motherboard and its supported memory specifications. Refer to your motherboard’s manual or manufacturer’s website for a list of compatible RAM modules and supported configurations.
It’s important to note that RAM speed alone does not guarantee better performance. The benefits of faster RAM speeds are most evident in scenarios where the CPU and other components are capable of utilizing the increased bandwidth effectively.
Before purchasing RAM, consider the specific requirements of the applications you’ll be running. If you engage in memory-intensive tasks like video editing or 3D rendering, higher-capacity RAM modules with faster speeds can significantly improve application performance and load times. Gaming enthusiasts may also benefit from faster RAM speeds to enhance frame rates and overall gaming experience.
Additionally, keep in mind that most modern motherboards utilize dual-channel or quad-channel memory configurations. To take full advantage of this, install RAM modules in pairs or groups of four, depending on your motherboard’s specifications.
Remember to properly configure your RAM settings in your motherboard’s BIOS/UEFI for optimal performance. Enabling XMP (Extreme Memory Profile) or equivalent settings can automatically set the correct frequency and timings for your RAM.
By carefully considering the capacity, type, speed, latency, and compatibility of your RAM modules, you can ensure smooth multitasking, faster data access, and optimal performance from your PC.
Storage (Hard Drive or SSD)
When it comes to storage, you have two main options to consider: traditional hard disk drives (HDDs) and solid-state drives (SSDs). Both offer unique advantages and considerations, so choosing the right storage solution for your PC build depends on your needs and budget.
Let’s take a closer look at each option:
- Hard Disk Drives (HDDs): HDDs have been the standard storage solution for decades. They use spinning magnetic platters to store and retrieve data. HDDs offer larger capacity options at a lower cost per gigabyte compared to SSDs. If you need a significant amount of storage space for your files, games, or media, HDDs are a cost-effective choice. However, they are slower in terms of data transfer speeds and access times compared to SSDs.
- Solid-State Drives (SSDs): SSDs have gained popularity in recent years due to their faster performance and reliability. Unlike HDDs, SSDs use flash memory to store and retrieve data, resulting in significantly faster transfer speeds and quicker access times. This means that your applications will load faster, your system will boot quicker, and your file transfers will be swift. SSDs are especially beneficial for gamers and content creators who require fast read and write speeds. However, SSDs typically have smaller capacities compared to HDDs and tend to be more expensive per gigabyte.
When considering storage for your PC build, you can choose between using a single type of storage or incorporating both HDDs and SSDs for a balanced setup.
A common configuration is to use a smaller-capacity SSD as your primary drive, where you install the operating system and frequently accessed applications for faster boot times and snappier performance. You can then supplement it with a larger-capacity HDD for storing files, games, and media that don’t require the same level of speed.
Alternatively, if you prefer the performance and can afford it, you can opt for larger-capacity SSDs to accommodate all your storage needs. This ensures a consistent level of fast performance across all your applications and data.
Additionally, consider other factors such as form factor (2.5-inch, M.2), interface (SATA, PCIe), and the manufacturer’s reputation and warranty when selecting your storage drives.
Ultimately, choosing the right storage for your PC depends on your specific needs, budget, and priorities. Assess your storage requirements in terms of capacity, speed, and cost, and decide on the type of storage solution or combination that best suits your workflow and usage patterns.
Graphics Card (GPU)
The graphics card, also known as the GPU (Graphics Processing Unit), is a crucial component for gamers, content creators, and anyone who requires intensive graphics processing. A powerful GPU can handle complex visual calculations, deliver stunning graphics in games, and accelerate rendering processes for multimedia tasks. When selecting a graphics card for your PC build, several factors should be considered.
Here are key factors to consider when choosing a graphics card:
- Performance: Graphics card performance is typically measured by the model number and specifications. Look for models with higher numbers, such as the NVIDIA GeForce RTX 3080 or AMD Radeon RX 6800 XT, for top-tier performance. Consider the card’s core count, clock speed, and memory type and size to assess performance capabilities.
- VRAM (Video RAM) Size: VRAM is dedicated memory on the graphics card used for storing and accessing data related to graphics and textures. Higher VRAM sizes, such as 8GB or 16GB, allow for smoother performance at higher resolutions and better handling of graphics-intensive tasks.
- Compatibility: Ensure that the graphics card you select is compatible with your motherboard’s PCIe slots and power supply. Check the card’s physical dimensions and power requirements to ensure it fits within your system’s constraints.
- Connectivity: Consider the available video outputs on the graphics card and ensure they match the inputs on your monitor or display. Common outputs include HDMI, DisplayPort, and DVI. Additionally, consider if you require multiple monitors or support for high resolutions and refresh rates.
- Brand and Customer Support: Reputation and customer support are essential considerations when selecting a graphics card brand. Brands like NVIDIA and AMD offer reliable products with frequent driver updates, optimizations, and support for the latest technologies and games.
- Cooling and Design: Graphics cards generate heat, so it’s important to consider the cooling solution and design. Look for models with efficient cooling systems, such as multiple fans or liquid cooling, to keep temperatures in check and maintain optimal performance. Additionally, aesthetics and physical design may be important factors for users who desire a visually appealing PC build.
It’s crucial to assess your specific needs when choosing a graphics card. If you’re a gamer, consider the types of games you play and their recommended system requirements. If you work on video editing or 3D modeling, focus on cards that excel in those areas.
Keep in mind that graphics cards come in a wide range of prices, catering to different budgets. While high-end cards offer exceptional performance, mid-range and budget options can still provide excellent gaming experiences and multimedia performance for those with more limited budgets.
Lastly, as technology advances rapidly in the GPU market, be sure to research and read reviews to keep up with the latest releases and performance benchmarks. This will help you make an informed decision and ensure your chosen graphics card meets your expectations for gaming or professional applications.
Power Supply Unit (PSU)
The power supply unit (PSU) is often overlooked but plays a crucial role in your PC build. It provides the necessary power to all components and ensures stable and reliable operation. Selecting the right PSU is important to maintain system integrity and prevent potential damage.
Here are key considerations when choosing a PSU:
- Power Output: The power output of the PSU is measured in watts (W) and determines the maximum amount of power it can deliver to your components. Calculate the total power requirements of your system by considering the power draw of your CPU, graphics card, and other components. Aim to choose a PSU with enough headroom to accommodate future upgrades.
- Efficiency: PSU efficiency refers to how effectively it converts power from the wall outlet into usable DC power for your components. Look for PSUs certified with 80 Plus ratings, such as 80 Plus Bronze, Silver, Gold, or Platinum, which indicate higher levels of efficiency. A more efficient PSU not only consumes less electricity but also generates less heat and operates more quietly.
- Cable Management: Consider whether you prefer a modular, semi-modular, or non-modular PSU. Modular PSUs allow you to detach and connect only the cables you need, reducing cable clutter inside your system and improving airflow. Semi-modular PSUs have partially detachable cables, while non-modular PSUs have all cables permanently attached.
- Connectors and Compatibility: Ensure that the PSU has the necessary connectors to support your components. Check for the required motherboard power cables (usually a 24-pin ATX connector), CPU power cables (4-pin or 8-pin), and PCIe power connectors for graphics cards. Additionally, consider any specific connectors required for storage drives and peripherals.
- Brand and Quality: Stick to reputable PSU brands known for their quality and reliability. Brands like Corsair, EVGA, SeaSonic, and Thermaltake, to name a few, have solid reputations in the PSU market. Research customer reviews and professional evaluations to gauge the reliability and performance of different PSU models.
- Noise Level: Consider the noise level of the PSU, especially if you prefer a quieter PC. PSUs with larger fans tend to be quieter, as they can spin at lower RPMs while still providing sufficient cooling. Look for PSUs with built-in fan controls or “quiet mode” options if noise is a concern.
- Warranty: Check the warranty provided by the PSU manufacturer. A longer warranty period is indicative of the manufacturer’s confidence in their product’s quality and can provide you with peace of mind.
When selecting a PSU, it’s essential to ensure that it provides enough power for your build while considering efficiency, cable management, compatibility, brand reputation, noise level, and warranty. Choosing an inadequate or low-quality PSU can result in instability, system crashes, or even component damage.
Remember to also consider future upgrades and any additional power requirements that might arise. Investing in a reliable, high-quality PSU from the start can save you from potential headaches and expenses down the line.
Always err on the side of caution and choose a PSU with slightly higher wattage than what is absolutely necessary for your current system. This provides headroom for upgrades and ensures that the PSU operates within a comfortable load range for better efficiency and longevity.
Cooling System
The cooling system is a crucial component in any PC build, as it ensures that your computer runs at optimal temperatures and avoids overheating. Effective cooling is essential for maintaining the longevity and performance of your system. When choosing a cooling solution, consider the following options:
- Fans: Case fans are the most common cooling solution and come in various sizes. They circulate air throughout the case, expelling hot air and bringing in fresh air. Look for fans with higher airflow ratings (measured in cubic feet per minute or CFM) and static pressure for better cooling performance.
- Heatsinks: Heatsinks are passive cooling solutions that use metal fins and heat pipes to dissipate heat from components such as the CPU or GPU. They rely on airflow generated by case fans or CPU/GPU fans to cool the components. Consider aftermarket heatsinks for CPUs or graphics cards to improve thermal performance, particularly if you plan to overclock.
- Liquid Cooling: Liquid cooling, also known as all-in-one (AIO) liquid coolers or custom water cooling loops, use a combination of a liquid coolant and radiator to dissipate heat. AIO liquid coolers are relatively easy to install and offer better cooling performance than air coolers. Custom water cooling loops provide the best cooling performance, but they require more expertise and maintenance.
When selecting a cooling system, consider the size and layout of your case. Ensure that there is sufficient space for the cooling solution you choose, as different cases support different fan sizes or radiator configurations.
It’s important to maintain a balanced airflow within your case. A common configuration is to have intake fans at the front or bottom of the case, pulling in cool air, and exhaust fans at the rear or top, expelling hot air. This promotes efficient heat dissipation and prevents hot air pockets from forming.
Another factor to consider is noise level. Look for case fans or liquid coolers with low noise ratings if you prefer a quieter system. Consider fans with adjustable fan curves or semi-passive operation, which only spin up when necessary, to strike a balance between cooling performance and noise levels.
Lastly, keep in mind that regular maintenance is essential to keep your cooling system functioning optimally. Cleaning dust filters, removing dust buildup on fans and heatsinks, and reapplying thermal paste periodically are necessary to ensure efficient heat transfer and airflow.
By carefully selecting and configuring the cooling system for your PC build, you can effectively control temperatures, prevent overheating, and ensure the longevity and stability of your components.
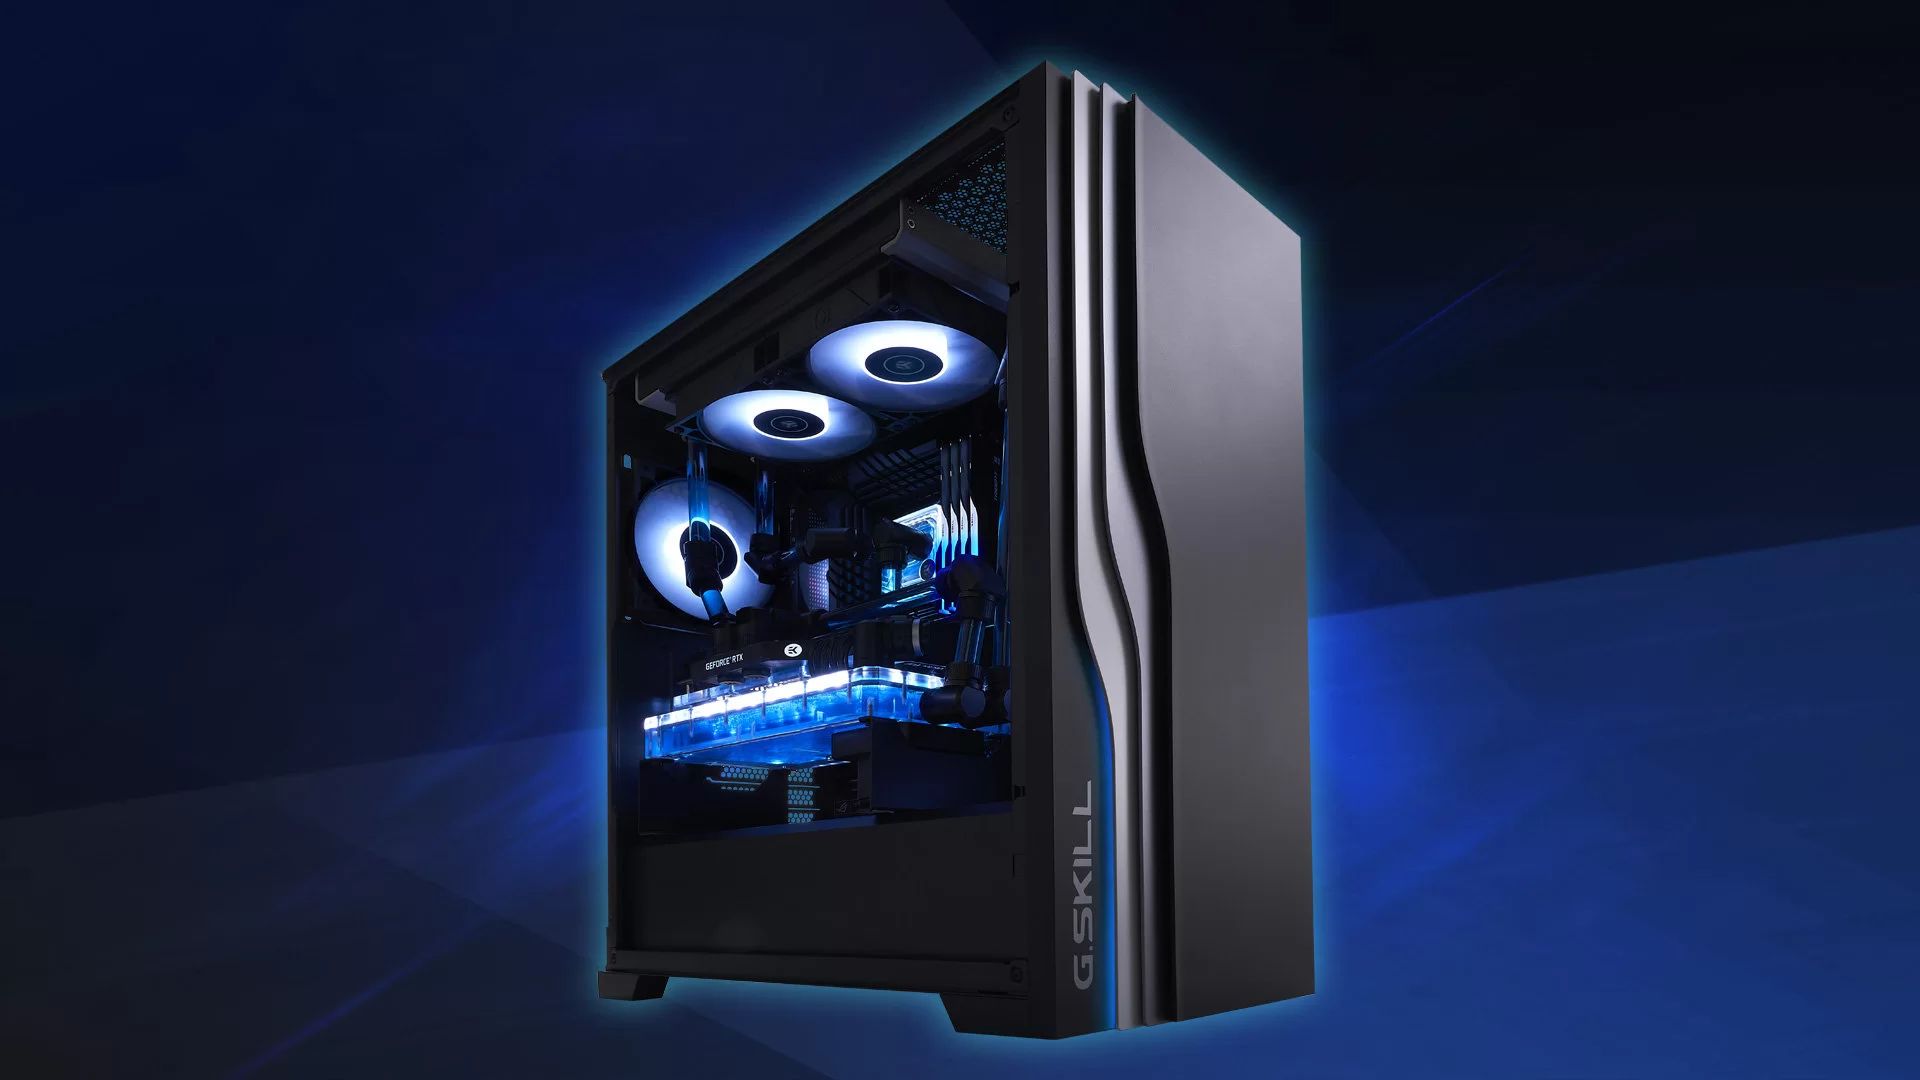
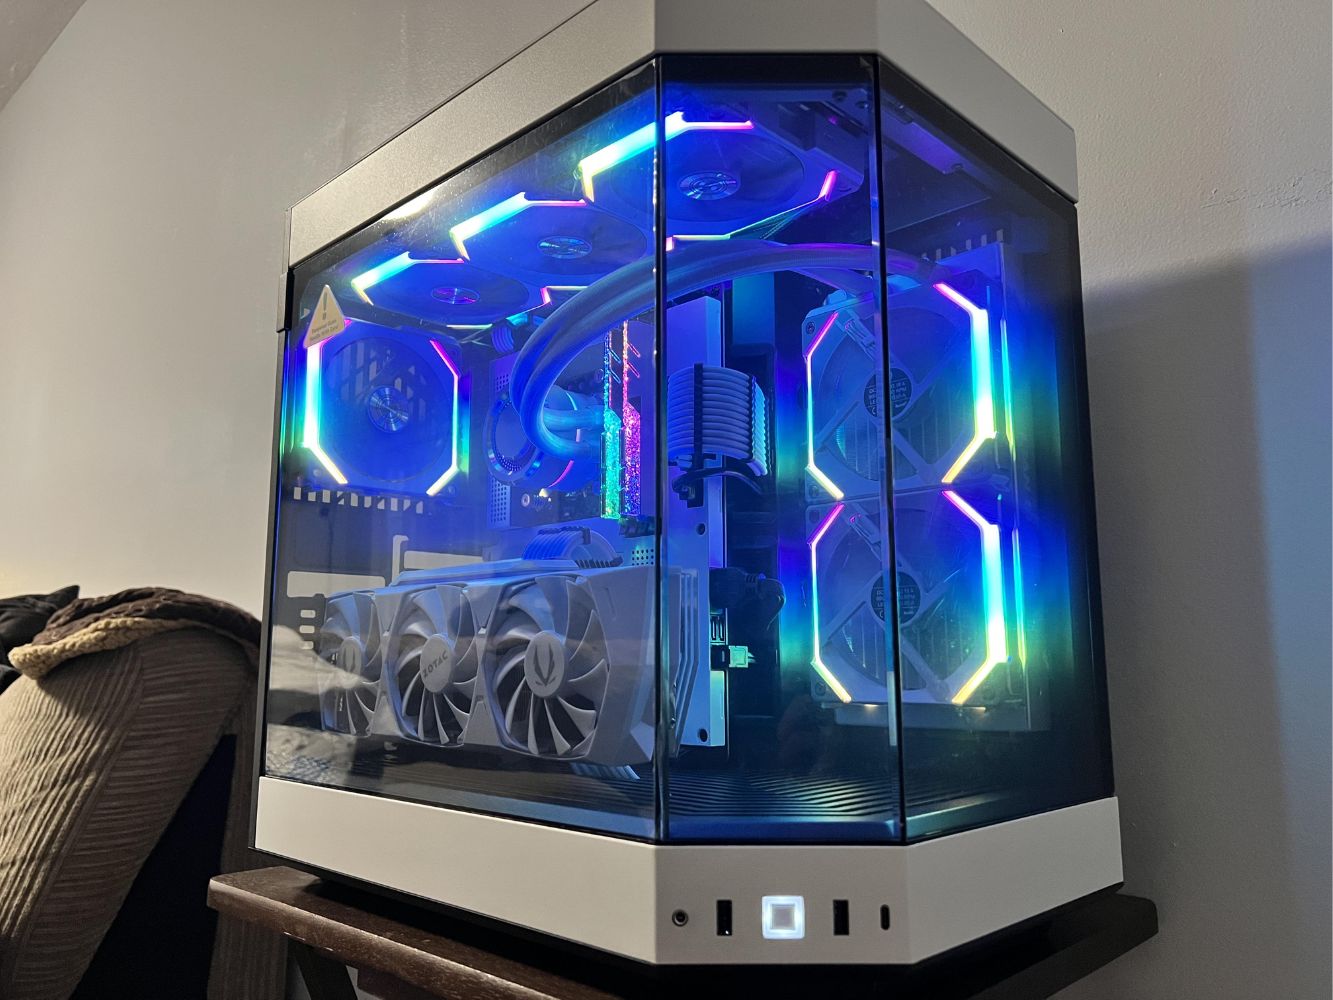
Computer Case
The computer case, often referred to as the chassis, is an important component that houses and protects all the other components of your PC build. It not only provides physical protection but also affects airflow, cable management, and the overall aesthetic of your system. When choosing a computer case, consider the following factors:
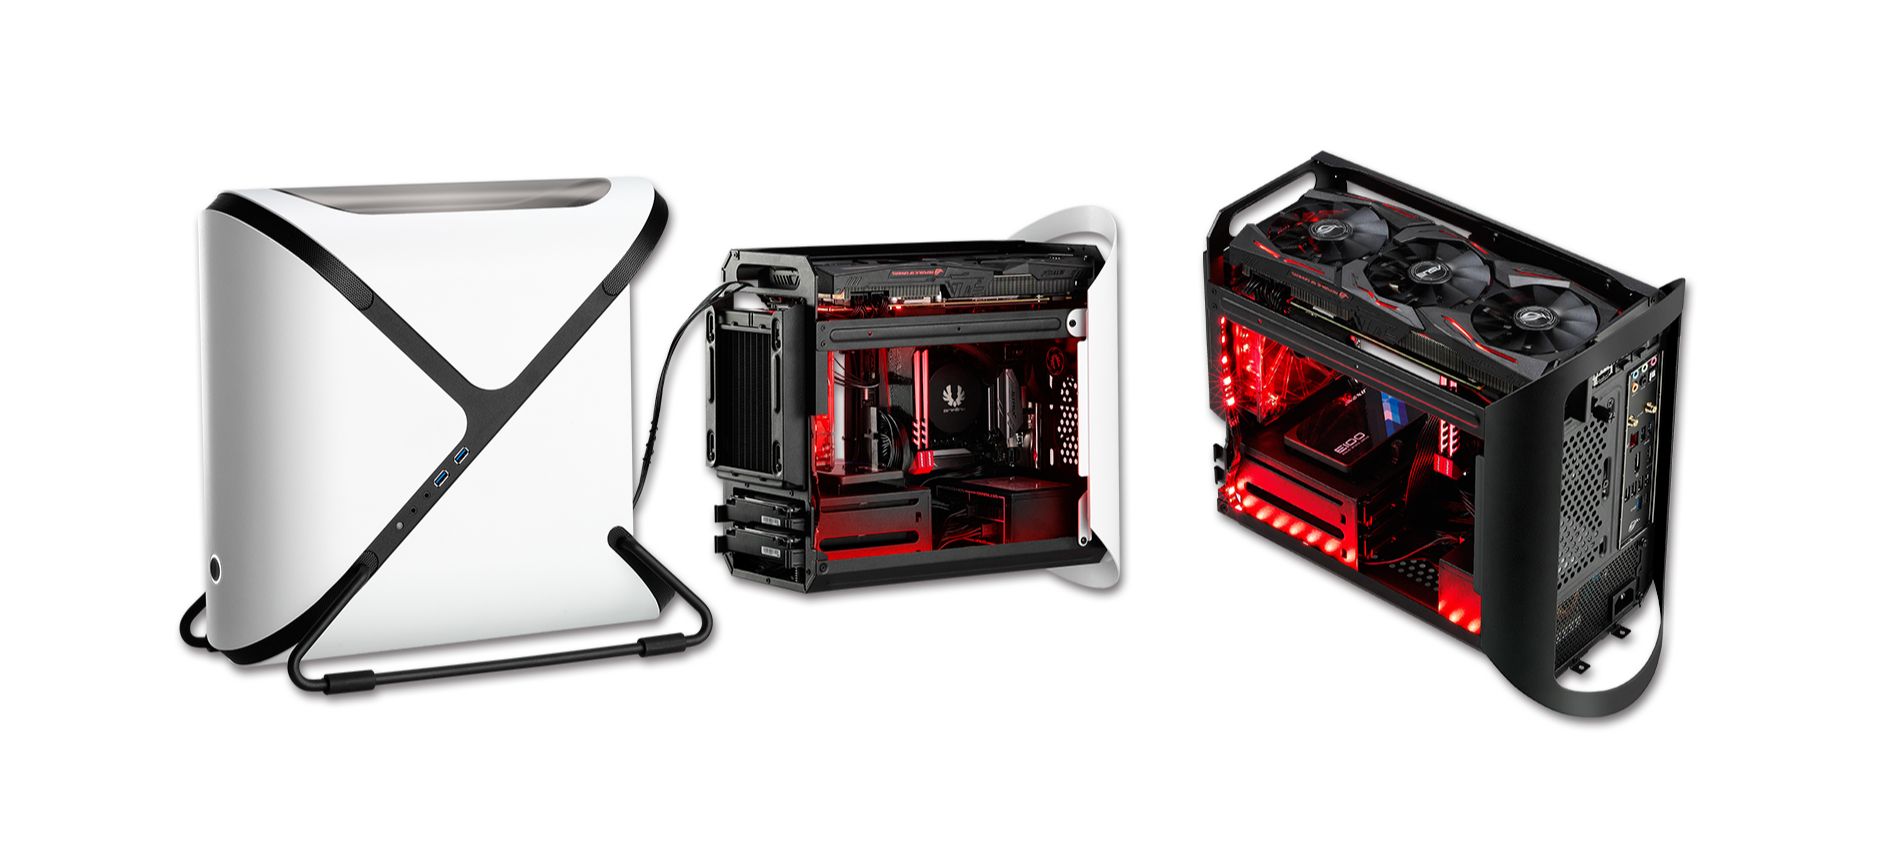
- Form Factor and Size: Computer cases come in different sizes, such as ATX, micro ATX, and mini ITX. The form factor determines the compatibility with your chosen motherboard size. Ensure that the case you choose can accommodate your motherboard and other components, providing sufficient space for cable management and future upgrades.
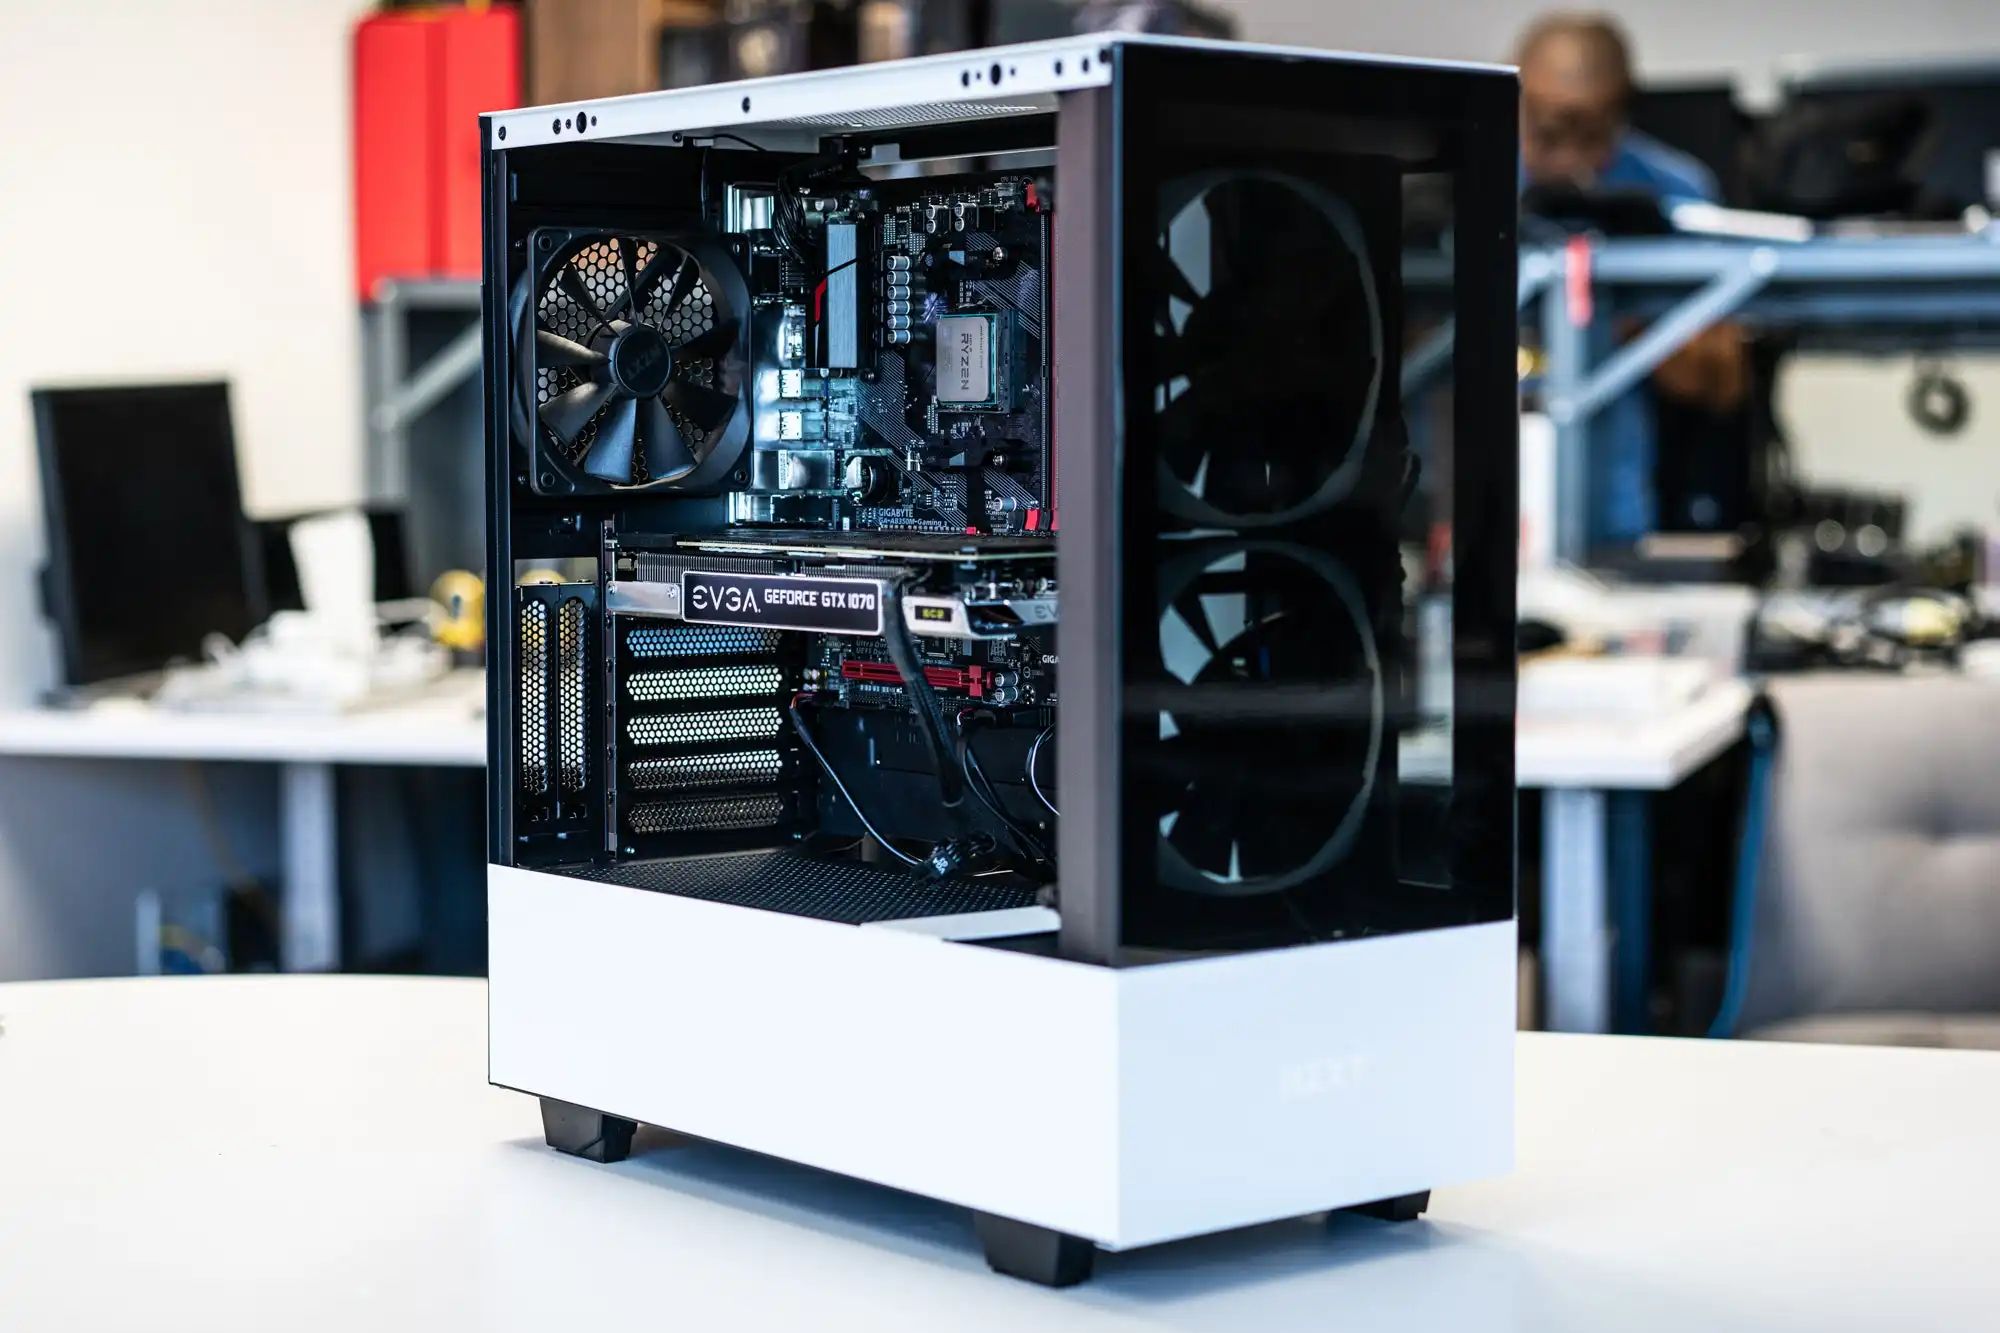
- Airflow and Cooling: Look for cases with good airflow capabilities to keep your components cool. Consider the number and placement of included fans or fan mounts to ensure efficient airflow. Additionally, check for dust filters to prevent dust accumulation and maintain optimal airflow over time.
- Cable Management: A well-designed case offers ample space and routing options for managing cables. Look for cases with built-in cable management features, such as rubber grommets, cable tie-downs, and dedicated cable routing channels. Proper cable management improves airflow and makes future hardware upgrades or maintenance easier.
- Drive Bays and Storage: Consider the number and type of drive bays provided by the case. Look for ample 2.5-inch and 3.5-inch drive bays to accommodate your storage needs. Some cases offer tool-less drive installation or dedicated storage compartments for easier setup and maintenance.
- Expansion Slots: Check the number and type of expansion slots on the case. These slots allow you to install additional components, such as graphics cards, sound cards, or Wi-Fi cards. Ensure that the case has enough slots and proper clearance for your intended expansion needs.
- Ports and Connectivity: Consider the front panel ports and connections offered by the case. Look for USB ports (both USB 2.0 and USB 3.0), audio jacks, and any additional ports or connectors that you require for your peripherals or accessories.
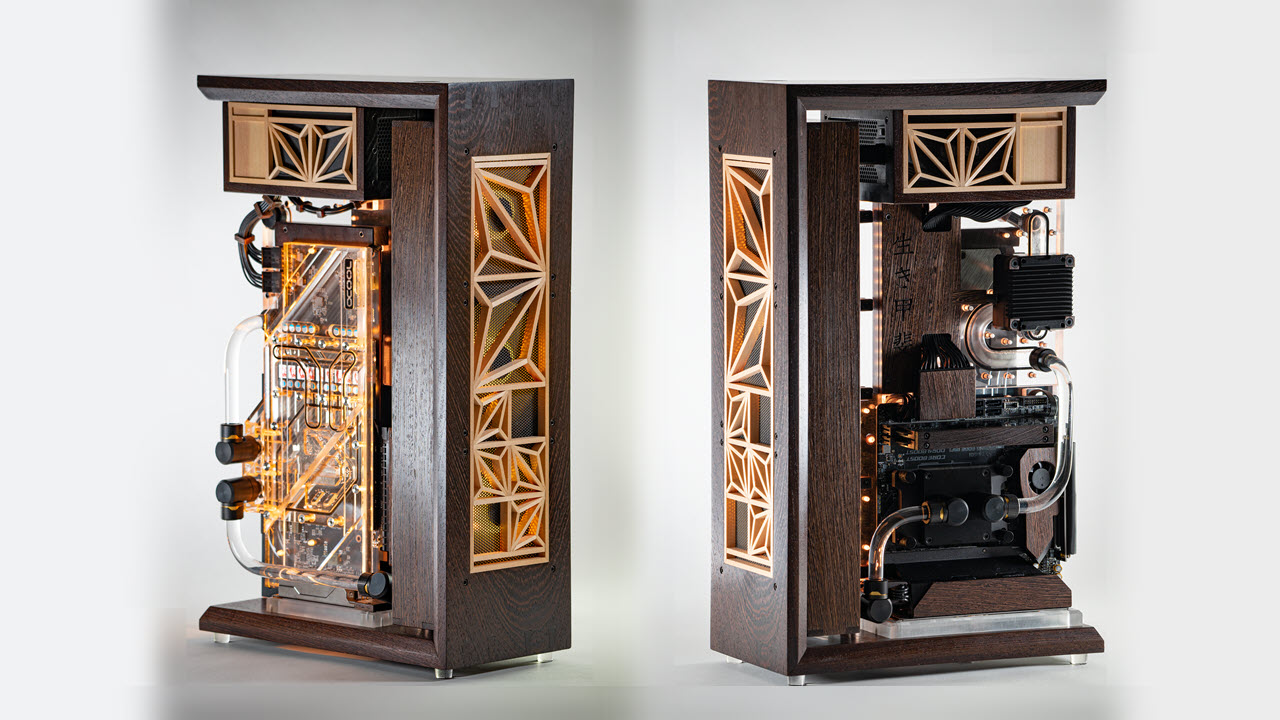
- Aesthetics and Design: The case’s design and appearance play a significant role in the overall look of your PC build. Choose a case that matches your personal style and preferences while ensuring it blends well with your chosen components.
- Budget: Computer cases are available across various price ranges. Set a budget that aligns with your overall PC build and consider investing in a well-built case that offers the features and quality you require.
Remember that a good computer case should not only serve its functional purposes but also provide ease of use and a visually pleasing experience. Read reviews, look for user feedback, and consider the reputation of the case manufacturer to make an informed decision.
Lastly, keep in mind that building a PC requires careful consideration of how your chosen components fit together. Ensure compatibility between the case, motherboard, and other components to create a seamless and well-optimized system.
By carefully evaluating the form factor, airflow, cooling capabilities, cable management, drive bays, expansion slots, ports, aesthetics, and budget, you can select a computer case that meets your practical needs and enhances the overall look and functionality of your PC build.
Additional Peripherals and Accessories
When building a PC, it’s important to consider the additional peripherals and accessories that can enhance your computing experience. These items can improve productivity, comfort, and overall usability, depending on your needs and preferences. Let’s explore some essential peripherals and accessories to consider:
- Monitor: A high-quality monitor is crucial for a visually immersive experience. Consider factors such as display size, resolution, refresh rate, and panel type (e.g., IPS, TN, or VA) to suit your specific needs, whether it’s gaming, content creation, or everyday computing.
- Keyboard: A comfortable and responsive keyboard can greatly improve typing speed and accuracy. Choose between membrane, mechanical, or hybrid keyboards, and consider additional features like RGB lighting, programmable macros, and wrist rests based on your preferences.
- Mouse: A good mouse is essential for precise and effortless control. Look for features like adjustable DPI (dots per inch), customizable buttons, ergonomic design, and suitable grip style (palm, claw, or fingertip) to find a mouse that suits your needs and feels comfortable in your hand.
- Headset/Speakers: Quality audio peripherals can elevate your gaming or multimedia experience. When choosing a headset or speakers, consider factors such as audio quality, comfort, microphone quality, and any additional features like surround sound or noise cancellation.
- Webcam: If you plan to video chat, stream, or create content, a good webcam is essential. Look for high-resolution options with good low-light performance and features like autofocus and noise reduction to ensure clear and smooth video output.
- UPS (Uninterruptible Power Supply): A UPS provides temporary power backup during electrical outages, protecting your system from sudden shutdowns and potential data loss. Consider the capacity, battery runtime, and the number of outlets when selecting a UPS.
- External Storage: External hard drives or SSDs can offer additional storage space or serve as backups for your important files. Consider the capacity, transfer speed, and portability when choosing an external storage solution.
- Wireless Network Adapter: If you require Wi-Fi connectivity, consider a quality wireless network adapter that supports the latest Wi-Fi standards. Look for options with good range, signal strength, and compatibility with your network.
- Keyboard and Mouse Pad: A comfortable and smooth surface for your keyboard and mouse can improve accuracy and reduce strain. Consider a padded or textured keyboard and mouse pad that suits your PC setup and personal preferences.
- RGB Lighting: For those who want to add a touch of personal style to their PC, RGB lighting strips or fans can create a visually appealing and customizable lighting setup. Check for compatibility with popular lighting control software and synchronization with other RGB components.
Remember to do thorough research, read reviews, and consider your specific needs when choosing peripherals and accessories. Investing in quality items that align with your usage patterns can greatly enhance your overall computing experience.
Furthermore, don’t forget essential accessories like power cables, display cables (HDMI, DisplayPort), surge protectors, and cable management solutions. These small but critical items can greatly simplify your setup and ensure a clean and organized PC build.
By carefully selecting and integrating the right peripherals and accessories into your PC build, you can create a complete and personalized workstation suitable for your specific requirements, maximizing productivity, comfort, and enjoyment.
Building Your PC: Step-by-Step Guide
Building your own PC can be an exciting and rewarding experience. While it may seem daunting at first, following a step-by-step guide can make the process more manageable. Here’s a general outline to help you build your PC:
- Prepare your workspace: Clear a spacious and static-safe area to work on. Gather all the necessary tools, including screwdrivers, zip ties, and thermal paste.
- Read the manuals: Familiarize yourself with the manuals for your components, including the motherboard, CPU, and cooling solution. Understand the installation instructions and any specific requirements.
- Install the CPU: Open the CPU socket on the motherboard and gently place the CPU in the correct orientation. Lock it in place, ensuring proper alignment. Apply a small amount of thermal paste on the CPU before attaching the cooler.
- Install the CPU cooler: Depending on the type of cooling solution you chose, follow the manufacturer’s instructions for securely installing the CPU cooler. Connect any necessary cables or fans.
- Install the RAM: Locate the RAM slots on the motherboard and unlock the retention clips. Insert the RAM sticks firmly and evenly, ensuring they are fully seated. Apply gentle pressure until the clips click into place.
- Mount the storage drives: Depending on the type and size of your storage drives, install them in the appropriate drive bays or slots. Connect the necessary data and power cables securely.
- Prepare the case: Remove any panels or covers from the case to access the interior. Install any necessary case fans, ensuring proper airflow. Plan the cable routing to optimize airflow and reduce clutter.
- Install the motherboard: Carefully place the motherboard into the case, aligning the mounting holes with the standoffs. Firmly screw in the motherboard to secure it in place.
- Connect the PSU: Connect the necessary power cables from the PSU to the motherboard, CPU, storage drives, and graphics card. Ensure a secure and proper connection.
- Install the graphics card: Locate the PCIe slot on the motherboard that matches the size and compatibility of your graphics card. Insert the card evenly, ensuring it is fully seated in the slot. Secure it with screws or retention clips.
- Connect peripherals: Connect your monitor, keyboard, mouse, and any other peripherals to their respective ports on the back of the computer case.
- Double-check connections: Before powering on your PC, double-check all connections, ensuring that cables are properly secured and components are firmly in place. Check for any loose screws that could cause a short circuit.
- Power on and test: Plug in the power cord, and press the power button. If everything is connected correctly, your PC should boot up. Enter the BIOS/UEFI settings to ensure that all components are detected and functioning properly.
- Install the operating system: Insert the installation media for your chosen operating system and follow the prompts to install it on your system’s storage drive.
- Install drivers and update software: Install the necessary drivers for your motherboard, graphics card, and other components. Update your operating system and install any software or programs you require.
Remember, this is a general guide, and the specific steps may vary depending on your chosen components and their installation requirements. Always refer to the manuals provided by the manufacturers for detailed instructions.
Take your time, be patient, and ask for assistance if needed. Building a PC is a learning experience, and with practice, you will gain confidence and knowledge to tackle more complex builds or upgrades in the future.
Troubleshooting and Maintenance Tips
While building and maintaining your PC, you may encounter various issues or need to perform routine maintenance to ensure smooth operation. Here are some troubleshooting and maintenance tips to help you address common problems and keep your system running smoothly:
- Power-related issues: If your PC fails to power on, check that all power connections are secure. Ensure that the PSU switch is on, and the power cord is plugged in properly. If the issue persists, try a different power outlet or consider testing with a different power supply.
- POST error codes: When starting up your PC, if you encounter beep codes or error messages during the Power-On Self Test (POST), consult your motherboard’s manual for a list of error codes and their corresponding solutions. These codes can help identify specific hardware or configuration issues.
- Overheating: If your PC is experiencing overheating issues, check that all fans are operational and clean any dust or debris that may be blocking airflow. Ensure that your CPU cooler is properly seated with sufficient thermal paste. Consider adjusting fan RPMs in the BIOS or installing additional case fans for better airflow.
- Blue screen errors: Blue screen errors, or “blue screens of death” (BSODs), indicate system crashes. They are often caused by faulty hardware drivers or incompatible software. Ensure that your operating system and drivers are up to date, and consider removing recently installed software or drivers that may be causing conflicts.
- Storage drive issues: If you experience slow performance or data corruption, run disk checks or diagnostic tools to identify any potential issues with your storage drives. Back up important data regularly to prevent data loss and ensure the longevity of your drives.
- Updating drivers and firmware: Regularly update your drivers and firmware to ensure compatibility, performance improvements, and security patches. Visit the manufacturers’ websites for your components to download and install the latest updates.
- Monitor troubleshooting: If you encounter display issues, ensure that cables are securely connected and the monitor is receiving power. Check the input source settings on the monitor. Test with a different monitor or cable to isolate the issue, and adjust resolution settings in the operating system if necessary.
- Regular dust cleaning: Dust buildup can cause overheating and reduce component lifespan. Clean your PC regularly using compressed air or a soft brush to remove dust from fans, heatsinks, and filters. Avoid using vacuum cleaners, as they can generate static electricity and damage sensitive components.
- Backup and system restore: Regularly back up important files and documents to an external storage device or cloud service to protect against data loss. Consider creating system restore points or using backup software to have a restore option available in case of system issues.
- System optimization: Optimize your system’s performance by disabling unnecessary startup programs, managing background processes, and organizing files for efficient storage and retrieval. Regularly defragment your hard drives or run disk cleanup to free up space and improve performance.
Remember, if you encounter more complex issues or are unsure about troubleshooting a specific problem, consult online forums, user communities, or seek assistance from knowledgeable professionals. Building and maintaining a PC is a continuous learning process, and with practice and experience, you’ll become more proficient in identifying and resolving issues efficiently.
Conclusion
Building your own PC can be a fulfilling and empowering experience. By selecting the right components, following step-by-step guidelines, and troubleshooting any issues, you can create a customized and high-performing system that suits your needs and preferences. Throughout the process, it’s important to prioritize functionality, compatibility, and quality to ensure optimal performance and longevity of your PC.
Remember to carefully research and select components that meet your requirements, whether it’s a powerful CPU for gaming, ample RAM for multitasking, or a high-performance graphics card for content creation. Additionally, consider factors such as cooling, storage options, and connectivity to create a well-rounded and efficient PC build.
During the building process, be patient, meticulous, and refer to the manuals and guidelines provided by the manufacturers. Take the time to properly install and secure each component, ensuring that all connections are secure and cables are neatly routed for optimal airflow and cable management.
After assembling your PC, regularly maintain and clean your system to prevent overheating and ensure proper functionality. Stay updated by installing the latest drivers, firmware, and operating system updates. Regularly back up important data to prevent loss in case of unforeseen issues.
Lastly, embrace the learning process and be open to expanding your knowledge and skillset. PC building allows you to develop a deeper understanding of computer hardware and gain confidence in troubleshooting and upgrading your system.
By following these guidelines and incorporating your personal touch, you can build a PC that not only meets your current needs but also provides room for future upgrades and enhancements. Enjoy the journey and revel in the satisfaction of creating a custom-built PC that is uniquely tailored to your requirements.