Introduction
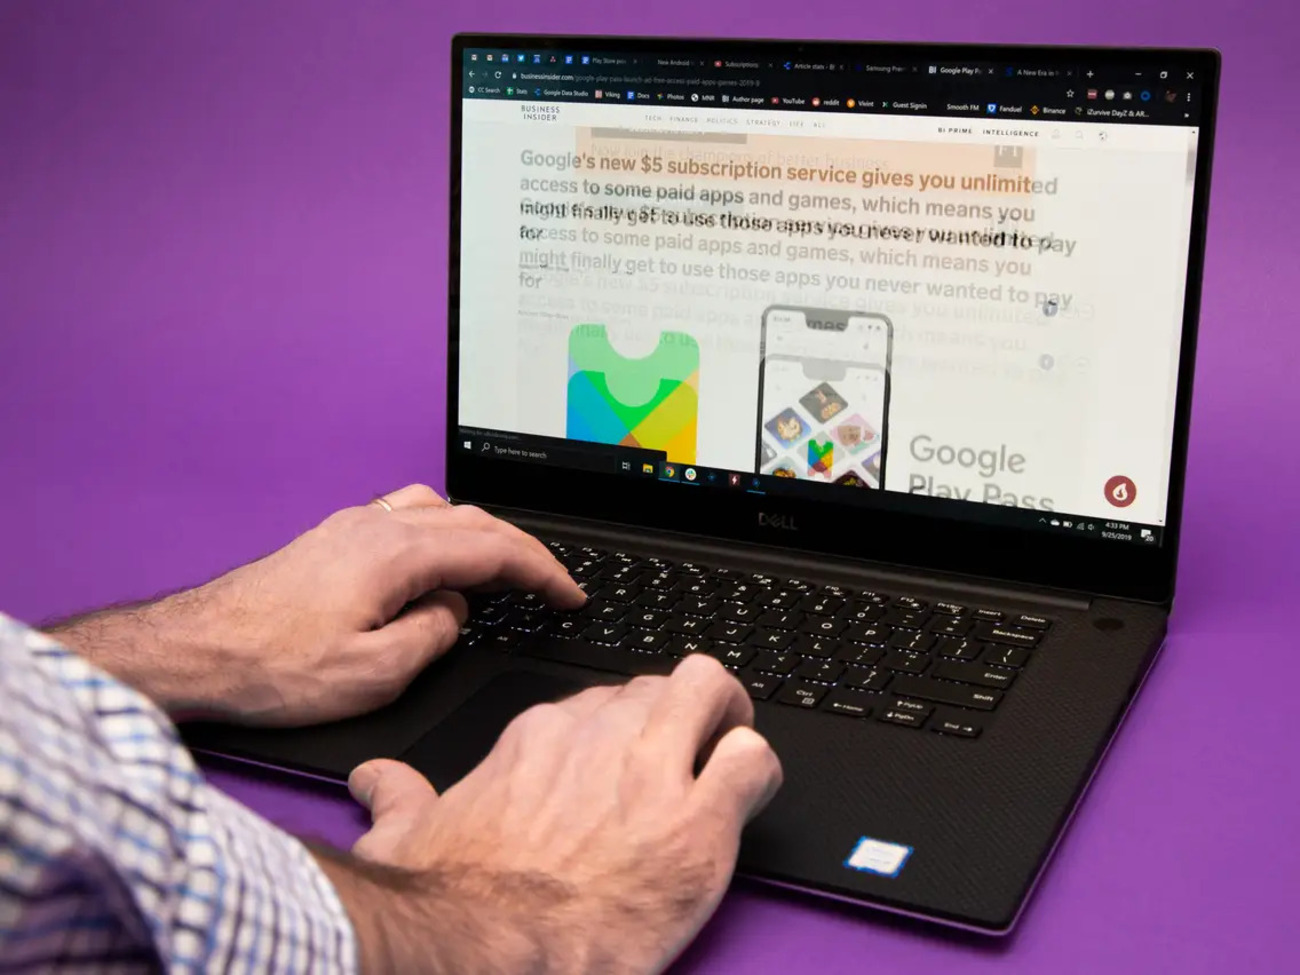
In today’s digital age, laptops have become an essential tool for both work and leisure. Whether you’re using a Dell laptop for browsing the web, working on documents, or watching videos, having the ability to zoom in on your screen can greatly enhance your user experience.
Zooming in on your Dell laptop screen can be particularly helpful if you have visual impairments or if you want to get a closer look at small text, images, or videos. Fortunately, Dell laptops offer various options to easily zoom in on your screen, allowing you to customize the level of magnification to suit your needs.
In this article, we will explore four different methods that you can use to zoom in on your Dell laptop. Whether you prefer using keyboard shortcuts, adjusting the zoom settings in the Dell system preferences, utilizing the built-in zoom feature in web browsers, or installing third-party zooming applications, we’ve got you covered.
So, if you’re ready to learn how to magnify your Dell laptop screen, let’s dive into the different options available to you. By the end of this article, you’ll be equipped with the knowledge to effortlessly zoom in on your Dell laptop screen and make the most out of your computing experience.
Option 1: Using Keyboard Shortcuts
One of the quickest and easiest ways to zoom in on your Dell laptop screen is by using keyboard shortcuts. Dell laptops have built-in keyboard shortcuts that allow you to zoom in and out with just a few simple keystrokes.
To zoom in using keyboard shortcuts, start by pressing the “Ctrl” key on your keyboard. While holding down the “Ctrl” key, press the “+” key to increase the zoom level. Each press of the “+” key will further magnify your screen. If you want to zoom out, simply press the “-” key while holding down the “Ctrl” key. Repeat this step until you reach the desired zoom level.
If you prefer using the scroll wheel on your laptop’s touchpad, you can also hold down the “Ctrl” key and use the scroll wheel to quickly zoom in and out of your screen. Scroll upwards to zoom in and scroll downwards to zoom out.
Keep in mind that keyboard shortcuts may vary slightly depending on the model of your Dell laptop. Therefore, it’s a good idea to refer to the user manual or visit Dell’s official website to find the specific keyboard shortcuts for your laptop model.
Using keyboard shortcuts to zoom in on your Dell laptop screen is a convenient solution that allows you to quickly adjust the zoom level whenever you need it. Whether you’re working on a document, viewing images, or browsing the web, mastering these keyboard shortcuts will significantly improve your overall user experience.
Option 2: Using the Zoom Feature in Dell Settings
If you prefer a more permanent zoom solution or want to customize the zoom settings on your Dell laptop, you can utilize the built-in zoom feature in the Dell settings. This allows you to set a default zoom level that will apply to all applications and programs on your laptop.
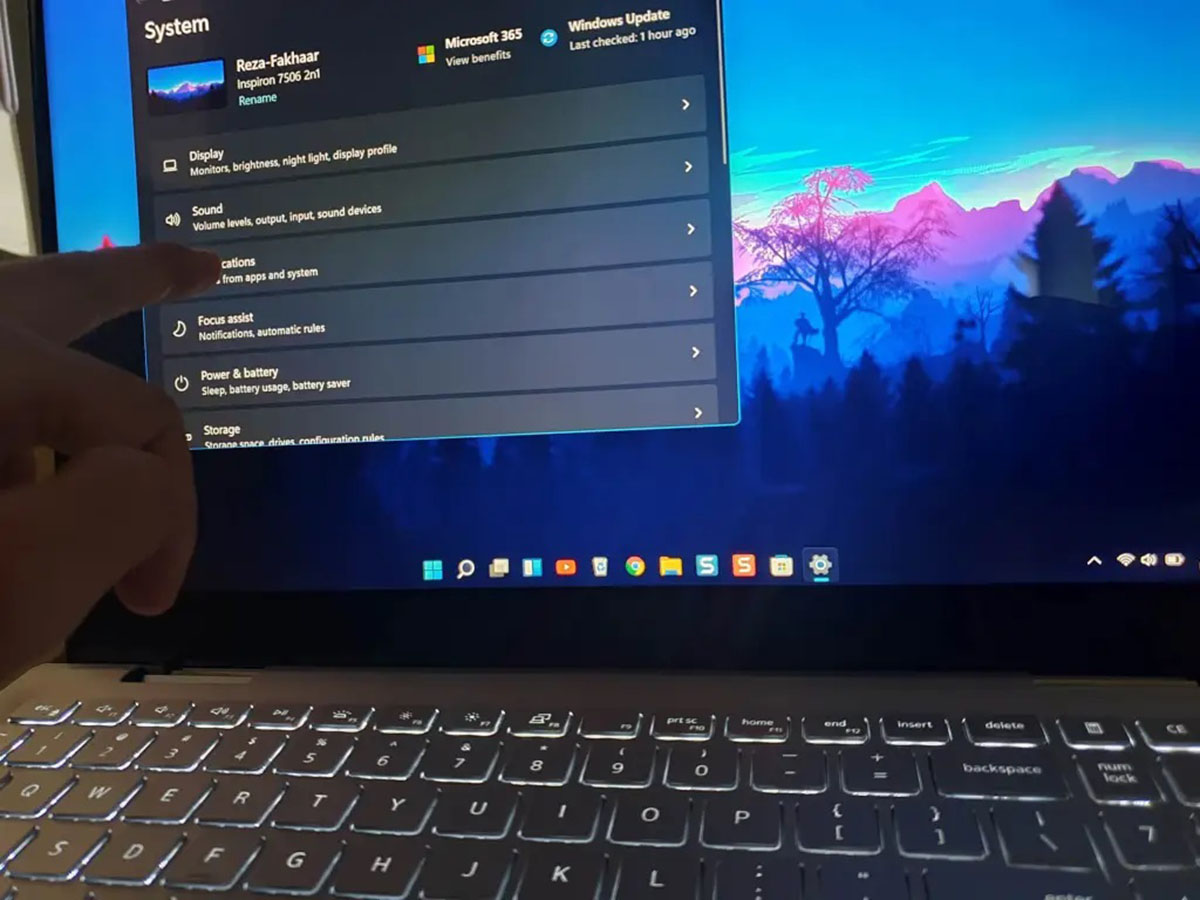
To access the zoom feature in Dell settings, start by clicking on the “Start” button and selecting “Settings” from the menu. In the settings menu, click on “Ease of Access” and then select “Display” from the left-hand sidebar.
Under the Display settings, you will find the “Make everything bigger” option. Use the slider to adjust the zoom level according to your preference. Dragging the slider to the right will increase the zoom level, while dragging it to the left will decrease it.
As you adjust the zoom level, notice how the sample screen displays the changes in real-time. This allows you to find the perfect zoom setting that suits your needs without having to switch between applications.
Once you are satisfied with your chosen zoom level, simply close the settings window, and the changes will take effect immediately. Now, all the text, images, and elements on your Dell laptop will be displayed at the selected zoom level by default.
Utilizing the zoom feature in Dell settings gives you the flexibility to set a personalized zoom level that works best for your eyesight and preferences. Whether you need a slight magnification or a more significant zoom, this method allows you to fine-tune the display to your liking.
Option 3: Using the Zoom Feature in Web Browsers
If you frequently browse the internet using your Dell laptop, you can take advantage of the built-in zoom feature in web browsers. Popular web browsers such as Google Chrome, Mozilla Firefox, and Microsoft Edge offer convenient zoom options that allow you to magnify the content on webpages.
To zoom in using the zoom feature in web browsers, follow these simple steps:
- Open your preferred web browser on your Dell laptop.
- Navigate to the webpage you want to zoom in on.
- Click on the browser’s menu icon, usually located in the upper-right corner of the window.
- In the menu, look for the “Zoom” or “+/-” option. Click on it to access the zoom settings.
- A dropdown menu will appear, displaying the available zoom options. Click on the desired zoom level, usually represented as a percentage (e.g., 100%, 125%, 150%).
Alternatively, you can use keyboard shortcuts to zoom in and out within web browsers. For example, in Google Chrome, press “Ctrl” and “+” to zoom in, and “Ctrl” and “-” to zoom out. In Mozilla Firefox, use “Ctrl” and “+” to zoom in, and “Ctrl” and “-” to zoom out.
Using the zoom feature in web browsers gives you the flexibility to adjust the zoom level specifically for online content. Whether you’re reading articles, viewing images, or watching videos, this method allows you to magnify the webpage to your desired level of comfort.
Remember that the zoom feature in web browsers is specific to each browser, so you may need to adjust the zoom level separately for different browsers if you use more than one on your Dell laptop.
Option 4: Using 3rd Party Zooming Applications
If the built-in zoom options on your Dell laptop do not meet your specific zooming needs, you can explore third-party zooming applications that offer more advanced features and customization options.
There are several third-party zooming applications available for Windows that you can install on your Dell laptop. Some popular options include ZoomIt, Magnifier, and Virtual Magnifying Glass. These applications offer additional functionalities such as adjustable zoom levels, customizable hotkeys, and even options for highlighting and annotating the magnified content.
To utilize a third-party zooming application on your Dell laptop, follow these general steps:
- Research and choose a third-party zooming application that suits your requirements.
- Visit the developer’s website or a trusted software download platform to download the application.
- Once downloaded, run the installation file and follow the on-screen instructions to install the application on your Dell laptop.
- Launch the zooming application and familiarize yourself with its features and options.
- Adjust the zoom level or any other settings according to your preferences.
Each third-party zooming application will have its own interface and set of features, so it’s essential to explore and experiment with the options provided to find the configuration that works best for you.
By using third-party zooming applications, you can enjoy a more comprehensive and customizable zooming experience on your Dell laptop. These applications provide advanced zooming features that go beyond the basic functionality offered by the built-in options, allowing you to tailor the magnification to your specific needs and optimize your viewing experience.
Conclusion
Zooming in on your Dell laptop screen can greatly enhance your user experience, whether you have visual impairments or simply want to get a closer look at content. In this article, we explored four different methods to help you zoom in on your Dell laptop.
We started by discussing the convenience of using keyboard shortcuts to quickly adjust the zoom level. These shortcuts offer a simple and efficient way to magnify your screen, allowing for increased accessibility and better visibility.
We then explored the zoom feature in Dell settings, which provides a more permanent and customizable zoom solution. By adjusting the zoom level in the settings, you can set a default magnification that applies to all applications and programs on your Dell laptop.
Next, we looked at using the zoom feature in web browsers, which allows you to selectively magnify content while browsing the internet. This method lets you optimize the display of webpages, making text, images, and videos more accessible and easier to view.
Finally, we discussed the option of utilizing third-party zooming applications. These applications offer advanced features and customization options, allowing you to tailor the zooming experience to your specific preferences and requirements.
Whether you choose to use keyboard shortcuts, adjust the zoom settings in Dell, utilize the zoom feature in web browsers, or explore third-party applications, the various methods outlined in this article enable you to customize your zooming capabilities on your Dell laptop.
By incorporating these zooming techniques into your daily computer usage, you can enhance visibility and create a more comfortable and enjoyable computing experience. So, don’t hesitate to give them a try and find the zooming method that works best for you.