Introduction
Welcome to the digital age, where technology has made our lives more connected and convenient than ever before. One such advancement is the ability to view security camera footage directly on our smart TVs. This brings a new level of surveillance and peace of mind, allowing you to monitor your home, office, or other premises with ease.
With the integration of smart devices and home automation, viewing security cameras on your smart TV has become increasingly accessible. Not only does it eliminate the need for additional monitors or screens, but it also centralizes your security system in one place.
In this article, we will guide you through the process of viewing security cameras on your smart TV. We will explore the necessary steps to connect your security camera to your smart TV and provide troubleshooting tips for common issues that may arise.
Please note that the instructions and compatibility may vary depending on the make and model of your security camera and smart TV. It is essential to consult the user manuals or contact customer support for specific guidance tailored to your devices.
Now, let’s dive into the steps and unravel the world of viewing security cameras on your smart TV!
Step 1: Check compatibility between your security camera and smart TV
Before diving into the process of connecting your security camera to your smart TV, it is crucial to ensure that your devices are compatible. Checking compatibility will save you time and frustration by ensuring that your efforts will yield successful results.
First, identify the make and model of your security camera and smart TV. Consult the user manuals or visit the manufacturers’ websites to confirm if they are compatible with each other. Look for specific information on compatibility requirements, such as connection ports, software compatibility, and any additional accessories that may be needed.
Additionally, consider the age of your devices. Older models may have limited compatibility, or they might not support the necessary features to establish a connection. In such cases, you may need to explore alternative solutions, such as using a separate streaming device or upgrading your devices.
Furthermore, check if both your security camera and smart TV support the same connectivity technology. Common options include Wi-Fi, Ethernet, HDMI, or USB. Make sure that your devices have compatible ports or wireless capabilities to establish a connection.
Keep in mind that some security cameras require a dedicated app or software to facilitate the connection to your smart TV. Research and verify if the respective apps are available on your smart TV’s app store and if they are compatible with your camera model.
Lastly, consider the power requirements of your security camera and smart TV. Ensure that both devices have a stable power supply and check if any adapters or additional power sources are needed.
By thoroughly checking the compatibility between your security camera and smart TV, you set a solid foundation for the successful connection process. Once you have confirmed compatibility, you can move on to the next step of connecting the devices.
Step 2: Connecting the security camera to your smart TV
Now that you have confirmed the compatibility between your security camera and smart TV, it’s time to establish the connection. Depending on your devices and their features, there are several methods you can use to connect them.
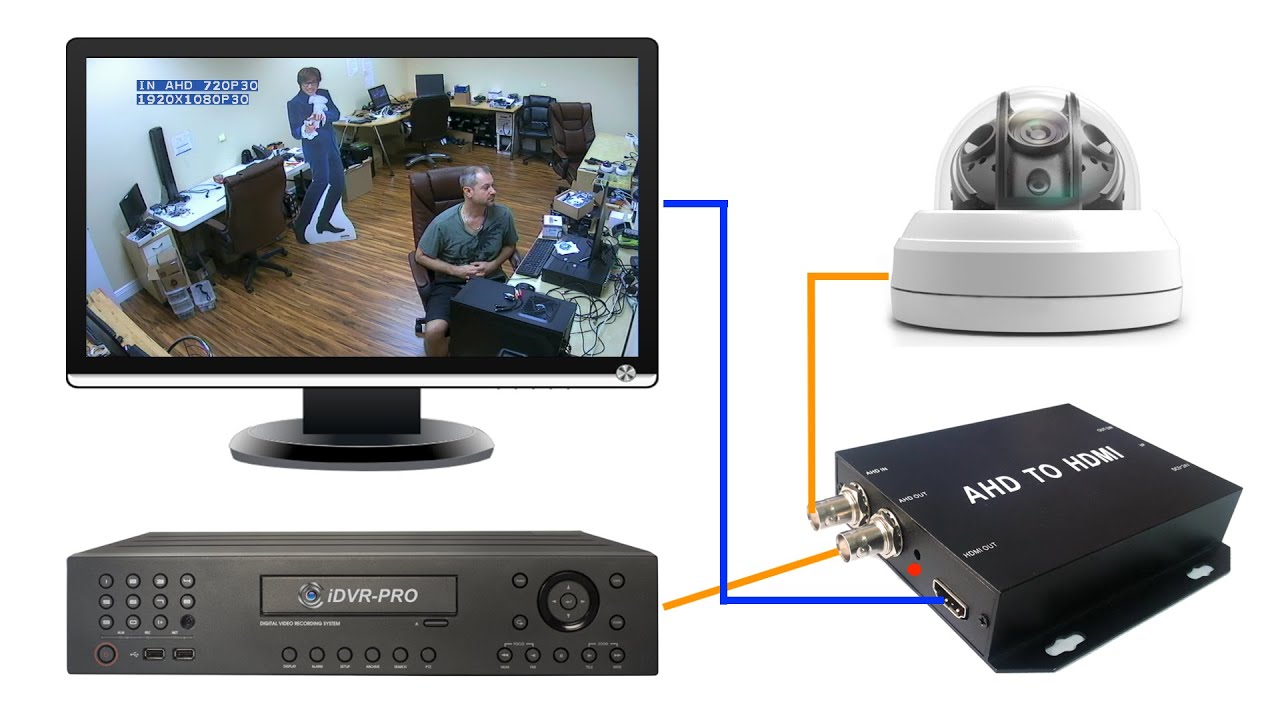
1. HDMI Connection: If both your security camera and smart TV have HDMI ports, this is the simplest and most common method. Connect one end of the HDMI cable to the HDMI output port on your security camera and the other end to an available HDMI input port on your smart TV. Once connected, switch the input source on your smart TV to the corresponding HDMI port. You should now be able to see the live feed from your security camera on your smart TV screen.
2. Wi-Fi Connection: If your security camera and smart TV support Wi-Fi connectivity, you can connect them wirelessly. Start by connecting your security camera to your home Wi-Fi network following the manufacturer’s instructions. Then, on your smart TV, go to the settings or network menu and select the option to connect to a wireless network. Choose your home Wi-Fi network and enter the password if prompted. Once both devices are connected to the same network, you may need to download a dedicated app on your smart TV to access the security camera’s feed.
3. Ethernet Connection: If your security camera and smart TV have Ethernet ports and you prefer a wired connection, you can use an Ethernet cable. Connect one end of the Ethernet cable to the Ethernet port on your security camera and the other end to an available Ethernet port on your smart TV. Make sure both devices are powered on and connected to the same local network. Similar to the Wi-Fi connection, you may need to use a dedicated app on your smart TV to view the security camera’s feed.
4. USB Connection: Some security cameras allow you to connect them to your smart TV via USB. Check if both devices have USB ports and if the security camera supports USB connectivity. Connect one end of the USB cable to the security camera and the other end to an available USB port on your smart TV. Your smart TV should recognize the security camera and display the live feed accordingly.
Remember to refer to the user manuals or contact customer support for detailed instructions specific to your devices. Once you have successfully connected your security camera to your smart TV, you can proceed to the next step and access the security camera’s feed on your smart TV.
Step 3: Accessing the security camera on your smart TV
After successfully connecting your security camera to your smart TV, it’s time to access the live feed and start monitoring your desired area. The process may vary depending on the brand and model of your smart TV and security camera, but here are a few common methods to access the security camera on your smart TV:
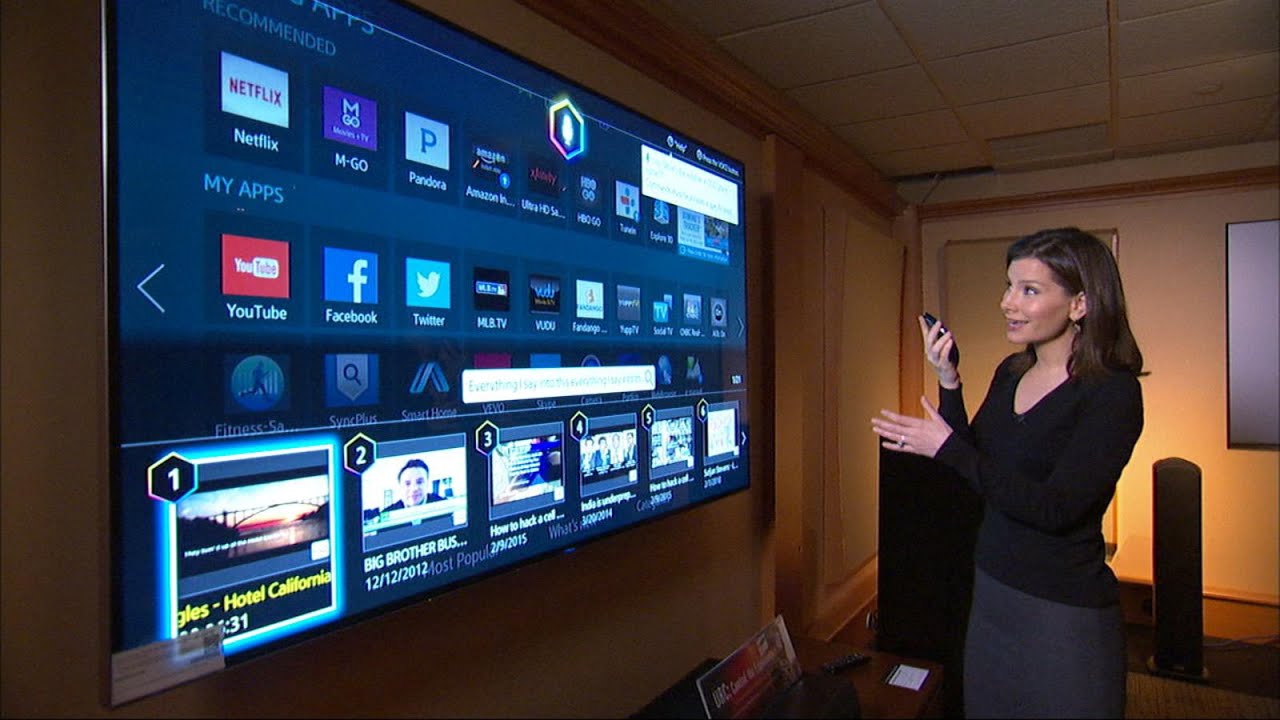
1. Dedicated App: If your security camera requires a dedicated app to view the live feed on your smart TV, you will need to download and install the app from your smart TV’s app store. Once installed, open the app and follow the on-screen instructions to set up the connection. You may need to provide your security camera’s login credentials or perform additional steps to establish a connection. Once connected, you should be able to access the live feed and control camera settings directly from your smart TV.
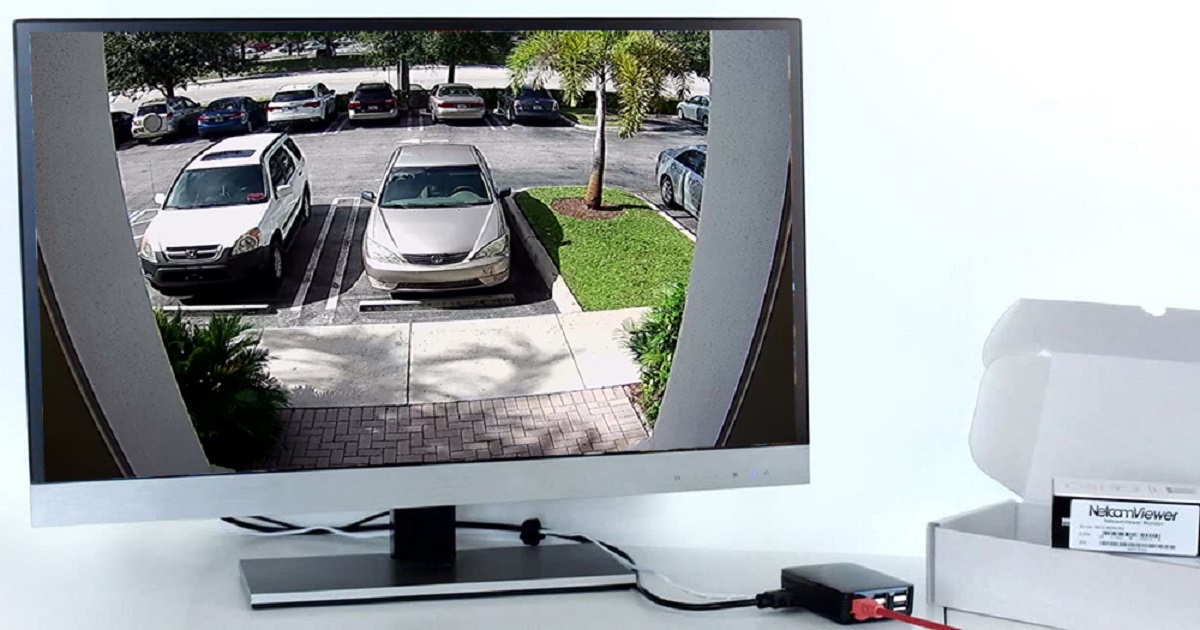
2. Input Source Selection: Some smart TVs have built-in support for accessing security camera feeds without the need for a dedicated app. In the settings or menu of your smart TV, look for an option called “Input” or “Source”. Select this option and choose the appropriate input source that corresponds to your security camera connection (such as HDMI or Wi-Fi). Once selected, your smart TV will switch to displaying the live feed from your security camera.
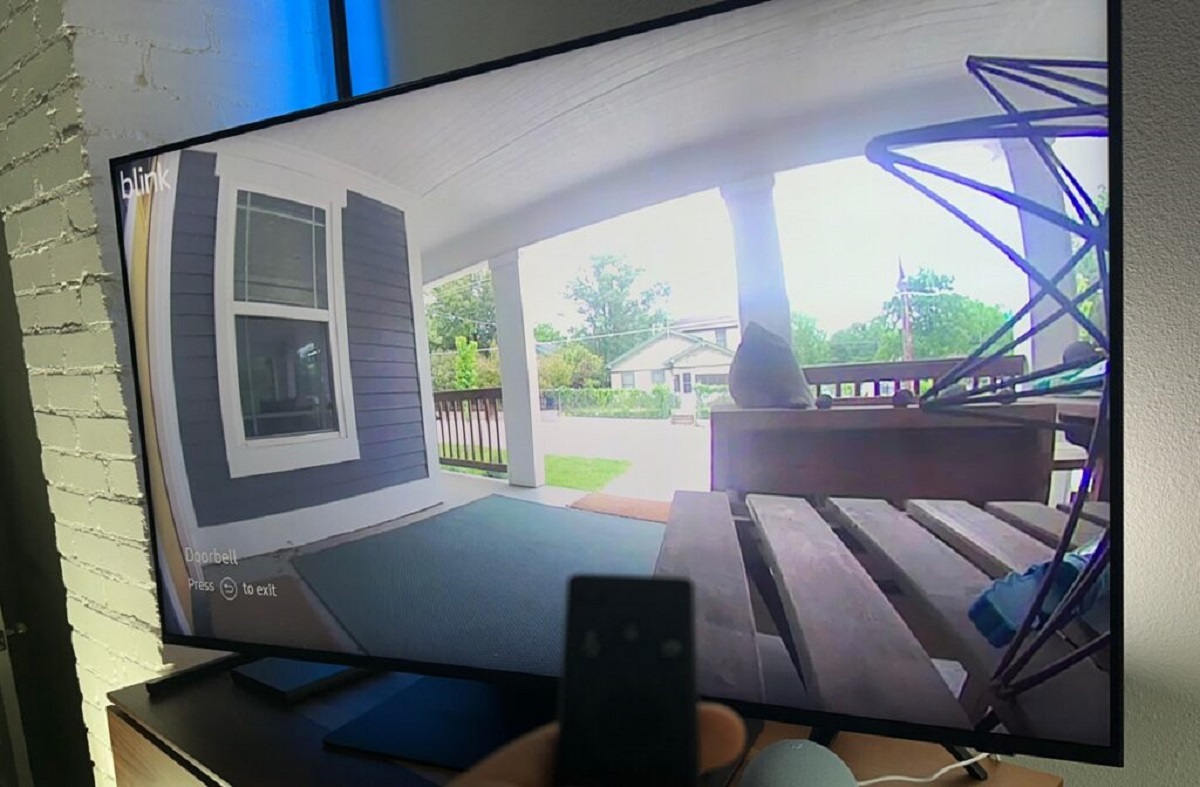
3. Home Automation Integration: If you have a home automation system set up, you may be able to access your security camera’s feed through it. Smart home hubs, like Amazon Echo or Google Home, often have the capability to display security camera feeds on compatible smart TVs. Ensure that your security camera and smart TV are connected to the same home automation network and linked to the respective hub. Follow the instructions provided by the hub’s manufacturer to integrate and access the security camera feed on your smart TV.
Regardless of the method you choose, it’s important to familiarize yourself with the controls and options available for viewing and managing the security camera’s feed on your smart TV. Depending on the device and app, you may have the ability to pan, tilt, zoom, or adjust other camera settings directly from your smart TV interface.
Remember to refer to the user manuals and online resources provided by the manufacturers for detailed instructions on accessing the security camera feed on your specific smart TV model.
Now that you have successfully accessed the security camera feed on your smart TV, you can proceed to the next step and fine-tune the camera settings to optimize your surveillance experience.
Step 4: Adjusting camera settings on your smart TV
Once you have accessed the security camera feed on your smart TV, you may want to customize and optimize the camera settings to suit your needs. Although the available settings may vary depending on the camera model and smart TV interface, here are some common adjustments you can make:
1. Camera Positioning: If your security camera supports pan, tilt, and zoom functions, you can adjust the camera’s position and angle directly from your smart TV interface. Use the directional buttons or on-screen controls to pan the camera left or right, tilt it up or down, and zoom in or out. This allows you to focus on specific areas or follow the motion within the frame.
2. Video Quality: Depending on your camera’s capabilities, you may be able to adjust the video resolution and image quality settings on your smart TV. Higher resolution settings provide clearer and more detailed footage but may consume more bandwidth and storage. Find the video settings menu on your smart TV and choose the desired resolution or quality level for the camera feed.
3. Motion Detection: If your security camera has motion detection capabilities, you can enable or adjust this feature through your smart TV settings. Motion detection allows the camera to detect movement and send alerts or record specific events. Explore the camera settings options on your smart TV to find the motion detection settings and adjust sensitivity, detection zones, and notification preferences.
4. Recording and Playback: Some security cameras allow you to record the camera feed directly to your smart TV or to an external storage device connected to the TV. Explore the recording settings on your smart TV to configure the recording duration, schedule, and storage options. Additionally, you can review and playback recorded footage directly from your smart TV interface.
5. Notifications and Alerts: If your security camera supports push notifications or alerts, you can configure these settings on your smart TV. Enable notifications to receive alerts when the camera detects motion or other specified events. Adjust the notification settings in your smart TV settings menu to choose the type of alerts you want to receive and how you want to be notified (such as through sound or pop-up messages).
Remember to refer to the user manuals or online support resources provided by the camera and smart TV manufacturers for detailed instructions on adjusting specific camera settings on your devices. Experiment with different settings to find the configuration that best suits your surveillance needs and preferences.
Once you have adjusted the camera settings to your liking, you can move on to the final step where we will discuss troubleshooting common issues that may arise when viewing security cameras on your smart TV.
Step 5: Troubleshooting common issues
While connecting and viewing security cameras on a smart TV can be a seamless process, there are some common issues that may arise. Here are a few troubleshooting tips to help you overcome these challenges:
1. No Signal: If you’re getting a “No Signal” message on your smart TV when trying to view the security camera feed, first ensure that all the cables are securely connected. Check if the power supply is stable and the devices are powered on. Try unplugging and reconnecting the cables, or switch to a different HDMI port or input source if applicable. If using a wireless connection, verify that both the security camera and smart TV are connected to the same Wi-Fi network.
2. Poor Video Quality: If you’re experiencing poor video quality, first check if the camera’s lens is clean and free from obstructions. Adjust the camera’s positioning and angle to ensure optimal coverage. If using a wireless connection, ensure that your Wi-Fi signal strength is strong and there are no interference sources nearby. For wired connections, make sure the Ethernet cable is securely connected and not damaged. Additionally, check if your internet connection speed is sufficient for streaming high-quality video.
3. App Compatibility Issues: If you’re using a dedicated app to view the security camera feed on your smart TV, make sure that both the app and the smart TV’s operating system are up to date. Check the app’s compatibility with your specific smart TV model and ensure that it is supported and optimized for your devices. If you encounter any app-related issues, try uninstalling and reinstalling the app or reach out to the app’s support team for further assistance.
4. Network Connection Problems: If you’re having trouble connecting your security camera to your smart TV due to network issues, try restarting your router and devices. Ensure that your Wi-Fi network is functioning properly and that the security camera is within range of the router. Double-check your network settings and password to ensure they are entered correctly. If necessary, consult the user manuals or contact customer support for both the security camera and smart TV to troubleshoot specific network-related problems.
5. Compatibility Limitations: In some cases, compatibility limitations may prevent a smooth connection between your security camera and smart TV. Double-check the compatibility requirements and ensure that both devices meet the necessary criteria. If your devices are not compatible, consider alternative solutions such as using a separate streaming device or upgrading your devices to ones that offer better compatibility.
If none of the troubleshooting tips above resolve your issues, it is recommended to reach out to the customer support of your security camera and smart TV manufacturers. They can provide further assistance and technical guidance to help you resolve the specific issues you are facing.
Remember, troubleshooting can sometimes be a trial-and-error process, so don’t hesitate to experiment with different solutions and seek professional support when needed.
With the troubleshooting tips in mind, you can now enjoy the seamless viewing experience of your security camera feed on your smart TV!
Conclusion
Viewing security cameras on your smart TV brings convenience, centralization, and enhanced surveillance capabilities to your home or office. By following the steps outlined in this guide, you can seamlessly connect your security camera to your smart TV and access the live feed with ease.
Start by checking the compatibility between your security camera and smart TV to ensure they are compatible and meet the necessary requirements. Next, proceed to connect the devices using methods such as HDMI, Wi-Fi, Ethernet, or USB, depending on the available options on your devices. Once connected, access the security camera feed on your smart TV through dedicated apps, input source selection, or home automation integration.
After accessing the live feed, you can adjust camera settings to customize your surveillance experience. From camera positioning to video quality and motion detection, you have the power to fine-tune the settings to meet your specific needs. Additionally, troubleshoot common issues that may arise during the connection and viewing process, such as signal problems, video quality issues, app compatibility, network connection problems, and compatibility limitations.
Remember to consult the user manuals, online resources, and customer support for your security camera and smart TV manufacturers as they can provide detailed instructions and guidance tailored to your specific devices.
With the ability to view security cameras on your smart TV, you can have peace of mind knowing that you have a comprehensive surveillance system at your fingertips. Whether you’re monitoring your home, office, or any other premises, the convenience and accessibility provided by this integration can greatly enhance your security measures.
So, go ahead and connect your security camera to your smart TV, embrace the advancements of technology, and enjoy the seamless viewing experience that brings your security to a whole new level.