Introduction
Are you looking for a convenient and efficient way to capture and record high-quality video content? Look no further than an HDMI video capture card. Whether you’re a content creator, gamer, or professional in need of video capture capabilities, an HDMI video capture card can be a valuable addition to your toolkit.
But what exactly is an HDMI video capture card, and how can it benefit you? In this article, we’ll explore the ins and outs of HDMI video capture cards, from their basic functionality to their importance in capturing and recording video seamlessly.
As technology continues to advance, the demand for high-quality video content has skyrocketed. From live streaming to video production, capturing video from various sources is essential. An HDMI video capture card serves as the bridge between your video sources, such as cameras, game consoles, or other devices, and your computer, allowing you to capture and record live video feeds directly to your computer’s storage.
One of the key advantages of using an HDMI video capture card is its ability to capture video in high-definition (HD) and even 4K resolution. This means that you can preserve the quality and clarity of your video content, ensuring that every detail is captured accurately.
Furthermore, an HDMI video capture card offers real-time video capture, which allows for on-the-fly recording and streaming. This is particularly useful for live events, gaming streams, or any application where capturing and broadcasting video in real-time is crucial.
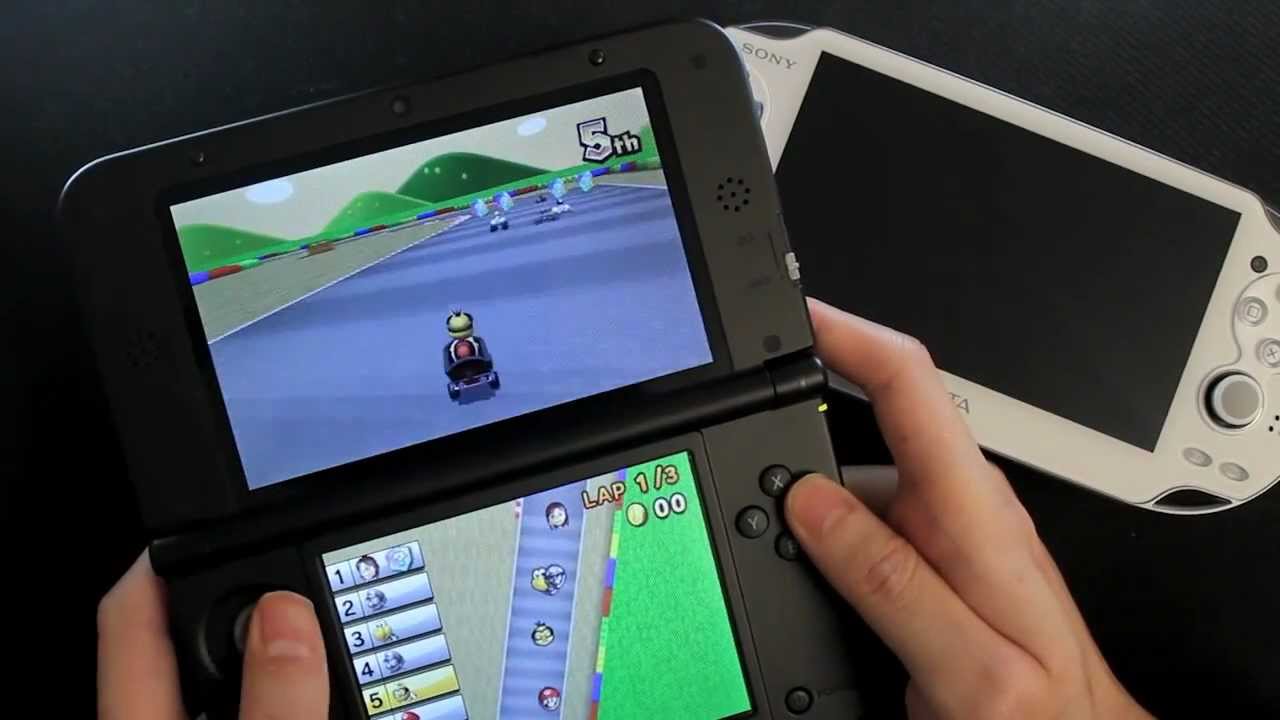
Another benefit of using an HDMI video capture card is its compatibility with various video sources. Whether you’re using a camera, gaming console, DVD player, or any other HDMI-enabled device, the video capture card can seamlessly connect and capture video from these sources.
Additionally, an HDMI video capture card usually comes with software that offers advanced features and settings, such as video editing capabilities, audio mixing, and the ability to capture multiple video sources simultaneously. This allows you to have complete control over your captured video content and customize it according to your specific needs.
Now that we’ve highlighted the advantages of using an HDMI video capture card, the next step is to choose the right one for your needs. In the following sections, we’ll discuss the factors to consider when selecting an HDMI video capture card and guide you through the setup process, connecting your video sources, installing the necessary drivers and software, and capturing and editing your video content.
What is an HDMI Video Capture Card?
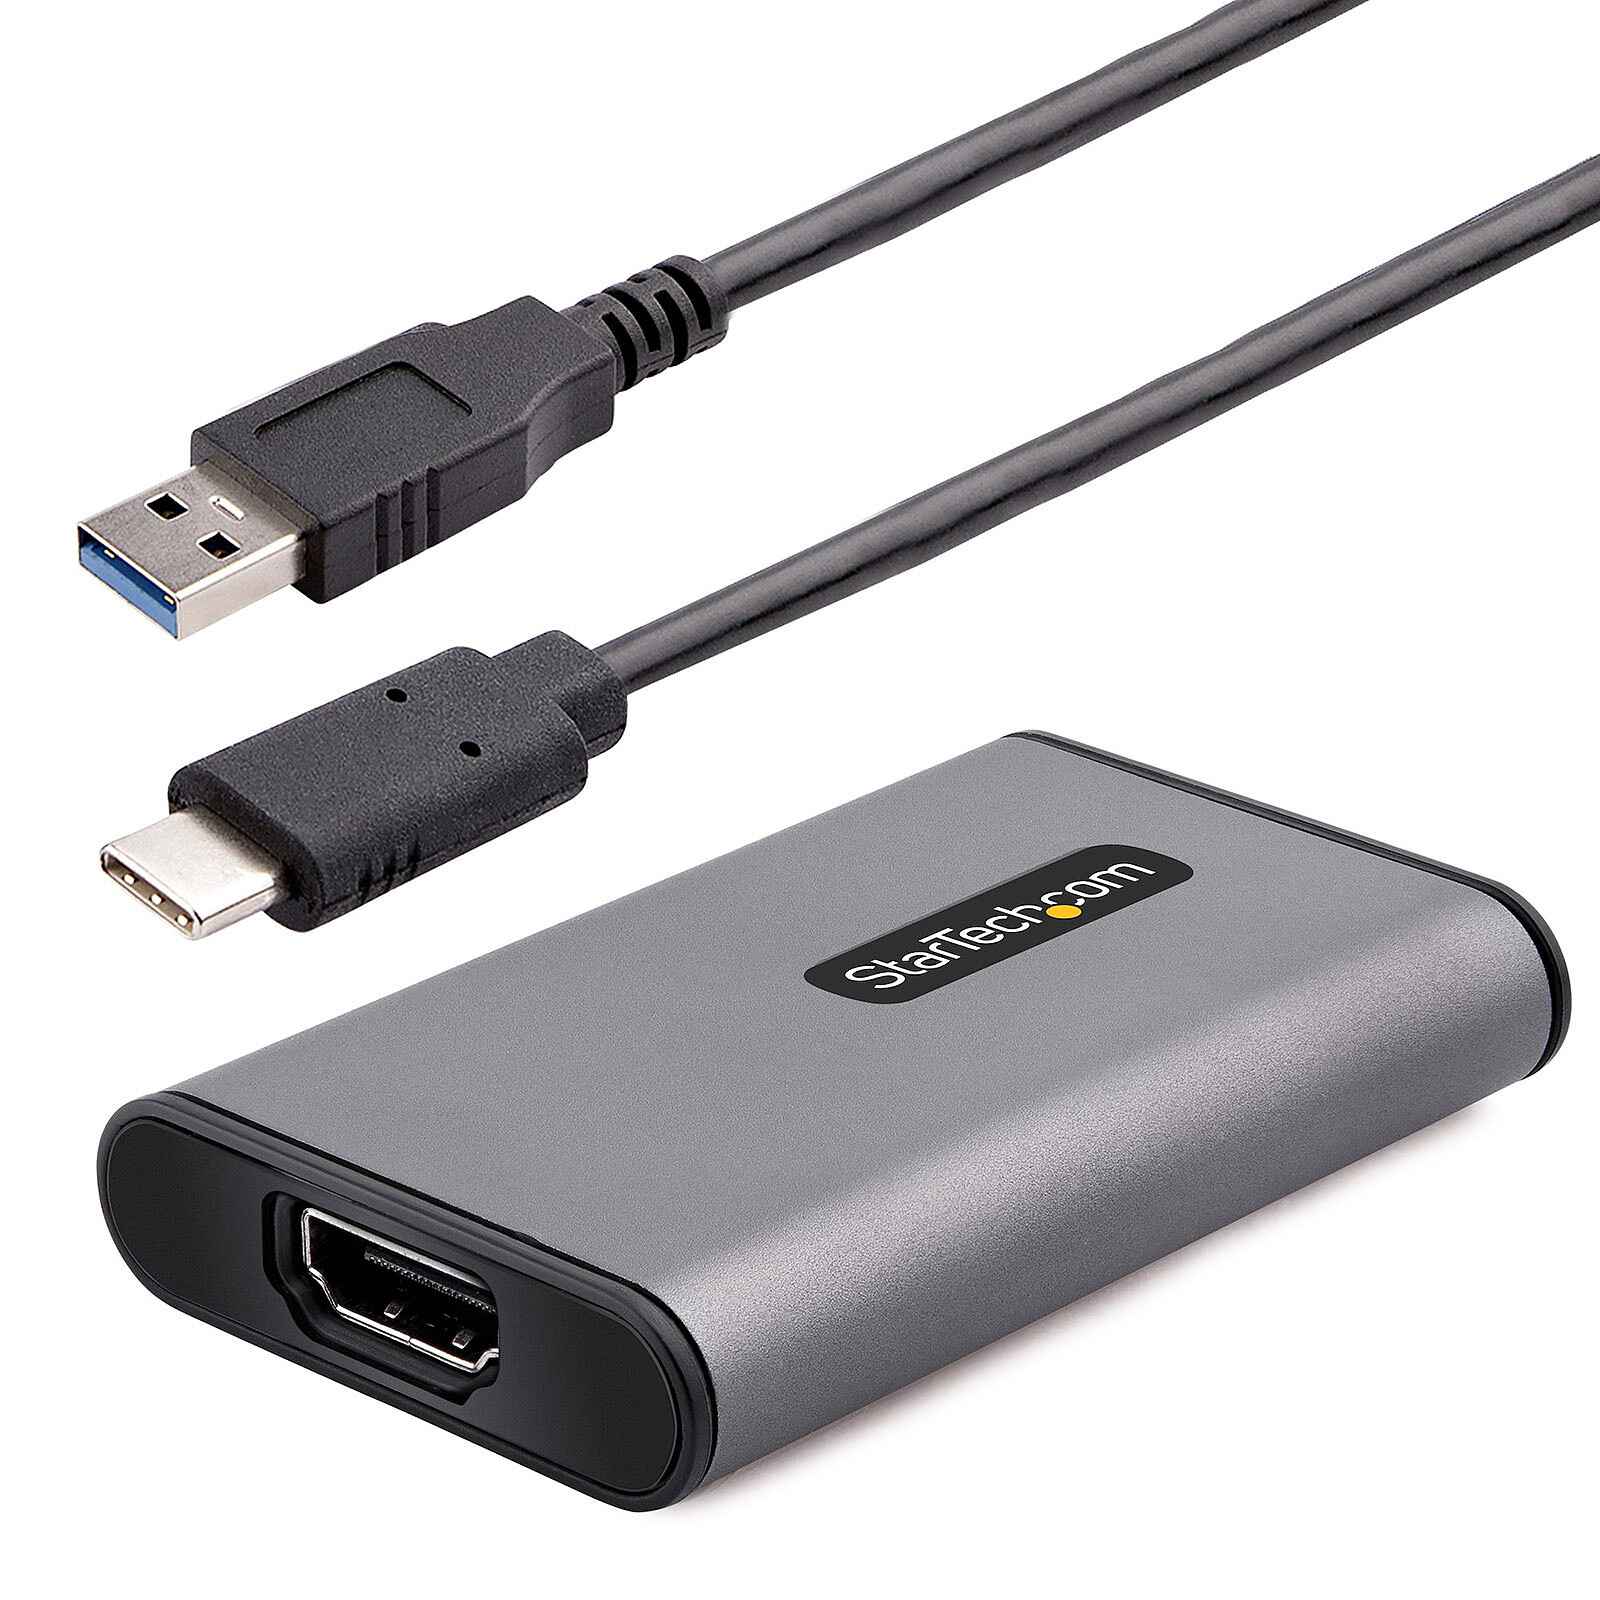
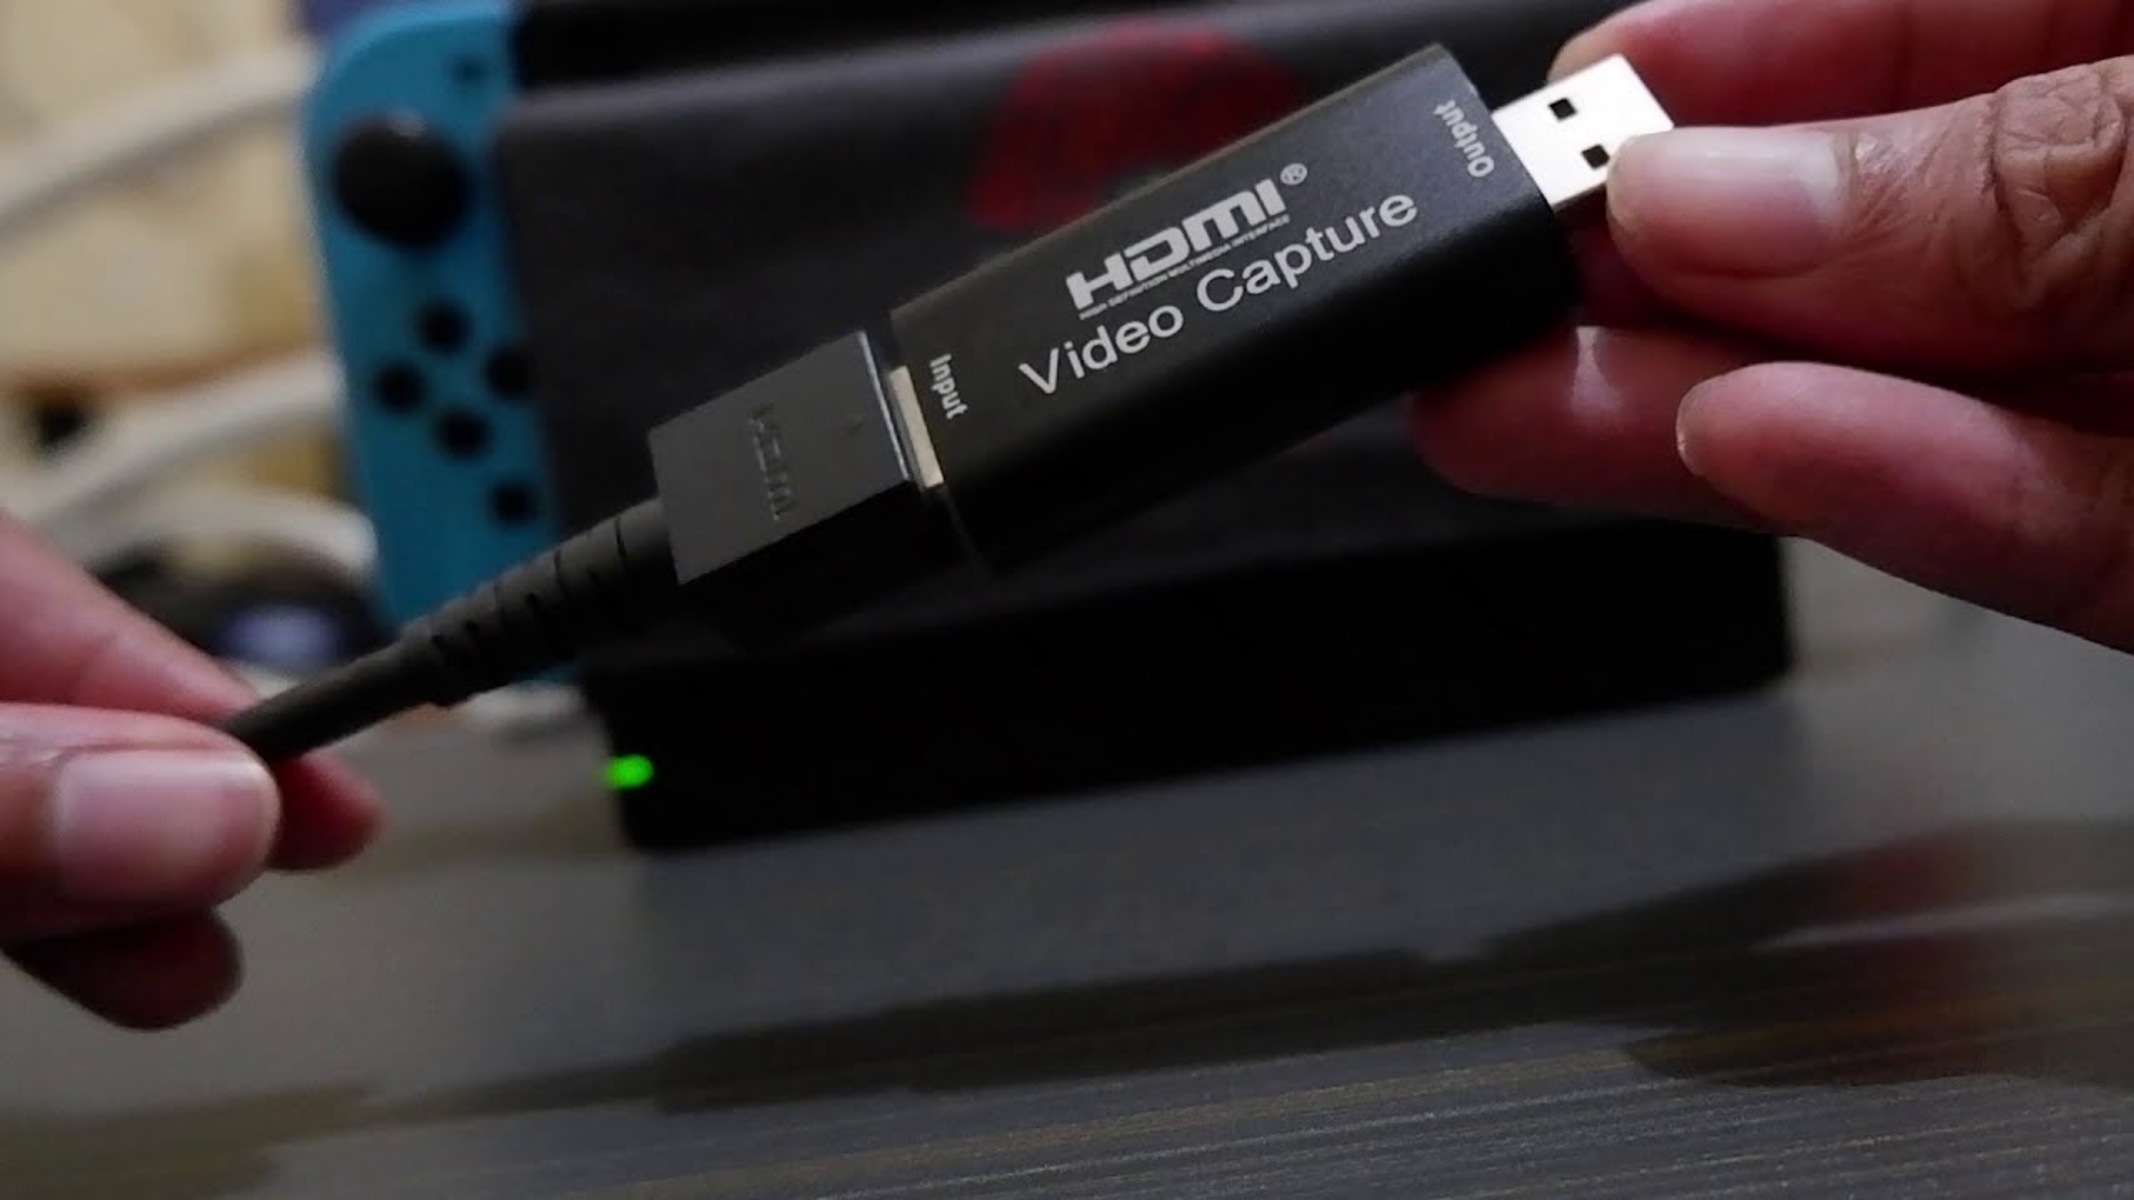
An HDMI video capture card is a device that allows you to capture and record video from various sources and transfer it to your computer. It serves as an intermediary between your video sources (such as cameras, gaming consoles, or DVD players) and your computer, enabling you to capture and save high-quality video content.
The primary function of an HDMI video capture card is to convert the HDMI signal from your video source into a format that can be recognized and processed by your computer. It acts as a bridge between the video source and your computer, ensuring that the video feed is transmitted smoothly and accurately.
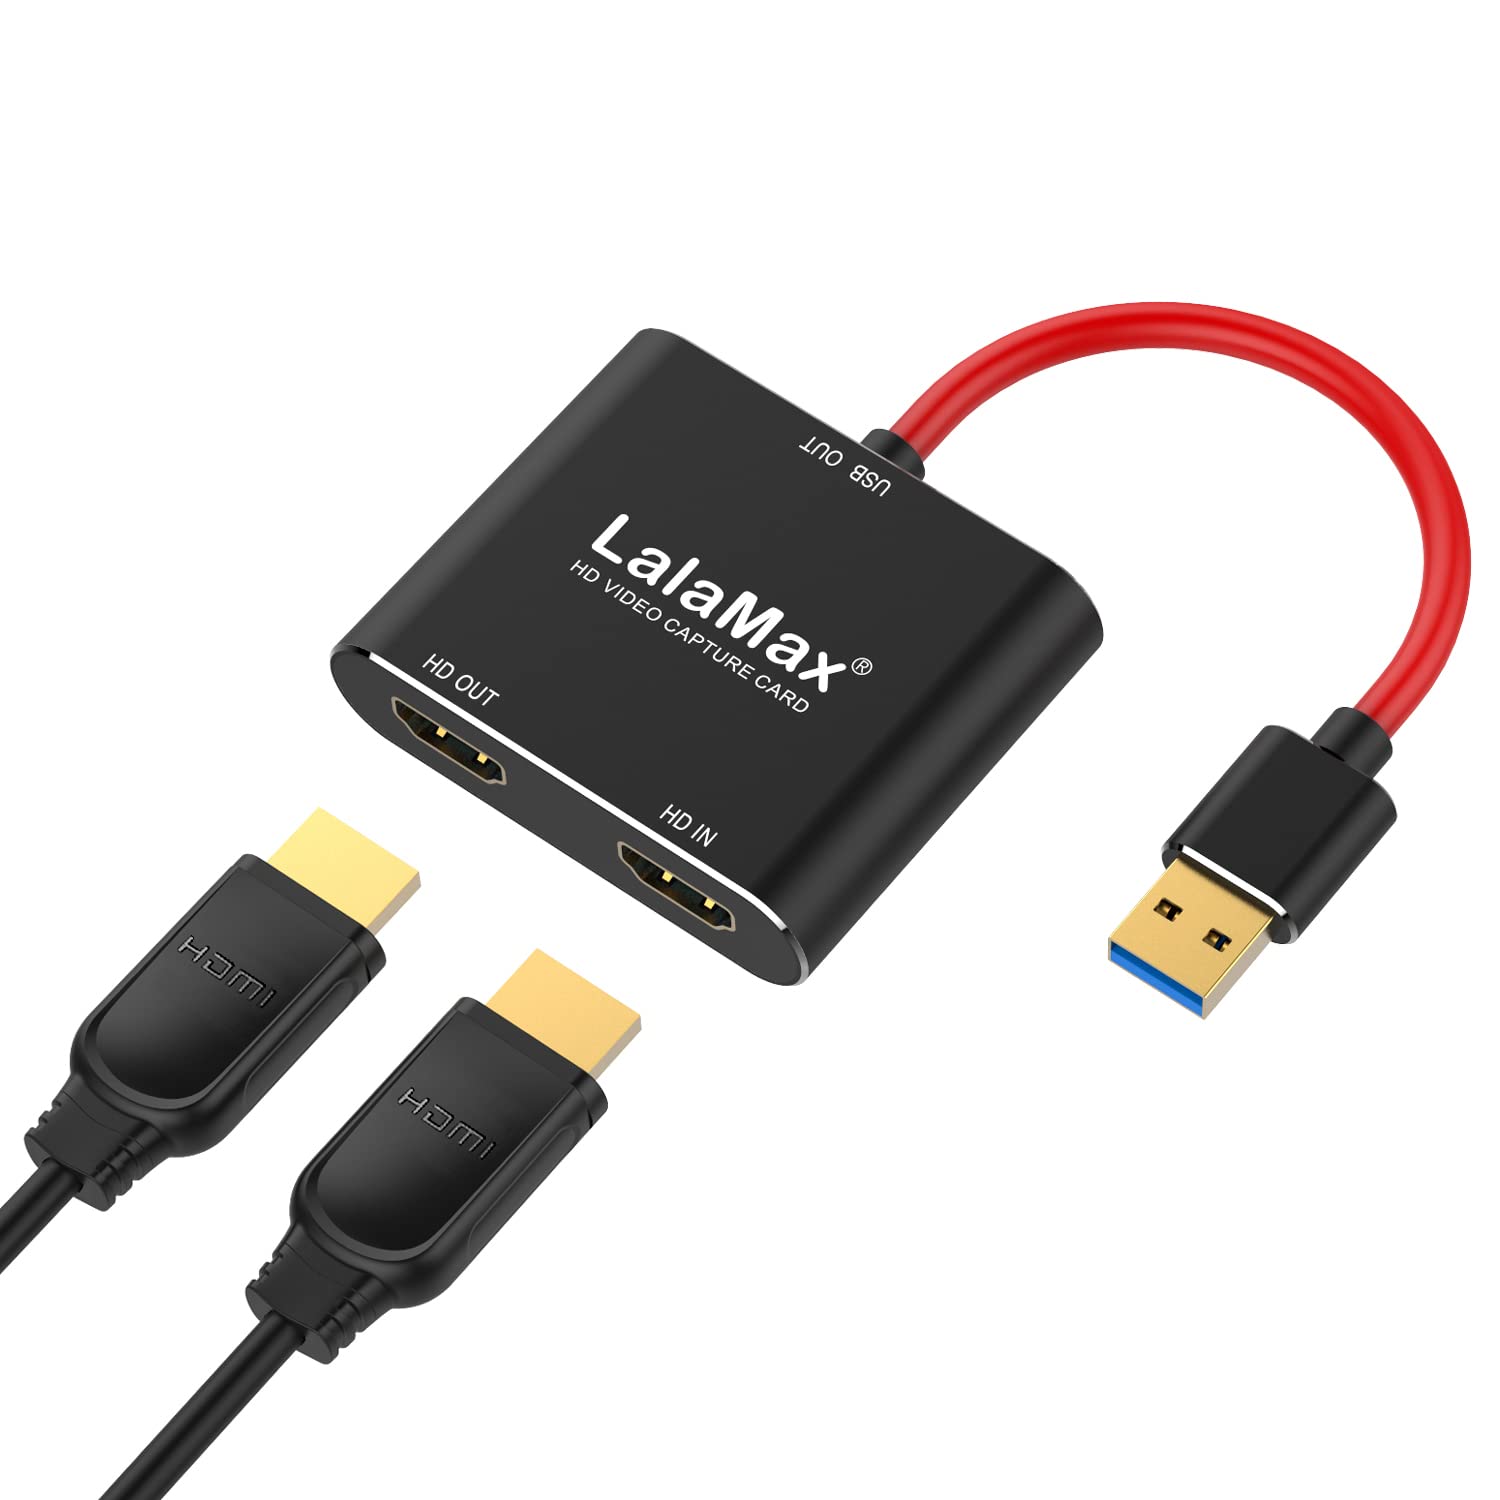
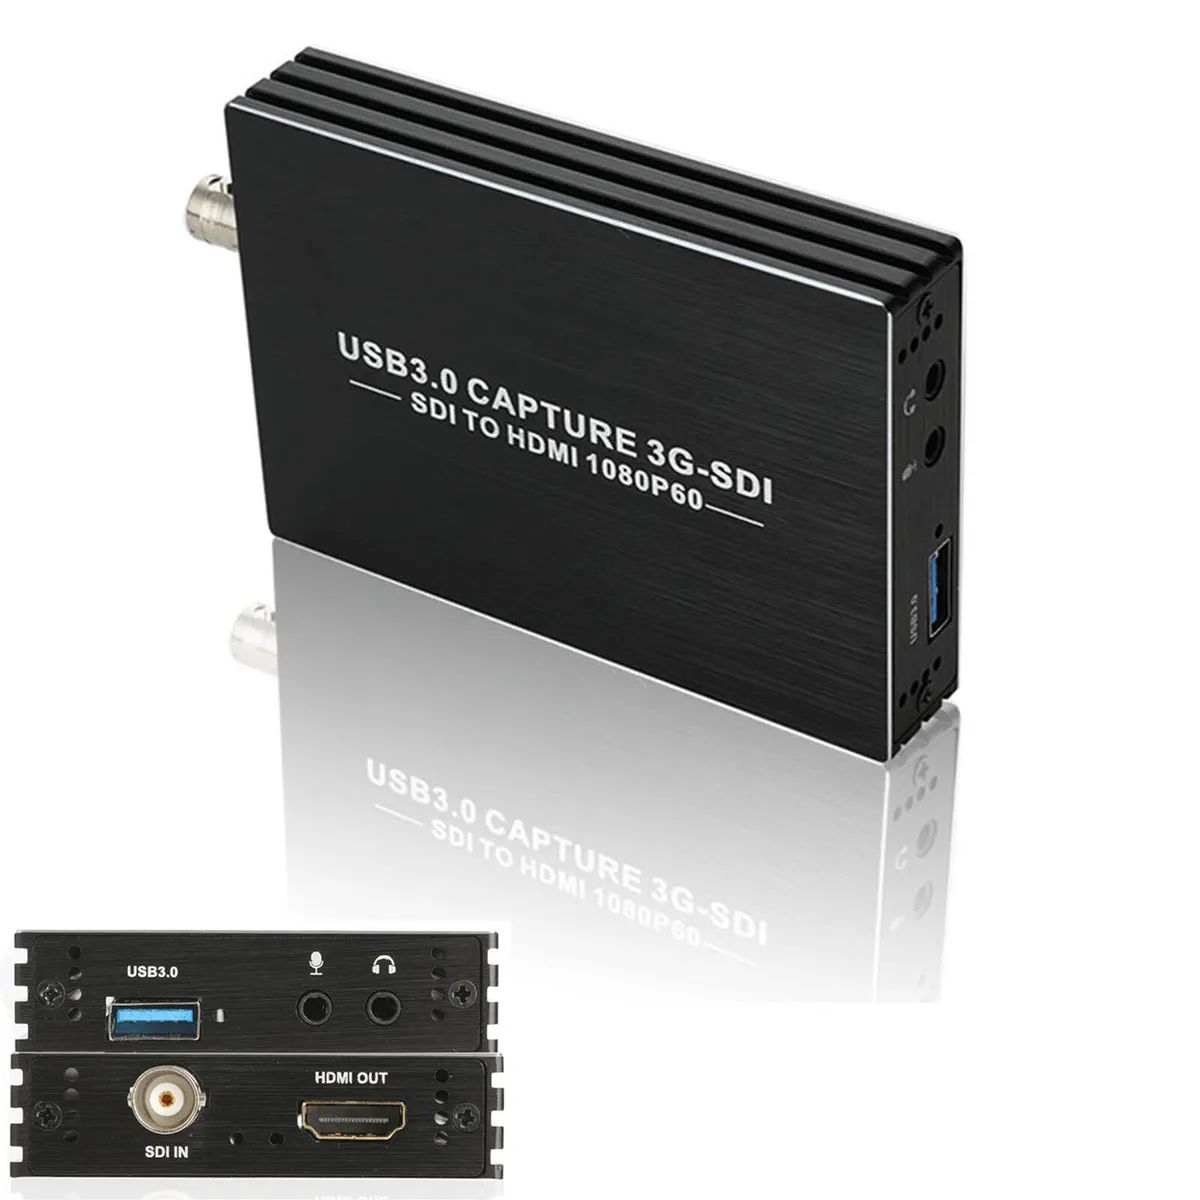
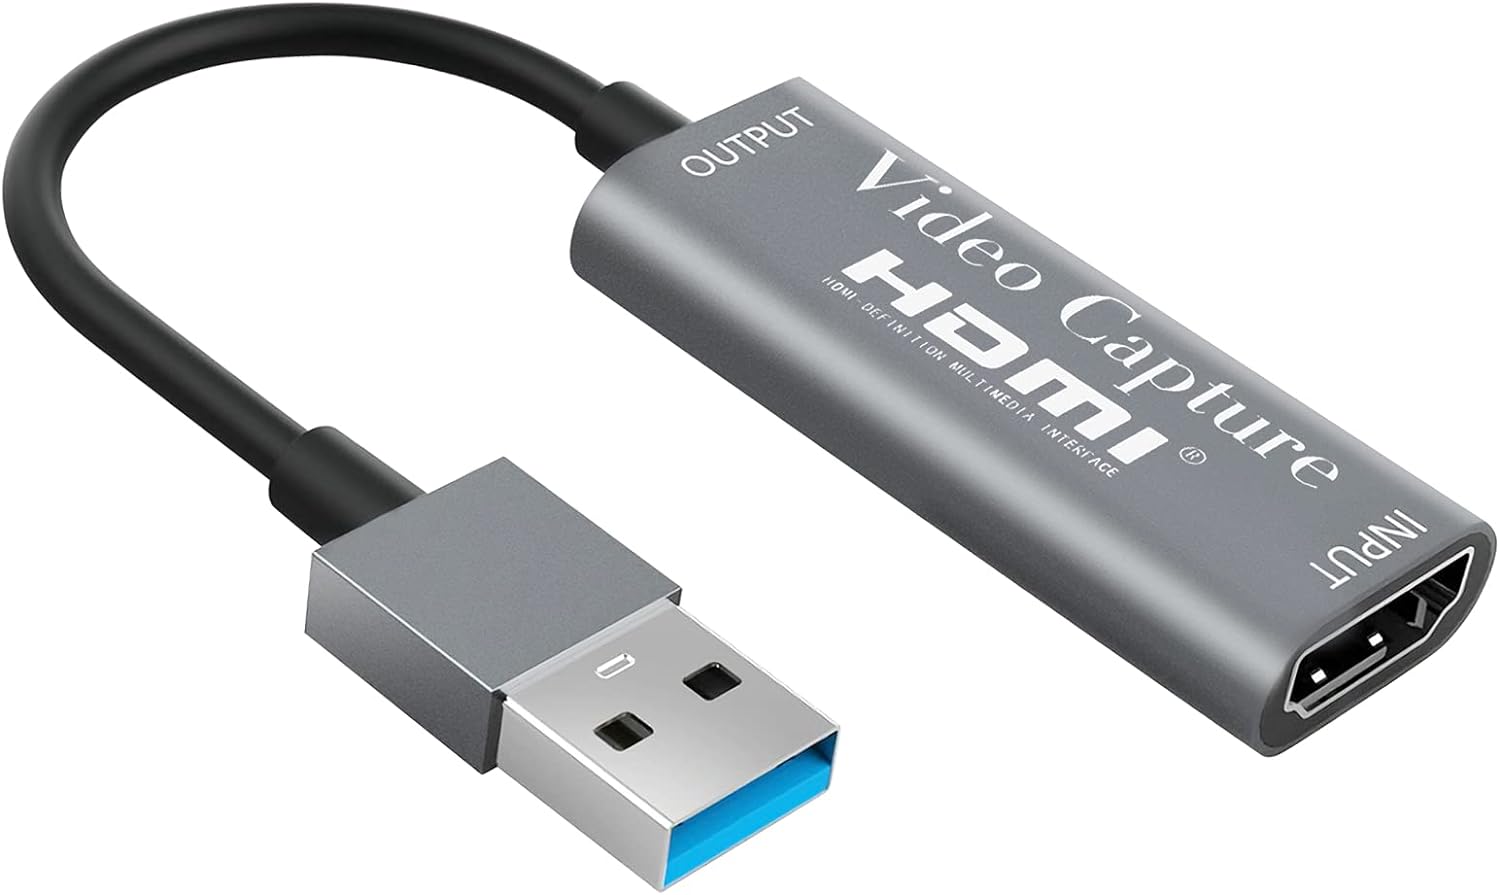
These capture cards typically come equipped with HDMI input ports, where you can connect your video sources using HDMI cables. They also have USB outputs that connect to your computer’s USB ports, allowing for easy data transfer between the capture card and your computer.
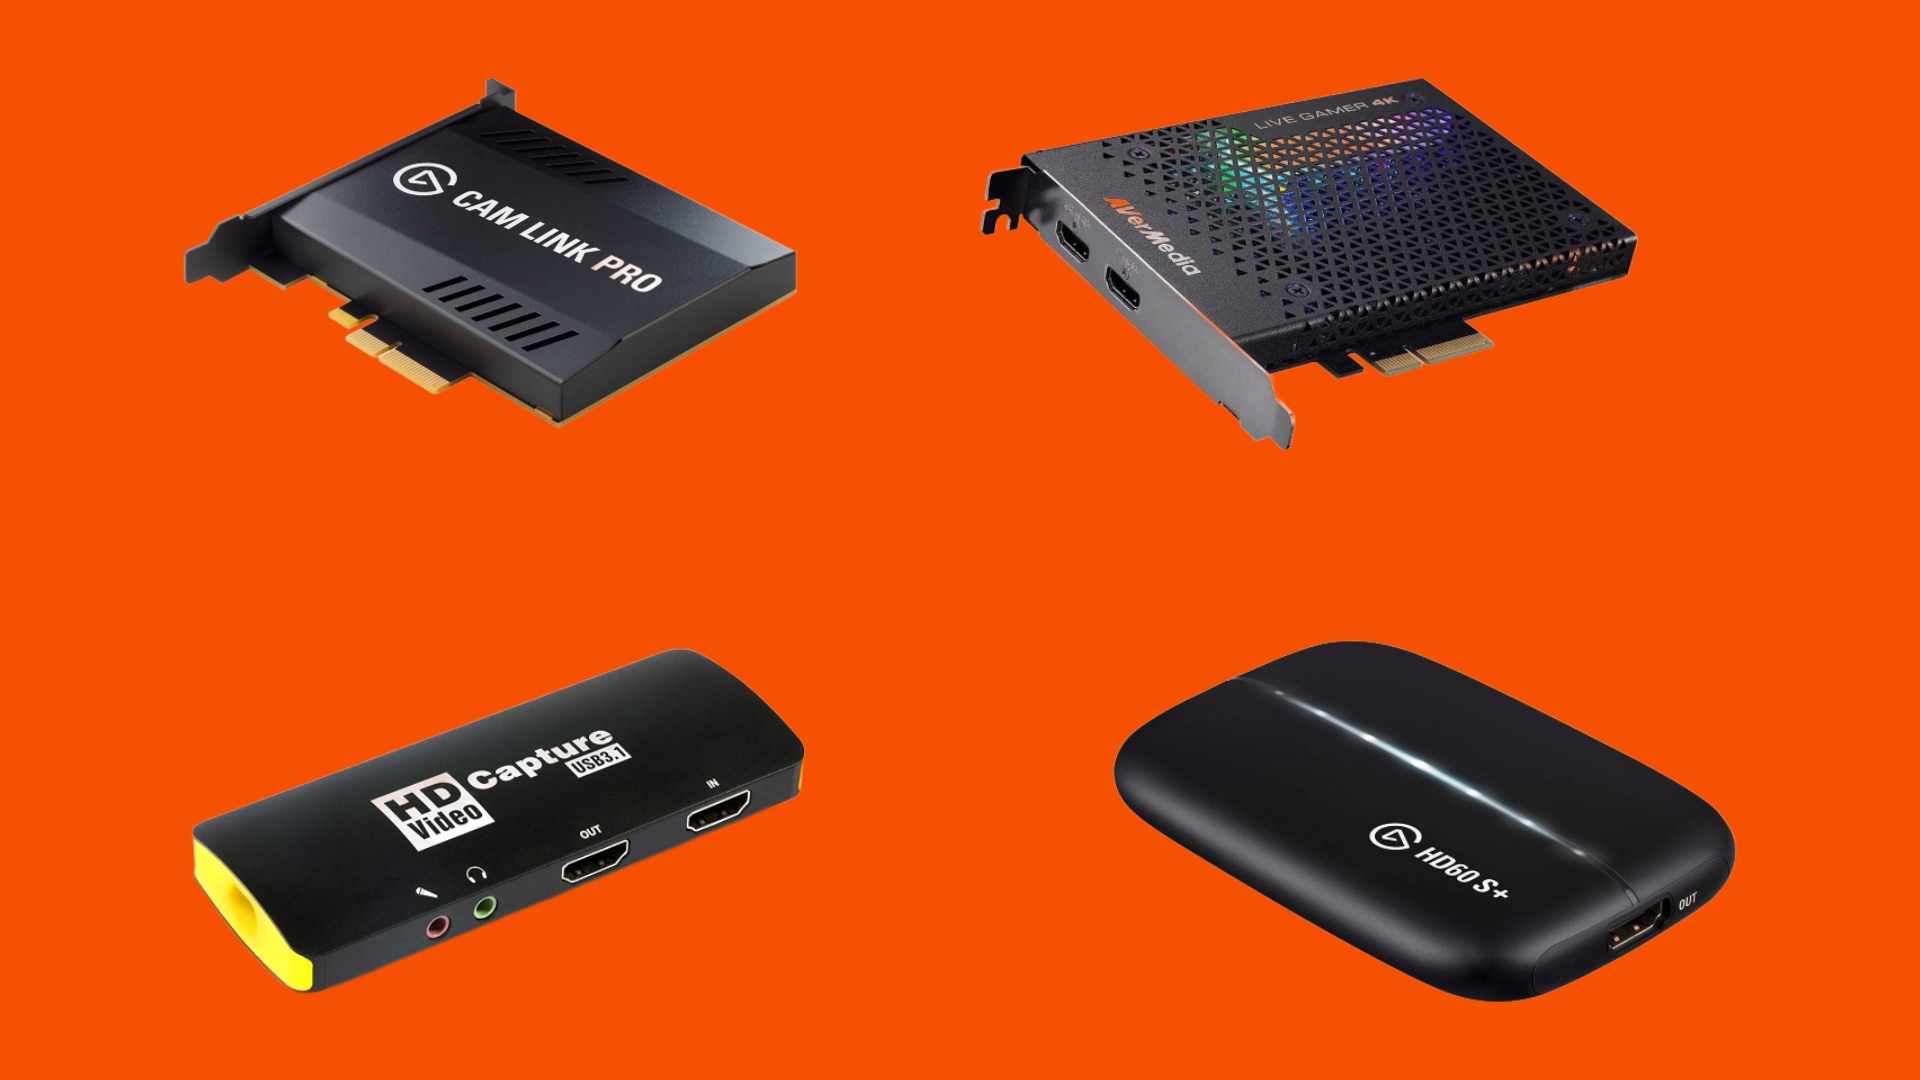
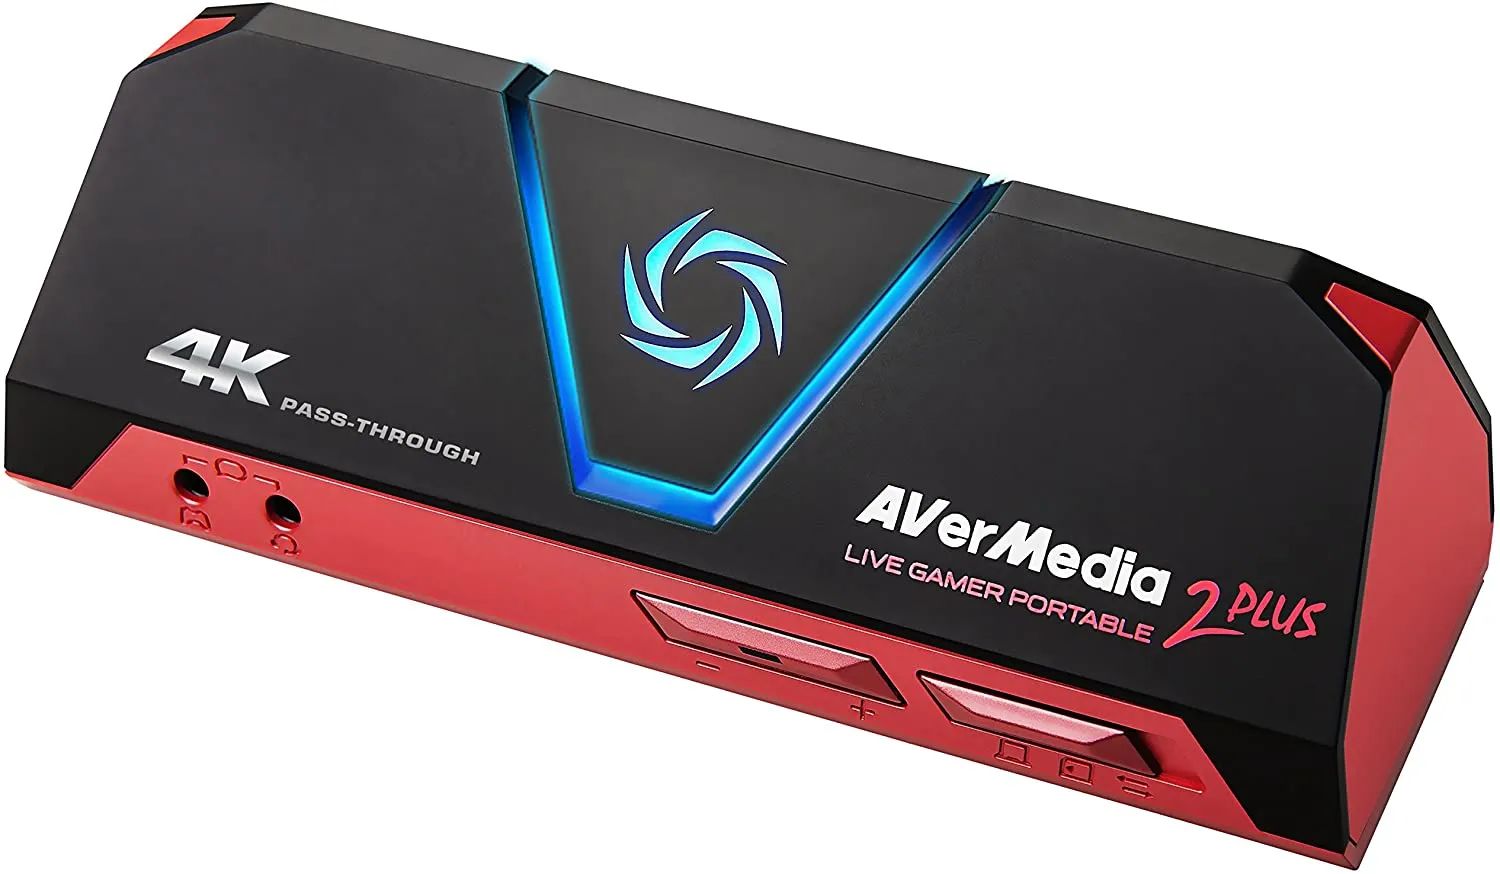
HDMI video capture cards are available in different models, with varying capabilities and features. Some cards are designed for basic video capture, while others offer advanced functionalities, such as the ability to capture in high-definition (HD) or even 4K resolution, real-time streaming, or the ability to capture multiple video sources simultaneously.
One of the main advantages of using an HDMI video capture card is its ability to capture video in high-quality formats. Whether you’re capturing gameplay footage, live events, or any other video content, having a capture card ensures that the video is recorded with optimal clarity and resolution.
Additionally, HDMI video capture cards are compatible with a wide range of video sources. They can connect to various HDMI-enabled devices, such as cameras, gaming consoles, DVD players, and even smartphones, making them versatile tools for capturing video from different sources.
With the rise of live streaming and content creation, HDMI video capture cards have become indispensable tools for many professionals and enthusiasts. They offer the convenience of capturing and recording video directly to your computer, eliminating the need for additional recording devices.
In summary, an HDMI video capture card is a device that allows you to capture and record video from different sources, converting the HDMI signal into a format that can be recognized by your computer. It offers high-quality video capture, compatibility with various devices, and a range of features to enhance your video recording experience.
Benefits of Using an HDMI Video Capture Card
Using an HDMI video capture card can bring numerous benefits to your video capture and recording workflow. Whether you’re a content creator, streamer, or professional in need of capturing high-quality video, an HDMI video capture card can greatly enhance your capabilities. Here are some key benefits of using an HDMI video capture card:
- High-Quality Video Capture: One of the biggest advantages of using an HDMI video capture card is its ability to capture video in high-definition (HD) and even 4K resolution. This ensures that your captured video content retains its clarity, sharpness, and detail, delivering a professional-grade output.
- Real-Time Video Capture and Streaming: HDMI video capture cards offer real-time video capture, allowing you to capture and stream video in real-time. This is especially useful for live events, gaming streams, or any application where capturing and broadcasting video on the spot is crucial.
- Versatility and Compatibility: HDMI video capture cards are compatible with a wide range of video sources. Whether you’re using a camera, gaming console, DVD player, or any other HDMI-enabled device, the capture card can seamlessly connect and capture video from these sources. This versatility allows for diverse video capture scenarios.
- Advanced Features and Settings: Many HDMI video capture cards come bundled with software that offers advanced features and settings. These can include video editing capabilities, audio mixing, green screen support, and even the ability to capture multiple video sources simultaneously. These features provide flexibility and control over your captured video content.
- Easy Setup and User-Friendly Interface: HDMI video capture cards are designed for easy setup and usage. They typically connect to your computer via USB, and the accompanying software provides a user-friendly interface for controlling the video capture process. This makes it accessible to both beginners and experienced users.
- Convenient Recording and Storage: With an HDMI video capture card, you can record your video content directly to your computer’s storage, eliminating the need for additional recording devices. This keeps your workflow streamlined and allows for easy access to your captured video files.
Overall, using an HDMI video capture card elevates your video capture and recording capabilities by providing high-quality video capture, real-time streaming, versatility, advanced features, and user-friendly functionality. Whether you’re a content creator, gamer, or professional in need of video capture capabilities, an HDMI video capture card is a valuable tool that can enhance your video production workflow.
Choosing the Right HDMI Video Capture Card
When it comes to choosing the right HDMI video capture card for your needs, there are several factors to consider. From video quality to compatibility and features, each card has its own specifications and capabilities. Here are some key considerations to help you make an informed decision:
- Video Quality: Determine the video quality you require for your projects. If you need to capture video in high-definition (HD) or even 4K resolution, ensure that the capture card supports these resolutions. Look for a card that can handle the video quality you need without sacrificing performance or introducing lag.
- Compatibility: Check the compatibility of the capture card with your computer’s operating system. Ensure that it supports your computer’s version of Windows, macOS, or Linux. Additionally, consider the compatibility with your video sources. Confirm that the capture card can connect and capture video from the devices you plan to use.
- Connectivity: Consider the available input and output ports on the capture card. HDMI is typically the primary input, but some cards may also have additional input options, such as component or composite. Determine what types of video sources you will be connecting and make sure the capture card has the necessary ports.
- Software and Features: Look for a capture card that comes with intuitive and reliable software. Consider the available features that the software offers, such as video editing capabilities, live streaming options, and the ability to capture from multiple sources simultaneously. Assess whether these features align with your specific requirements.
- Price and Value: Set a budget for your HDMI video capture card and compare the options within that range. While it’s important to consider the price, also think about the value you’ll be getting from the card. Evaluate the card’s performance, durability, and customer reviews to ensure you’re making a worthwhile investment.
- User-Friendly Interface: Consider the ease of use of the capture card’s software interface. A user-friendly interface can make the setup and configuration process more straightforward. Look for a card that offers a clear and intuitive interface, allowing you to navigate the software and control the video capture process effortlessly.
Take your time to research and read reviews about different HDMI video capture cards. Consider your specific needs, budget, and the features that are most important to you. By carefully assessing these factors, you can choose the right HDMI video capture card that perfectly matches your requirements and enhances your video capture and recording experience.
Setting Up Your HDMI Video Capture Card
Setting up your HDMI video capture card is a straightforward process that involves connecting the card to your computer and configuring the necessary settings. Follow these steps to ensure a smooth setup:
- Prepare Your Computer: Before connecting your HDMI video capture card, ensure that your computer meets the system requirements. Make sure you have an available USB port and that your operating system is compatible with the capture card.
- Unbox and Inspect: Unbox your HDMI video capture card and inspect it for any physical damage. Ensure that all necessary accessories, such as cables or installation discs, are included.
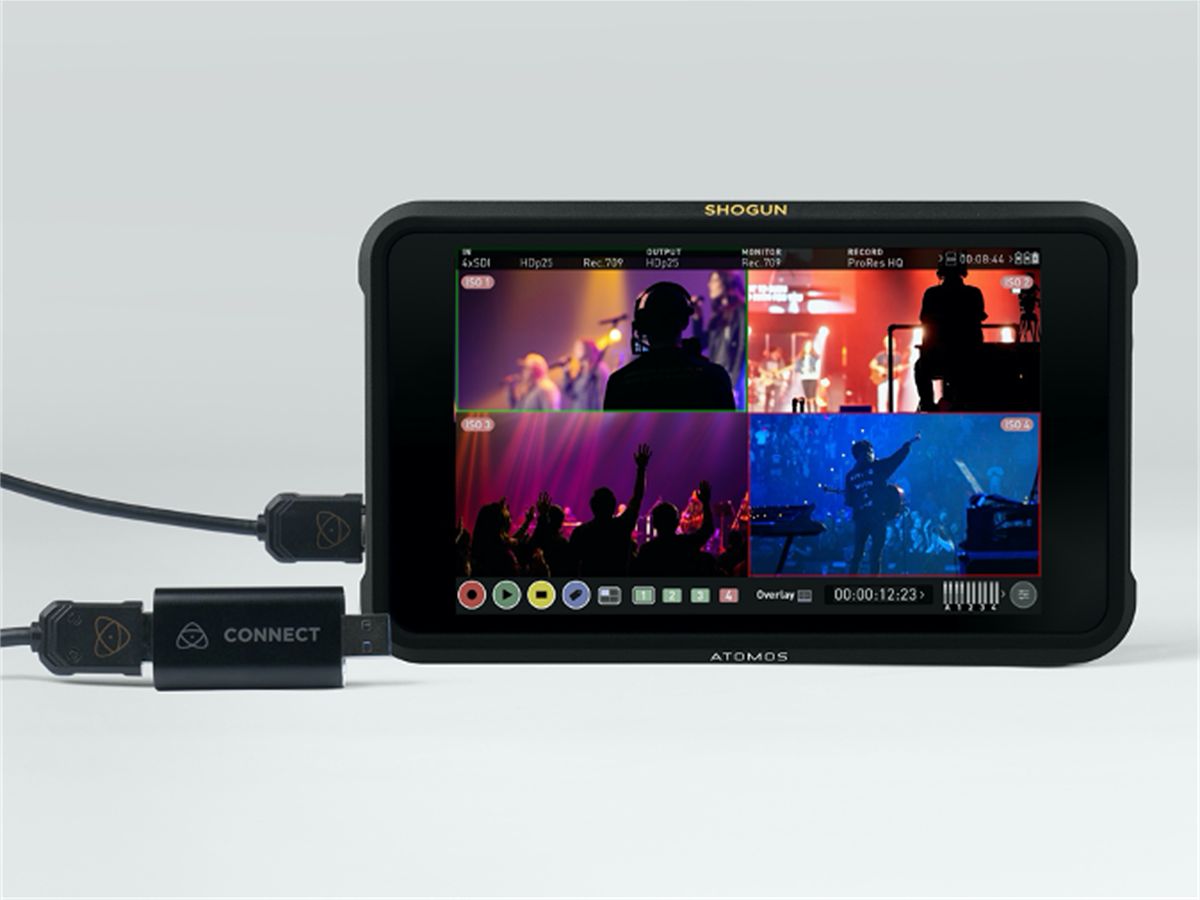
- Connect the Capture Card: Connect one end of the HDMI cable to the HDMI output port of your video source (e.g., camera, gaming console) and the other end to the HDMI input port on the capture card. Then, connect the USB output of the capture card to an available USB port on your computer.
- Install Drivers and Software: Depending on the capture card model, you may need to install drivers and accompanying software. Insert the installation disc into your computer’s CD/DVD drive or download the latest drivers and software from the manufacturer’s website. Follow the on-screen instructions to complete the installation process.
- Configure Capture Settings: Open the software associated with your HDMI video capture card. Ensure that your video source is powered on and displaying content. Access the settings within the software to configure the video capture resolution, frame rate, audio input, and any other relevant options. Adjust the settings according to your preferences and project requirements.
- Test and Troubleshoot: Connect to the video source and launch the software to test the video capture. Verify that the video feed is captured correctly and that audio is being captured as desired. Adjust any settings or troubleshoot any issues that may arise, such as video lag, audio sync, or compatibility errors.
- Secure and Organize: Once you have successfully set up your HDMI video capture card, secure the connections and organize any cables to prevent accidental disconnections or tangling. Keep your capture card and associated accessories in a safe and easily accessible location.
By following these steps, you can effectively set up your HDMI video capture card and start capturing high-quality video content. Remember to consult the user manual that comes with your specific capture card for any additional instructions or troubleshooting tips.
Connecting Your Video Sources
Connecting your video sources to your HDMI video capture card is a crucial step in the setup process. Properly establishing these connections ensures that you can capture video content from your desired sources. Here’s a step-by-step guide on how to connect your video sources to your HDMI video capture card:
- Identify Your Video Sources: Determine the devices that you want to capture video from. Common video sources include cameras, gaming consoles, DVD players, and computers. Ensure that your video sources have HDMI output connections.
- Gather the Necessary Cables: Depending on your video sources and the capture card’s input options, you may need HDMI cables or other types of cables, such as component or composite. Check the specifications of your video sources and capture card to determine the appropriate cable types and lengths.
- Power Off Your Video Sources: Before making any connections, make sure to power off your video sources. This prevents any potential damage that may occur while connecting or disconnecting cables.
- Connect the HDMI Cable: Take one end of an HDMI cable and insert it into the HDMI output port of your video source. Make sure the cable is securely plugged in. Then, connect the other end of the HDMI cable to the HDMI input port on your HDMI video capture card.
- Secure the Cable Connections: Ensure that all cable connections are secure and snug. Loose or unstable connections can lead to video or audio quality issues. Double-check that the cables are properly inserted and fastened to maintain a stable connection.
- Repeat for Additional Video Sources: If you have multiple video sources that you want to capture, repeat the previous steps for each source. Connect each video source’s HDMI output to an available HDMI input port on your capture card. This allows you to switch between video sources during the capture process.
- Power On Your Video Sources: Once all connections are made, power on your video sources. This enables the video content to feed through the HDMI cables and into your capture card, ready to be recorded or streamed.
It’s important to note that some video sources may have specific settings that need to be adjusted for successful video capture. For example, you may need to configure the output resolution of your gaming console or camera to match the desired resolution of your video capture. Consult the user manual or online resources for your specific video sources to ensure proper configuration.
By following these steps and ensuring secure and proper connections, you’ll be able to connect your video sources to your HDMI video capture card effectively. This enables you to capture high-quality video content from various devices for your recording or streaming needs.
Installing the Drivers and Software
Installing the drivers and software for your HDMI video capture card is an essential step to ensure proper functionality and configuration. The drivers and software provide the necessary communication between the capture card and your computer. Follow these steps to install the drivers and software:
- Check the Manufacturer’s Website: Visit the manufacturer’s website of your HDMI video capture card. Look for the “Support” or “Downloads” section to find the latest drivers and software for your specific model.
- Download the Drivers and Software: Locate and download the appropriate drivers and software for your operating system. Ensure that you select the correct version compatible with your computer’s OS, such as Windows, macOS, or Linux.
- Extract the Downloaded Files: Once the download is complete, navigate to the downloaded files and extract them if necessary. This may involve running an installer file or unzipping a compressed folder.
- Run the Installer: If you have an installer file, double-click on it to initiate the installation process. Follow the on-screen prompts and instructions to proceed with the installation. Agree to any license agreements and choose the desired installation settings.
- Connect the Capture Card (if prompted): Some installers may prompt you to connect the HDMI video capture card to your computer before proceeding with the installation. If prompted, ensure that the capture card is connected to an available USB port on your computer.
- Complete the Installation: Continue following the instructions provided by the installer until the installation is complete. This may involve selecting destination folders, creating shortcuts, or configuring additional settings.
- Restart Your Computer: After the installation is finished, it’s recommended to restart your computer. This ensures that all components and drivers are properly initialized and ready for use.
- Launch the Software: After restarting your computer, locate the software associated with your HDMI video capture card. Double-click the icon to launch the software. Take some time to familiarize yourself with the interface and available settings.
- Check for Updates: It’s important to periodically check for software updates from the manufacturer’s website. Updates may include bug fixes, new features, or improved compatibility. Follow the manufacturer’s instructions to install any available updates for your capture card’s software.
It’s crucial to download and install the drivers and software provided by the manufacturer, as third-party drivers may not provide optimal functionality or compatibility. Following these steps ensures that your HDMI video capture card is recognized by your computer and ready for use.
If you encounter any issues during the installation process, consult the support resources available on the manufacturer’s website or refer to the instruction manual that comes with your capture card.
Configuring the Capture Card Settings
Configuring the settings of your HDMI video capture card is crucial to ensure optimal performance and customization. The settings allow you to adjust various aspects of the capture card’s functionality according to your specific needs. Follow these steps to configure the capture card settings:
- Launch the Software: Open the software associated with your HDMI video capture card by double-clicking the icon on your computer. The software allows you to access and adjust the capture card’s settings.
- Select the Video Source: In the software interface, locate the option to select the video source. This may be presented as a drop-down menu or a separate panel. Choose the appropriate video source you want to capture from, such as the camera, gaming console, or DVD player connected to your capture card.
- Adjust Video Resolution and Frame Rate: Depending on your capture card and software, you may have the ability to adjust the video resolution and frame rate settings. Use the designated controls or settings to select the desired resolution and frame rate for your captured videos. Higher resolutions and frame rates often result in higher-quality video, but they may require more computer resources.
- Configure Audio Settings: If your HDMI video capture card supports audio capture, locate the audio settings in the software. Ensure that the audio input is correctly assigned to the desired source, such as the built-in microphone or an external audio interface connected to your computer.
- Customize Recording Format and Destination: Explore the software settings to customize the recording format and destination for your captured video files. These options may include selecting the file format (such as MP4 or AVI), designating the save location on your computer, and adjusting any compression settings.
- Explore Advanced Settings: Depending on your HDMI video capture card and accompanying software, you may have access to advanced settings. This can include features such as video overlays, green screen support, chroma keying, and more. Take the time to experiment and familiarize yourself with these settings to leverage the full potential of your capture card.
- Save and Apply Settings: Once you have configured the desired settings, locate the option to save or apply the changes. This ensures that the next time you launch the software, your preferred settings are already in place.
- Test the Settings: After applying the settings, test the video and audio capture to ensure everything is functioning as intended. Start a recording or live stream and monitor the results to verify that the resolution, frame rate, and audio quality meet your expectations.
- Refine and Fine-Tune: As you use your HDMI video capture card, you may discover the need for further adjustments and fine-tuning. Take note of any issues, such as audio sync problems or video lag, and explore the software settings again to address these concerns.
Remember that the available settings and options may vary depending on the manufacturer and model of your HDMI video capture card. Consult the user manual or online resources provided by the manufacturer for specific instructions and guidance on configuring your capture card’s settings.
By taking the time to properly configure the settings of your HDMI video capture card, you can ensure optimal video and audio quality while capturing your desired video content.
Capturing and Recording Video
Once you’ve set up and configured your HDMI video capture card, you’re ready to start capturing and recording video. Follow these steps to effectively capture and record your video content:
- Launch the Capture Software: Open the software associated with your HDMI video capture card. Ensure that your video source is connected and powered on.
- Select the Video Source: In the software, choose the appropriate video source that you want to capture from. This could be your camera, gaming console, or any other HDMI-enabled device connected to your capture card.
- Preview the Video Feed: Most capture software provides a live preview of the video feed from your selected source. Make sure that the video content is properly displayed on your computer screen.
- Start the Capture: Locate the “Start Capture” or “Record” button in the software interface. Click on it to begin capturing and recording the video. Ensure that the record button is toggled to the “on” position.
- Monitor the Capture: Keep an eye on the video preview and the capture software during the recording process. Monitor for any issues such as audio sync problems, video lag, or dropped frames.
- Stop the Capture: Once you’ve recorded the desired video content, click on the “Stop Capture” or “Stop Recording” button in the software. This will end the recording and save the video file to your designated storage location.
- Review and Verify: After capturing the video, take a moment to review and verify the recording. Play back the video file to ensure that it meets your expectations in terms of video quality, audio clarity, and overall content.
- Organize and Manage Files: Create a proper file management system to organize and manage your captured video files. Create separate folders, apply meaningful names, and consider adding metadata or tags to easily locate and retrieve specific videos in the future.
- Backup your Files: It’s essential to regularly back up your captured video files to prevent loss or corruption. Consider using external hard drives, cloud storage, or other backup methods to ensure the safety and accessibility of your video content.
It’s worth noting that the capture software associated with your HDMI video capture card may offer additional features such as live streaming, video editing, or scheduling recordings. Take the time to explore these options and leverage the full capabilities of your capture software.
With these steps, you can effectively capture and record video content using your HDMI video capture card. The process allows you to preserve high-quality video footage for further editing, sharing, or archiving, depending on your needs.
Editing and Exporting Your Captured Video
Once you have captured video using your HDMI video capture card, you may want to perform editing tasks to refine and enhance your footage. Editing allows you to trim, add effects, incorporate transitions, and make other adjustments to create a polished final product. Here are the steps to edit and export your captured video:
- Select Editing Software: Choose a video editing software that suits your needs. There are various options available, ranging from beginner-friendly tools to professional-grade software. Some popular choices include Adobe Premiere Pro, Final Cut Pro, iMovie, and DaVinci Resolve.
- Import Your Captured Video: Open your video editing software and import the captured video footage into the project. Most software has a dedicated import function that allows you to browse through your files and select the desired clips.
- Arrange Your Footage: Drag and drop the imported video clips onto the timeline of your editing software. Arrange them in the desired order to create a cohesive sequence.
- Trim and Cut: Trim any unwanted portions of your video footage by setting in and out points on the timeline. This process helps eliminate any mistakes or unnecessary footage and ensures a smooth flow in your final video.
- Apply Transitions and Effects: Enhance your video by adding transitions between clips and applying effects such as color correction, filters, or visual enhancements. Experiment with different effects to achieve the desired look and feel of your video.
- Add Titles and Text: Introduce titles, subtitles, or text overlays to provide context or enhance the storytelling of your video. Most editing software provides tools for creating and customizing text elements.
- Add Music and Audio: Enhance the viewing experience of your video by incorporating background music or adjusting audio levels. Import audio tracks or use the audio captured along with your video to create a balanced and engaging audiovisual experience.
- Review and Fine-Tune: Watch your edited video in its entirety and make any necessary adjustments. Pay attention to the pacing, transitions, and overall flow of the footage to ensure a cohesive and engaging video.
- Export the Final Video: Once you are satisfied with the editing, choose the export function in your editing software. Select the desired output settings, such as resolution, format, and file size, and initiate the export process. Wait for the software to render and save the final edited video file.
- Share or Publish: After exporting, your video is now ready to be shared or published. Upload it to your preferred platforms, such as social media, video hosting websites, or personal websites, to reach your intended audience.
It’s important to note that learning video editing techniques takes time and practice. Take advantage of tutorials, online resources, and community forums to improve your editing skills and explore advanced editing techniques.
By following these steps, you can successfully edit and export your captured video, transforming it into a finalized and polished piece of content.
Troubleshooting Common Issues
While using an HDMI video capture card, you may encounter certain issues that can affect the video capture and recording process. Understanding and troubleshooting these common issues can help ensure a smooth experience. Here are some common issues and troubleshooting steps:
- No Video Signal: If you’re encountering a black screen or a “No Signal” message on your capture software, check the connections between your video source and the capture card. Confirm that the HDMI cable is securely connected to both devices. If the issue persists, try using a different HDMI cable or a different HDMI port on your video source.
- Poor Video Quality: If your captured video appears blurry or pixelated, ensure that the capture card is set to capture at the desired resolution and frame rate. Review the settings within the capture software and adjust them accordingly. Additionally, verify that your video source is outputting a high-quality signal.
- Audio Sync Issues: If the audio in your captured video is out of sync with the video, check the settings in your capture software to ensure that the audio input is properly synced with the video source. You can try adjusting the audio delay or latency settings in the software to synchronize the audio and video playback.
- Frame Drop or Lag: If you are experiencing dropped frames or video lag during capturing or live streaming, it might be a resource issue. Make sure that your computer meets the system requirements for both the capture card and the capture software. Adjusting the capture settings to a lower resolution or frame rate can also help alleviate this problem.
- Incompatibility with Software: Sometimes, the capture card might not be fully compatible with certain capture software applications. Ensure that you are using the latest version of the capture software that is recommended by the capture card manufacturer. In some cases, you may need to try a different software solution that is known to be compatible with your specific capture card model.
- Driver Issues: If you encounter driver-related issues, such as the capture card not being detected by your computer, make sure that you have installed the latest drivers provided by the capture card manufacturer. Check the manufacturer’s website for any updated drivers or firmware releases. Uninstalling and reinstalling the drivers can also resolve driver-related problems.
If you encounter any other specific issues or error messages while using your HDMI video capture card, consult the user manual provided with your capture card or visit the manufacturer’s website for troubleshooting guides and support resources. Additionally, online forums and communities can be a valuable source of information where you may find solutions from other users who have experienced similar issues.
Remember that troubleshooting steps may vary depending on the specific model and manufacturer of your HDMI video capture card, as well as the capture software you are using. Understanding the functionalities and limitations of your equipment will help you identify and resolve issues more effectively.
Conclusion
Using an HDMI video capture card opens up a world of possibilities for content creators, gamers, and professionals seeking to capture and record high-quality video. These cards provide a bridge between your video sources and your computer, allowing you to capture, record, and stream video content with ease.
In this article, we have explored the functionality and benefits of using an HDMI video capture card. We discussed how these cards enable high-quality video capture, real-time streaming, and compatibility with various video sources. We also highlighted the importance of choosing the right capture card that meets your specific needs.
We then delved into the setup process, including connecting your video sources and installing the necessary drivers and software. We provided guidance on configuring the capture card settings, along with troubleshooting common issues that may arise during the usage of an HDMI video capture card.
Finally, we covered the post-capture phase, including editing and exporting your captured video. We emphasized the importance of selecting the appropriate video editing software, importing and organizing your video footage, and applying various editing techniques to enhance the final product.
Remember, using an HDMI video capture card is an ongoing learning process. With practice, you will become more proficient in capturing, recording, and editing video content. Continuously seek resources, tutorials, and engage with the community to refine your skills and stay updated with the latest techniques and software updates.
By effectively utilizing an HDMI video capture card, you can take your video production capabilities to new heights. Capture and share your memorable moments, create engaging content, or level up your streaming game effortlessly. Embrace the power of an HDMI video capture card and unleash your creativity.