Introduction
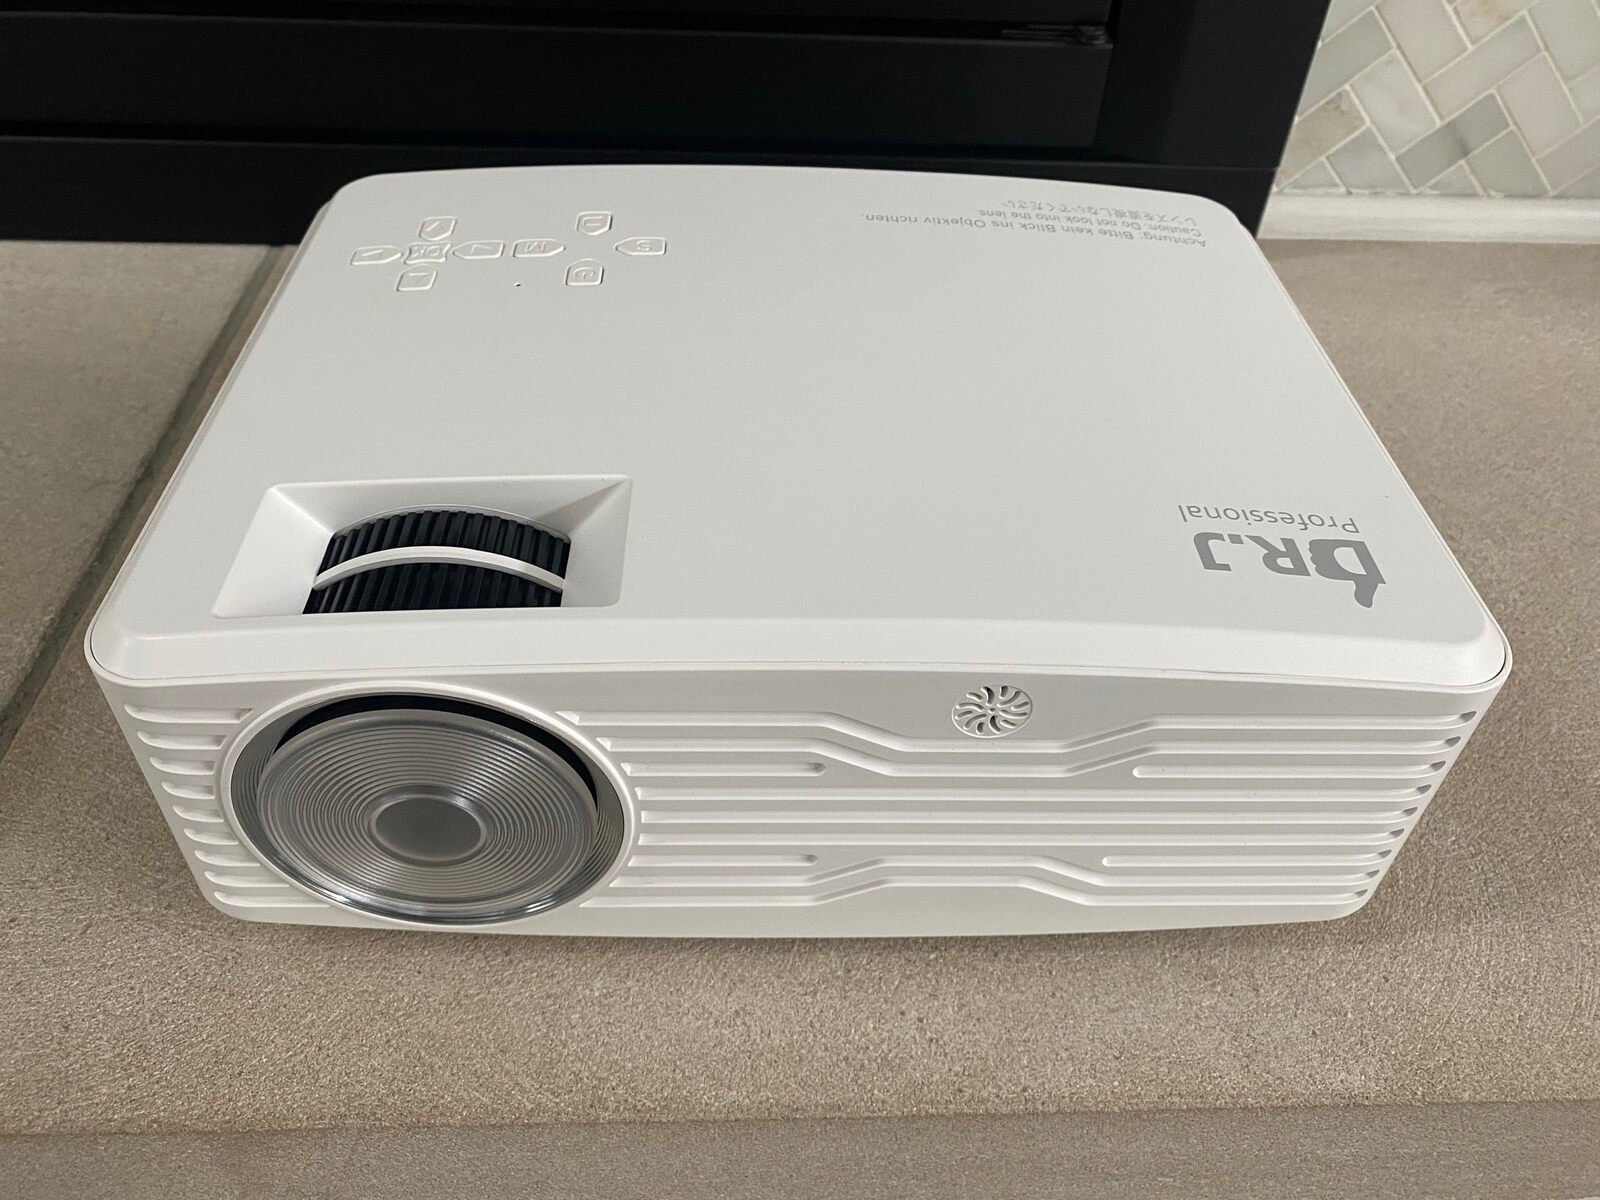
The Dr J projector is a versatile and portable device that allows you to project videos, images, and presentations onto a larger screen. With its easy-to-use interface and compact design, it has become a popular choice for those looking to enhance their multimedia experience. One of the key features of the Dr J projector is its compatibility with iPhone, making it convenient for iPhone users to enjoy their favorite content on a bigger screen.
In this article, we will guide you through the process of using the Dr J projector with your iPhone. Whether you want to watch movies, share photos with friends and family, or give presentations, this step-by-step tutorial will help you get started.
By following these instructions, you will be able to connect your iPhone to the Dr J projector, adjust the necessary settings, select the content you want to project, position the projector for optimal viewing, and adjust the settings to achieve the best image quality. Soon, you’ll be enjoying an immersive and captivating projection experience right from your iPhone.
So, let’s get started and learn how to make the most out of your Dr J projector with your iPhone!
Step 1: Connecting the Dr J projector to your iPhone
The first step in using the Dr J projector with your iPhone is to establish a connection between the two devices. This can be done easily by following these simple steps:
- Ensure that both the Dr J projector and your iPhone are powered on.
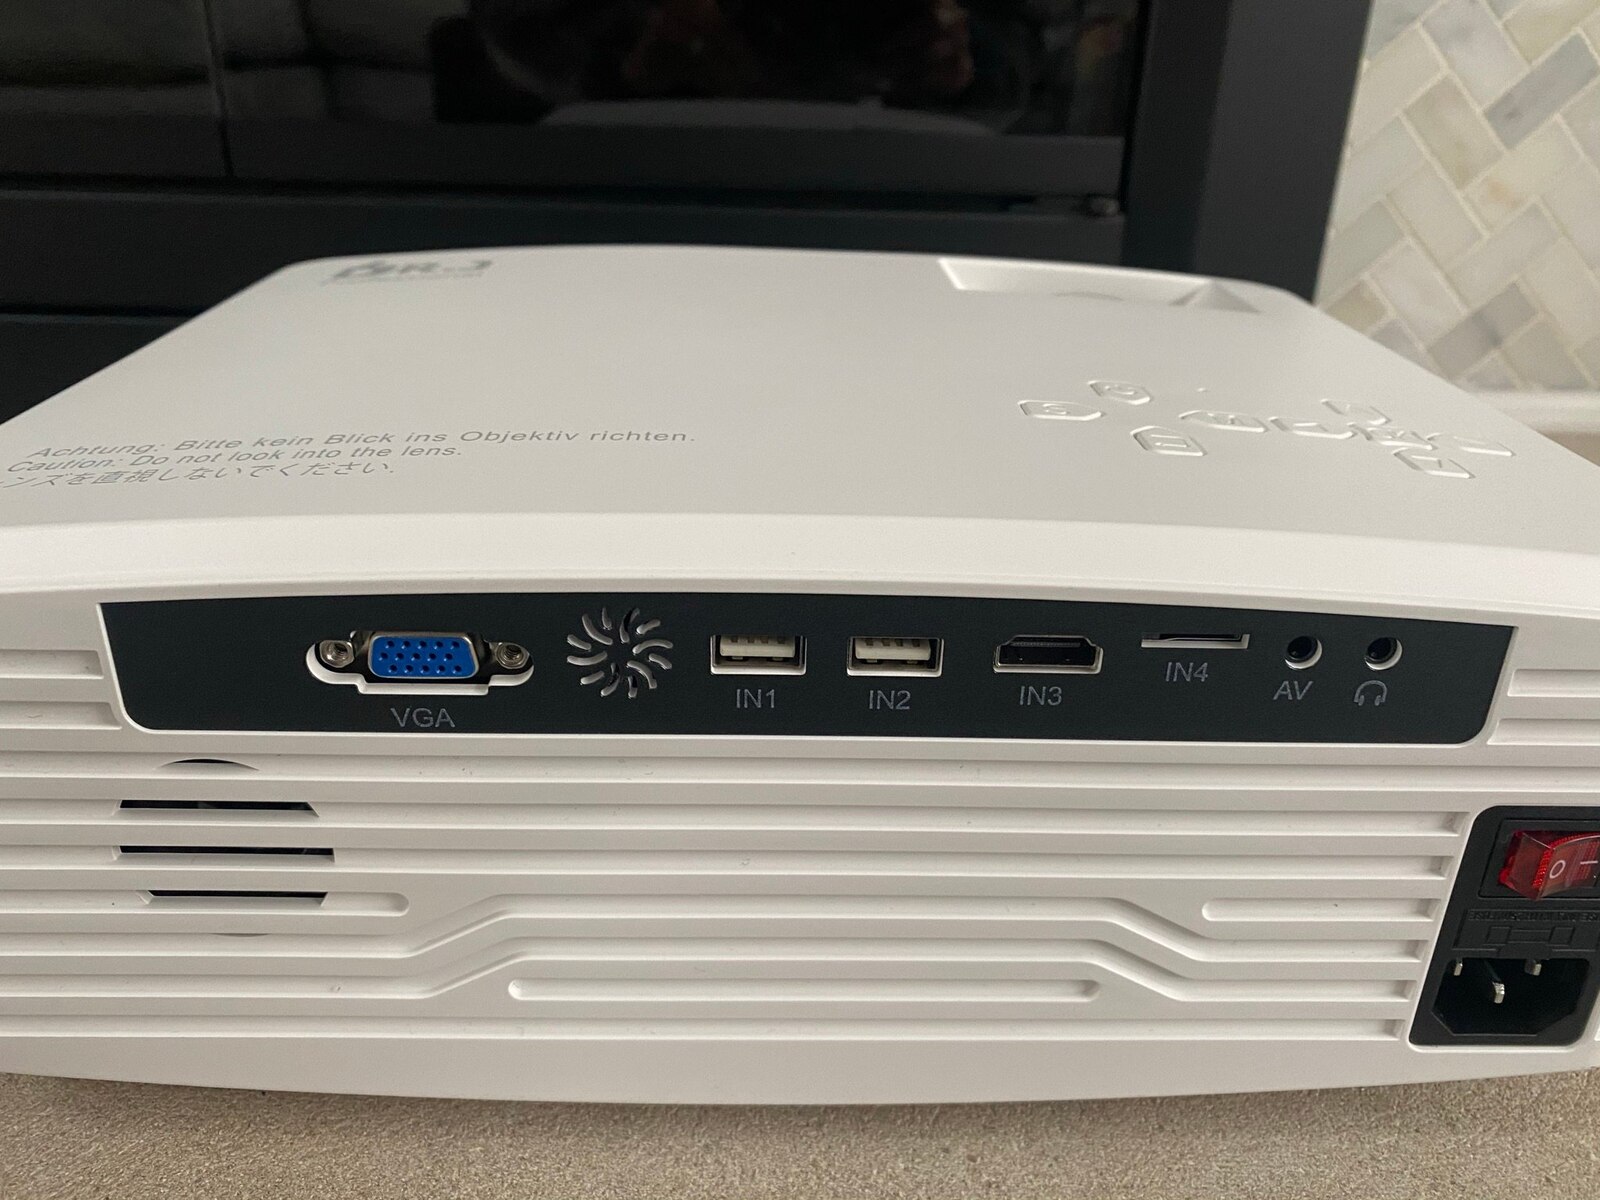
- Locate the HDMI port on the back of the Dr J projector and the Lightning port on your iPhone.
- Connect one end of the HDMI cable to the HDMI port on the projector and the other end to a compatible HDMI adapter for your iPhone.
- Plug the Lightning end of the adapter into the Lightning port on your iPhone.
- Once the connection is established, your iPhone screen will be mirrored on the Dr J projector.
It’s important to note that some Dr J projectors may require an additional power source, such as a power adapter or power bank, for the connection to work properly. Make sure to consult the user manual of your specific model for any additional instructions.
Once the connection is established, you can navigate through your iPhone’s interface using the projector’s remote control or the buttons on the projector itself. This allows you to easily access your apps, videos, photos, and other content directly from your iPhone.
Now that you have successfully connected your iPhone to the Dr J projector, you are ready to move on to the next step, where we will guide you through adjusting the settings on your iPhone for optimal projection.
Step 2: Adjusting the settings on your iPhone
After connecting your iPhone to the Dr J projector, it’s important to adjust the settings on your iPhone to ensure the best projection experience. Follow these steps to optimize the settings:
- Unlock your iPhone and go to the “Settings” app.
- Scroll down and tap on “Display & Brightness.”
- Adjust the screen brightness to your preference. It’s recommended to set the brightness to a level that provides good visibility without straining your eyes.
- Return to the main Settings menu and tap on “Sounds & Haptics.”
- Make sure the “Silent Mode” is turned off to allow audio to be played through the projector’s speakers.
- Go back to the main Settings menu and tap on “Wi-Fi.”
- Ensure that Wi-Fi is turned on, especially if you plan on streaming content online.
- If needed, connect to a Wi-Fi network to ensure a stable internet connection for streaming.
These basic settings adjustments will help enhance your projection experience by optimizing the display brightness, allowing audio playback, and ensuring a stable internet connection for streaming content.
It’s worth noting that additional settings may be available depending on your specific iPhone model and iOS version. Feel free to explore other settings to personalize your projection experience further.
With the settings adjusted, you’re now ready to move on to the next step, where we will guide you through selecting content to project from your iPhone.
Step 3: Selecting content to project from your iPhone
Now that your iPhone is connected to the Dr J projector and the settings are adjusted, it’s time to select the content you want to project onto the big screen. Follow these steps to choose and play your desired content:
- Unlock your iPhone and navigate to the home screen.
- Tap on the app or content you wish to project, such as a video streaming service, photo gallery, or presentation app.
- Once the content is open, you can navigate through it using the touch controls on your iPhone screen.
- For videos or movies, you can play, pause, rewind, or fast-forward using the playback controls within the app.
- If you want to project photos, swipe left or right to move between images.
- If you are giving a presentation, open your preferred presentation app and navigate through your slides using swipes or taps.
It’s important to note that the content selection process may vary depending on the app you are using. Some apps may have specific instructions or additional features for projection purposes. Make sure to familiarize yourself with the app’s interface and controls for a seamless experience.
Once you have selected the desired content, it will be mirrored and projected onto the Dr J projector screen in real-time. This allows you to enjoy your videos, photos, or presentations on a larger, more immersive display.
With your content ready to go, it’s time to move on to the next step and position the Dr J projector for optimal viewing.
Step 4: Positioning the Dr J projector for optimal viewing
Once you have selected the content you want to project from your iPhone, the next step is to position the Dr J projector for optimal viewing. Follow these steps to ensure the best viewing experience:
- Find a suitable location for the projector where you have enough space to project the content without any obstructions.
- Place the Dr J projector on a stable surface such as a table or tripod.
- Ensure that the projector is facing the desired projection area, whether it’s a blank wall, projector screen, or any other suitable surface.
- Adjust the distance between the projector and the projection surface according to the desired screen size. Generally, a larger distance will result in a larger screen size, while a shorter distance will result in a smaller screen size.
- Use the projector’s zoom or focus controls if necessary to adjust the image size and clarity.
When positioning the Dr J projector, consider factors such as ambient light, room size, and the desired viewing angle. It’s often best to dim the lights in the room to enhance the visibility of the projected content.
Additionally, make sure that the projector is aligned properly with the projection surface to avoid distorted or skewed images. Most projectors have adjustable keystone correction features to help align the image vertically and horizontally.
By taking the time to position the Dr J projector correctly, you can ensure that your content is projected onto the screen in the best possible way, offering an immersive and enjoyable viewing experience.
With the projector positioned, it’s time to move on to the next step and adjust the projector settings for the best image quality.
Step 5: Adjusting the projector settings for the best image quality
After positioning the Dr J projector for optimal viewing, it’s important to fine-tune the projector settings to achieve the best image quality. Here are the key settings you should adjust:
- Brightness: Adjust the brightness setting on the projector to ensure that the projected image is neither too dim nor too bright. Find a balance that allows for clear visibility without causing strain on your eyes.
- Contrast: The contrast setting determines the difference between the light and dark areas of the projected image. Adjust it to enhance the overall image quality and make the colors appear more vibrant and defined.
- Color Temperature: This setting affects the overall warmth or coolness of the projected image. Experiment with different color temperature options to find the one that suits your personal preference and enhances the colors of the content you are projecting.
- Sharpness: The sharpness setting controls the clarity and detail of the projected image. Adjust it to your liking, keeping in mind that setting it too high might result in an artificial-looking image, while setting it too low can make the image appear blurry.
- Keystone Correction: If the projector is not positioned perfectly perpendicular to the projection surface, the image might appear distorted. Use the keystone correction feature on the projector to adjust the image and make it appear rectangular and true to its original proportions.
Keep in mind that the specific settings available on the Dr J projector may vary depending on the model you have. Consult the user manual for your particular projector to understand the available options and how to adjust them.
Take your time to experiment with these settings and find the optimal combination that suits your preferences and enhances the image quality. Remember, adjusting the settings is a subjective process, and what looks best to you may differ from someone else’s preferences.
With the projector settings adjusted, you’re now ready to move on to the final step and enjoy your projected content on the big screen.
Step 6: Enjoying your projected content
Now that you have successfully connected your iPhone to the Dr J projector, adjusted the settings, selected your content, and positioned the projector, it’s time to sit back and enjoy your projected content on the big screen. Here are a few tips for maximizing your viewing experience:
- Dim the lights: Creating a dark or dimly lit environment can greatly enhance the visibility and immersion of the projected content. Close curtains or blinds and turn off any unnecessary lights in the room.
- Adjust the volume: Use the volume controls on the Dr J projector or the audio settings of your iPhone to adjust the volume to your desired level. Make sure to test the audio before starting your content for an optimal audiovisual experience.
- Control playback: Use the playback controls on your iPhone or the remote control of the Dr J projector to pause, play, or navigate through your content. This allows you to have full control over your viewing experience.
- Engage with the content: Whether you’re watching a movie, sharing photos with friends and family, or giving a presentation, fully immerse yourself in the content and engage with it. Take advantage of the larger screen size to appreciate the details and make the most of the projection experience.
Remember to take breaks and give your eyes some rest during extended viewing sessions. It’s also a good idea to follow any recommended usage guidelines provided by the Dr J projector to prevent overheating or any other potential issues.
By following these steps and tips, you can enjoy a superior viewing experience with the Dr J projector and your iPhone. Whether you’re having a movie night, showcasing your photography skills, or giving a presentation, the big screen projection will surely add an extra wow factor.
Now, go ahead and enjoy your favorite content on the big screen with the Dr J projector and your iPhone!
Conclusion
Using the Dr J projector with your iPhone opens up a world of possibilities for enjoying multimedia content on a larger screen. Throughout this guide, we have walked you through the step-by-step process of connecting your iPhone to the Dr J projector, adjusting the settings, selecting content, positioning the projector, and optimizing the image quality.
By following these instructions, you can transform your iPhone into a powerful projection device, allowing you to watch movies, share photos, give presentations, and more, all in a larger and more immersive format.
Remember to take the time to properly connect and position the Dr J projector, and adjust the settings according to your preferences. This will ensure you have the best possible viewing experience with clear, vibrant visuals and accurate sound reproduction.
Now, it’s time to sit back, relax, and enjoy your favorite content on the big screen. Whether you’re having a movie night with friends, sharing memories with family, or delivering a captivating presentation, the Dr J projector and your iPhone will take your multimedia experience to the next level.
So go ahead, unleash the full potential of your iPhone and the Dr J projector, and let the entertainment begin!