Introduction
Welcome to our guide on how to update the BIOS in Windows 10. If you’re not familiar with BIOS, it stands for Basic Input/Output System, which is firmware that initializes and controls hardware components of your computer when you power it on.
Updating the BIOS is an essential task that can help improve the stability, compatibility, and performance of your system. It is particularly important if you are experiencing hardware issues, compatibility problems, or want to take advantage of the latest features and improvements provided by the motherboard manufacturer.
Before we dive into the details, it’s important to note that updating the BIOS carries some risk. If not done correctly, it can result in a non-bootable or unstable system. Therefore, it’s essential to follow the instructions carefully and ensure you have a backup of your important data.
In this guide, we will explain the different methods you can use to update the BIOS in Windows 10. We will cover how to check the current BIOS version, download the latest BIOS version, and perform the actual update using both the BIOS update utility provided by the motherboard manufacturer and the manufacturer’s tool. Additionally, we will discuss common issues that might arise during the BIOS update process and provide troubleshooting tips to overcome them.
Whether you’re a beginner or an experienced user, this guide will walk you through the steps involved in updating your BIOS and help you avoid any potential pitfalls. By keeping your BIOS up to date, you can ensure that your computer performs optimally and remains compatible with new hardware and software releases.
So, without further ado, let’s get started with the process of updating the BIOS in Windows 10!
What is BIOS?
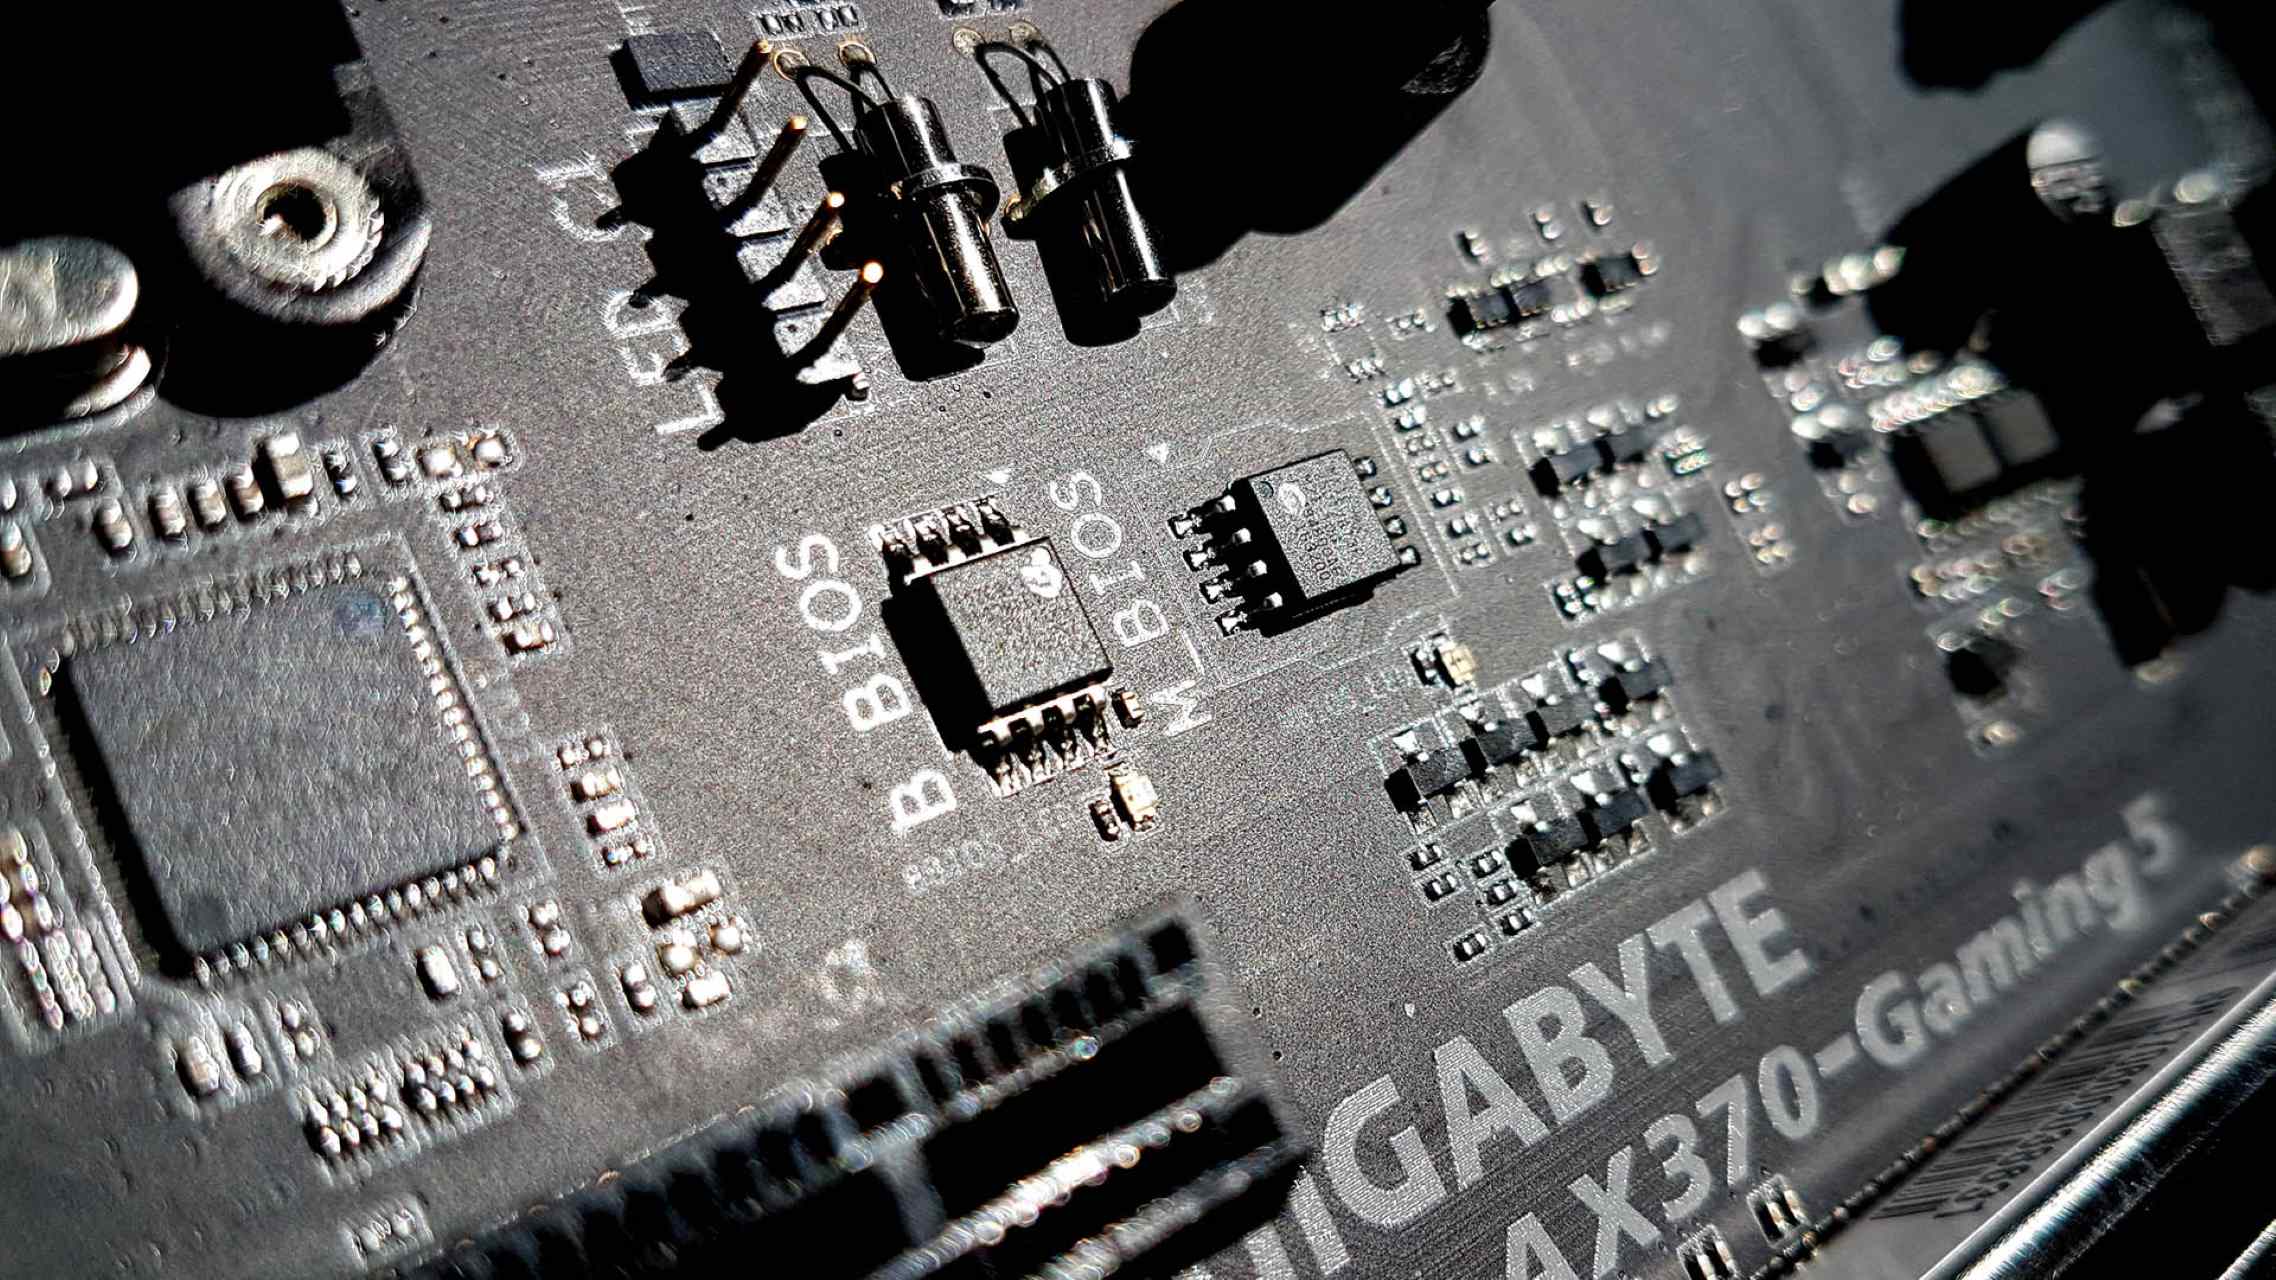
Before we delve into the process of updating the BIOS, let’s first understand what BIOS actually is. BIOS, which stands for Basic Input/Output System, is a set of instructions and firmware that resides in a chip on your computer’s motherboard. It is responsible for initializing and controlling various hardware components of your system when you power it on.
When you press the power button on your computer, the BIOS is the first software that runs. It performs a series of tests called the Power-On Self-Test (POST) to check the health of your hardware components. If all tests pass successfully, the BIOS then proceeds to load the operating system from your storage device.
The BIOS, being a firmware, is hardware-specific and tied to the motherboard. Each motherboard manufacturer usually creates their own version of the BIOS, tailored to their specific motherboard models. This is why it’s important to use the correct BIOS update for your particular motherboard.
Over time, motherboard manufacturers release BIOS updates to address various issues, improve compatibility with new hardware, enhance system stability, and introduce new features. These updates can bring performance improvements, patch security vulnerabilities, and fix bugs that may affect the smooth operation of your computer.
It’s worth noting that the BIOS is different from the operating system (e.g., Windows 10) that you use on your computer. The operating system is a software layer that sits on top of the BIOS and enables you to interact with and utilize your computer’s hardware and software applications. While the BIOS provides the foundation for your system’s hardware, the operating system acts as the interface for users to interact with the computer.
In summary, the BIOS is a crucial component of your computer that initializes and controls hardware functions. Keeping the BIOS up to date is important to ensure your system runs smoothly, remains compatible with new hardware and software updates, and benefits from enhancements and bug fixes released by the motherboard manufacturer.
Why Update BIOS?
Updating the BIOS may not be something you think about often, but it can have significant benefits for your system’s performance, stability, and compatibility. Here are a few reasons why it’s important to keep your BIOS up to date:
1. Improved Hardware Performance: BIOS updates often include optimizations and enhancements that can improve the performance of your hardware components. These updates may provide better compatibility with new processors, memory modules, or graphics cards, allowing them to work at their full potential.
2. Enhanced System Stability: Outdated BIOS versions may contain bugs or issues that can lead to system instability, random crashes, or compatibility problems. By updating the BIOS, you can benefit from bug fixes and stability improvements offered by the manufacturer, ensuring a smoother and more reliable computing experience.
3. Increased Compatibility: As new hardware and software technologies emerge, motherboard manufacturers release BIOS updates to ensure compatibility with these advancements. Whether it’s a new graphics card, a faster storage device, or a different operating system, updating the BIOS can help ensure that your system remains compatible and functions optimally.
4. Security Patches and Fixes: Like any software, the BIOS can also be vulnerable to security threats. Manufacturers periodically release BIOS updates to address security vulnerabilities and provide patches to protect your system from potential exploits. Updating the BIOS helps keep your system secure and protected from such threats.
5. Access to New Features: BIOS updates can introduce new features and improvements that enhance the functionality and user experience of your computer. These could include additional overclocking options, better power management settings, or improved overclock stability. By updating the BIOS, you can take advantage of these new features and enjoy an enhanced computing experience.
6. Manufacturer Support: When troubleshooting hardware issues or seeking technical support from the manufacturer, they may recommend updating the BIOS as part of the troubleshooting process. Keeping your BIOS up to date ensures that you are on the latest supported version and makes it easier for the manufacturer’s support team to assist you.
Please note that BIOS updates should be performed with caution and only if necessary. If your computer is running smoothly without any issues, it may not always be necessary to update the BIOS. However, if you are experiencing hardware problems, compatibility issues, or want to take advantage of new features and improvements, updating the BIOS is definitely worth considering.
Preparations Before Updating BIOS
Before diving into the process of updating the BIOS, there are a few important preparations you need to make to ensure a smooth and successful update. Following these steps will help minimize the risk of encountering issues during the update process:
1. Read the Release Notes: Before downloading and installing a BIOS update, it’s essential to read the release notes provided by the manufacturer. The release notes contain valuable information about the changes, improvements, and fixes included in the update. It will also highlight any known issues or compatibility concerns that you should be aware of before proceeding with the update.
2. Backup Your Data: Although the risk of data loss during a BIOS update is relatively low, it’s always a good practice to backup your important files before proceeding. This is especially true if you’re updating the BIOS using a method that involves flashing the firmware, as it carries a slightly higher risk. Create a backup of your essential files to an external storage medium or cloud storage to ensure you can restore them if any unforeseen issues occur.
3. Check Power and Battery: Ensure that your computer is connected to a reliable power source during the BIOS update process. A sudden power loss or interruption can result in a failed update, potentially rendering your system unbootable. If you’re using a laptop, make sure it’s connected to the power adapter and has sufficient battery charge to last through the entire process.
4. Disable Overclocking: If you have applied any overclocking settings to your system, it’s recommended to revert them back to their default values before updating the BIOS. Overclocked configurations can cause instability during the update process and may lead to issues after the update is complete. Resetting your system to default settings ensures a clean and stable environment for the BIOS update.
5. Close Unnecessary Programs: Before initiating the BIOS update, close any unnecessary programs and background applications running on your computer. This helps reduce the chances of any conflicts during the update process and ensures that the update utility can access and modify the necessary system resources without any interruptions.
6. Anti-Virus and Firewall: If you have anti-virus software or a firewall installed on your computer, temporarily disable them before starting the BIOS update process. Some security software may interfere with the update process or prevent communication with the BIOS update utility. Disabling them temporarily ensures a smoother update process.
7. Stable Internet Connection: If you’re updating the BIOS using the manufacturer’s tool or a utility that requires an internet connection, make sure you have a stable and reliable internet connection. An unstable or interrupted internet connection during the update process can result in a failed update or corrupt firmware, causing potential issues with your system.
By following these preparations, you are setting yourself up for a successful and hassle-free BIOS update. Taking the time to read the release notes, backup your data, and ensure a stable environment will help minimize the risk of encountering problems during the update process. Remember to proceed with caution and follow the manufacturer’s instructions closely to ensure a smooth update.
How to Check Current BIOS Version
Before proceeding with a BIOS update, it’s essential to check your current BIOS version to ensure you have the correct information and know if an update is necessary. Here are a few methods you can use to check the current BIOS version:
1. System Information Tool: The simplest way to check the BIOS version is by using the built-in System Information tool in Windows 10. You can access this tool by pressing the Windows key + R, typing “msinfo32” (without quotes), and then pressing Enter. In the System Information window, look for the “BIOS Version/Date” field, which will display the current BIOS version.
2. BIOS Setup Utility: Another way to check the BIOS version is by accessing the BIOS setup utility during system startup. Restart your computer and look for the prompt to enter the BIOS setup. This prompt is usually displayed on the screen during the boot process and can be different for each manufacturer (e.g., “Press Del to enter setup” or “Press F2 for BIOS settings”). Once inside the BIOS setup, navigate to the System Information or Main tab, where you’ll typically find the current BIOS version listed.
3. Manufacturer’s System Information Utility: Some motherboard manufacturers provide their own system information utilities that can display detailed information about your system, including the BIOS version. You can usually download this utility from the manufacturer’s website and run it to obtain the BIOS version. Check the support section of the manufacturer’s website under your specific motherboard model to see if such a utility is available.
4. Command Prompt: For advanced users, the Command Prompt can be used to retrieve the BIOS version information. Press the Windows key + R, type “cmd” (without quotes), and press Enter to open the Command Prompt. Once opened, type the following command: “wmic bios get smbiosbiosversion”. Press Enter, and you should see the current BIOS version displayed on the screen.
5. Manufacturer’s Website: If you’re unable to find the BIOS version using any of the above methods, you can visit the manufacturer’s website and search for your specific motherboard model. The manufacturer’s website will usually provide detailed specifications and support information for their products, including the current BIOS version for each model.
Checking the current BIOS version is an important step before performing an update. It ensures that you have accurate information about your system’s firmware and helps you determine if an update is necessary. By identifying the current BIOS version, you can avoid unnecessary updates and ensure that any subsequent update matches your specific motherboard model.
Downloading the Latest BIOS Version
Once you have checked your current BIOS version and determined that an update is required, the next step is to download the latest BIOS version provided by the motherboard manufacturer. Here’s how you can download the latest BIOS version:
1. Identify Your Motherboard: Before proceeding, you need to identify your motherboard model. You can usually find this information printed on the motherboard itself or by checking your computer’s documentation. Alternatively, you can use system information tools such as CPU-Z or Speccy to identify your motherboard model.
2. Visit the Manufacturer’s Website: Once you have identified your motherboard model, visit the manufacturer’s official website. Navigate to the support or downloads section of the website, and search for your specific motherboard model.
3. Choose the Correct BIOS Version: On the motherboard’s support page, you will find a list of available BIOS updates. Locate the latest version compatible with your motherboard model and download it. Pay attention to any additional instructions or warnings provided by the manufacturer.
4. Select the Method of Download: The manufacturer’s website may provide different ways to download the BIOS update. You might find options such as a direct download link, a download through a specific utility, or a download from the manufacturer’s tool. Choose the method that best suits your preferences and proceed with the download.
5. Verify the Integrity of the Download: After the download is complete, it’s important to verify the integrity of the downloaded file. Most motherboard manufacturers provide checksum or hash values on their support page. You can use checksum verification tools or third-party software to compare the downloaded file’s checksum against the one provided on the website. This step ensures that the file hasn’t been corrupted during the download process.
6. Extract and Prepare the BIOS Update: Depending on the format of the downloaded file, you may need to extract it to access the BIOS update file. Follow the instructions provided by the manufacturer on their support page for extracting and preparing the BIOS update file for installation.
7. Review Readme file or Release Notes: Before proceeding with the BIOS update, it is crucial to review the accompanying Readme file or release notes. These documents contain important information about the update process, any specific requirements, and a description of the changes introduced in the new BIOS version. Make sure to understand these instructions thoroughly before proceeding.
By following these steps, you can download the latest BIOS version from the manufacturer’s website. Remember to double-check your motherboard model, review the accompanying instructions, and ensure the integrity of the downloaded file before proceeding with the BIOS update. Taking these precautions will help mitigate the risk of encountering issues during the update process and enable you to keep your system up to date with the latest firmware.
Updating BIOS Using BIOS Update Utility
One common method to update the BIOS is by using the BIOS update utility provided by the motherboard manufacturer. This utility simplifies the update process and ensures compatibility with your specific motherboard model. Here’s a step-by-step guide on how to update the BIOS using the BIOS update utility:
1. Backup Your Data and Close Programs: Before proceeding with any BIOS update, it’s important to back up your important data and close any unnecessary programs running on your computer. This helps prevent any potential data loss or conflicts during the update process.
2. Download the BIOS Update Utility: Visit the motherboard manufacturer’s website and locate the support or downloads section. Find the appropriate BIOS update utility for your motherboard model and download it to your computer.
3. Extract and Prepare the Utility: Depending on the format of the downloaded file, you may need to extract it to access the BIOS update utility. Follow the instructions provided by the manufacturer to extract and prepare the utility for installation.
4. Run the BIOS Update Utility: Launch the BIOS update utility by double-clicking the executable file. Some utilities may require administrative privileges, so make sure to run it as an administrator if prompted.
5. Read and Accept Any Terms or Conditions: The BIOS update utility may display terms and conditions that you need to read and accept before proceeding. Carefully review the terms and conditions, and click on the “Accept” or “Agree” button to proceed with the update.
6. Locate and Select the BIOS Update File: The utility will prompt you to locate and select the BIOS update file that you downloaded earlier. Browse to the location where you saved the file and select it.
7. Initiate the Update Process: Once you have selected the BIOS update file, the utility will start the update process. During this time, it’s important to avoid interrupting the process or powering off your computer to prevent any potential damage to the BIOS.
8. Follow On-Screen Instructions: The BIOS update utility may display on-screen instructions guiding you through the update process. Some utilities may require you to confirm the update or choose specific update settings. Follow the on-screen instructions provided by the utility until the update process is completed.
9. Restart Your Computer: After the BIOS update process is finished, the utility will usually prompt you to restart your computer. Make sure to save any open files and close all programs before restarting.
10. Verify Successful Update: Once your computer has restarted, you can verify if the BIOS update was successful by accessing the BIOS setup utility during system startup. Check the System Information or Main tab to see the updated BIOS version listed.
Updating the BIOS using the BIOS update utility provided by the motherboard manufacturer is a straightforward process. It ensures compatibility and simplifies the update process, allowing you to keep your system up to date with the latest firmware and benefit from improved compatibility, stability, and performance.
Updating BIOS Using Manufacturer’s Tool
In addition to the BIOS update utility, many motherboard manufacturers provide their own dedicated tools for updating the BIOS. These tools are designed specifically for their motherboard models and can simplify the update process. Here’s a step-by-step guide on how to update the BIOS using the manufacturer’s tool:
1. Backup Your Data and Close Programs: As with any BIOS update, it’s important to back up your data and close unnecessary programs running on your computer to prevent any potential data loss or conflicts during the update process.
2. Download and Install the Manufacturer’s Tool: Visit the motherboard manufacturer’s website and navigate to the support or downloads section. Locate the appropriate tool for updating the BIOS and download it to your computer. Follow the instructions provided to install the tool on your system.
3. Launch the Manufacturer’s Tool: Locate the installed manufacturer’s tool on your computer and launch it. Depending on the tool, you may need to run it with administrative privileges. If prompted, make sure to grant the necessary permissions.
4. Check for BIOS Updates: Once the manufacturer’s tool is launched, it will automatically scan your system to check for the latest BIOS updates available for your specific motherboard model. Allow the tool to complete the scan and display the available updates.
5. Select and Download the BIOS Update: After the scan is complete, the tool will display a list of available BIOS updates. Select the latest version and the desired update options, if applicable. Click on the download button to begin the download of the BIOS update.
6. Initiate the Update Process: Once the download is complete, the manufacturer’s tool will automatically initiate the update process. During this time, it’s crucial to avoid interrupting the process or powering off your computer as it can lead to potential damage to the BIOS.
7. Follow On-Screen Instructions: The manufacturer’s tool will provide on-screen instructions guiding you through the update process. Follow these instructions carefully, as they may provide specific information or prompts for the successful completion of the update.
8. Restart Your Computer: After the update process has finished, the manufacturer’s tool will usually prompt you to restart your computer. Save any open files and close all programs before proceeding with the restart.
9. Verify Successful Update: Upon restarting your computer, access the BIOS setup utility during system startup to verify if the BIOS has been successfully updated. Check the System Information or Main tab to ensure that the updated BIOS version is listed.
The manufacturer’s tool provides a convenient and tailored approach to update the BIOS. It ensures compatibility and simplifies the update process for your specific motherboard model. By using the manufacturer’s tool, you can easily keep your system up to date with the latest firmware, benefiting from improved compatibility, stability, and performance.
Updating BIOS Manually
In some cases, you may need to update the BIOS manually if the motherboard manufacturer does not provide a dedicated tool or update utility. While manual updates require more technical knowledge and involve a higher level of risk, they can still be successfully performed. Here’s a step-by-step guide on how to update the BIOS manually:
1. Identify Your Motherboard Model: Before proceeding with a manual BIOS update, it’s crucial to identify the exact model of your motherboard. You can typically find this information printed on the motherboard itself or by checking your computer’s documentation.
2. Visit the Manufacturer’s Website: Once you have identified the motherboard model, visit the official website of the motherboard manufacturer. Navigate to the support or downloads section and search for your specific motherboard model.
3. Download the Latest BIOS Version: Locate and download the latest BIOS version provided by the manufacturer for your specific motherboard model. Ensure that you select the correct BIOS version to avoid any compatibility issues.
4. Prepare a USB Flash Drive: Prepare a USB flash drive with sufficient storage capacity and format it in the appropriate file system (such as FAT32). This USB flash drive will be used to transfer the BIOS update file to your computer.
5. Extract and Copy the BIOS Update File: Once the BIOS update file is downloaded, extract it if necessary and copy it to the root directory of the USB flash drive. Ensure that there are no other files or directories on the flash drive.
6. Restart Your Computer and Enter BIOS Setup: Restart your computer and repeatedly press the key indicated on the screen (often Del, F2, or F10) to enter the BIOS setup. The key may vary depending on your motherboard manufacturer. Consult the documentation or watch for the prompt during system startup.
7. Access the BIOS Update Utility: Within the BIOS setup, locate the “Tools” or “Update” section, which may have different names depending on the motherboard manufacturer. Within this section, there may be an option to initiate the BIOS update process.
8. Select the BIOS Update File: Use the options within the BIOS update utility to select the BIOS update file located on the USB flash drive. Follow the on-screen instructions carefully to ensure that the correct file is selected.
9. Initiate the BIOS Update: Once the BIOS update file is selected, initiate the BIOS update process within the utility. Be patient and avoid interrupting the process or powering off your computer, as this can lead to potential damage or a bricked motherboard.
10. Restart Your Computer: After the BIOS update process is complete, exit the BIOS setup and restart your computer. Allow it to boot normally and ensure that the updated BIOS version is listed in the system information or BIOS setup.
Manual BIOS updates require caution and technical knowledge, as an incorrect procedure or interruption can result in irreversible damage to your system. It is recommended to only perform manual BIOS updates if you are confident in your abilities and have carefully followed the instructions provided by the motherboard manufacturer.
Common Issues and Troubleshooting
While updating the BIOS is generally a straightforward process, it’s not uncommon to encounter some issues or complications. Here are some common issues that may arise during the BIOS update process and troubleshooting steps to help address them:
1. Power Interruption: If your computer loses power during the BIOS update process, it can result in a bricked motherboard or an incomplete update. Ensure that your computer is connected to a reliable power source and avoid any power interruptions during the update. Use a UPS (uninterruptible power supply) if available.
2. Incorrect BIOS Update Version: Sometimes, users mistakenly download and install the wrong BIOS update version for their motherboard. Always double-check the motherboard model and ensure that you download the correct BIOS update file from the manufacturer’s website.
3. Compatibility Issues: In rare cases, a BIOS update may introduce compatibility issues with certain hardware configurations or software applications. Read the release notes and any documentation provided by the manufacturer to identify any known compatibility issues before performing the update.
4. BIOS Flashing Failure: If the BIOS flashing process fails and your computer becomes unresponsive, it can be a cause for concern. In such cases, refer to your motherboard’s user manual or contact the manufacturer’s technical support for guidance on recovering from a failed BIOS flash.
5. Lockups or Freezing: During the update process, your computer may freeze or become unresponsive. In such instances, it’s best to wait for some time (about 30 minutes) before attempting any remedial action. If the issue persists, power off the computer and restart it to see if it resumes the update process or prompts for a recovery procedure.
6. Incompatible Operating Systems: Some BIOS updates may only be compatible with certain operating systems. Ensure that you’re using a supported and compatible operating system version before attempting the BIOS update. If in doubt, check the manufacturer’s documentation or contact their support for clarification.
7. Failed Boot After Update: In rare cases, a BIOS update can result in a failed boot or an unbootable system. To troubleshoot this issue, try resetting the BIOS settings to their defaults by entering the BIOS setup and selecting the “Load Defaults” or “Reset to Default” option. If that doesn’t resolve the issue, refer to your motherboard’s user manual or contact the manufacturer’s support for further assistance.
8. Consult Manufacturer’s Support: If you encounter any other issues or errors during the BIOS update process, it’s advisable to consult the manufacturer’s support website or contact their technical support directly. They are equipped with the knowledge and resources to assist you with specific troubleshooting steps, guidance, or potential solutions for your motherboard model.
When updating the BIOS, it’s crucial to follow the manufacturer’s instructions, backup your data, and proceed with caution. While rare, encountering issues during the update process is possible. By being aware of these common issues and having troubleshooting steps in mind, you can overcome challenges and successfully update the BIOS on your system.
Conclusion
Updating the BIOS in Windows 10 is an important task that can enhance the performance, stability, and compatibility of your computer. Whether you’re experiencing hardware issues, want to take advantage of new features, or need to ensure compatibility with the latest hardware and software releases, keeping the BIOS up to date is crucial.
In this guide, we explored different methods for updating the BIOS. We covered how to check the current BIOS version using system information tools or the BIOS setup utility. We also discussed the process of downloading the latest BIOS version from the manufacturer’s website and how to update the BIOS using both the manufacturer’s utility/tool and the BIOS update utility. Additionally, we highlighted common issues that may arise during the BIOS update process and provided troubleshooting tips to overcome them.
When it comes to updating the BIOS, it’s important to approach the process with caution and follow the manufacturer’s instructions closely. Take the necessary precautions such as backing up your data, ensuring a stable power source, and reviewing release notes or documentation provided by the manufacturer. If you encounter any issues or uncertainties, don’t hesitate to reach out to the manufacturer’s support for guidance and assistance.
By keeping your BIOS up to date, you can optimize the performance of your computer and ensure compatibility with new hardware and software releases. However, always remember that updating the BIOS carries some risks, and it should only be done when necessary or recommended by the manufacturer. If your computer is running smoothly without any issues, updating the BIOS may not be required.
We hope this guide has provided you with the necessary information and guidance to successfully update the BIOS in Windows 10. Remember to approach the process with care, backup your data, and follow the manufacturer’s instructions for a smooth and successful BIOS update. By keeping your BIOS up to date, you can ensure a stable and optimized computing experience.


